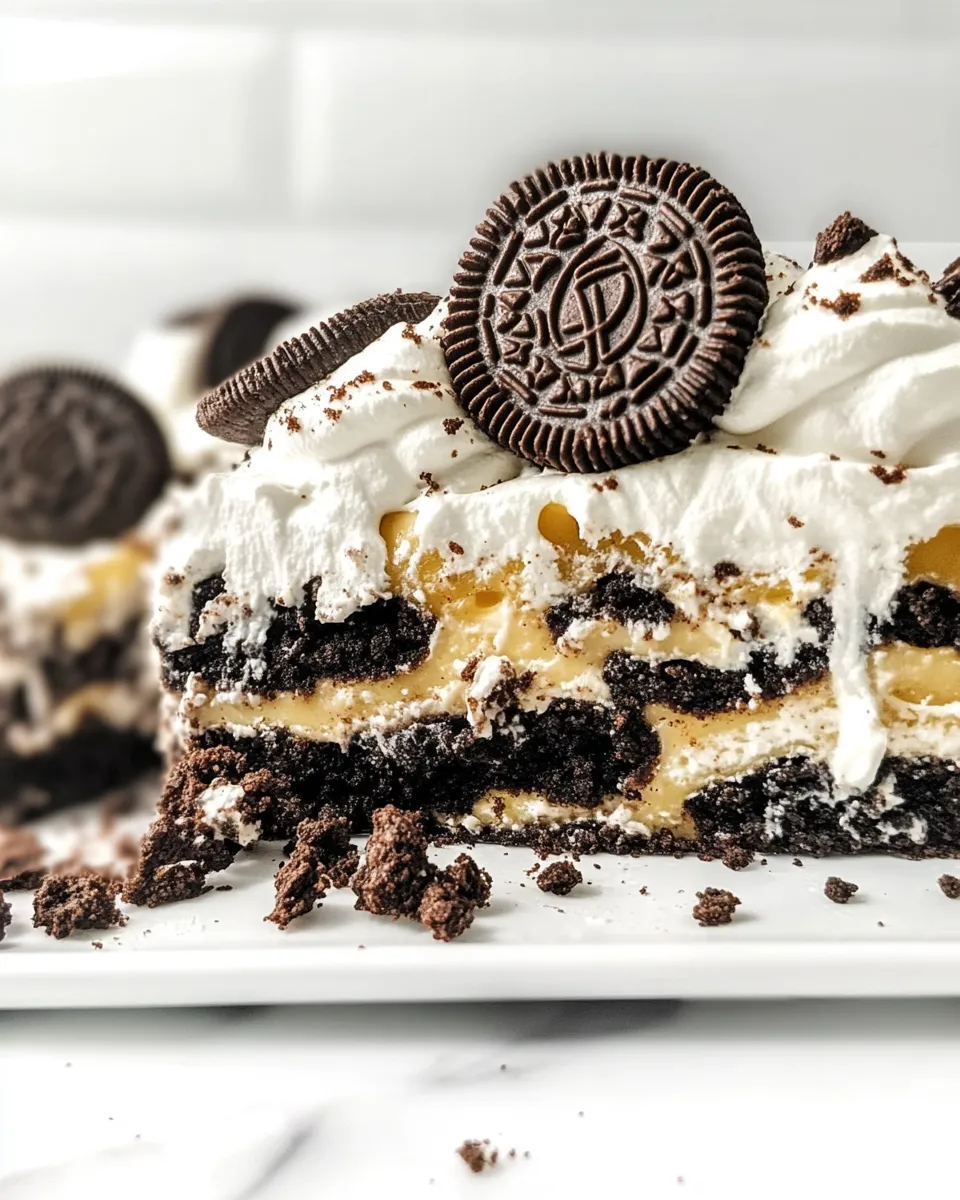
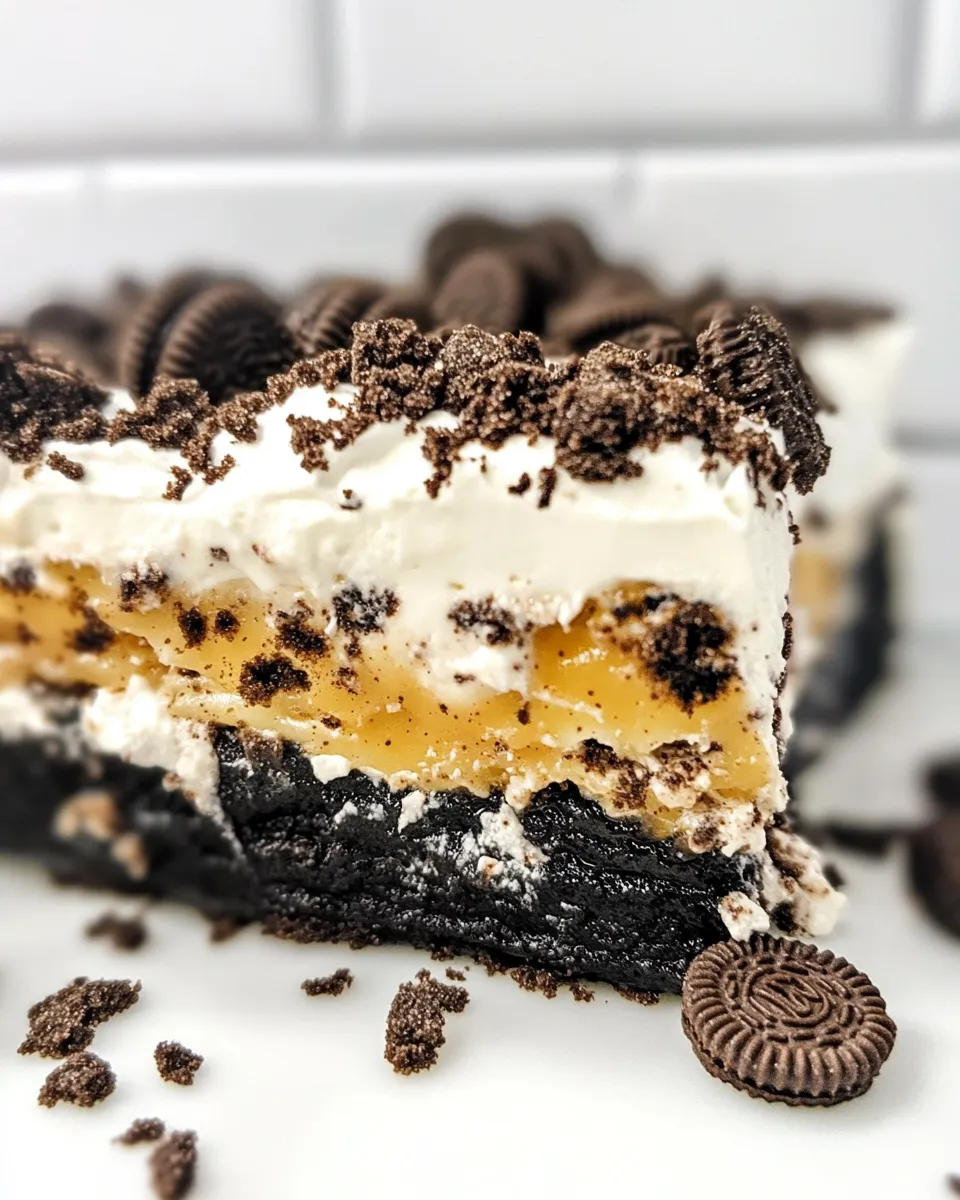
This Oreo Lasagna Dessert is the kind of no-bake treat that makes weeknight baking feel unnecessary and celebrations feel effortless. Layers of instant vanilla pudding, clouds of whipped topping, and three layers of dipped Oreos build a dessert that’s playful, nostalgic, and reliably crowd-pleasing. It doesn’t demand special skills, just a little patience while it chills.
I make this when I want a dessert that’s easy to transport, simple to scale, and delicious at every stage — from the first slice to the last spoonful from the pan. You can assemble it in under 20 minutes and let the refrigerator do the rest. The result is creamy, slightly crunchy, and exactly the sort of dessert people ask for the recipe after tasting once.
Below you’ll find the ingredient notes, exact step-by-step method, troubleshooting tips, and ways to adjust the dessert without losing what makes it work. I keep things practical and focused so you can get it in the fridge and ready to impress quickly.
The Ingredient Lineup
Ingredients
- 13.4 ounce box instant vanilla pudding — provides the custardy, stable middle layers; instant mix sets within minutes and holds up in the fridge.
- 2 ½ cups nonfat milk, divided — 2 cups for the pudding (follow packet instructions) and ½ cup reserved for dipping cookies so they soften just enough for layering.
- 36 Oreos (any flavor) — create the crunchy cookie layers. Regular Oreos give contrast; flavored Oreos change the profile without altering technique.
- 18 ounce container whipped topping — lightens the pudding and provides the fluffy frosting-like layer; use thawed if previously frozen.
The Method for Oreo Lasagna Dessert
- In a medium bowl, whisk the 13.4-ounce box instant vanilla pudding mix with 2 cups of the nonfat milk until smooth. Let the pudding sit about 5 minutes to thicken.
- Pour the remaining ½ cup nonfat milk into a small bowl or measuring cup for dipping cookies.
- Dip 16 Oreos, one at a time, briefly into the reserved ½ cup milk and arrange them in a single layer on the bottom of an 8×8-inch pan.
- Spread half of the prepared pudding evenly over the Oreo layer.
- Spread half of the 18-ounce whipped topping evenly over the pudding layer.
- Dip another 16 Oreos, one at a time, in the reserved milk and arrange them in a single layer on top of the whipped topping.
- Spread the remaining pudding evenly over the second Oreo layer.
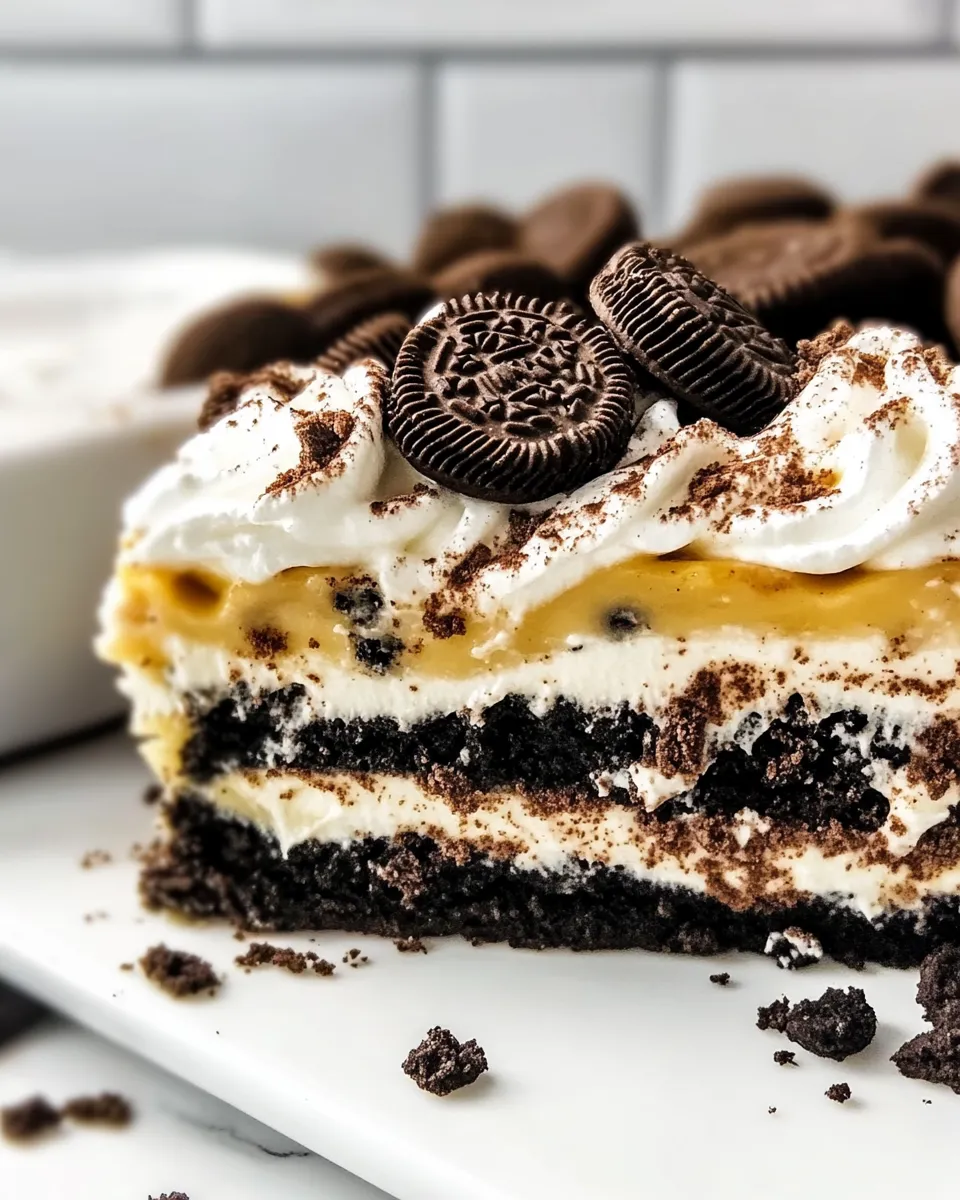
- Spread the remaining whipped topping evenly over the pudding.
- Place the last 4 Oreos in a sealed plastic bag and crush with a rolling pin (or chop finely with a knife). Sprinkle the Oreo crumbs evenly over the top of the whipped topping.
- Cover the pan tightly and refrigerate at least 4 hours before serving (overnight is best). Store leftovers in the refrigerator for up to 3 days.
What Sets This Recipe Apart
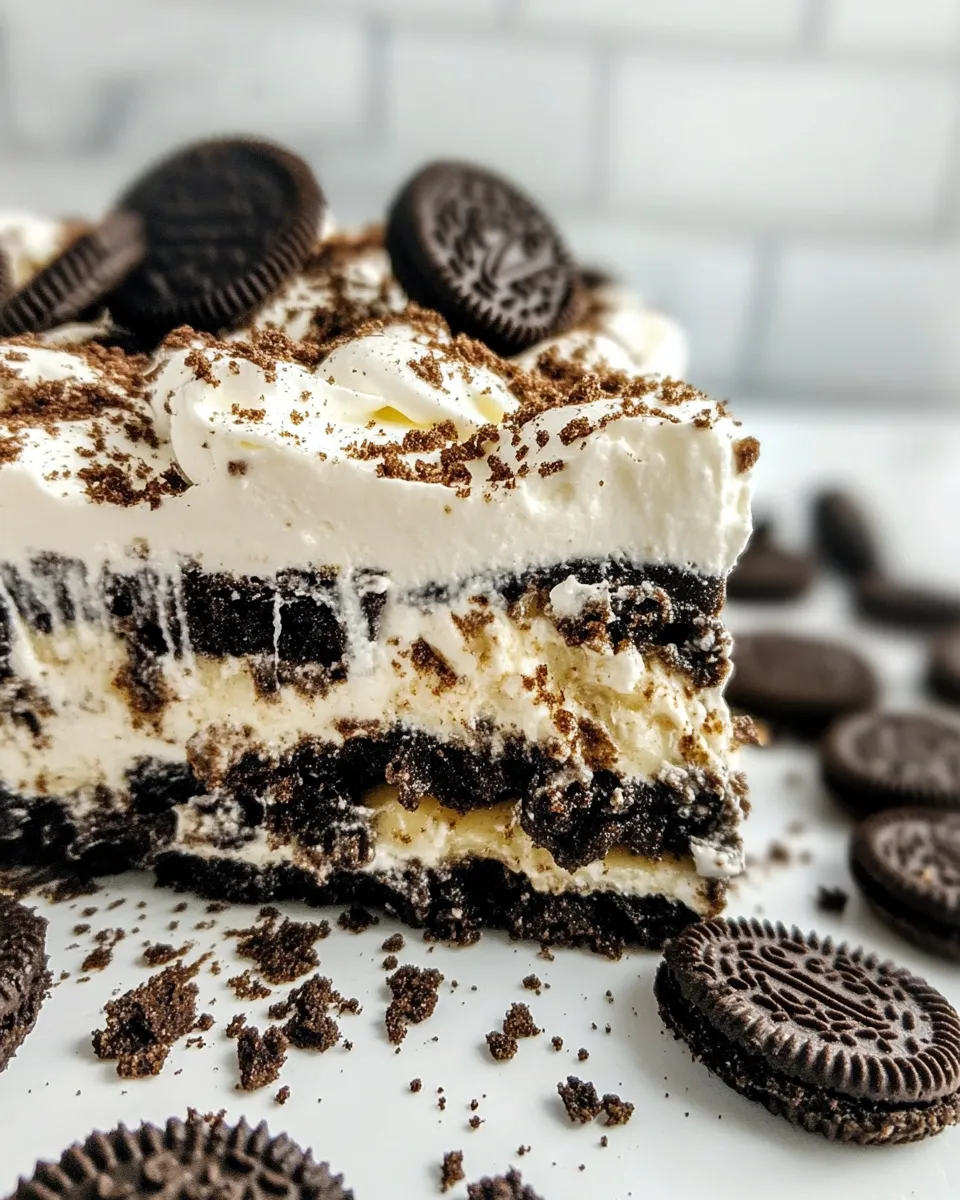
There are a lot of layered desserts, but this one stands out because it balances three things: speed, texture, and nostalgia. Speed — it’s assembled in minutes using instant pudding and store-bought components. Texture — alternating soft, creamy pudding and airy whipped topping with crisp, milk-dipped Oreos yields contrasts in every bite. Nostalgia — Oreos are a familiar comfort and they make the dessert approachable for all ages.
Also, the technique is forgiving. You don’t need perfect knife skills or tempering. The milk-dip for the Oreos is short and controlled so the cookies soften just enough to meld with the filling without going soggy. Refrigeration finishes the job, so the layers set and become sliceable.
Flavor-Forward Alternatives
- Cookie swap — Use chocolate sandwich cookies with a different filling (mint or peanut butter Oreos) to shift the profile. Mint adds brightness; peanut butter brings richness.
- Pudding mix variations — Swap vanilla pudding for chocolate instant pudding for a deeper chocolate base. Use one box; keep the milk amounts the same.
- Extra crunch — Toasted nuts or chopped toffee sprinkled between layers add a new texture. Add sparingly to avoid overpowering the Oreo layers.
- Tiny drizzle — A light drizzle of melted chocolate or caramel over the top before serving adds sheen and an extra flavor note. Keep it minimal so the presentation remains clean.
Gear Checklist
- 8×8-inch baking pan — the specified pan yields the right layer depth. A 9×9 will also work but layers will be slightly thinner.
- Medium mixing bowl and whisk — for pudding prep. A whisk gives a smooth finish without lumps.
- Small bowl or measuring cup — to hold the ½ cup milk for dipping the cookies.
- Plastic bag and rolling pin (or sharp knife) — to crush the last 4 Oreos for the topping.
- Rubber spatula — for spreading pudding and whipped topping evenly without tearing cookies.
Slip-Ups to Skip
These are common missteps I’ve seen and how to avoid them.
- Dunking too long: A prolonged dip will make the Oreos fall apart in the pan. Dip briefly — just enough to wet the surface.
- Skipping refrigeration time: The dessert needs at least 4 hours; slicing early will give you messy, unset layers.
- Using warm ingredients: Thawed whipped topping should be cold. Warm or room-temperature components make the dessert runny.
- Over-crushing the topping cookies: Keep some crumbs slightly larger for texture; powdered dusting looks nice but loses crunch.
Spring to Winter: Ideas
Seasonal serving notes
This dessert suits every season with tiny tweaks. Serve it after heavy winter meals as a light, cold finish. In spring and summer, lighten it further with a sprinkle of fresh berries on the side; the fruit brightens the palate. For autumn, pair a salted caramel drizzle and toasted pecans. During holiday parties, create mini portions in small glasses for easy passing around.
Behind the Recipe
I started making versions of this when I needed a dessert that traveled well to potlucks and could be prepped quickly between work and family time. The Oreo layers keep well during transport, and instant pudding removes the need for custard-making skills. The structure—cookie, pudding, whipped topping—was born from wanting contrast in every bite without a complicated bake.
It’s also a forgiving recipe for cooks who are new to layered desserts. The components are forgiving and store-bought shortcuts (instant pudding, whipped topping) let you focus on assembly and presentation. Over time, I learned that short dips in milk keep the cookies manageable and that the final refrigerator rest is essential to get neat slices.
Make Ahead Like a Pro
Timeline and storage
- Assemble 24 hours ahead: For best texture and cleaner slices, assemble the night before. Overnight chilling allows the layers to fully meld.
- Transport tips: Keep the pan level in a shallow box or on a tray. Store in a cooler if traveling long distances to maintain chill.
- Storing leftovers: Cover tightly and refrigerate up to 3 days. For best texture, consume within that window—the cookie layers soften over time.
Troubleshooting Q&A
Q: My pudding looks lumpy after whisking. What went wrong?
A: Whisk longer and more vigorously when combining the instant mix with milk. Make sure to pour the milk gradually and whisk in the center first. If lumps persist, press the mixture through a fine mesh sieve or whisk briskly to break them up before letting it set.
Q: The Oreos got too soggy. How do I prevent that?
A: The dunk should be brief — a quick dip, then a gentle shake to remove excess milk. The reserved ½ cup of milk is just to soften the exterior; letting cookies sit immersed will cause them to disintegrate.
Q: The whipped topping deflates after spreading. Any fixes?
A: Use chilled whipped topping and spread gently with a spatula, not a knife that drags. If it deflates slightly during spreading, chill the pan for 10–15 minutes, then finish smoothing; cold stabilizes the topping.
Q: Can I make this dairy-free?
A: You can experiment with dairy-free instant pudding and non-dairy whipped toppings, but keep the milk quantity and dipping technique the same. Note that texture and set time may vary with alternative products.
Time to Try It
Set aside about 20 minutes to assemble and at least 4 hours to chill. If you can plan ahead, overnight is best. This is an approachable dessert with predictable results: creamy vanilla pudding, pillowy whipped topping, and favorite cookies softened just right. Make it for a weeknight dessert, a potluck, or when you want something that feels special without the fuss.
When you make it, taste as you go and feel free to personalize small elements — a different Oreo flavor, a sprinkling of extra crumbs, or a modest drizzle on top. But follow the method for structure and chilling; those are the real keys to success. Enjoy, and save a slice for yourself.
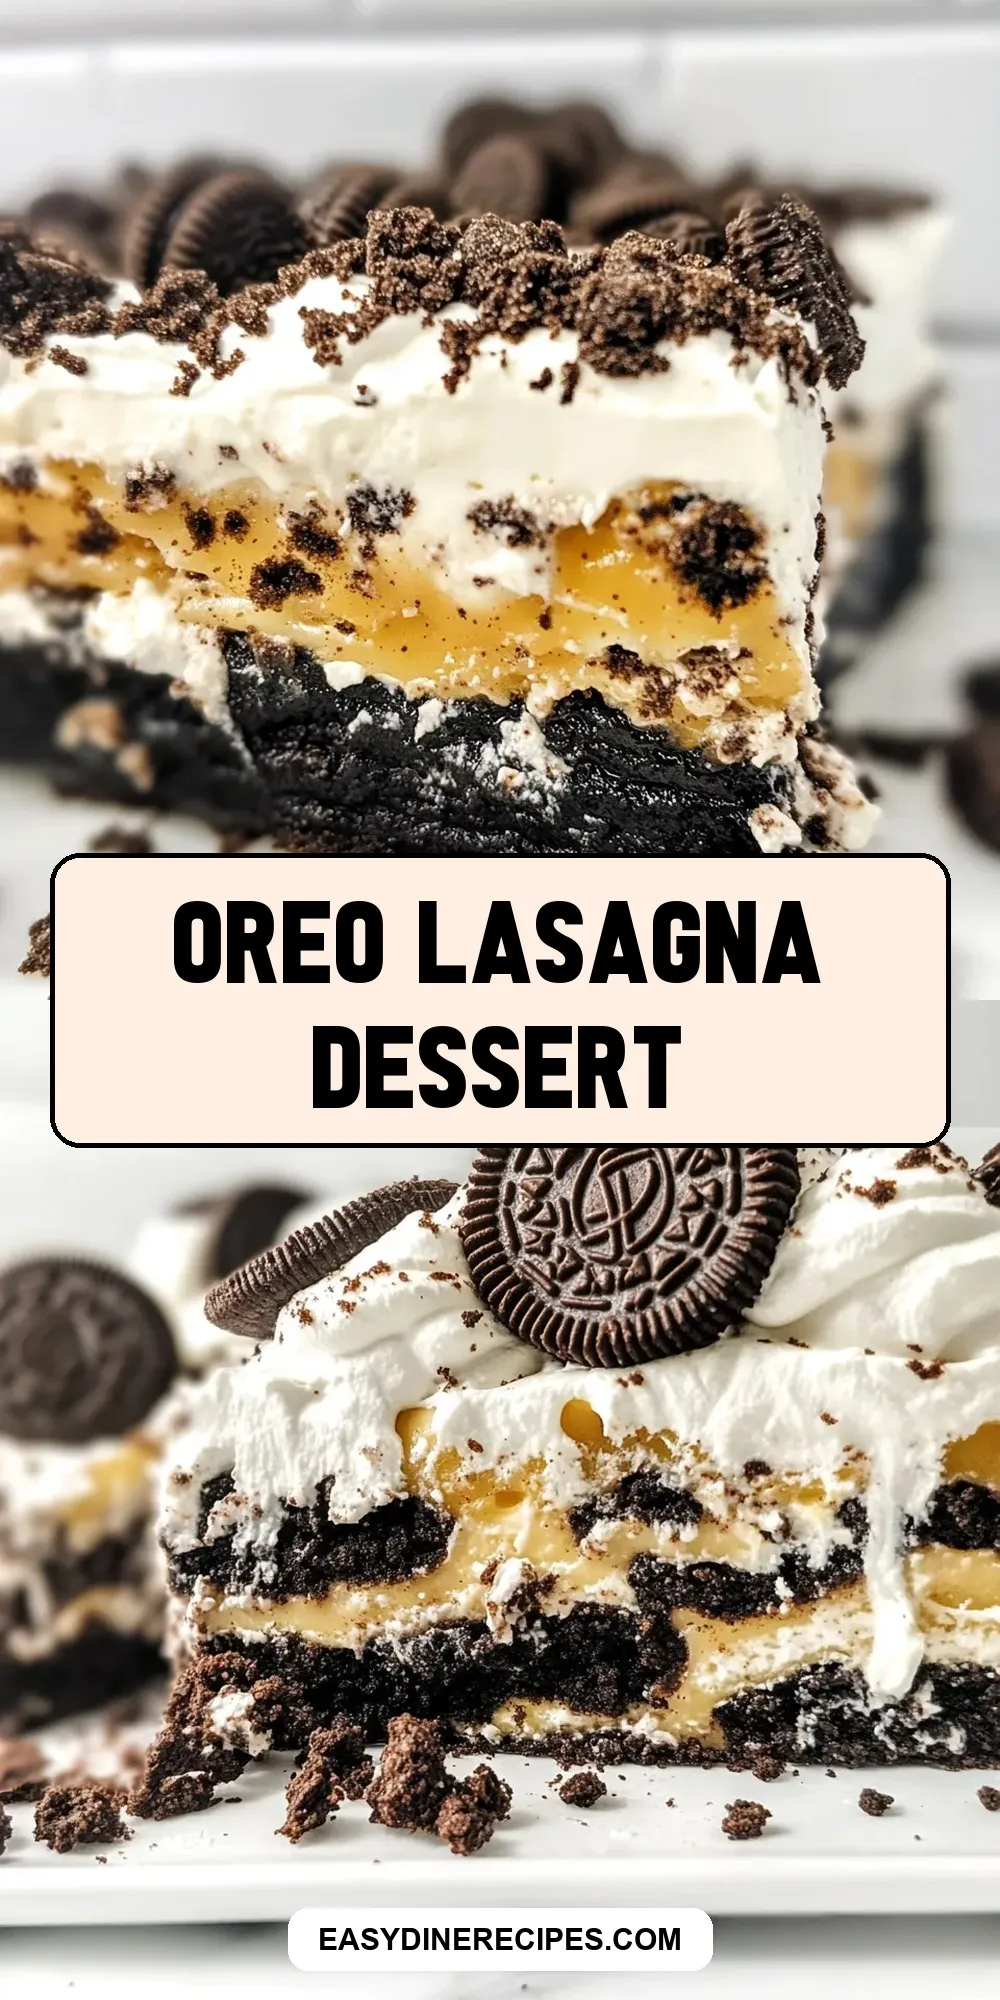
Oreo Lasagna Dessert
Equipment
- Medium Bowl
- Small Bowl
- Measuring cup
- 8x8-inch pan
- sealed plastic bag
- Rolling Pin
- Knife
Ingredients
Ingredients
- 13.4 ounce boxinstant vanilla pudding
- 2 1/2 cupsnonfat milk divided
- 36 Oreos any flavor
- 18 ounce containerwhipped topping
Instructions
Instructions
- In a medium bowl, whisk the 13.4-ounce box instant vanilla pudding mix with 2 cups of the nonfat milk until smooth. Let the pudding sit about 5 minutes to thicken.
- Pour the remaining ½ cup nonfat milk into a small bowl or measuring cup for dipping cookies.
- Dip 16 Oreos, one at a time, briefly into the reserved ½ cup milk and arrange them in a single layer on the bottom of an 8×8-inch pan.
- Spread half of the prepared pudding evenly over the Oreo layer.
- Spread half of the 18-ounce whipped topping evenly over the pudding layer.
- Dip another 16 Oreos, one at a time, in the reserved milk and arrange them in a single layer on top of the whipped topping.
- Spread the remaining pudding evenly over the second Oreo layer.
- Spread the remaining whipped topping evenly over the pudding.
- Place the last 4 Oreos in a sealed plastic bag and crush with a rolling pin (or chop finely with a knife). Sprinkle the Oreo crumbs evenly over the top of the whipped topping.
- Cover the pan tightly and refrigerate at least 4 hours before serving (overnight is best). Store leftovers in the refrigerator for up to 3 days.
Notes
• To have enough Oreos, be sure to buy a family size or party size package.
• Use any flavor pudding mix!
• Use nonfat or regular milk, but not non dairy (pudding mix won’t set up properly with non dairy milk)
• Make it sugar-free: use sugar free pudding mix, sugar free whipped topping and sugar-free Oreos.