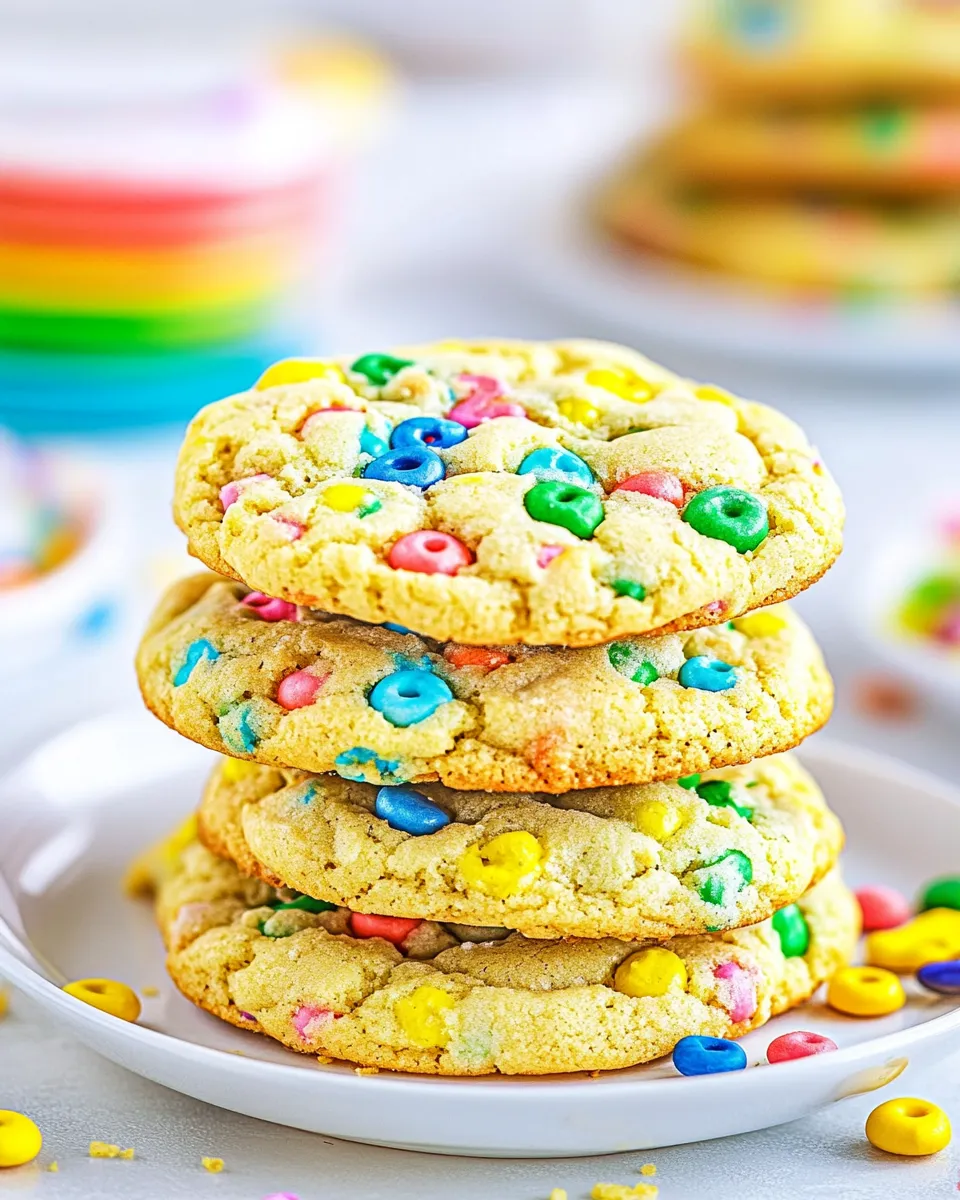
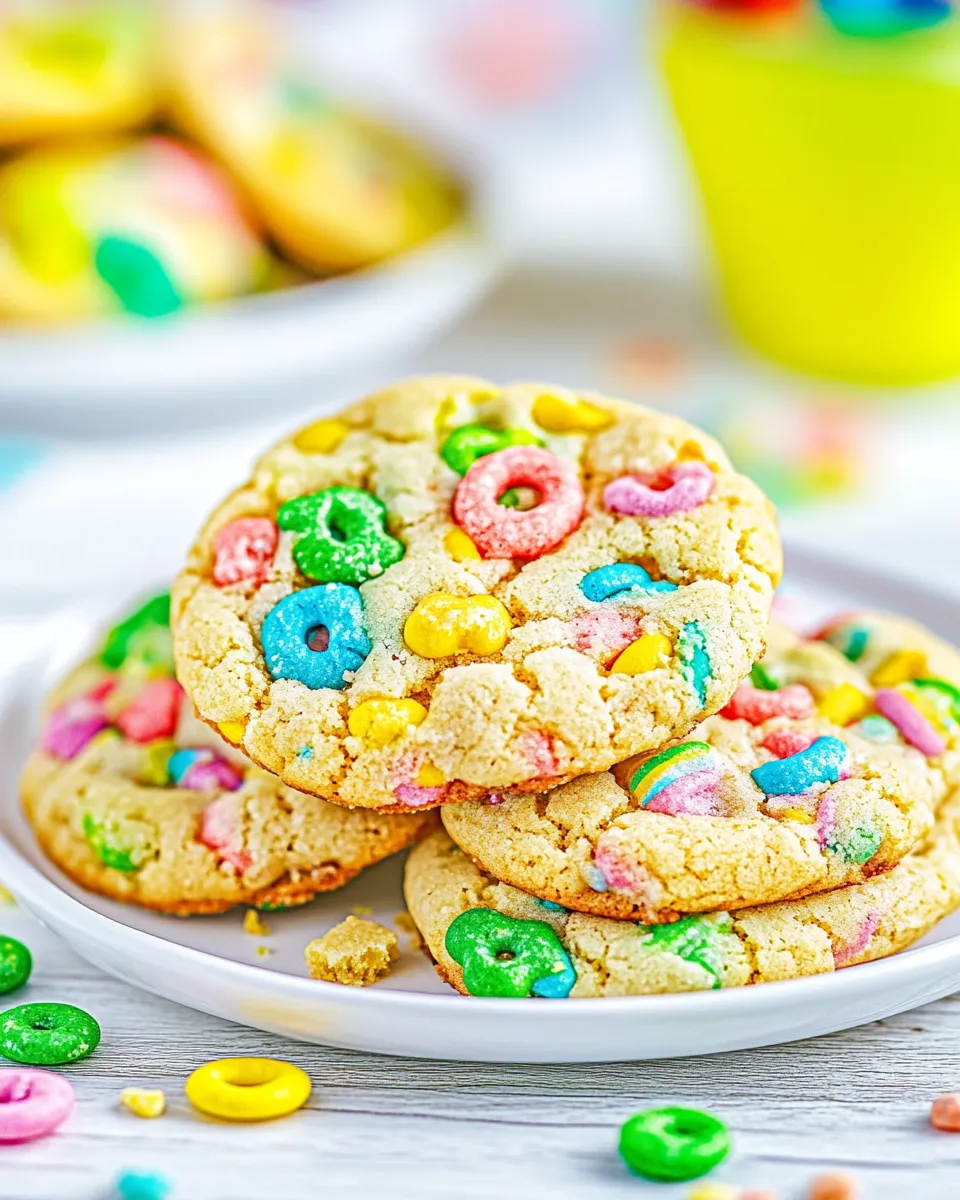
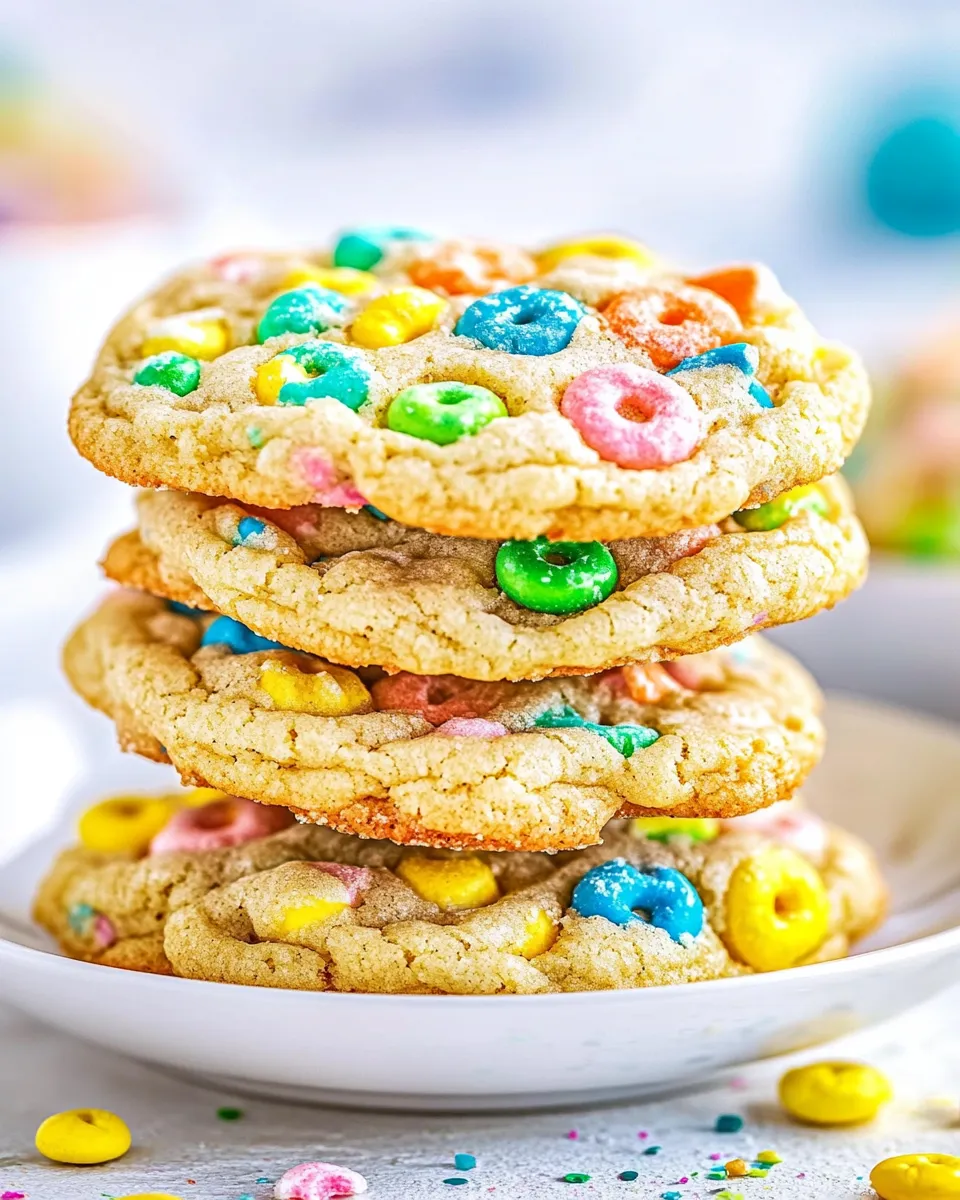
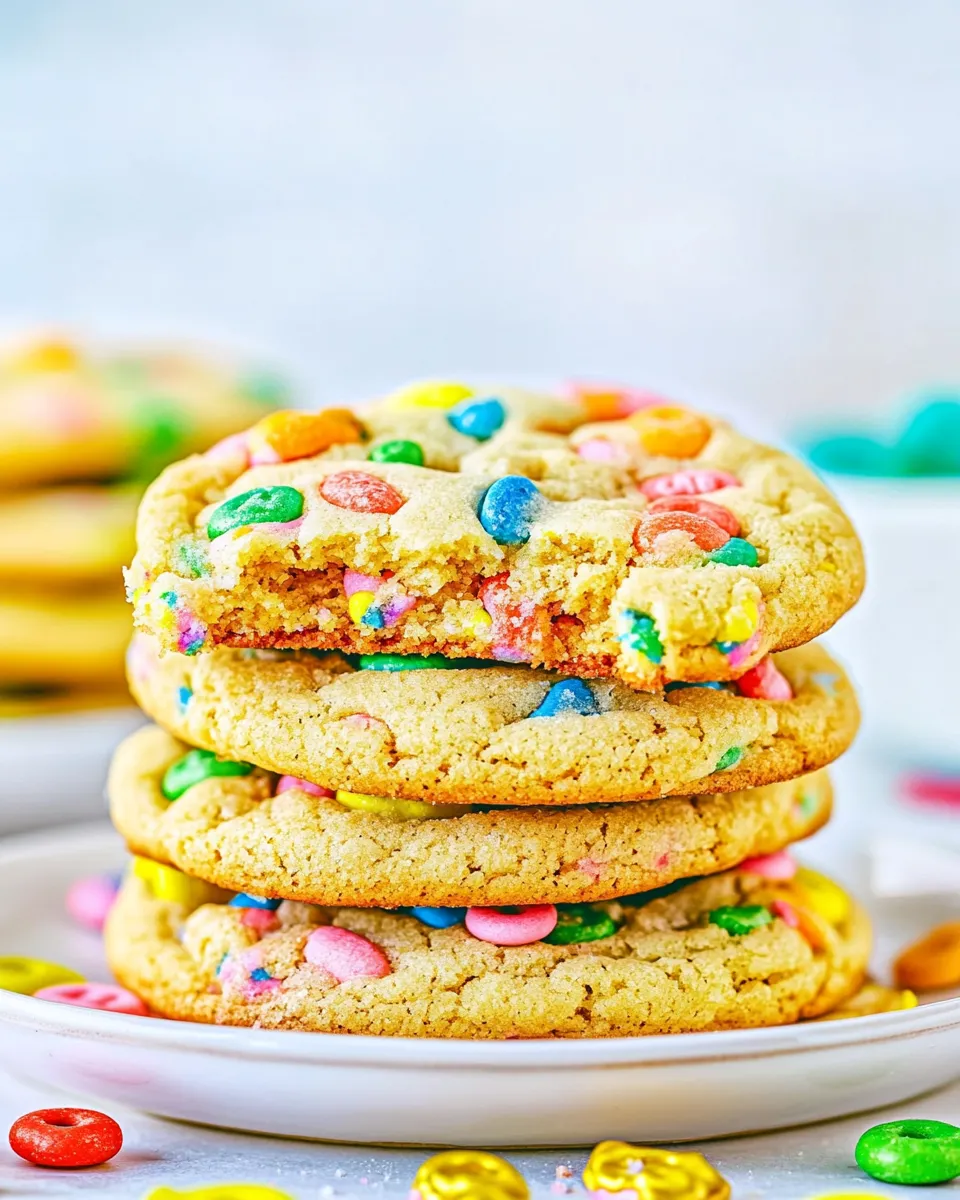
I love recipes that feel like a celebration in your hands, and these Lucky Charms Cookies do just that. They combine a classic cookie base with the playful crunch of cereal and the bright chew of marshmallow pieces. No gimmicks—just straightforward steps and a reliably delicious result.
This recipe is practical enough for weeknight baking and festive enough for a weekend project with kids. The dough is forgiving, the marshmallows keep things nostalgic, and there’s an option for green marbling if you want a holiday or themed twist.
Below you’ll find the exact ingredient list and the step-by-step method to follow. I’ll also share why this combination works, sensible substitutions, tools that make the job easier, troubleshooting advice, and quick ways to turn this into tonight’s baking plan.
Ingredient List
- 2 1/2 cups all-purpose flour — provides the structure for the cookies; spoon into the measuring cup and level for accuracy.
- 1 1/2 teaspoons salt — balances sweetness and enhances flavor.
- 1 1/4 teaspoons baking soda — helps the cookies rise and spread properly.
- 1/2 teaspoon baking powder — adds a touch more lift and a lighter crumb.
- 1 1/2 cups granulated sugar — sweetens and contributes to the cookies’ tender texture.
- 1 cup unsalted butter, room temperature — for richness and flavor; room temperature ensures smooth creaming.
- 1/4 cup shortening, optional (or substitute with 1/4 cup additional butter) — optional for a slightly softer, chewier cookie; use only if you prefer that texture.
- 2 large eggs + 1 yolk — bind the dough and add moisture; the extra yolk gives a richer, chewier bite.
- 1/3 cup Marshmallow Fluff, optional but recommended — folded in for extra marshmallow flavor and chew; it’s optional but it enhances the cookie’s character.
- 1 teaspoon vanilla extract — rounds out the sweetness and deepens flavor.
- 2/3 cup crushed Lucky Charms cereal, cereal pieces only — adds crunch and a hint of oat-cereal flavor; crush to avoid large chunks.
- 1 1/2 cups marshmallow pieces from Lucky Charms cereal, plus more for topping — the colorful marshmallow bits are the star; add extra on top for a playful finish.
- Green food coloring, optional — optional if you want the green marbled version; use sparingly for color control.
How to Prepare (Lucky Charms Cookies)
- Preheat the oven to 350°F (175°C). Line two baking sheets with parchment paper and set aside.
- In a medium bowl, whisk together 2 1/2 cups all-purpose flour, 1 1/2 teaspoons salt, 1 1/4 teaspoons baking soda, and 1/2 teaspoon baking powder. Set the dry mixture aside.
- In the bowl of a stand mixer fitted with the paddle attachment (or in a large bowl with a handheld mixer), beat 1 1/2 cups granulated sugar, 1 cup room-temperature unsalted butter, and 1/4 cup shortening (if using — or use the 1/4 cup additional butter if you chose that substitution) on medium-high speed for about 1 minute, until smooth and fluffy.
- Add 2 large eggs + 1 yolk, 1/3 cup Marshmallow Fluff (optional), and 1 teaspoon vanilla extract to the butter mixture. Beat on medium speed until fully incorporated and smooth.
- With the mixer on low, add the flour mixture and 2/3 cup crushed Lucky Charms cereal (cereal pieces only, no marshmallows). Mix until just combined; do not overmix.
- If making green marbled cookies: remove about 1/3 of the dough and place it in a separate bowl. Add a small amount of green food coloring to that portion and mix until evenly colored. If not making green marbled cookies, skip to step 7.
- To the large (plain/uncolored) portion of dough, fold in 1 1/2 cups marshmallow pieces from Lucky Charms cereal until evenly distributed. (For green marbled cookies, do not add marshmallows to the small colored portion; add marshmallows only to the plain portion.)
- Portion the dough:
- Plain cookies: use a large 3-tablespoon scoop to portion 3-tablespoon balls of dough. Lightly flatten each ball into a roughly 2-inch disc.
- Green marbled cookies: for each cookie, scoop 1 tablespoon of the green dough and 2 tablespoons of the plain dough. Place the two portions side-by-side and gently roll them together just until they stick but are not fully mixed. Slightly flatten to a roughly 2-inch disc.
- Place the dough discs on the prepared baking sheets about 3 inches apart to allow for spreading.
- Press several extra marshmallow pieces into the top of each disc for topping.
- Bake one sheet at a time on the center oven rack at 350°F for 18–20 minutes, rotating the sheet halfway through baking. Remove the cookies when the tops still look slightly glossy and set at the edges; avoid overbaking. (Optional: for flatter, chewier cookies, you can gently slam the baking sheet onto the oven rack a few times after the cookies have baked for about 10 minutes.)
- Let the cookies cool on the baking sheet for about 10 minutes, then transfer them to a wire rack to cool completely.
- Store cooled cookies in an airtight container at room temperature for up to 5 days or freeze for up to 4 months. Unbaked cookie dough balls can be frozen in an airtight container or zip-top bag for up to 4 months; when baking from frozen, add 1–2 minutes to the baking time.
Why This Recipe Works
This cookie base is a straightforward butter-and-sugar cookie with the right balance of leaveners: baking soda for spread and a bit of baking powder for lift. The extra egg yolk keeps the center tender and gives a slightly chewier bite, which works well when you add the crunchy cereal and soft marshmallows.
Using both butter and a little shortening (optional) offers control over texture: butter delivers flavor and a crisp edge, while shortening softens the crumb and keeps the cookies pillowy. Marshmallow Fluff, when used, disperses marshmallow flavor throughout the dough and helps marry the cereal pieces into the cookie rather than having them all separate.
Crushing the cereal pieces ensures they distribute evenly without creating large pockets that disrupt the cookie’s structure. Adding extra marshmallows on top gives a bright, playful look and preserves the characteristic chew of Lucky Charms marshmallows after baking.
Healthier Substitutions
If you want to lighten these up a bit without losing the spirit of the cookie, consider a few swaps. Replace half the granulated sugar with coconut sugar for a slightly deeper flavor and lower glycemic index; note that color and flavor will change. Swap up to half the all-purpose flour for a whole wheat pastry flour for more fiber and a tender result, but don’t replace it entirely unless you’re comfortable adjusting liquids and baking time.
For dairy-sensitive eaters, use a cold-pressed plant-based butter substitute that’s formulated for baking and omit shortening or use a vegan shortening. If you prefer fewer eggs, replace the extra yolk with a tablespoon of dairy-free yogurt or applesauce for moisture—expect a slightly different texture. These substitutions are practical, but they’ll change the cookies’ chew and flavor profile, so test one change at a time.
Tools of the Trade
- Stand mixer with paddle attachment or handheld mixer — for consistent creaming.
- Medium mixing bowl — for dry ingredients.
- Large bowl for dough if not using a stand mixer.
- Measuring cups and spoons — accuracy matters for baking.
- 3-tablespoon cookie scoop (or measuring spoons) — keeps cookies uniform.
- Baking sheets and parchment paper — prevents sticking and promotes even browning.
- Wire cooling rack — finishes cooling without soggy bottoms.
- Small bowl for colored dough (if making green marbled cookies).
Problems & Prevention
Cookies spreading too thin: make sure your butter isn’t overly soft or melted. Room-temperature butter should give a slight impression when pressed. If your kitchen is very warm, chill the dough for 15–20 minutes before portioning.
Dense, heavy cookies: avoid overmixing once you add the flour. Mix until just combined. Also, check that your baking soda and baking powder are fresh—old leavening doesn’t react as well.
Marshmallows melting away: the marshmallow pieces from Lucky Charms will soften and blend into the cookie surface during baking, which is expected. Pressing extra marshmallow bits on top before baking helps keep some defined pieces visible after baking.
Uneven baking: bake one sheet at a time on the center rack as instructed. Rotating the pan halfway through helps with even coloration. If cookies brown too quickly, lower the oven temperature by 10–15°F and add a minute or two to baking time.
Variations for Dietary Needs
Gluten-free: Use a 1:1 gluten-free baking flour blend that includes xanthan gum. The texture will be slightly different, and you may want to chill the dough briefly before baking to control spread.
Dairy-free/vegan: Replace the butter with a firm plant-based baking stick and use vegan shortening if desired. Substitute the eggs with a commercial egg replacer or a mixture of flaxseed “eggs” (1 tbsp ground flax + 3 tbsp water per egg, chilled) but expect a softer, cakier cookie. Skip Marshmallow Fluff (it’s typically not vegan) and use a vegan marshmallow alternative if available.
Lower-sugar: Reduce the sugar by 1/4 cup for a less sweet cookie; they will brown more slowly and may be slightly less tender. Consider adding a touch more vanilla to compensate for flavor.
Insider Tips
- Measure flour by spooning it into the cup and leveling—scooping directly compacts it and can produce dense cookies.
- If you like chewier cookies, swap the optional shortening for the full amount of butter and add the optional Marshmallow Fluff; it adds moisture and chewiness.
- When making green marbled cookies, use gel food coloring; it gives color without thinning the dough.
- For perfectly even cookies, chill portioned dough balls on the baking sheet for 10–15 minutes before baking to limit spread.
- Want flatter cookies? After about 10 minutes in the oven, gently slam the baking sheet onto the oven rack a few times as suggested—this forces an extra bit of spread for a chewier, flatter finish.
Shelf Life & Storage

Store cooled cookies in an airtight container at room temperature for up to 5 days. If you prefer them slightly softer, place a slice of bread in the container to help maintain moisture; it will work overnight.
Freeze baked cookies in a single layer on a baking sheet, then transfer to a freezer-safe bag or container for up to 4 months. Thaw at room temperature for 30–60 minutes before serving. Unbaked cookie dough balls also freeze well: freeze on a tray, then store in a zip-top bag for up to 4 months. When baking from frozen, add 1–2 minutes to the baking time.
Frequently Asked Questions
- Can I leave out the Marshmallow Fluff? Yes. It’s optional but recommended for a more pronounced marshmallow flavor and added chew. Without it the cookies still work fine.
- Do I have to crush the cereal? Crushing the cereal pieces ensures even distribution and prevents oversized crunchy pockets that could break the cookie’s integrity.
- Can I use other cereals? You can substitute another sweetened cereal, but the marshmallow pieces are a defining feature—choose a cereal that complements that texture.
- How do I store leftovers? Room temperature in an airtight container for up to 5 days, or freeze for longer storage—see storage section for details.
- Will the marshmallows brown in the oven? They’ll soften and may caramelize slightly on the edges but shouldn’t burn at the recommended baking time and temperature if you follow the instructions.
Make It Tonight
Want to bake these tonight? Preheat the oven first and set out the butter so it reaches room temperature while you measure dry ingredients. The whole process—from mixing to cooling—takes about 1 hour and 15 minutes, depending on how many sheets you bake and whether you make the green marbled version.
Quick plan:
- 0–10 minutes: Preheat oven, measure dry ingredients, soften butter.
- 10–25 minutes: Cream butter and sugar, add eggs, fluff, and vanilla, then mix in dry ingredients and crushed cereal.
- 25–35 minutes: Fold in marshmallows, portion dough, and top with extra marshmallows.
- 35–55 minutes: Bake one sheet at a time, cool on baking sheet for 10 minutes, then transfer to a wire rack.
Follow the steps as written and you’ll have a batch of fun, nostalgic cookies that are perfect for sharing or for a cozy movie night. Happy baking!
Lucky Charms Cookies
Equipment
- Stand mixer
- paddle attachment
- handheld mixer
- Mixing Bowl
- Baking Sheet
- Parchment Paper
- Wire Rack
- 3-tablespoon scoop
Ingredients
Ingredients
- 2 1/2 cupall-purpose flour
- 1 1/2 teaspoonsalt
- 1 1/4 teaspoonbaking soda
- 1/2 teaspoonbaking powder
- 1 1/2 cupsgranulated sugar
- 1 cupunsalted butter room temperature
- 1/4 cupshortening optional (or substitute with 1/4 cup additional butter)
- 2 large eggs + 1 yolk
- 1/3 cupMarshmallow Fluff optional but recommended
- 1 teaspoonvanilla extract
- 2/3 cupcrushed Lucky Charms cereal cereal pieces only
- 1 1/2 cupsmarshmallow pieces from Lucky Charms cereal plus more for topping
- Green food coloring optional
Instructions
Instructions
- Preheat the oven to 350°F (175°C). Line two baking sheets with parchment paper and set aside.
- In a medium bowl, whisk together 2 1/2 cups all-purpose flour, 1 1/2 teaspoons salt, 1 1/4 teaspoons baking soda, and 1/2 teaspoon baking powder. Set the dry mixture aside.
- In the bowl of a stand mixer fitted with the paddle attachment (or in a large bowl with a handheld mixer), beat 1 1/2 cups granulated sugar, 1 cup room-temperature unsalted butter, and 1/4 cup shortening (if using — or use the 1/4 cup additional butter if you chose that substitution) on medium-high speed for about 1 minute, until smooth and fluffy.
- Add 2 large eggs + 1 yolk, 1/3 cup Marshmallow Fluff (optional), and 1 teaspoon vanilla extract to the butter mixture. Beat on medium speed until fully incorporated and smooth.
- With the mixer on low, add the flour mixture and 2/3 cup crushed Lucky Charms cereal (cereal pieces only, no marshmallows). Mix until just combined; do not overmix.
- If making green marbled cookies: remove about 1/3 of the dough and place it in a separate bowl. Add a small amount of green food coloring to that portion and mix until evenly colored. If not making green marbled cookies, skip to step 7.
- To the large (plain/uncolored) portion of dough, fold in 1 1/2 cups marshmallow pieces from Lucky Charms cereal until evenly distributed. (For green marbled cookies, do not add marshmallows to the small colored portion; add marshmallows only to the plain portion.)
- Portion the dough: - Plain cookies: use a large 3-tablespoon scoop to portion 3-tablespoon balls of dough. Lightly flatten each ball into a roughly 2-inch disc. - Green marbled cookies: for each cookie, scoop 1 tablespoon of the green dough and 2 tablespoons of the plain dough. Place the two portions side-by-side and gently roll them together just until they stick but are not fully mixed. Slightly flatten to a roughly 2-inch disc.
- Place the dough discs on the prepared baking sheets about 3 inches apart to allow for spreading.
- Press several extra marshmallow pieces into the top of each disc for topping.
- Bake one sheet at a time on the center oven rack at 350°F for 18–20 minutes, rotating the sheet halfway through baking. Remove the cookies when the tops still look slightly glossy and set at the edges; avoid overbaking. (Optional: for flatter, chewier cookies, you can gently slam the baking sheet onto the oven rack a few times after the cookies have baked for about 10 minutes.)
- Let the cookies cool on the baking sheet for about 10 minutes, then transfer them to a wire rack to cool completely.
- Store cooled cookies in an airtight container at room temperature for up to 5 days or freeze for up to 4 months. Unbaked cookie dough balls can be frozen in an airtight container or zip-top bag for up to 4 months; when baking from frozen, add 1–2 minutes to the baking time.
Notes
*
Marshmallow Fluff
adds extra chewiness
to these Saint Patrick’s Day themed cookies. However, if you don’t have it you can omit it noting the overall chewiness of the Lucky Charm cookies will be decreased. I have only tested the cookies with Marshmallow Fluff however it’s likely that
Marshmallow Creme
is a fine substitution.
**When crushing the Lucky Charms cereal, it
doesn’t need to be a pulverized powder. Some powder with little bits of cereal is fine.
Add about one cup of dry cereal to a large ziptop bag and crush with a rolling pin or whiz it in a blender. Then measure out two-thirds of a cup of crushed cereal and add it to the dough.
Don’t start with only 2/3-cup of whole cereal and then crush it because after you crush it, it will be less than you need.