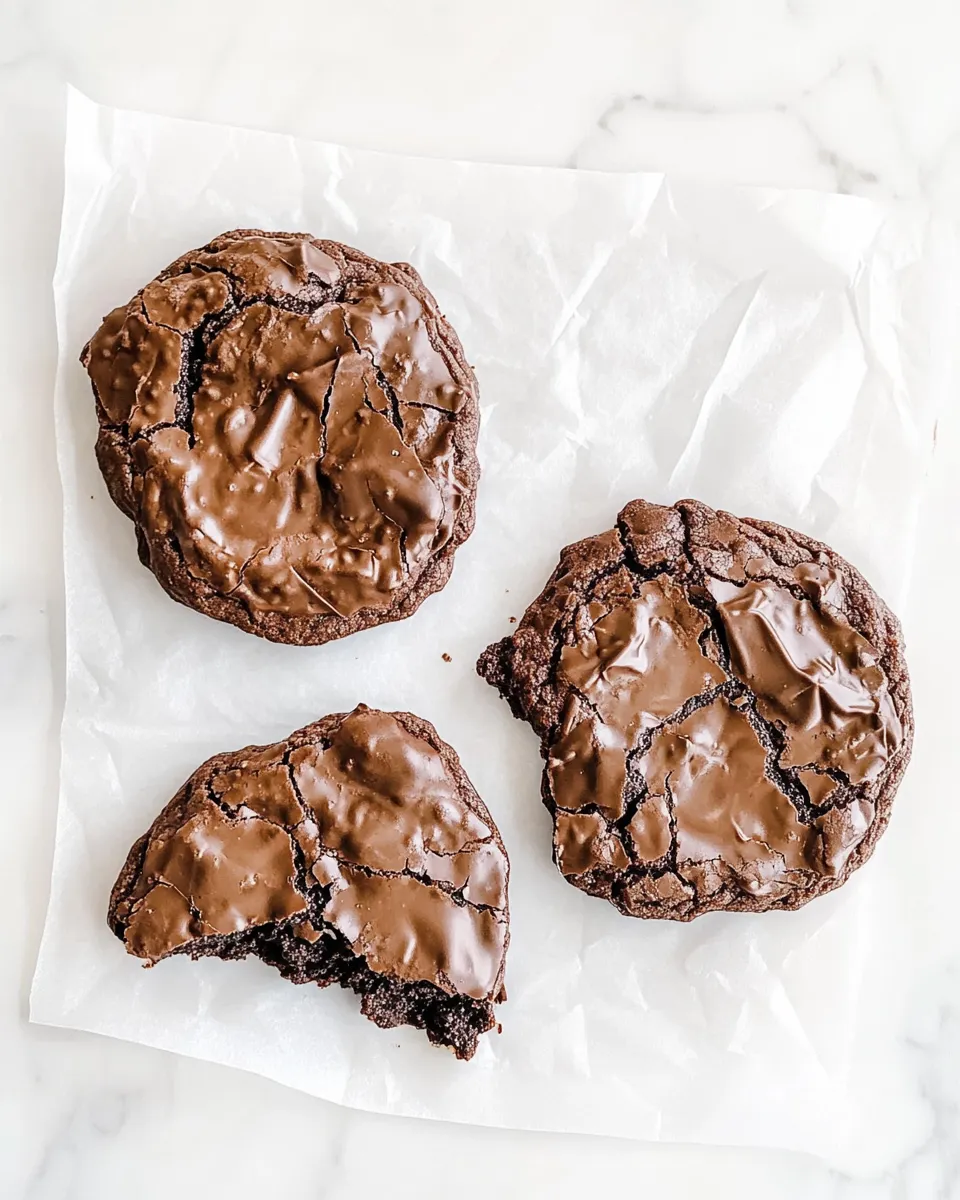
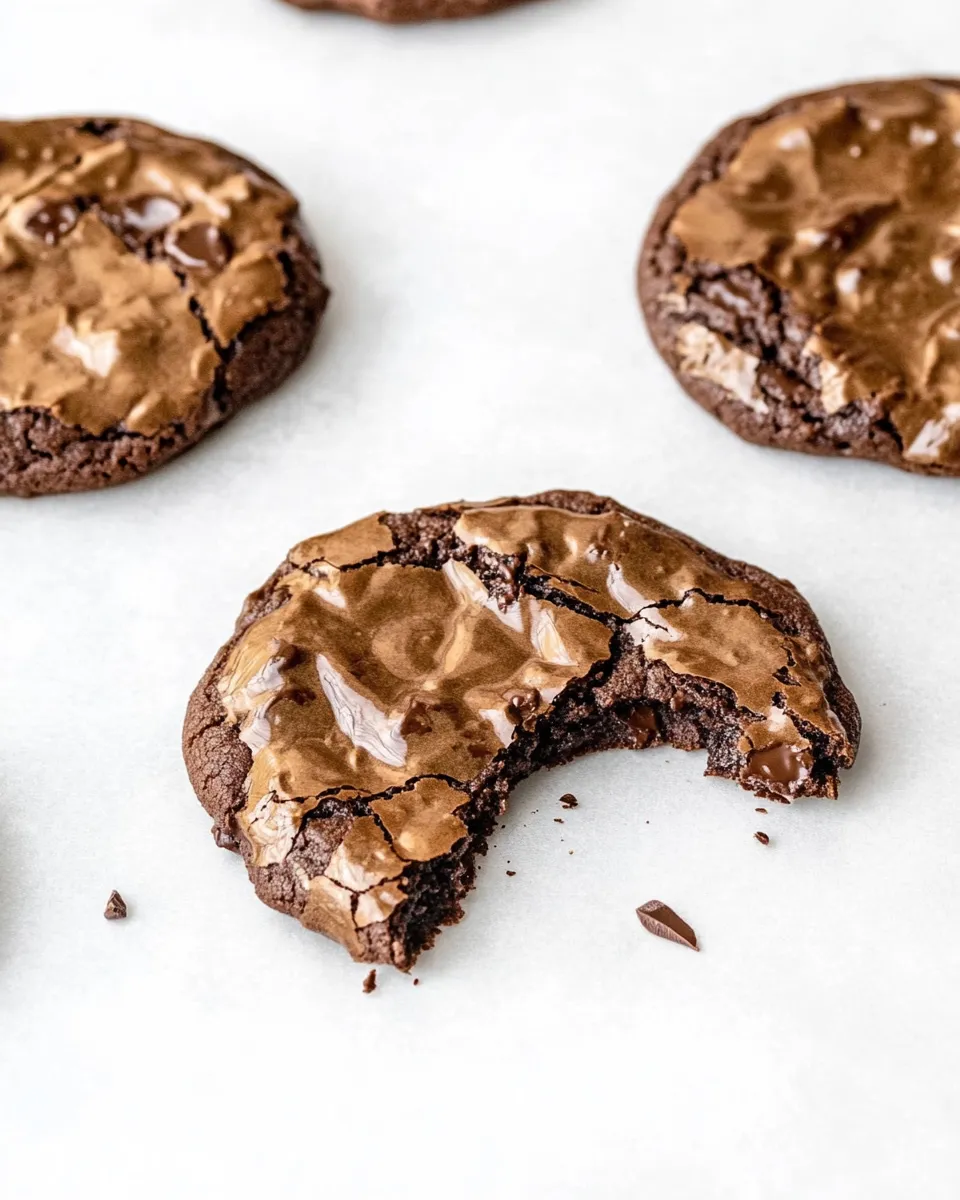
These cookies are my go-to when I want intense chocolate without any flour getting in the way. They come out chewy in the middle, a little fudgy, and with those glossy, crackled tops that make them feel deliberate and celebratory. They’re straightforward to make and forgiving, as long as you watch texture and timing.
I like to make them when I want a dessert that feels special but doesn’t demand layers of equipment or long hands-on time. A quick whisk, a fold of chocolate chips, and a short bake produce cookies that pair well with coffee or a simple scoop of ice cream. They travel well in a container, and they stay true to that chewy, gooey heart if you let them cool properly.
Below you’ll find the shopping basics, the exact step-by-step directions, swaps to consider, troubleshooting notes, and storage advice. Read the steps once through before you start so you know how the batter should look and how many egg whites you may need.
Shopping List
Ingredients
- 3 cups powdered sugar — Provides the base sweetness and structure; sift if it’s lumpy.
- 2/3 cup Dutch-process cocoa powder — Gives deep chocolate flavor and a darker color; use Dutch-process for the richest, smoothest taste.
- 1/4 teaspoon salt — Balances sweetness and heightens chocolate flavor; fine salt dissolves best.
- 2 to 4 large egg whites, at room temperature — Add moisture, lift, and fudgy structure; room temperature whites incorporate more smoothly.
- 1 tablespoon vanilla extract — Rounds the chocolate and adds warmth; pure vanilla is ideal.
- 1 1/2 cups bittersweet chocolate chips — Folded in for pockets of melted chocolate and texture contrast.
Chewy Gooey Flourless Chocolate Cookies: Step-by-Step Guide
- Preheat the oven to 350°F. Line two rimmed baking sheets with parchment paper or silicone mats; if using parchment, lightly coat it with nonstick spray.
- In a large bowl, whisk together 3 cups powdered sugar, 2/3 cup Dutch-process cocoa powder, and 1/4 teaspoon salt until uniform.
- Make sure the large egg whites are at room temperature. Add 2 large egg whites and 1 tablespoon vanilla extract to the dry ingredients and whisk (or beat) just until the mixture is moistened and comes together.
- Assess the texture: you want a thick, fudgy, brownie-like batter. If it seems too dry or too stiff to scoop, add one more egg white and mix until incorporated. If still too thick, add a fourth egg white and mix—do not exceed 4 egg whites.
- Gently fold in 1 1/2 cups bittersweet chocolate chips until evenly distributed.
- Using a spoon or a spring-release cookie scoop, portion the batter into 12 evenly spaced mounds on each prepared baking sheet (12 mounds per sheet).
- Bake in the preheated 350°F oven for about 14 minutes, until the tops are glossy and lightly cracked.
- Remove the baking sheets from the oven and immediately slide the parchment (with the cookies on it) onto wire racks.
- Let the cookies cool completely on the racks before removing them from the parchment.
- Store cooled cookies in an airtight container for up to 3 days.
What Sets This Recipe Apart
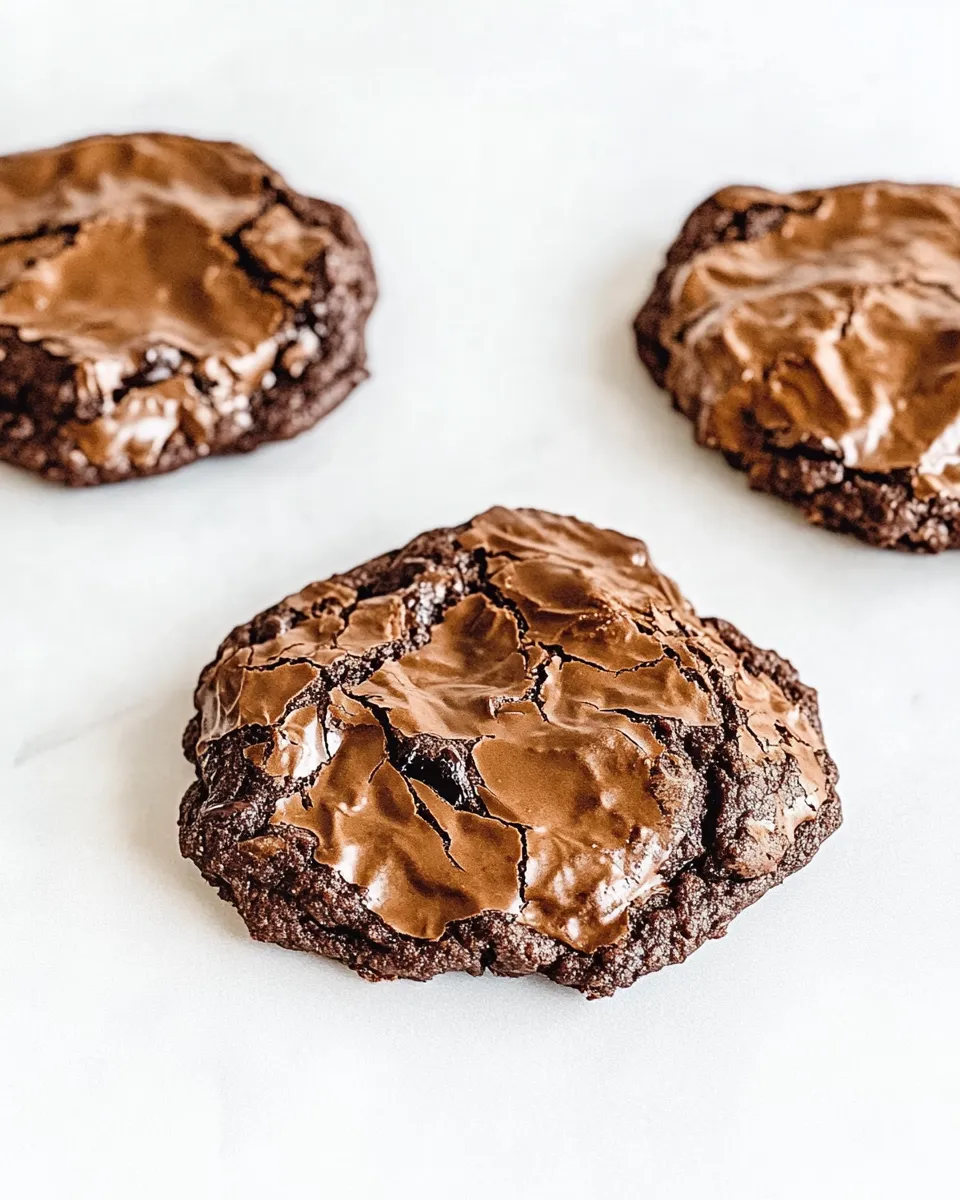
These are flourless, so the texture is inherently fudgy—closer to a brownie bite than a cakey cookie. That fudginess comes from relying on powdered sugar and egg whites for structure instead of flour. The use of Dutch-process cocoa keeps the chocolate tone deep and rounded rather than sharp.
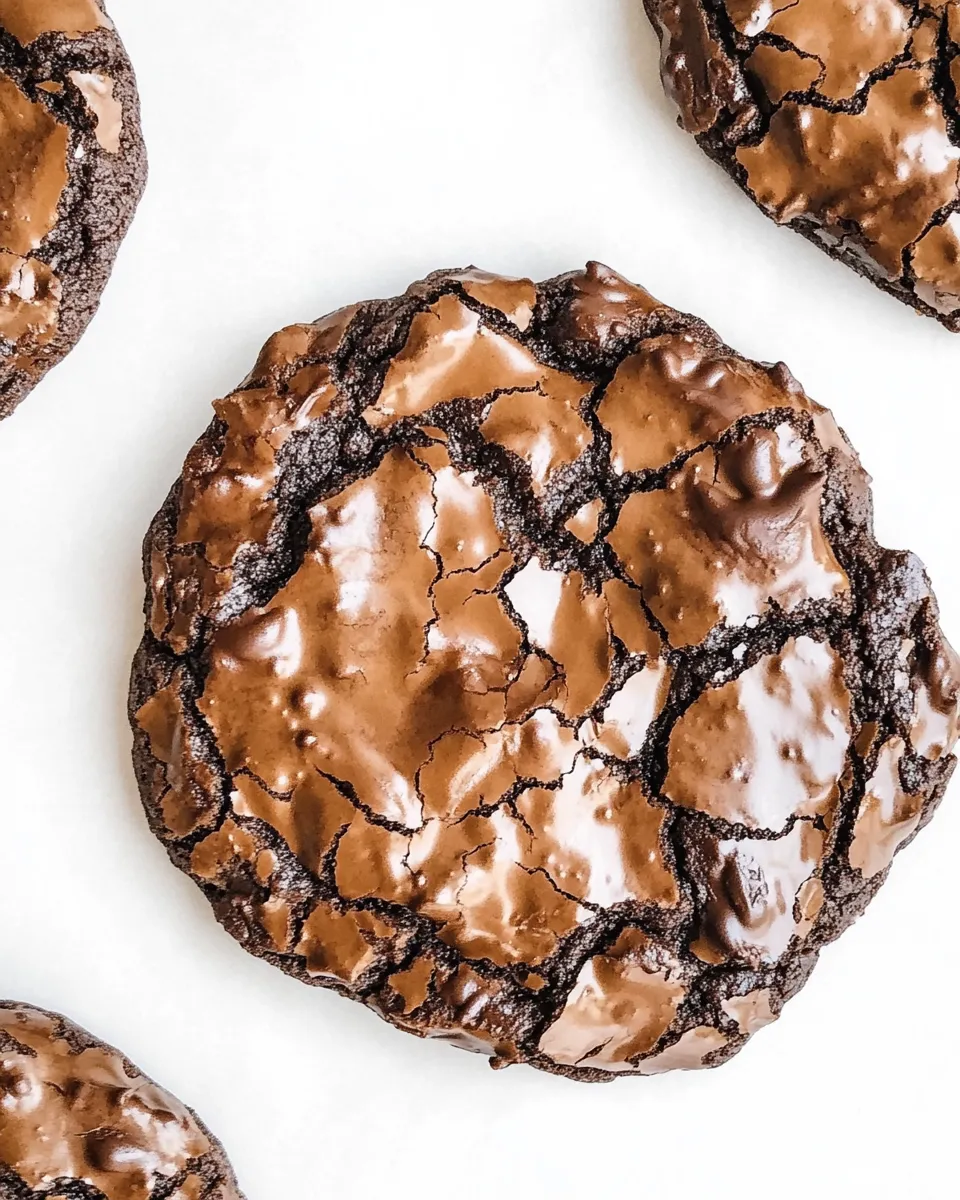
The glossy, cracked top is a hallmark of a properly made flourless chocolate cookie. It tells you the sugar and cocoa have interacted with the egg whites correctly and that the bake time hit the sweet spot. Because there’s no flour to absorb extra moisture, small changes in egg white quantity and bake time have a noticeable effect, which makes a quick texture check crucial.
Ingredient Swaps & Substitutions
- Dutch-process cocoa — You can use natural cocoa if that’s what you have, but the flavor will be brighter and slightly more acidic. Expect a different color and taste.
- Bittersweet chocolate chips — Semisweet chips are an acceptable swap if you prefer a sweeter cookie. Avoid using very soft candies that will melt too thinly during the short bake.
- Vanilla extract — If needed, you may omit it; the cookies will still be intensely chocolate-forward. Do not increase the liquid beyond 1 tablespoon without adjusting batter texture.
- Egg whites — The recipe explicitly allows 2 to 4 egg whites. Start with 2 and add one at a time only if the batter is too stiff. Do not exceed 4.
Tools of the Trade
- Oven set to 350°F (reliable oven thermometer recommended).
- Two rimmed baking sheets, identical if possible so bake times match.
- Parchment paper or silicone baking mats (parchment lightly sprayed if used).
- Large mixing bowl and a whisk (or electric mixer) for even blending.
- Spoon or spring-release cookie scoop for even mounds.
- Wire racks for cooling so the cookies finish without sweating on the sheet.
Learn from These Mistakes
- Overbaking: If the cookies are dry rather than gooey, the oven ran long. Pull them when the tops are glossy and just cracked. They continue to set slightly as they cool.
- Wrong batter texture: If you add too many egg whites, the batter becomes loose and the cookies spread too much. Add egg whites one at a time and stop when you reach a thick, fudgy consistency.
- Uneven scooping: Mounds that vary in size will bake unevenly. Use a scoop for consistent cookies and keep 12 mounds per sheet as directed.
- Removing too soon: Don’t try to lift cookies off the parchment until fully cooled. They’re fragile while warm and will break or stretch.
- Substituting without testing: Swapping cocoa types or chocolate sweetness changes balance. If you change one element, plan to adjust egg whites or bake time slightly next batch.
Seasonal Twists
These cookies are a neutral canvas. In colder months, they feel cozy with a hot mug of coffee or milk. In warmer months, they contrast nicely with something bright—think sharp citrus or berries—served on the side. For holidays, a light dusting of extra powdered sugar makes them look festive without changing texture.
Keep any additions minimal. Because the core recipe is so chocolate-forward, strong flavors can overwhelm the cookie. If you want to introduce a seasonal note, try serving rather than mixing in the ingredient.
Chef’s Notes
Work in stages: combine dry ingredients well so the cocoa distributes evenly, then add egg whites a little at a time and judge texture visually. Room-temperature whites incorporate easier and help you avoid overworking the batter.
When folding in the chocolate chips, do so gently. Overmixing will change the batter’s density and can result in cookies that lose the desired fudgy interior. Twelve mounds per sheet is deliberate—this spacing gives each cookie room to form and develop those glossy tops.
Keep-It-Fresh Plan
Follow the recipe’s storage instruction: store cooled cookies in an airtight container for up to 3 days. Keep them layered with parchment or wax paper so they don’t stick together. If you prefer them less gooey, allow them an extra day at room temperature—the center firms slightly without becoming dry.
If you want to refresh a slightly stale cookie, a few seconds in the microwave will soften the center. Do this carefully and in short bursts so you don’t make them hot and collapse the structure.
Reader Questions
- Q: My cookies spread too thin. What went wrong?
A: Most likely the batter was too loose—either too many egg whites or insufficient powdered sugar/cocoa ratio (double-check measurements). Chill the batter briefly next time if this happens, and make sure you’re using 12 mounds per sheet. - Q: How can I get deeper chocolate flavor?
A: Use high-quality Dutch-process cocoa and good bittersweet chocolate chips. The ratio in this recipe already emphasizes chocolate; upgrading those two components makes the biggest difference. - Q: Can I make the batter ahead?
A: You can mix the dry ingredients ahead, but add egg whites and chips right before baking for best texture. If you mix full batter and refrigerate, the texture may change and require an extra egg white when you return to it.
In Closing
Chewy Gooey Flourless Chocolate Cookies deliver intense chocolate, simple ingredients, and a quick path from bowl to plate. Read the recipe through once, measure carefully, and trust the texture cues: thick, fudgy batter; glossy, cracked tops; and a brief bake. You’ll get consistent results fast.
If you make them, I’d love to hear how they turned out and what small tweaks you tried. These cookies are forgiving in spirit and strict in technique—respect the steps, and you’ll be rewarded with a perfectly gooey, chocolate-forward bite every time.
Chewy Gooey Flourless Chocolate Cookies
Equipment
- Mixing Bowl
- Whisk
- Baking Sheets
- Parchment paper or silicone mats
- Cookie scoop or spoon
- Wire racks
Ingredients
Ingredients
- 3 cupspowdered sugar
- 2/3 cupDutch Process cocoa powder
- 1/4 teaspoonsalt
- 2 to 4 largeegg whites at room temperature
- 1 tablespoonvanilla extract
- 1 1/2 cupsbittersweet chocolate chips
Instructions
Instructions
- Preheat the oven to 350°F. Line two rimmed baking sheets with parchment paper or silicone mats; if using parchment, lightly coat it with nonstick spray.
- In a large bowl, whisk together 3 cups powdered sugar, 2/3 cup Dutch-process cocoa powder, and 1/4 teaspoon salt until uniform.
- Make sure the large egg whites are at room temperature. Add 2 large egg whites and 1 tablespoon vanilla extract to the dry ingredients and whisk (or beat) just until the mixture is moistened and comes together.
- Assess the texture: you want a thick, fudgy, brownie-like batter. If it seems too dry or too stiff to scoop, add one more egg white and mix until incorporated. If still too thick, add a fourth egg white and mix—do not exceed 4 egg whites.
- Gently fold in 1 1/2 cups bittersweet chocolate chips until evenly distributed.
- Using a spoon or a spring-release cookie scoop, portion the batter into 12 evenly spaced mounds on each prepared baking sheet (12 mounds per sheet).
- Bake in the preheated 350°F oven for about 14 minutes, until the tops are glossy and lightly cracked.
- Remove the baking sheets from the oven and immediately slide the parchment (with the cookies on it) onto wire racks.
- Let the cookies cool completely on the racks before removing them from the parchment.
- Store cooled cookies in an airtight container for up to 3 days.
Notes
*Let the cookies cool completely before you attempt to remove them from the mat or the parchment. They're delicate, so gently peeling the paper away from the cookie works best.