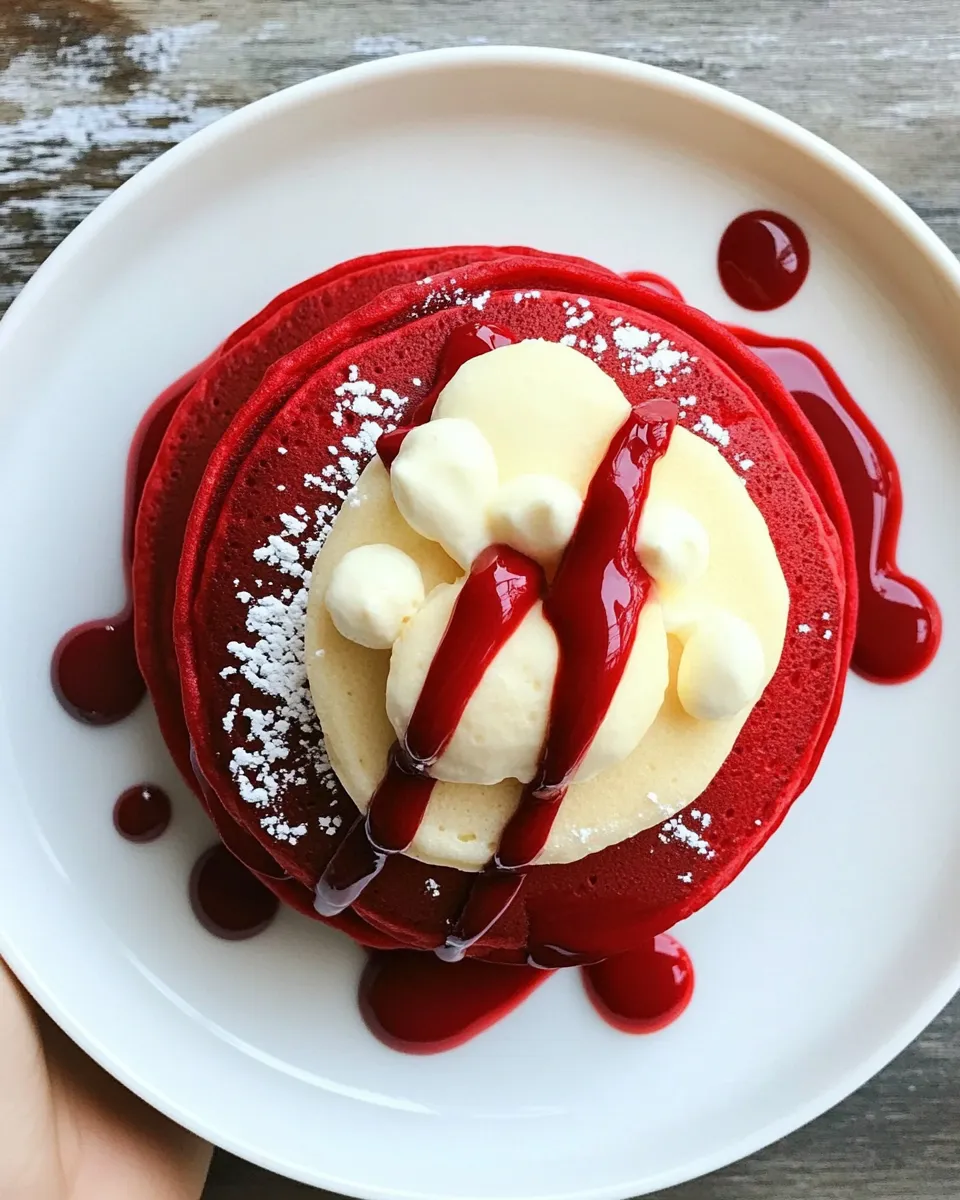
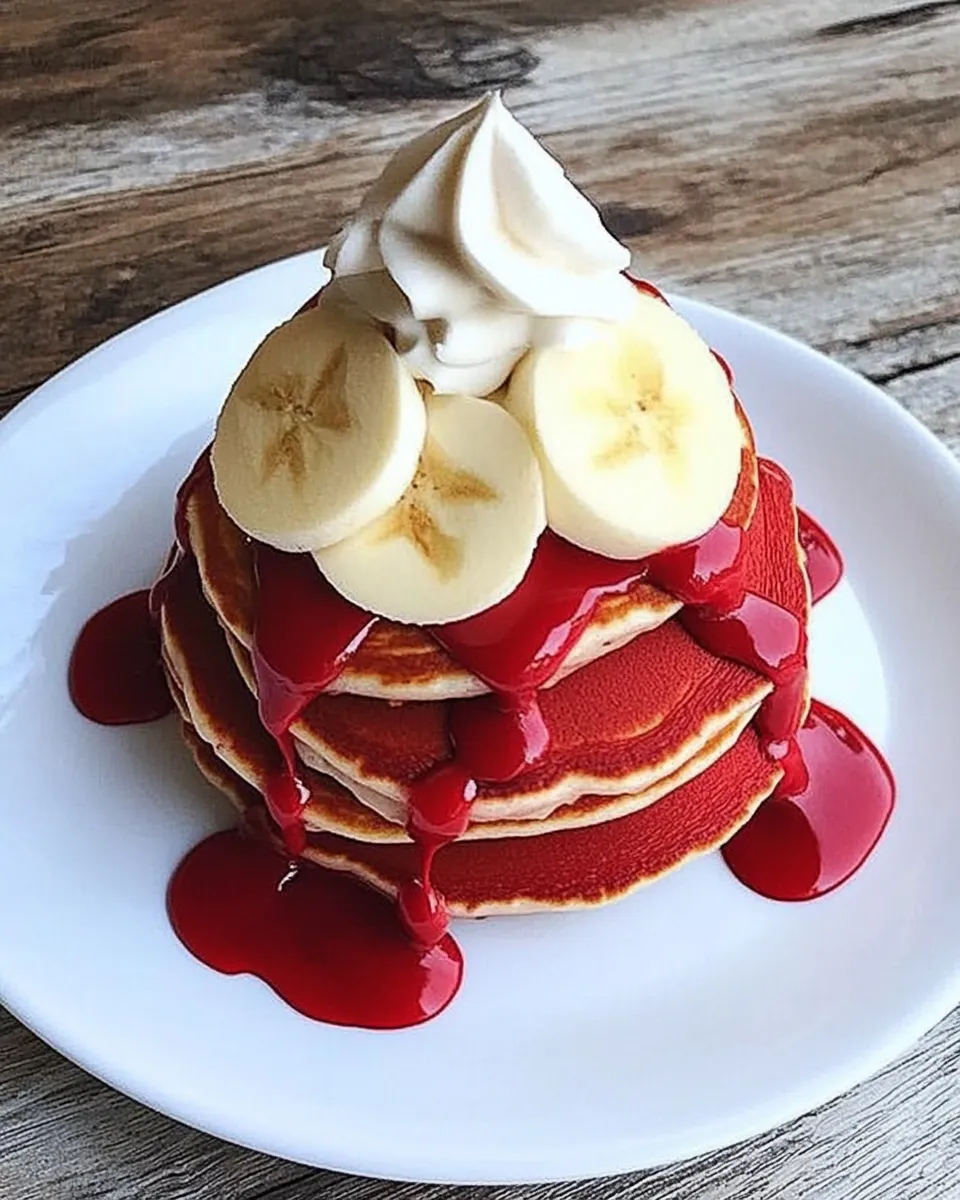
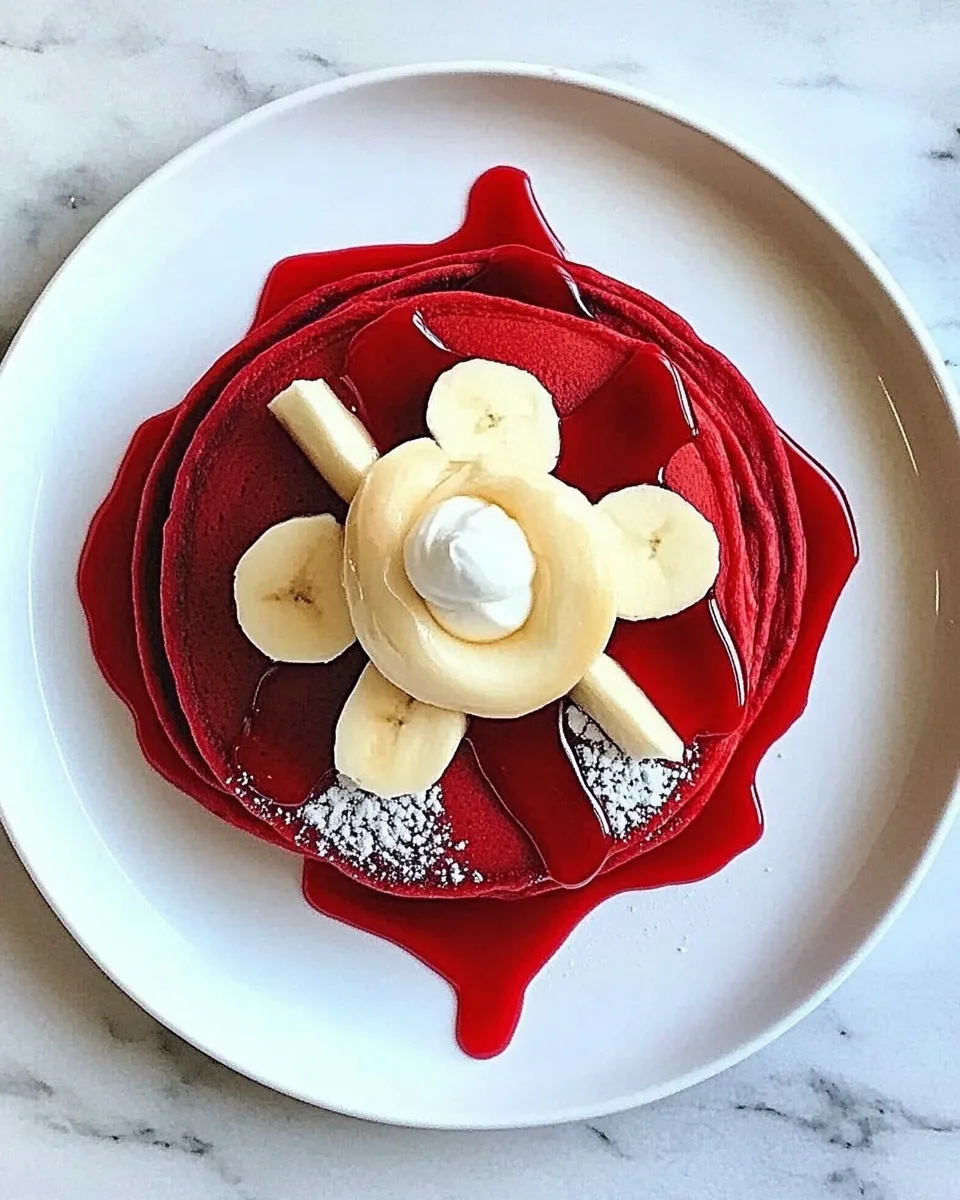
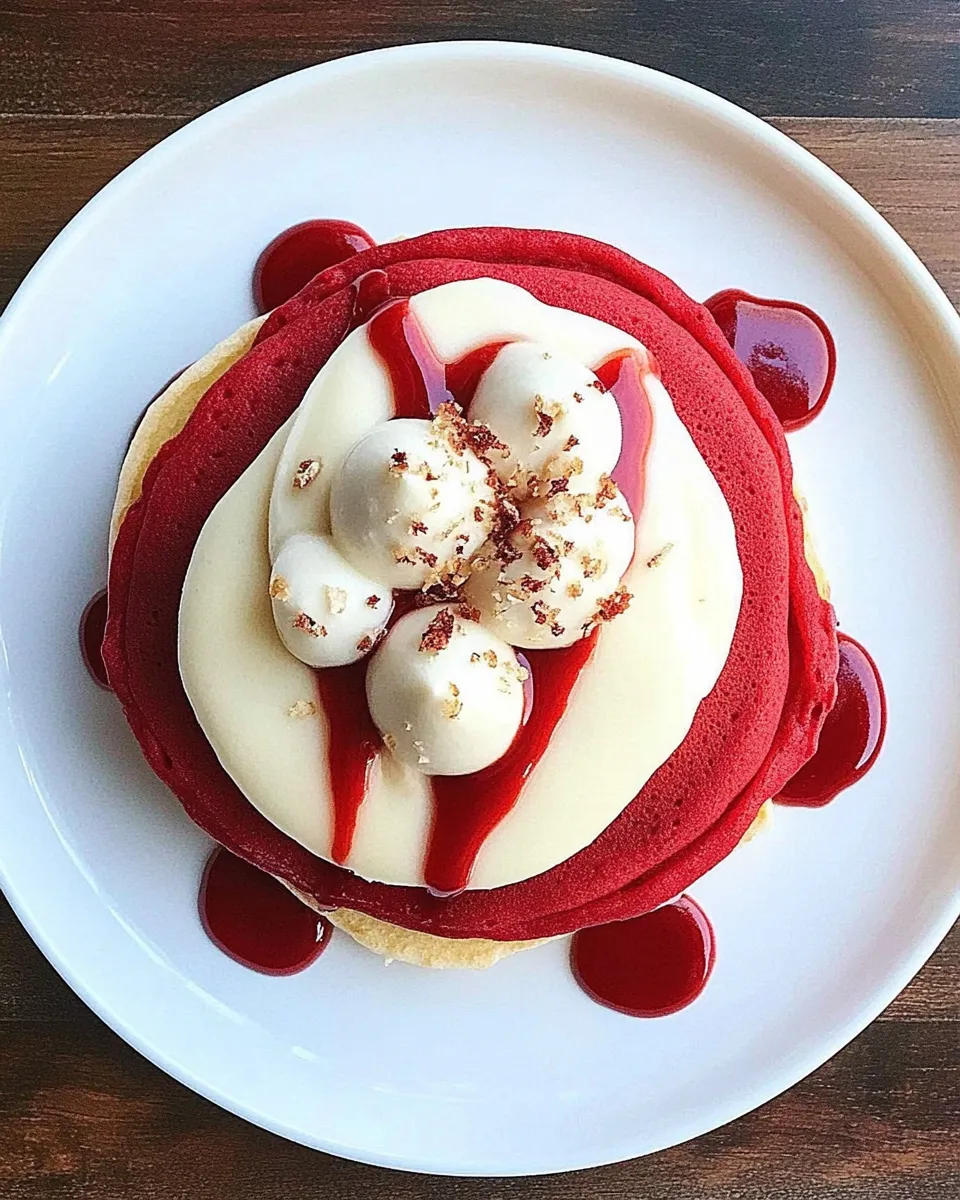
I love weekends when the kitchen smells like cocoa and warm butter. These Red Velvet Pancakes are the kind of breakfast that feels celebratory without being fussy. They come together quickly, use straightforward pantry ingredients, and the result is tender, slightly chocolatey pancakes with that classic red hue. Top them simply — cream cheese frosting, toasted chopped pecans, and warm maple syrup — and you have a stack that hits bright, tangy, and rich notes in every bite.
This recipe is practical: measure, mix, cook, and keep warm while you finish the batch. I’ll walk you through the exact steps I use at home, plus why each ingredient matters, common slip-ups, and how to keep the pancakes tender and warm until serving. No decorators required — just an ordinary skillet and a ladle.
Whether you’re feeding a sleepy Sunday crowd or making a weekday treat, these pancakes are forgiving. They tolerate a last-minute sweep of extra buttermilk if the batter tightens up, and they keep well enough that you can reheat without losing texture. Read on for the ingredient lineup, the step-by-step guide, and all the practical tips I rely on when I make them for friends and family.
The Ingredient Lineup
- 1 cup all purpose flour — the structure for the pancakes; measure by spooning into the cup and leveling for accuracy.
- 1 teaspoon baking soda — gives lift and helps create those signature bubbles on the pancake surface.
- ¼ teaspoon baking powder — adds gentle additional lift so the pancakes aren’t dense.
- ¼ teaspoon fine grain sea salt — balances sweetness and highlights the cocoa and vanilla.
- 2 tablespoons sugar — a little sweetness to round flavors and help browning.
- 2 tablespoons unsweetened cocoa powder — provides the subtle chocolate backbone for “red velvet.”
- 1 egg — binds the batter and contributes to structure and color.
- ¾ cup buttermilk, plus more for thinning (if needed) — keeps the pancakes tender and adds a mild tang that complements the cream cheese topping.
- ¼ cup sour cream — adds richness and extra tenderness to the crumb.
- 1 tablespoon red food coloring — delivers the vivid red color; gel or liquid both work, but follow the amount listed.
- 1 teaspoon vanilla extract — lifts and harmonizes the cocoa and sugar.
- 3 tablespoons butter, melted — folded into the batter for flavor and a silkier texture.
- Additional butter for the skillet — for coating the pan; wipe excess to avoid greasy pancakes.
- Cream cheese frosting, for topping (recipe below) — the classic, tangy finishing touch that pairs with maple syrup.
- Toasted chopped pecans, for topping — for crunch and toasty flavor contrast.
- Warm maple syrup, for topping — for sweetness and warmth; pour warm over the stack just before serving.
Red Velvet Pancakes: Step-by-Step Guide
- Preheat the oven to 200°F and place a baking sheet or oven-safe dish inside to keep finished pancakes warm.
- In a large bowl, whisk together 1 cup all purpose flour, 1 teaspoon baking soda, 1/4 teaspoon baking powder, 1/4 teaspoon fine grain sea salt, 2 tablespoons sugar, and 2 tablespoons unsweetened cocoa powder until combined and aerated.
- In a separate large bowl, whisk together 1 egg, 3/4 cup buttermilk, 1/4 cup sour cream, 1 tablespoon red food coloring, and 1 teaspoon vanilla extract until smooth.
- Pour the dry ingredients into the wet ingredients and whisk gently until just incorporated. Do not overmix; a few small lumps are fine.
- Melt 3 tablespoons butter. Slowly stream the melted butter into the batter while whisking until combined.
- If the batter is too thick to pour, stir in additional buttermilk, a tablespoon at a time, until the batter has a pourable consistency.
- Heat a large nonstick skillet over medium heat. Add a small dab of additional butter to the skillet and swirl to coat the surface; use a paper towel to wipe away any excess butter so the surface is evenly coated but not greasy.
- Ladle about 1/4 cup batter onto the skillet for each pancake. Pour the batter from the ladle onto one spot and allow it to spread into a round; do not move the ladle once you start pouring.
- Cook until bubbles form on the top of the pancake and the edges look set, then flip and cook the second side for about 1 to 2 minutes more, until cooked through and lightly browned.
- Transfer finished pancakes to the preheated oven to keep warm while you cook remaining batches.
- To serve, top pancakes with cream cheese frosting, toasted chopped pecans, and warm maple syrup.
Why Red Velvet Pancakes is Worth Your Time
These pancakes marry a few simple things in a very satisfying way: a touch of cocoa, bright tang from buttermilk and sour cream, and the smooth richness of melted butter. The red color turns an otherwise ordinary breakfast into something that feels intentional and slightly indulgent. They’re quick to make but look like you spent more time than you did.
They’re also flexible. The batter tolerates a splash more buttermilk if you need to thin it out, and keeping finished pancakes in a low oven means you can cook ahead without losing heat or texture. The toppings — cream cheese frosting, toasted pecans, and warm maple syrup — provide contrast: creamy, crunchy, and sweet-warm. That balance makes each stack feel complete without needing any complicated garnish.
Substitutions by Category
When I write substitutions, I stick close to what the recipe already uses so the final texture and flavor stay reliable.
- Flour & leavening — stick with the 1 cup all purpose flour, 1 teaspoon baking soda, and 1/4 teaspoon baking powder as written. These proportions create the right balance of structure and lift.
- Dairy & acidity — this recipe relies on buttermilk (3/4 cup) and 1/4 cup sour cream for tenderness and tang. If you need a thinner batter, add more of the listed buttermilk a tablespoon at a time. Using the listed dairy ingredients ensures the tang that complements the cream cheese frosting.
- Fat — the 3 tablespoons melted butter in the batter and the additional butter for the skillet create flavor and help with browning. Use the butter amounts as written for best results.
- Sweetener & cocoa — keep the 2 tablespoons sugar and 2 tablespoons unsweetened cocoa powder. Adjusting sugar down slightly will make the pancakes less sweet but will also affect browning and balance with the frosting.
- Color — the recipe lists 1 tablespoon red food coloring. If you prefer a subtler hue, reduce the amount slightly, but the overall flavor won’t change.
Before You Start: Equipment
- Two large bowls — one for dry ingredients, one for wet. Keeps mixing clean and avoids overworking the batter.
- Whisk — for aerating dry ingredients and gently combining batter.
- Ladle or 1/4-cup measuring cup — for consistent pancake size so batches finish evenly.
- Large nonstick skillet — heats evenly and needs less butter for the surface.
- Spatula — a thin, flexible spatula makes flipping easier.
- Baking sheet or oven-safe dish — set in a 200°F oven to keep finished pancakes warm while you finish the rest.
- Paper towels — to wipe excess butter from the skillet so pancakes aren’t greasy.
Don’t Do This
- Don’t overmix the batter. Stir until the dry ingredients are just incorporated. Overmixing develops gluten and yields tougher pancakes.
- Don’t pour cold batter into a cold skillet. Heat the skillet first and then add a small dab of butter. A properly heated pan gives a nice rise and even browning.
- Don’t skip the oven. If you make multiple batches, transfer finished pancakes to the low oven to keep them warm and prevent them from getting soggy or rubbery at room temperature.
- Don’t leave excess butter on the pan. Wipe the surface with a paper towel so the pan is coated but not greasy; excess fat makes edges crisp too quickly and prevents even browning.
Make It Year-Round
These pancakes work for a cozy winter brunch or a bright summertime morning. The components — flour, cocoa, buttermilk, sour cream — are pantry staples. For holiday mornings, the red color pairs well with citrus garnishes or a scattering of toasted nuts. In warmer months, serve the stack with room-temperature maple syrup and a light dusting of chopped toasted pecans for texture. The core batter doesn’t change; only the accompaniments shift with the season.
Flavor Logic
Understanding what each ingredient does will help when you make adjustments. The all purpose flour provides structure; the baking soda and baking powder create lift and a slightly airy crumb. Cocoa powder contributes the chocolate undertone so the red food coloring feels purposeful, not just decorative. Buttermilk and sour cream add acidity and tenderness; they react with the baking soda to boost rise and give a soft crumb. The egg binds and enriches. Melted butter adds flavor and a silkier mouthfeel, while a small amount of sugar helps with browning and balances the cocoa.
Refrigerate, Freeze, Reheat
These pancakes hold up well if you need to save some for later.
- Refrigerate — cool completely, layer between sheets of parchment, and store in an airtight container for up to 3 days. Reheat gently in a low oven or in a nonstick skillet over medium-low heat until warmed through.
- Freeze — flash-freeze individual cooled pancakes on a baking sheet, then transfer to a freezer bag for up to 1 month. Reheat from frozen in a 300°F oven for 8–12 minutes or until warmed through.
- Reheat — avoid microwaving for long periods; it can make pancakes gummy. Warm in a skillet with a tiny pat of butter or in a low oven to restore texture. Add warm maple syrup just before serving.
Common Questions
My batter looks thick — what do I do? The recipe notes that if the batter is too thick to pour, stir in additional buttermilk, a tablespoon at a time, until it reaches a pourable consistency. Thick batter makes dense pancakes; aim for a batter that pours slowly but spreads slightly.
Why are my pancakes turning out flat? Check your leavening measurements and the freshness of the baking soda. Also, don’t overmix; that can deflate the air you’ve incorporated. Cooking temperature matters: medium heat gives lift and cooked-through centers without burning the outside.
Can I skip the cream cheese frosting? Yes. The pancakes are tasty on their own with just warm maple syrup and toasted pecans. The cream cheese frosting adds the classic tangy element, but it’s optional.
Can I make the batter ahead? You can mix the batter up to an hour ahead and keep it chilled, but for best lift, cook within an hour of mixing. If the batter tightens while resting, thin with a tablespoon of buttermilk at a time until it pours.
In Closing
Red Velvet Pancakes are a small, achievable treat that feels special without fuss. Follow the simple, ordered steps above, keep a careful eye on batter consistency, and use the oven to hold cooked batches warm. The result is tender, slightly chocolatey pancakes that shine with a smear of cream cheese frosting, the crunch of toasted pecans, and a ribbon of warm maple syrup. Make them for a quiet morning or for guests — they’ll disappear fast.
If you try this recipe, I’d love to hear how you top them and whether you thinned your batter with extra buttermilk or kept it thick and fluffy. Happy cooking — and enjoy the stack.
Red Velvet Pancakes
Equipment
- Oven
- Baking sheet or oven-safe dish
- Large Bowl
- Whisk
- nonstick skillet
- Paper Towel
- Ladle
Ingredients
Ingredients
- 1 cupall purpose flour
- 1 teaspoonbaking soda
- 1/4 teaspoonbaking powder
- 1/4 teaspoonfine grain sea salt
- 2 tablespoonssugar
- 2 tablespoonsunsweetened cocoa powder
- 1 egg
- 3/4 cupbuttermilk plus more for thinning (if needed)
- 1/4 cupsour cream
- 1 tablespoonred food coloring
- 1 teaspoonvanilla extract
- 3 tablespoonsbutter melted
- Additional butter for the skillet
- Cream cheese frosting for topping (recipe below)
- Toasted chopped pecans for topping
- Warm maple syrup for topping
Instructions
Instructions
- Preheat the oven to 200°F and place a baking sheet or oven-safe dish inside to keep finished pancakes warm.
- In a large bowl, whisk together 1 cup all purpose flour, 1 teaspoon baking soda, 1/4 teaspoon baking powder, 1/4 teaspoon fine grain sea salt, 2 tablespoons sugar, and 2 tablespoons unsweetened cocoa powder until combined and aerated.
- In a separate large bowl, whisk together 1 egg, 3/4 cup buttermilk, 1/4 cup sour cream, 1 tablespoon red food coloring, and 1 teaspoon vanilla extract until smooth.
- Pour the dry ingredients into the wet ingredients and whisk gently until just incorporated. Do not overmix; a few small lumps are fine.
- Melt 3 tablespoons butter. Slowly stream the melted butter into the batter while whisking until combined.
- If the batter is too thick to pour, stir in additional buttermilk, a tablespoon at a time, until the batter has a pourable consistency.
- Heat a large nonstick skillet over medium heat. Add a small dab of additional butter to the skillet and swirl to coat the surface; use a paper towel to wipe away any excess butter so the surface is evenly coated but not greasy.
- Ladle about 1/4 cup batter onto the skillet for each pancake. Pour the batter from the ladle onto one spot and allow it to spread into a round; do not move the ladle once you start pouring.
- Cook until bubbles form on the top of the pancake and the edges look set, then flip and cook the second side for about 1 to 2 minutes more, until cooked through and lightly browned.
- Transfer finished pancakes to the preheated oven to keep warm while you cook remaining batches.
- To serve, top pancakes with cream cheese frosting, toasted chopped pecans, and warm maple syrup.
Notes
To make cream cheese frosting, beat 5 ounces room temperature, unsalted butter on medium in a stand mixer fitted with the paddle attachment. Once the butter is smooth, beat in 7 ounces room temperature cream cheese, continuing to mix until smooth. Add 2 cups sifted confectioners' sugar and ¾ teaspoon vanilla extract and mix on low for a few moments. Increase the speed to medium and beat until smooth. To decorate your pancakes, simply spoon some of the frosting into a ziplock bag. Press the frosting to the bottom of the bag then seal the top, forcing out any air in the bag as your seal. Snip one of the bottom corners off the bag to form a piping tip. You can pipe out a star (like I did above) with a larger tip or snip a smaller opening for more precise decorations.