I started straining yogurt because I wanted a thicker, creamier base for dips and breakfasts without buying a branded product. It’s one of those tiny kitchen rituals that rewards patience. You only need a few tools, a good yogurt, and a bit of fridge time. The payoff is real: tangier flavor, silkier texture, and far more control over what you eat.
This guide walks you through the exact, no-nonsense method I use at home. I’ll cover what to expect at different times, which cloths save you yogurt, and the simple swaps that keep the technique accessible whether you live in a tiny apartment or a house with a full pantry.
Follow the steps below exactly as written for consistent results. I test recipes repeatedly, and small details (cloth thickness, time in the fridge, whether you wrap with plastic) change the outcome more than you’d expect. Read through the notes and quick Qs after the directions — they’ll save you time and avoid common mistakes.
Ingredient Notes

Ingredients
- 2 cups plain yogurt — any fat content, more or less as needed; this is the only base ingredient and determines final yield and creaminess.
- 1/8 teaspoon salt — optional, or to taste; used only if you’re making labneh (yogurt cheese) and want a subtle seasoning.
Directions: Strain Yogurt
- Assemble tools: a large bowl, a colander that fits over the bowl, cheesecloth (or muslin/thin dish towel) or coffee filter, twine or string, and plastic wrap (optional). Chill the bowl and colander if you prefer cooler handling.
- Place the colander in the bowl so drained liquid will collect in the bowl.
- If using cheesecloth: cut an 18-inch square (or rectangle) and fold it to create 6–8 layers, then line the colander with the layered cheesecloth. If using muslin or a thin dish towel, line the colander with a single layer of the fabric. Do not use a thick kitchen towel (it will absorb yogurt). If using coffee filters, line the base of the colander with one or more filters so the bottom is covered.
- Spoon 2 cups plain yogurt into the center of the lined colander or onto the center of the lined cloth/filter.
- Gather the edges of the cheesecloth (or cloth/filter) up around the yogurt to form a bundle. Tie the top loosely with twine or string so the bundle is closed but not squeezed. Do not press or squeeze the bundle.
- If you used a single thin filter or very thin fabric, you may cover the exposed yogurt surface with plastic wrap (plastic touching the yogurt) before tying to reduce splatter and help even draining. (Do not add plastic if your bundle is already well wrapped in multiple layers of cheesecloth.)
- Place the whole setup (bowl with colander and bundled yogurt) in the refrigerator. Let the yogurt drain into the bowl below without squeezing.
- Check the drained liquid after 1 hour. It should be thin and slightly milky. If the liquid contains a lot of white clumps (yogurt solids), your cloth is too thin and you are losing yogurt; add more layers of cheesecloth or another filter and continue draining.
- Continue to drain until you reach the desired thickness: for Greek-style yogurt, strain about 10–12 hours up to 48 hours, checking the consistency every 12 hours; for labneh (yogurt cheese), strain about 48–72 hours. The longer you strain, the thicker the result.
- When the yogurt has reached your preferred thickness, remove the bundle from the colander, untie and unwrap it, and transfer the strained yogurt to a container.
- If making labneh, stir in 1/8 teaspoon salt (optional, or to taste) into the strained yogurt. Cover and refrigerate the finished yogurt or labneh until ready to use.
Top Reasons to Make Strain Yogurt

- Control of texture: you decide whether you want a creamy Greek-style spoonable yogurt or a dense, spreadable labneh.
- Fewer additives: homemade strained yogurt is just yogurt — no stabilizers or thickeners.
- Cost-effective: starting with plain yogurt and straining it is cheaper than buying premium strained yogurts or specialty labneh jars.
- Flavor concentration: straining intensifies the tang and overall flavor. It makes a small amount taste more luxurious.
- Versatility: use strained yogurt as a dip base, spread, thickener for sauces, or a breakfast bowl topping.
Budget & Availability Swaps
- If you don’t have cheesecloth: use a clean muslin or a very thin dish towel, but be careful—the guide warns against thick towels because they absorb yogurt. Fold a thin cloth once and test with a small amount first.
- No colander? Nest a sieve over a bowl the same way, or use a large mug inside a bowl to prop up the cloth. Just make sure drained whey has space to collect.
- No twine? Use a rubber band or a clean kitchen string. Tie loosely so you don’t squeeze the yogurt.
- Short on yogurt: the method scales. If you have less than 2 cups, reduce drain time slightly and check earlier; if you have more, use a larger cloth and bowl to avoid overflow.
- Out of fridge space: if you must keep the setup at room temperature for a short time, limit the period to very cool hours and aim to refrigerate quickly; refrigeration is the recommended method to limit bacterial growth and keep flavor clean.
Equipment Breakdown
- Large bowl — catches whey. Use something deep enough that the colander doesn’t sit in liquid.
- Colander or sieve — supports the cloth and yogurt. Any perforated vessel that allows whey to drain will work.
- Cheesecloth / muslin / thin dish towel / coffee filter — the filter determines how much yogurt you lose with the whey. Thicker, layered cheesecloth minimizes yogurt loss.
- Twine or string — secures the bundle. Tie loosely; you want a closed bag, not a press.
- Plastic wrap (optional) — helps reduce splatter when using a single thin filter. Only use when recommended in the steps.
Don’t Do This
- Don’t use a thick kitchen towel — it soaks up yogurt and wastes product. You’ll end up with less final yield and a lot of cleaning.
- Don’t squeeze the bundle. Pressing forces whey and solids out and makes the texture grainy. Gravity alone is your friend here.
- Don’t hurry the process. Shortening strain time will give you runny results; over-aggressive measures (like pressing) ruin texture.
- Don’t leave the bundle sitting in pooled whey. Make sure the bowl is deep enough and the colander sits above the liquid to keep yogurt from reabsorbing moisture.
- Don’t forget to check after the first hour. If the whey has clumps, add layers. Early detection prevents loss of yogurt solids.
- Don’t skip refrigeration. Straining in a warm environment increases risk of off-flavors and bacterial growth.
Holiday & Seasonal Touches
- Holiday cheese board: make labneh balls rolled in za’atar, chopped pistachios, or chili flakes as a fresh, savory option among cured meats and aged cheeses.
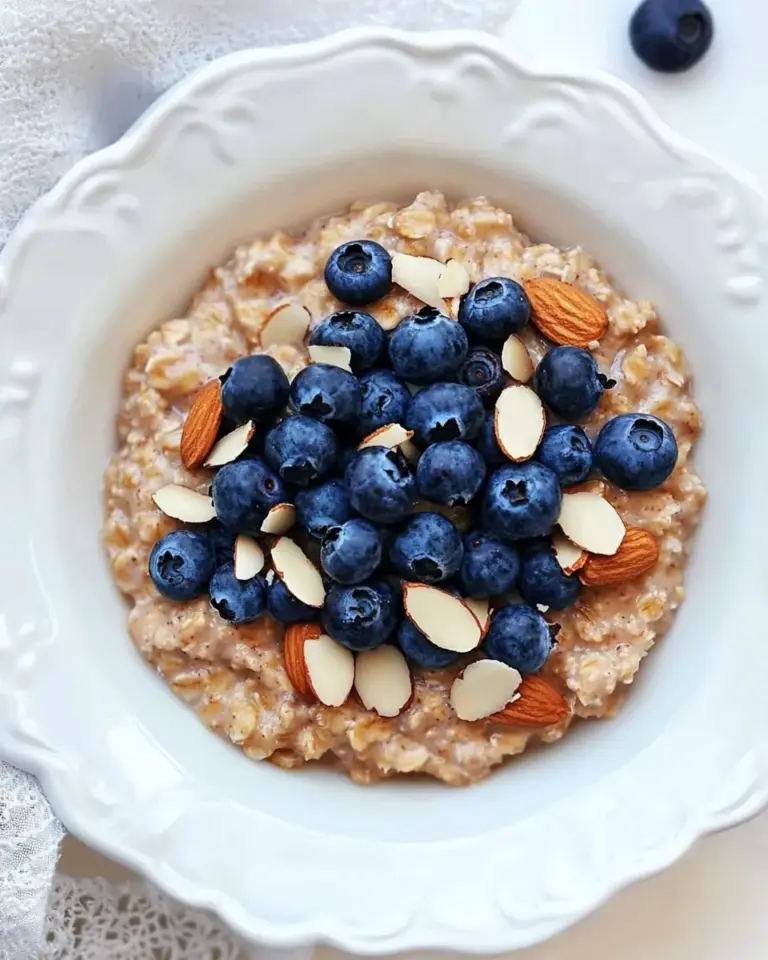
- Summer breakfasts: top strained yogurt with seasonal stone fruit, a drizzle of honey, and toasted oats for a cooling, elegant bowl.
- Winter stews and roasts: a spoon of thick yogurt stirred into soups or served alongside spicy braises adds cool creaminess and brightens flavors.
- Festive dips: whisk in lemon zest, garlic, and herbs for a crowd-pleasing dip. Serve with grilled pita or vegetable planks at parties.
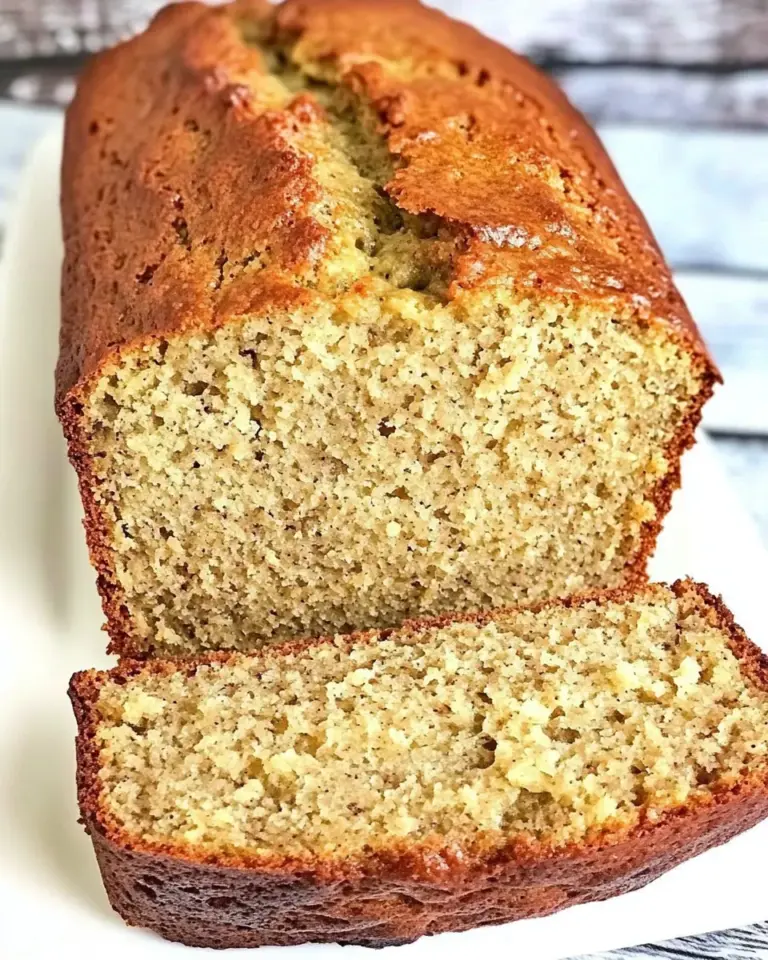
- Baked goods: use strained yogurt in place of sour cream in quick breads and cakes for tender crumb and subtle tang.
What I Learned Testing
I repeated this method with different yogurts and cloths more than a dozen times. The biggest variables were fabric thickness and fridge temperature. Thin filters let whey pass quickly but also let microscopic curds through, which means you lose precious yogurt. Multi-layered cheesecloth traps curds and produces a creamier end product with less loss.
Time matters. For a dependable Greek-style yogurt, I check at 12-hour intervals after the first 10–12 hours. The texture will move from loose to spoonable to thick and silky. For labneh, patience yields a spreadable, almost cream-cheese-like texture. Salt is optional, but when I’m serving labneh as a savory spread, 1/8 teaspoon stirred in at the end rounds the flavor beautifully.
Also: always taste the whey. It tells you if the yogurt is on track (mildly tangy and milky) or if something went off (sharp or unpleasant). If the whey smells off, discard the batch — it’s a quick diagnostic that saved me once when a jar of yogurt was past its prime.
Meal Prep & Storage Notes
- Storage: transfer strained yogurt to an airtight container and refrigerate. It keeps well for about 5–7 days for Greek-style yogurt and up to 10 days for properly salted labneh, but always smell and taste before using.
- Yield: 2 cups plain yogurt will reduce in volume depending on how long you strain it. Expect roughly 1 to 1.5 cups for Greek-style and less for labneh — the longer you strain, the less final volume you’ll have.
- Freezing: you can freeze strained yogurt, but texture changes. Thaw in the refrigerator and stir well; use thawed yogurt in cooking or smoothies rather than as a fresh dip.
- Whey use: don’t toss the drained whey. It’s great for baking (replace part of the liquid), smoothies, or as a starter for sourdough or fermenting vegetables.
Quick Questions
- How long does it take? Greek-style: about 10–12 hours to 48 hours depending on desired thickness. Labneh: 48–72 hours.
- Can I strain non-dairy yogurts? Some non-dairy yogurts strain, but results vary due to different protein structures. Test a small amount first.
- Why is my yogurt grainy? Often from over-handling or pressing the bundle. Also check that the cloth isn’t letting solids be forced through during tying.
- Is it safe to leave in the fridge for 48+ hours? Yes, refrigeration is safe and recommended. Keep the bundle covered and check periodically.
- What if I lose yogurt into the whey? Add an extra layer of cheesecloth or another filter and continue draining. If lots of solids are escaping, transfer the remaining yogurt back to a fresh, thicker lining.
Bring It to the Table
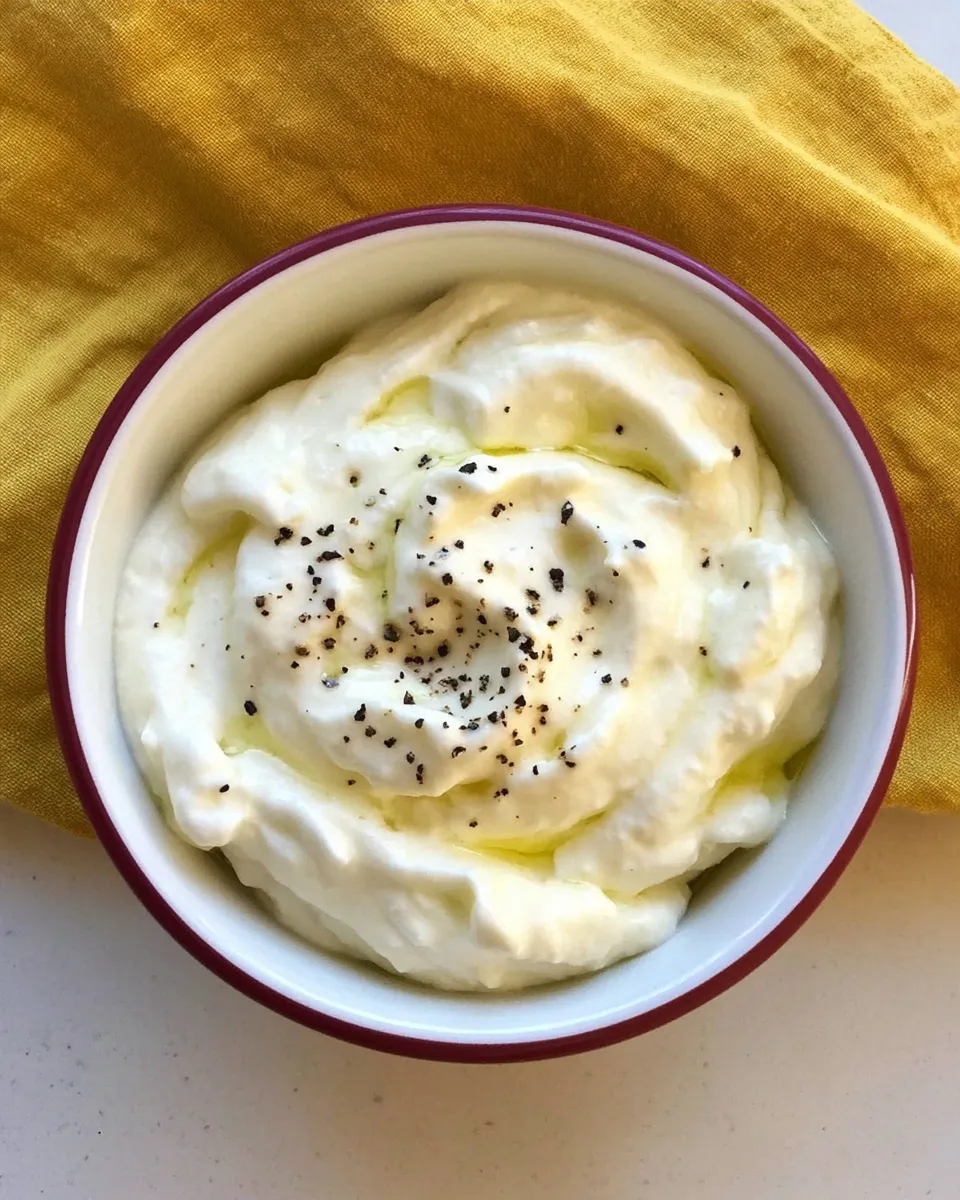
For everyday use, I spoon thick yogurt into small bowls, drizzle with olive oil, scatter flaky sea salt and za’atar, and pass warm flatbread. It’s simple, homey, and always a hit. For a more composed plate, spread labneh on a board and top with roasted cherry tomatoes, toasted nuts, and a scatter of herbs. Add a squeeze of lemon and a final drizzle of good oil; that brightens the whole dish.
Serve strained yogurt cold as a counterpoint to spicy or roasted dishes. It cools the palate, adds creaminess, and looks beautiful in a bowl. Keep a jar on hand in the fridge — once you’ve strained yogurt yourself, you’ll find countless small ways to fold its texture and tang into weeknight meals and celebrations alike.

How to Strain Yogurt
Equipment
- Large Bowl
- Colander
- Cheesecloth
- muslin or thin dish towel
- coffee filter
- twine or string
- Plastic Wrap
- Refrigerator
Ingredients
Ingredients
- 2 cupsplain yogurt - any fat content more or less as needed
- 1/8 teaspoonsalt optional, or to taste - for labneh
Instructions
Instructions
- Assemble tools: a large bowl, a colander that fits over the bowl, cheesecloth (or muslin/thin dish towel) or coffee filter, twine or string, and plastic wrap (optional). Chill the bowl and colander if you prefer cooler handling.
- Place the colander in the bowl so drained liquid will collect in the bowl.
- If using cheesecloth: cut an 18-inch square (or rectangle) and fold it to create 6–8 layers, then line the colander with the layered cheesecloth. If using muslin or a thin dish towel, line the colander with a single layer of the fabric. Do not use a thick kitchen towel (it will absorb yogurt). If using coffee filters, line the base of the colander with one or more filters so the bottom is covered.
- Spoon 2 cups plain yogurt into the center of the lined colander or onto the center of the lined cloth/filter.
- Gather the edges of the cheesecloth (or cloth/filter) up around the yogurt to form a bundle. Tie the top loosely with twine or string so the bundle is closed but not squeezed. Do not press or squeeze the bundle.
- If you used a single thin filter or very thin fabric, you may cover the exposed yogurt surface with plastic wrap (plastic touching the yogurt) before tying to reduce splatter and help even draining. (Do not add plastic if your bundle is already well wrapped in multiple layers of cheesecloth.)
- Place the whole setup (bowl with colander and bundled yogurt) in the refrigerator. Let the yogurt drain into the bowl below without squeezing.
- Check the drained liquid after 1 hour. It should be thin and slightly milky. If the liquid contains a lot of white clumps (yogurt solids), your cloth is too thin and you are losing yogurt; add more layers of cheesecloth or another filter and continue draining.
- Continue to drain until you reach the desired thickness: for Greek-style yogurt, strain about 10–12 hours up to 48 hours, checking the consistency every 12 hours; for labneh (yogurt cheese), strain about 48–72 hours. The longer you strain, the thicker the result.
- When the yogurt has reached your preferred thickness, remove the bundle from the colander, untie and unwrap it, and transfer the strained yogurt to a container.
- If making labneh, stir in 1/8 teaspoon salt (optional, or to taste) into the strained yogurt. Cover and refrigerate the finished yogurt or labneh until ready to use.
Notes
You will also need: cheesecloth, muslin, a thin dish towel, or a coffee filter; colander or strainer; medium bowl to rest strainer in; kitchen twine or string.