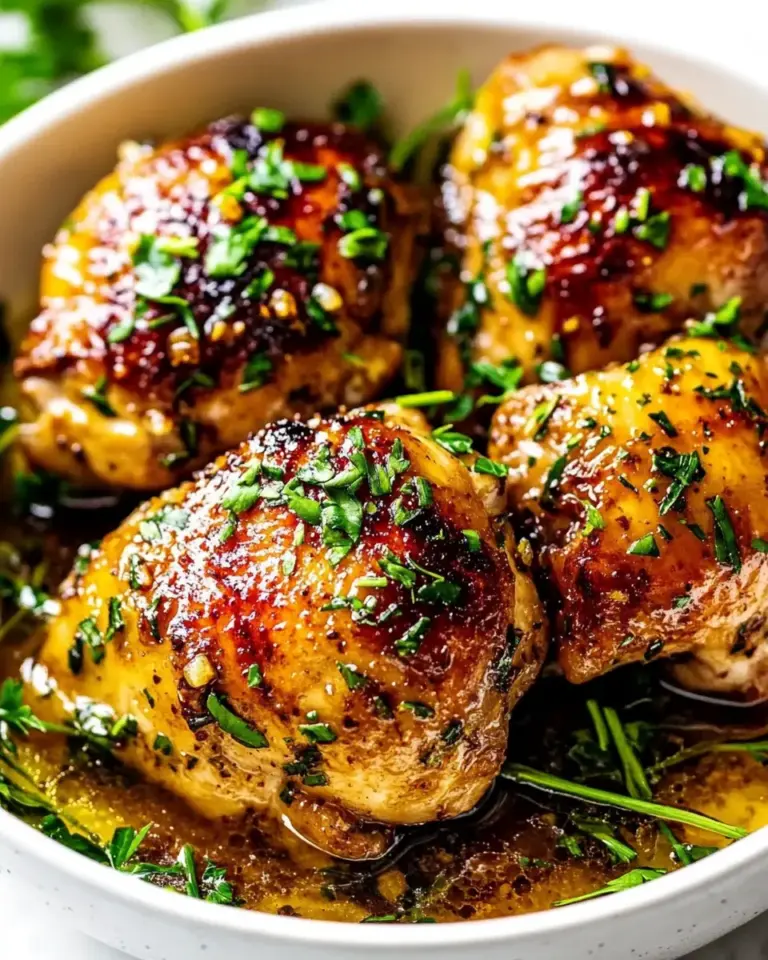
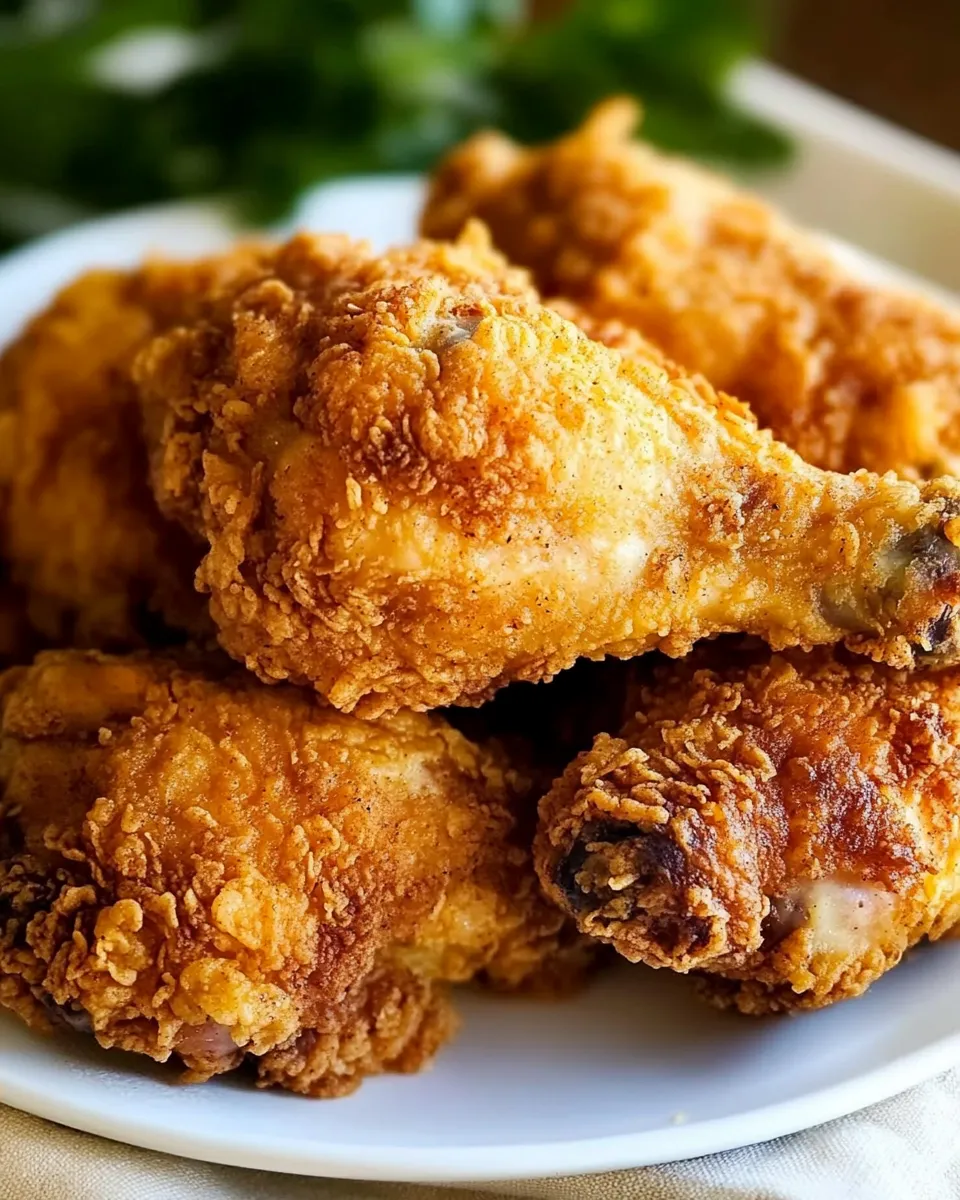
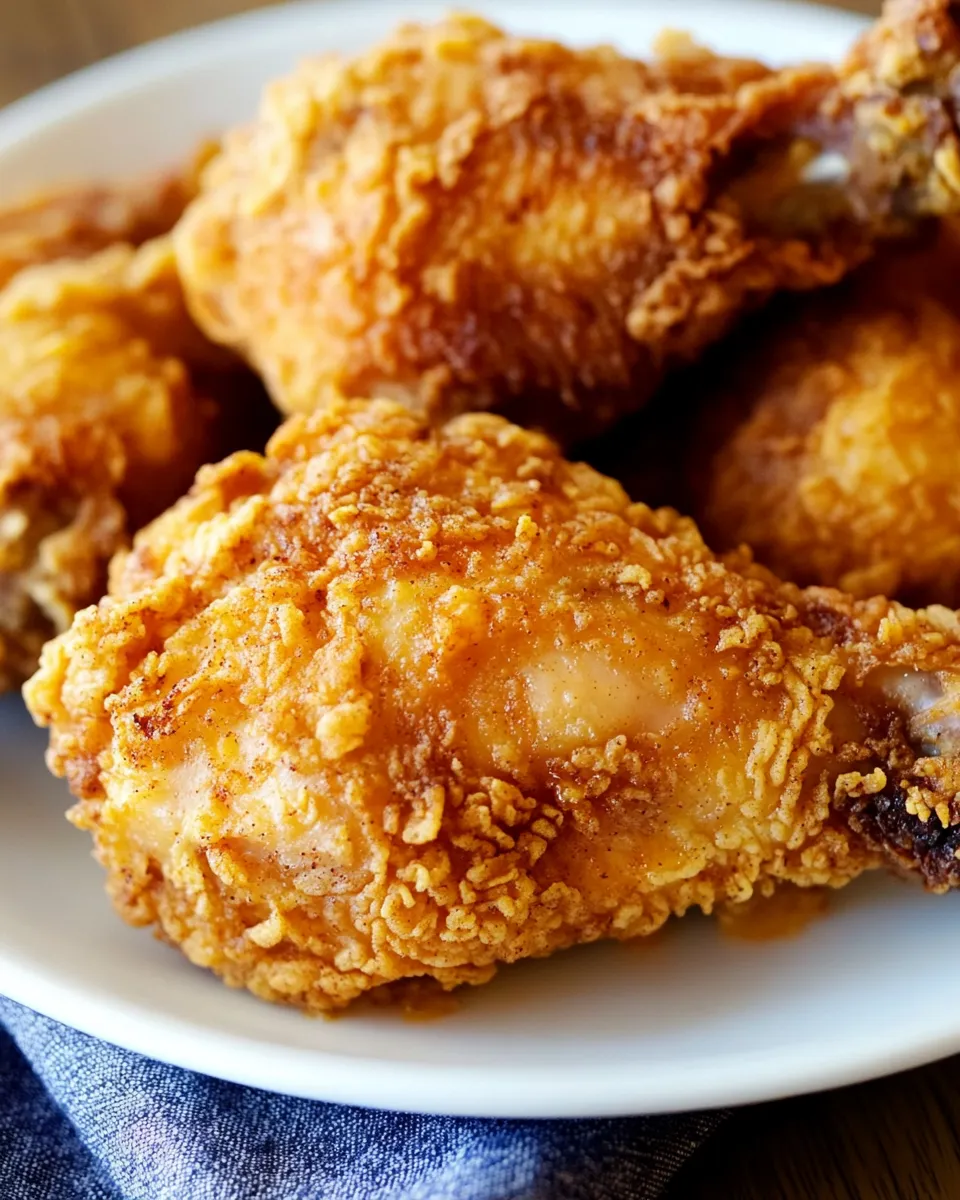
I make fried chicken the way home cooks have for generations: with a little patience, a reliable pan, and flour seasoned simply but well. This recipe is not fussy. It delivers deep-browned, crisp skin and juicy meat without a long brine or complicated batter. If you want straightforward, dependable fried chicken that works on weeknights and impresses on Sundays, this is it.
There are two parts that matter most: coating the thighs well and controlling the heat. Do those, and you’ll get crispy skin and tender meat every time. I’ll walk you through the exact steps, the minimal tools you need, and how to troubleshoot common problems so you won’t be left staring at greasy or undercooked chicken.
Read through the tips before you start. Little adjustments—spacing the pieces, keeping the oil hot at the start, lowering the heat to finish—make a big difference. When you’re ready, gather your ingredients and let’s get cooking.
What Goes Into Fried Chicken
Ingredients
- 8 medium chicken thighs with skin — the skin gives you the best crisp; thighs stay juicy during the long, lower-heat finish.
- 3 cups all-purpose flour — this is the primary coating; it creates the golden crust.
- 1 tablespoon black pepper — provides a straightforward heat and aromatics in the flour mix.
- 1 tablespoon smoked paprika — adds color and a mild smoky note; it helps the crust look browned and flavorful.
- ½ tablespoon salt — essential for seasoning the coating; adjusts the chicken’s surface flavor as it fries.
- Vegetable or canola oil for the frying pan — a neutral oil with a high smoke point for even frying.
Directions: Fried Chicken
- Place 3 cups all-purpose flour, 1 tablespoon black pepper, 1 tablespoon smoked paprika, and 1/2 tablespoon salt into a large gallon-size zip-top bag; seal and shake briefly to combine the dry mix.
- Add the 8 medium chicken thighs (with skin) to the bag, seal, and shake until each piece is evenly coated with the seasoned flour. Work in two batches inside the bag if needed so pieces coat well.
- Pour vegetable or canola oil into a large, deep skillet to a depth of about 1/4 inch. Heat the skillet over medium-high until the oil is hot and shimmering.
- Carefully place the coated chicken thighs into the hot oil, skin side down, leaving space between pieces (do not overcrowd — cook in batches if necessary).
- Cook the chicken about 10 minutes, turning as needed so all sides become light brown and evenly browned.
- Reduce the heat to low, cover the skillet, and simmer the chicken for 35 to 40 minutes, turning each piece at least once or twice during that time.
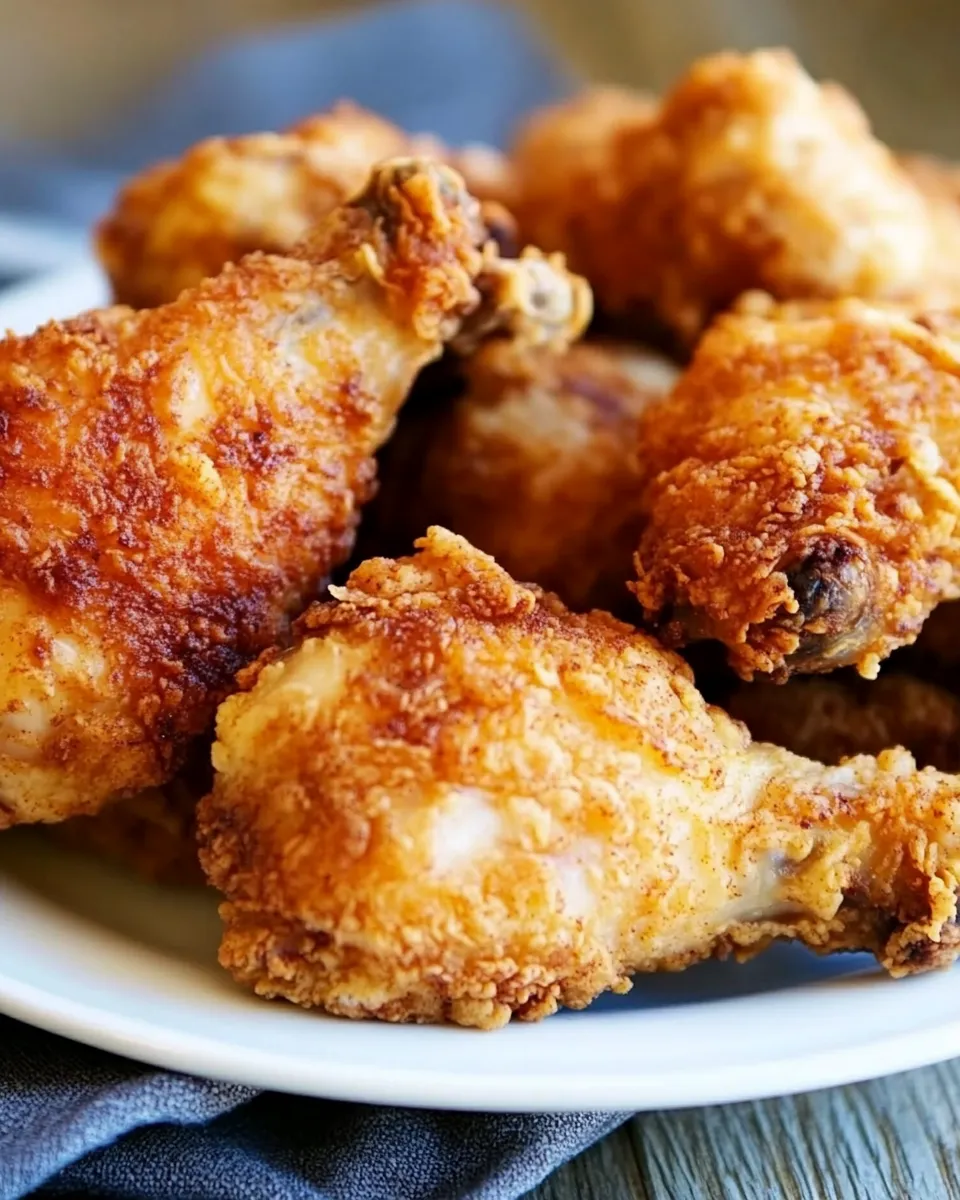
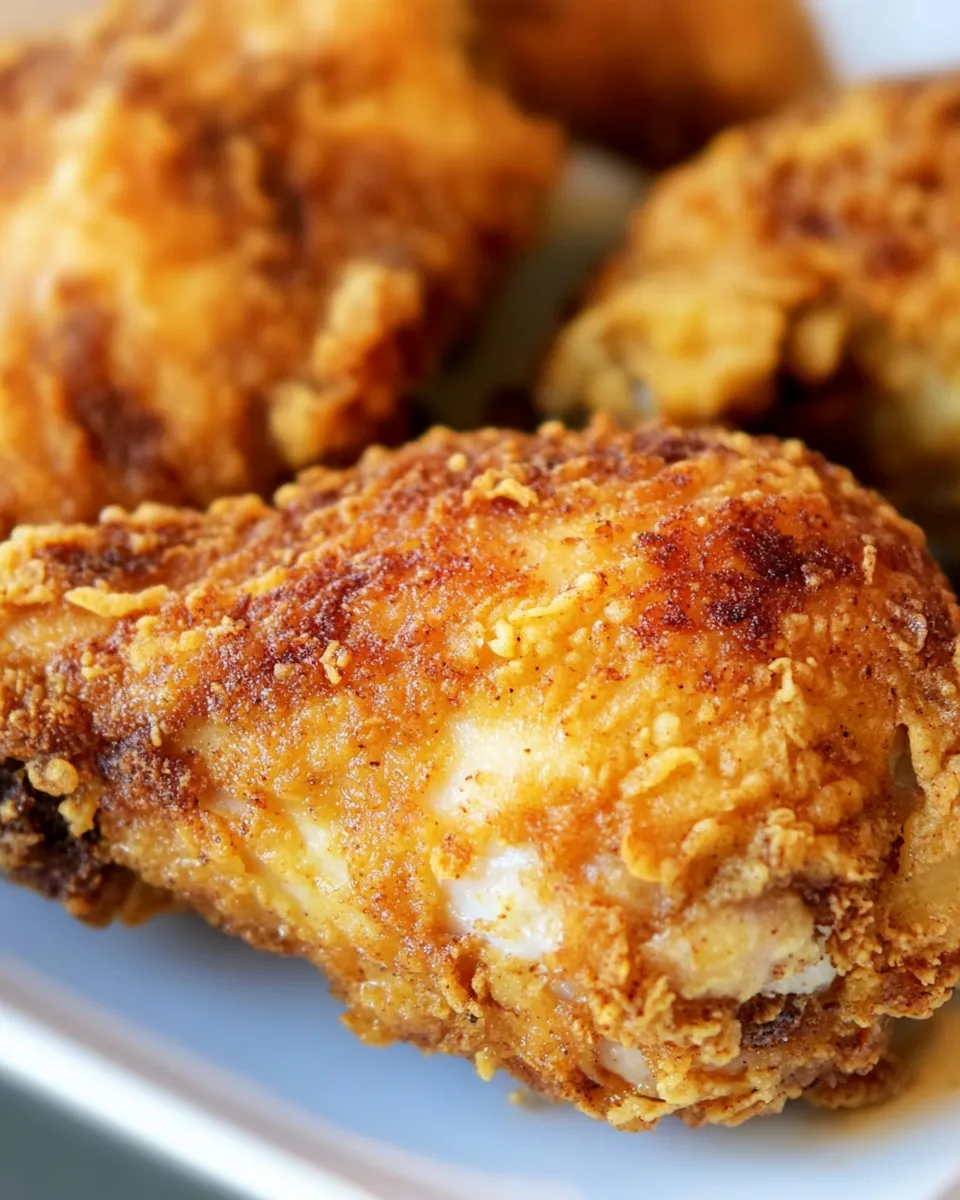
- Remove the lid for the last 5 minutes of cooking to crisp the skin. Cook until the juices run clear and the internal temperature in the thickest part of the thigh reaches 165°F.
- Remove the chicken from the skillet, transfer to a paper towel–lined plate to drain, and let rest a few minutes before serving.
Top Reasons to Make Fried Chicken
This version is practical. It’s quick to prep, uses pantry staples, and doesn’t require a deep fryer or long marinade. You get crisp skin and juicy thighs with one coating and an easy pan technique.
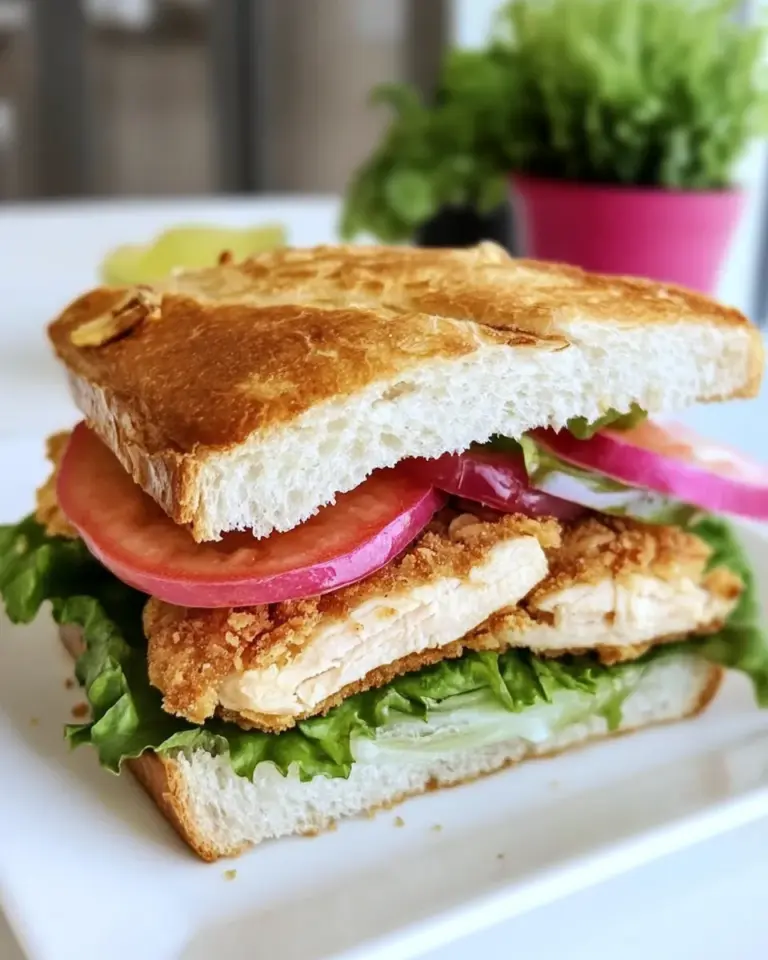
It scales well. Make a double batch for a crowd and keep the timing the same by cooking in more batches. Leftovers reheat well and make fantastic sandwiches the next day. In short: reliable, family-friendly, and crowd-pleasing.
Allergy-Friendly Substitutes
If someone has an allergy or dietary need, here are safe swaps that keep the method intact:
- Gluten-free — swap the all-purpose flour for a 1:1 gluten-free flour blend designed for frying; note texture will vary slightly and may brown differently.
- Low-sodium — reduce the ½ tablespoon salt in the coating or use a salt substitute; finish with a pinch of salt only after tasting.
- Oil sensitivity — if vegetable/canola oil is a concern, you can use sunflower or refined avocado oil (both high smoke points) as alternatives.
Essential Tools for Success
You don’t need a kitchenful of gadgets—just a few reliable pieces:
- Large, deep skillet — wide enough to hold thighs in a single layer; depth helps contain oil splatter and maintain consistent heat.
- Gallon-size zip-top bag — for quick, even coating of the thighs without extra dishes.
- Tongs — to safely turn and lift chicken pieces without tearing the skin.
- Instant-read thermometer — the most reliable way to confirm the thickest part of the thigh reaches 165°F.
- Paper towels and a plate or wire rack — for draining and resting the chicken so it stays crisp.
Problems & Prevention
Common issues and what to do
Greasy crust: That usually means the oil was too cool when the chicken went in or the pan was overcrowded. Prevent it by heating the oil until shimmering and working in batches so pieces fry evenly.
Burnt outside, raw inside: Too hot at first and left on high will char the flour before the meat cooks. Start medium-high to brown, then lower the heat and cover to finish cooking through. Follow the recipe’s step to reduce to low and simmer for 35–40 minutes.
Soggy skin after resting: Drain on a wire rack if you have one; paper towels work, but a rack prevents steam from sitting under the chicken. Remove the lid for the last 5 minutes so skin crisps before resting.
Smart Substitutions
Make small changes without losing the result:
- Smoked paprika — if you don’t have it, a mix of sweet paprika and a pinch of chili powder can add color and warmth, but smoked paprika is the most direct flavor match.
- Black pepper — white pepper is subtler; use if you want less visual speckling and a milder heat.
- Oil — any neutral, high-smoke-point oil works. Avoid extra-virgin olive oil; it has a low smoke point and a strong flavor.
Cook’s Commentary
I learned this pan-fried approach from kitchens that needed good texture without deep frying. The initial medium-high sear locks flavor into the crust. The long, low covered finish might feel counterintuitive for “fried” chicken, but it’s what makes thighs tender without burning the coating.
One habit I have is patting the thighs dry before they hit the flour. Moisture is the enemy of crisp. Also, don’t skip shaking the seasoned flour in the bag—getting an even dusting at the start prevents bare spots and ensures consistent browning.
If you love a craggier crust, you can double-dip: dip lightly in milk or beaten egg before the flour, then flour again. I didn’t include that because it changes texture and the recipe aims for simplicity, but it’s an option if you want extra crunch.
Storing Tips & Timelines
Cool the chicken completely before storing to avoid sogginess from trapped steam. Refrigerate in an airtight container for up to 3–4 days. For longer storage, freeze in a single layer on a baking sheet until solid, then transfer to a freezer bag for up to 2 months.
To reheat and keep the crust crisp: use a 375°F oven for 12–18 minutes, checking that the internal temperature returns to 165°F. A toaster oven is great for one or two pieces. Avoid microwaving unless you don’t mind losing crispness.
Fried Chicken Q&A
Q: Can I use bone-in breasts instead?
A: You can, but timing will change. Breasts are leaner and can dry out if cooked the same way as thighs. I recommend adjusting the simmer time and checking with a thermometer.
Q: Why do I need to cover the skillet?
A: Covering traps heat and cooks the chicken through gently, reducing the risk of an over-browned exterior and undercooked interior. Removing the lid at the end crisps the skin back up.
Q: Is 1/4 inch of oil enough?
A: Yes. This method is shallow frying. The oil depth in the recipe lets the coating brown without full deep-frying. Keep the pieces spaced so the oil temperature stays stable.
Q: Can I brine the thighs first?
A: You can brine if you want juicier meat and are willing to add time. If you brine, pat the thighs completely dry before coating so the flour adheres.
Save & Share
Try this on a relaxed afternoon. Make a batch, take a picture of that browned skin catching the light, and share with family or friends. If you tweak the spice balance or try a different oil, note it in your phone so the next batch is even better. Fried chicken is one of those dishes that rewards small adjustments.
If you enjoyed this recipe, save it somewhere handy and pass it along. It’s the kind of simple, dependable fried chicken you’ll reach for again and again.
Fried Chicken
Equipment
- gallon-size zip-top bag
- large deep skillet
- Paper Towels
Ingredients
Ingredients
- 8 mediumchicken thighs with skin
- 3 cupsall purpose flour
- 1 tablespoonblack pepper
- 1 tablespoonsmoked paprika
- 1/2 tablespoonsalt
- vegetable or canola oil for the frying pan
Instructions
Instructions
- Place 3 cups all-purpose flour, 1 tablespoon black pepper, 1 tablespoon smoked paprika, and 1/2 tablespoon salt into a large gallon-size zip-top bag; seal and shake briefly to combine the dry mix.
- Add the 8 medium chicken thighs (with skin) to the bag, seal, and shake until each piece is evenly coated with the seasoned flour. Work in two batches inside the bag if needed so pieces coat well.
- Pour vegetable or canola oil into a large, deep skillet to a depth of about 1/4 inch. Heat the skillet over medium-high until the oil is hot and shimmering.
- Carefully place the coated chicken thighs into the hot oil, skin side down, leaving space between pieces (do not overcrowd — cook in batches if necessary).
- Cook the chicken about 10 minutes, turning as needed so all sides become light brown and evenly browned.
- Reduce the heat to low, cover the skillet, and simmer the chicken for 35 to 40 minutes, turning each piece at least once or twice during that time.
- Remove the lid for the last 5 minutes of cooking to crisp the skin. Cook until the juices run clear and the internal temperature in the thickest part of the thigh reaches 165°F.
- Remove the chicken from the skillet, transfer to a paper towel–lined plate to drain, and let rest a few minutes before serving.
Notes
You can also add the flour mixture to a bowl and dredge your chicken that way, but I have found the zip top bag method to be quick, clean and easy.