Freezing bread is one of those small, practical kitchen moves that saves time, money, and stress. I keep a loaf in the freezer almost always — it means no frantic runs to the store when you need toast or sandwich bread, and less waste when a loaf is nearing the end of its life. The goal is simple: preserve texture and flavor so the bread feels fresh when you thaw it.
This guide walks you through exactly what to do, in clear steps you can follow without special equipment. You’ll also get realistic tips on what to avoid, how to reheat, and smart habits for long-term storage. No fluff. Just good, usable advice.
If you bake your own or buy artisan loaves, freezing them properly keeps the crumb intact and avoids freezer burn. Read on for the essentials, the exact step-by-step routine, and quick troubleshooting so the next slice is always worth it.
The Essentials
Freezing bread locks in moisture and stops staling by slowing the chemical changes that dry out crumb. It doesn’t reverse bread that’s already stale, but it does pause the clock so freshness is preserved for months instead of days.
Key points to remember: wrap well, remove air, and label. Small steps like pressing out air and freezing the loaf flat make a big difference in texture and storage space. A freezer-grade resealable bag and a marker are the only must-haves.
Ingredients
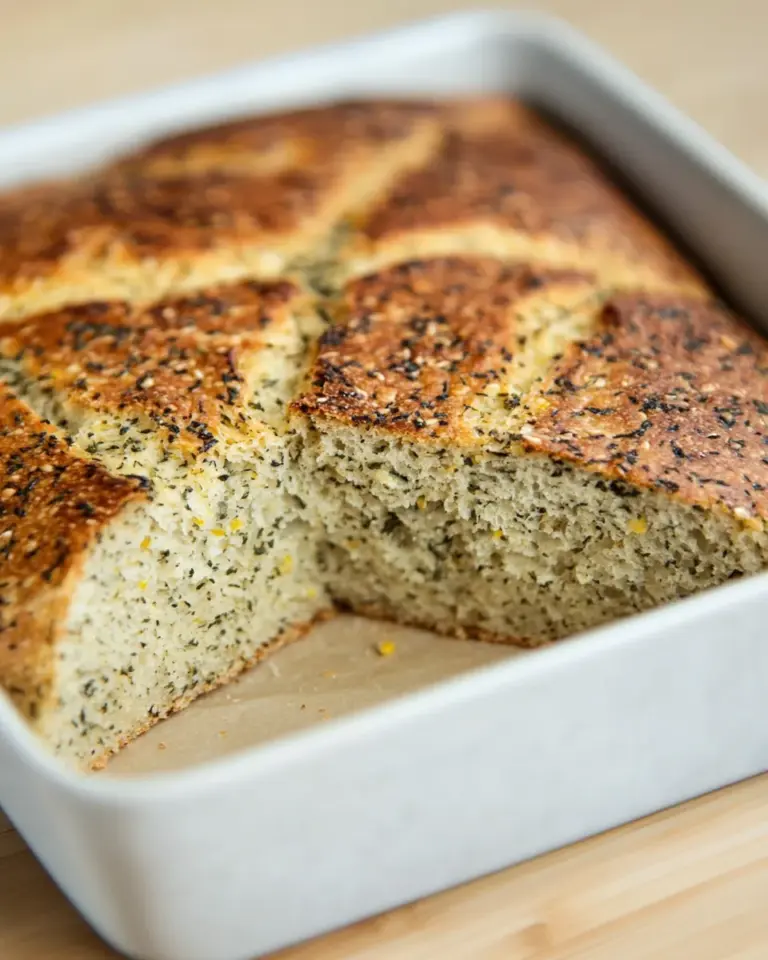
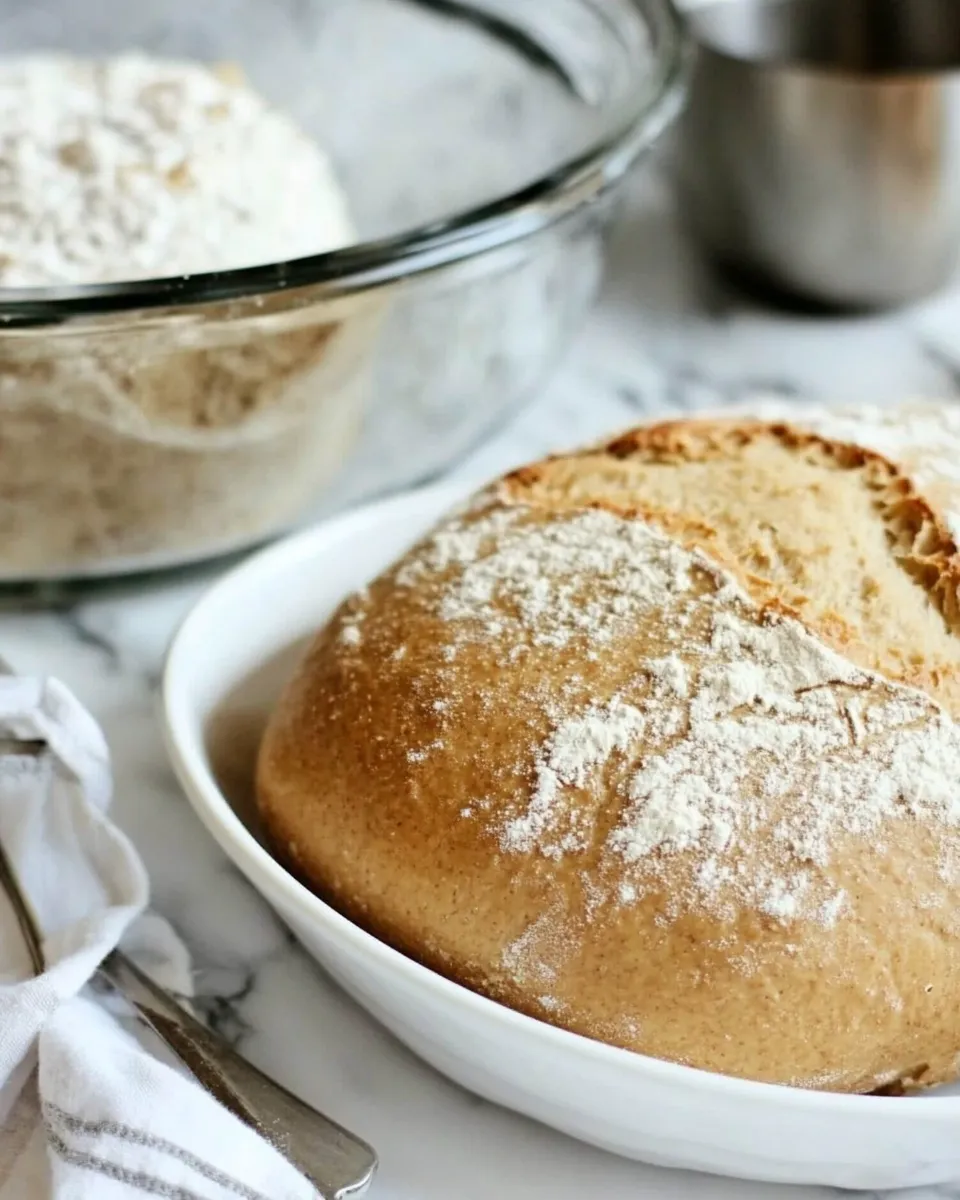
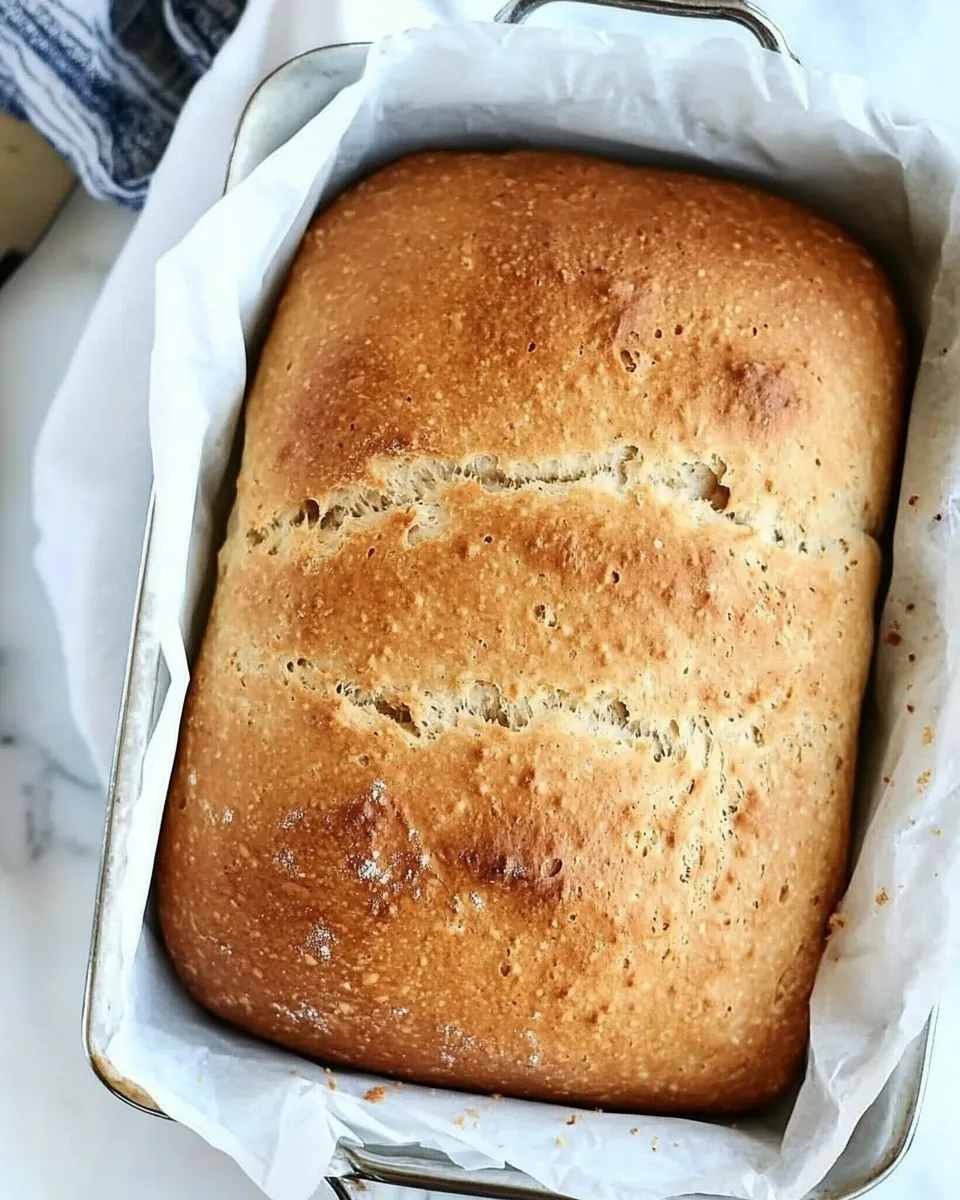
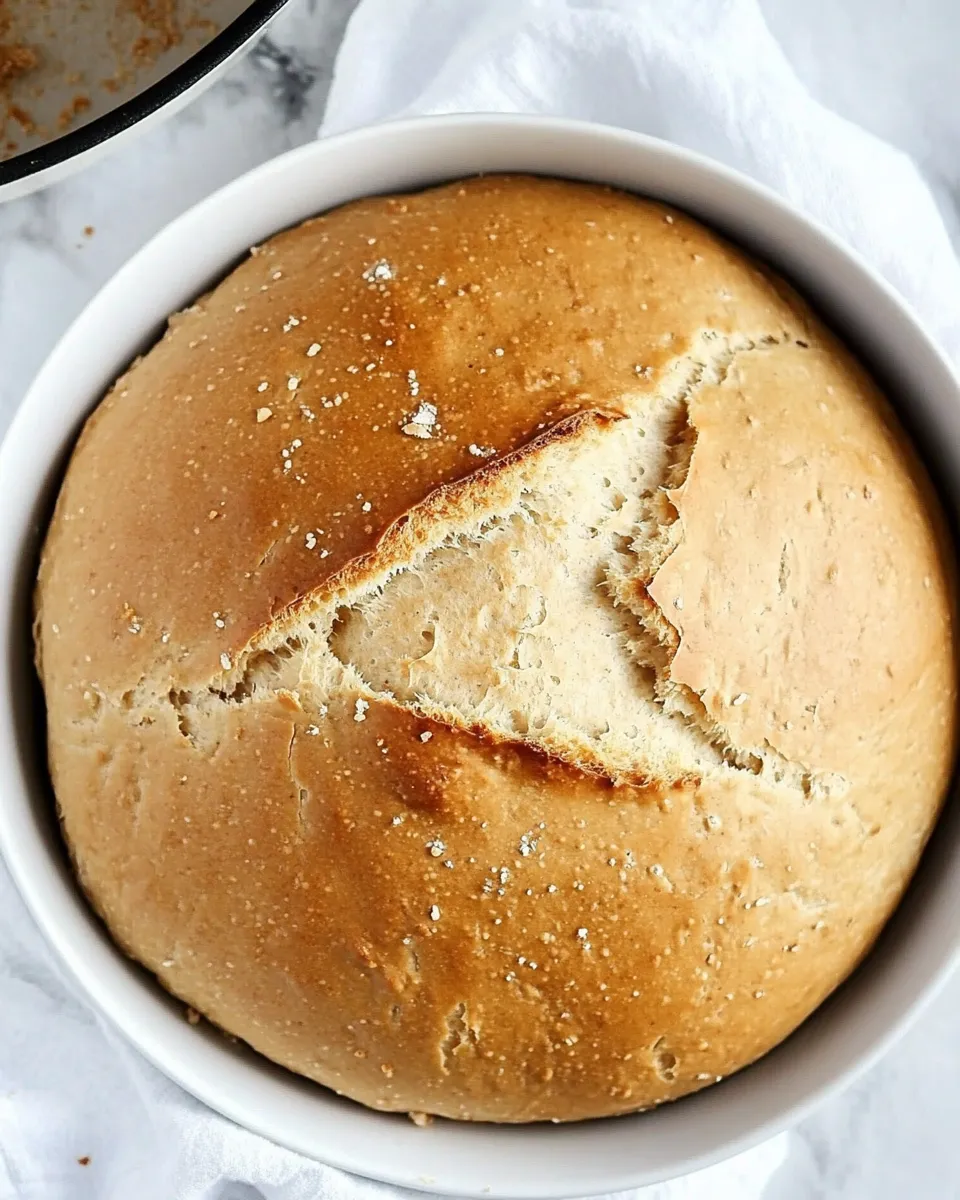
- 1loafBreadany kind — the thing you’re preserving. Works for sandwich loaves, rustic boules, baguettes (slice first if preferred).
Step-by-Step: Freeze Bread
- Gather the 1 loaf of bread, a freezer-grade resealable bag, and a permanent marker.
- On the freezer bag write what is inside (e.g., “1 loaf bread”), today’s date, and a “USE BY” date 6 months to 1 year from today.
- Open the bag and place the loaf of bread inside. Lay the bag flat on a countertop.
- Press the bag flat and smooth from the open end toward the sealed end to remove as much air as possible.
- Fully seal the bag so no gaps remain.
- Place the sealed bag flat in the freezer so the loaf will freeze flat.
Why It Deserves a Spot
Freezing bread is efficient. It reduces food waste and stretches your grocery budget. A loaf that would otherwise go stale in three days can be kept in excellent condition for months. That convenience means fewer last-minute store trips and more control over what you eat.
It’s also flexible. Freeze whole loaves for later sandwich-making, or freeze pre-sliced portions so you can pull out exactly what you need. The freezer becomes an extension of your pantry—steady, reliable, and ready.
Low-Carb/Keto Alternatives

If you follow a low-carb or keto lifestyle, the same freezing principles apply to low-carb breads or substitutes. Many low-carb breads freeze well when wrapped carefully and sealed against air. If you make small batches of low-carb flatbreads or specialty loaves, portion and freeze them flat so they stack neatly.
For single-serving options, freeze slices or folded pieces individually so you can reheat just one portion at a time. That minimizes waste and keeps those specialty items tasting their best.
What’s in the Gear List
- Freezer-grade resealable bag — prevents moisture loss and protects against freezer odors.
- Permanent marker — label contents and dates so you avoid forgotten loaves.
- Flat space in the freezer — allows loaves to freeze flat, which saves room and keeps the loaf from deforming.
- Optional: a sheet of parchment or plastic wrap — for an extra layer of protection if the loaf is particularly fragile or if you’re storing long-term.
What Not to Do
Don’t toss bread into the freezer unwrapped. Air and moisture are the enemy; they cause freezer burn and dry the crumb. Avoid using thin sandwich bags that aren’t labeled freezer-safe—those can let cold air in.
Don’t forget to press out air before sealing. That tiny task prevents ice crystals and soggy texture. Also, don’t skip the label. Without a “use by” date you’ll be guessing how old that loaf is weeks later.
Holiday-Friendly Variations
For holiday baking—think enriched or fruit breads—the same method works. For loaves studded with nuts, fruit, or glaze, wrap gently and consider a double layer: first parchment or plastic wrap around the loaf, then the freezer bag. Freeze flat to keep the shape.
If you have special occasion loaves (stollen, panettone, festive brioche), portion them before freezing. Freeze slices or wedges so you can thaw only what you need. This keeps the centerpiece intact and prevents repeated thawing that damages texture.
What Could Go Wrong
Freezer burn is the most common problem. It shows up as dry, tough areas or white discoloration. It happens when air reaches the loaf. The cure: re-wrap better and use a truly freezer-grade bag.
Another issue is sogginess from condensation. That usually occurs when warm bread goes into a cold freezer or when a sealed bag isn’t completely dry. Cool bread to room temperature before freezing and ensure the bag is dry inside.
Finally, forgetting to label can lead to mystery loaves and wasted food. If you don’t know how long it’s been in the freezer, it’s hard to use it confidently.
Store, Freeze & Reheat
Storage timeline: properly wrapped and sealed, bread keeps well in the freezer for 6 months to 1 year. For best flavor and texture, aim to use most loaves within 3–6 months. Mark a “use by” date when you pack the loaf.
Thawing methods vary by need. For a whole loaf, move it to the refrigerator overnight or thaw at room temperature for a few hours. To refresh a thawed loaf, slide it into a 350°F (175°C) oven for 8–12 minutes to revive the crust and warm the crumb.
For single slices, toast directly from frozen. That’s the fastest way to get a crisp exterior and soft interior. For sandwiches, microwave briefly or toast directly; the texture will be best if reheated just before serving.
Your Questions, Answered
Q: Can I freeze sliced bread? A: Yes. Sliced bread can be laid in the bag with slices flat or stood on edge. For convenience, freeze individual slices separated by parchment so you can pull one at a time.
Q: Should I freeze bread hot or warm from the oven? A: No. Let bread cool to room temperature before bagging it. Trapping heat creates condensation, which leads to ice crystals and sogginess.
Q: Will freezing affect flavor? A: Properly frozen and sealed bread retains flavor well. Over long periods (close to a year), some subtle changes can occur, but if sealed against air, flavor loss is minimal.
Serve & Enjoy
Once you’ve frozen and thawed a loaf properly, serving is the easy part. Slice and toast, butter a warm slice, or use pieces for sandwiches. For warmed loaves, a short bake will restore that fresh-from-the-bakery feel. If you frequently rely on frozen bread, label routines and portioning will make service seamless—no fuss, just good bread on the table.
Freezing is about keeping options open. With a little prep—writing dates, pressing out air, and freezing flat—you’ll always have bread ready for breakfast, sandwiches, or dinner. Simple, practical, and dependable.
How to Freeze Bread
Equipment
- freezer-grade resealable bag
- permanent marker
- Freezer
Ingredients
Ingredients
- 1 loafBreadany kind
Instructions
Instructions
- Gather the 1 loaf of bread, a freezer-grade resealable bag, and a permanent marker.
- On the freezer bag write what is inside (e.g., "1 loaf bread"), today's date, and a "USE BY" date 6 months to 1 year from today.
- Open the bag and place the loaf of bread inside. Lay the bag flat on a countertop.
- Press the bag flat and smooth from the open end toward the sealed end to remove as much air as possible.
- Fully seal the bag so no gaps remain.
- Place the sealed bag flat in the freezer so the loaf will freeze flat.
Notes
It's so easy to use the type of bag with the zippers, but I've had more bag failures with the zipper bags than with the press and seal type bags.
Buy yourself a sharpie marker to keep in the kitchen in your "junk" drawer OR tape it to the front of your freezer bag box. Then you'll always have one.
The flater that you can make the bag, the better for saving space in your freezer.
When putting things in the freezer, put the newer things on the bottom of the stack so that the older things are near the top and you'll use those first.
Squeeze air out of the bag after you put the meat into the bag by rolling it up. Air in the bag will equal freezer burn later.