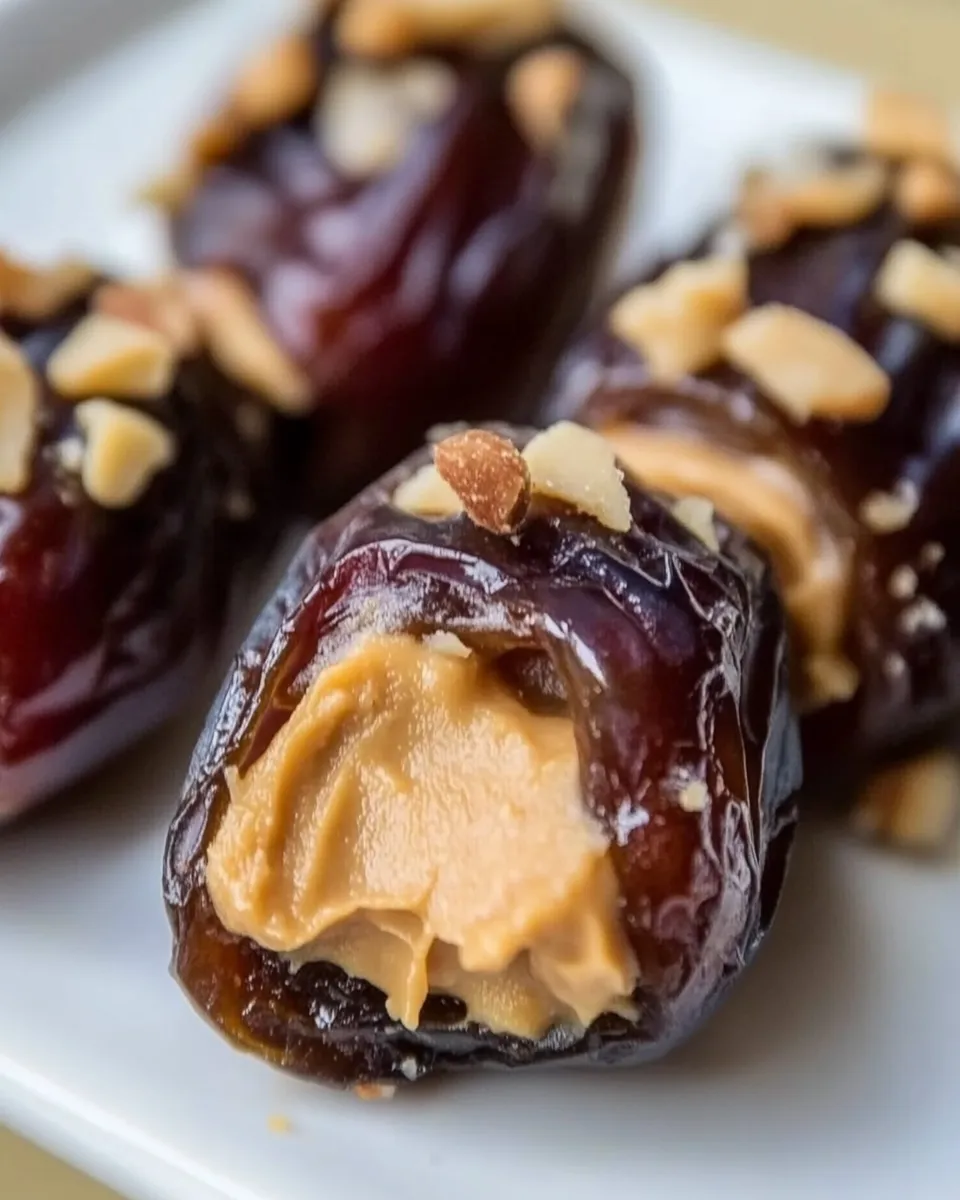
I make these Peanut Butter Stuffed Dates when I need a snack that feels a little indulgent and takes under ten minutes. They’re unfussy, portable, and oddly satisfying — a perfect hit of chewy, salty, and sweet in one bite. No baking, no fuss. Just a few simple moves and you have something that looks like effort but isn’t.
They work well for an afternoon pick-me-up, a last-minute hostess offering, or a healthy-ish dessert with a crowd-pleasing look. You can keep things plain and simple or dress them up with chocolate and chopped peanuts if you’re in the mood. Either way, the backbone is the same: soft dates and creamy peanut butter.
Below you’ll find everything you need: the exact ingredients as listed, step-by-step directions with the original order preserved, swaps for different diets, troubleshooting, and storage notes. Read once, then make a batch — you’ll want to keep these on rotation.
Ingredient Rundown
Ingredients
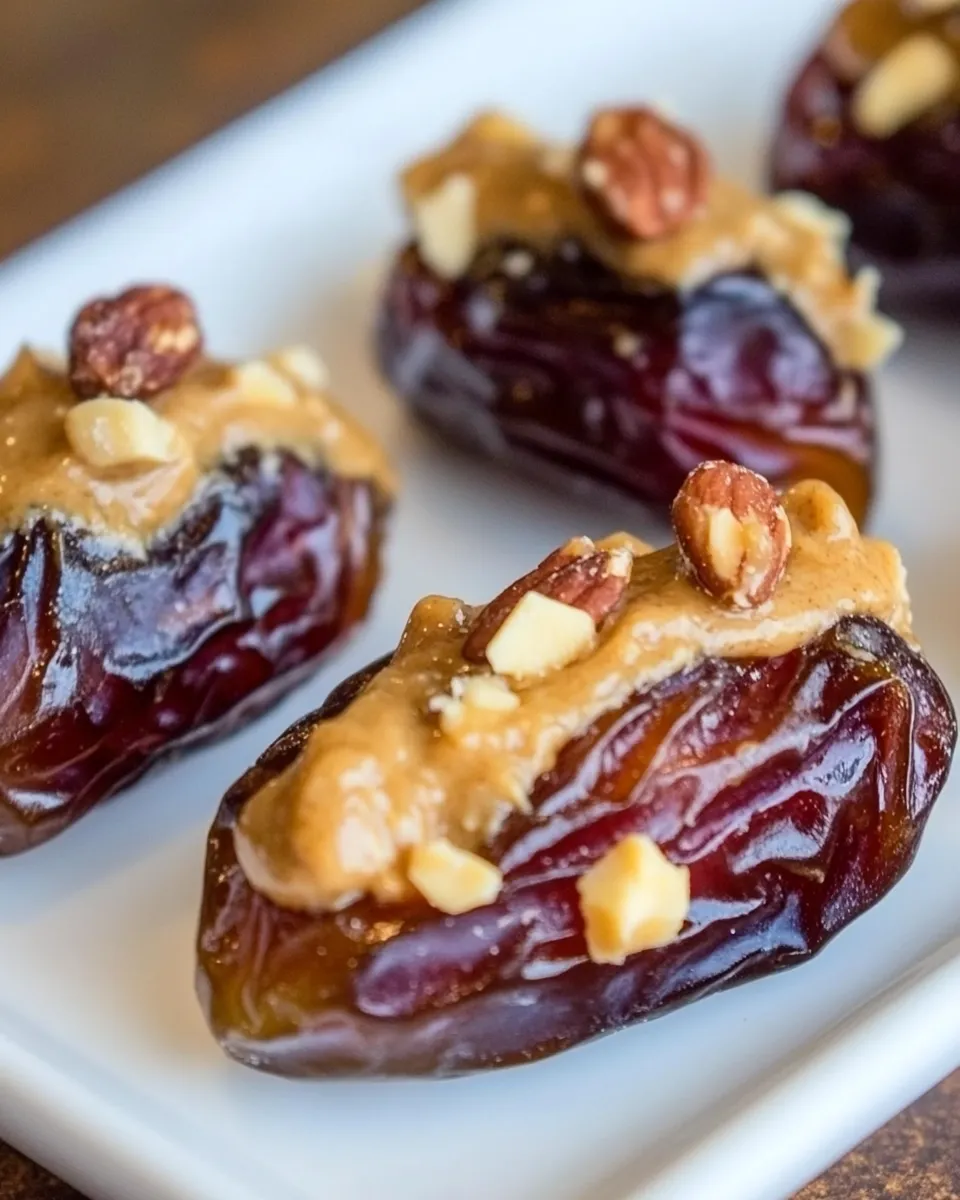
- Medjool Dates — Soft, naturally sweet base; choose plump, unwrinkled dates for the best texture.
- Peanut butter — The creamy filling; use your favorite jarred peanut butter for consistency and flavor.
- peanutschopped – I use Virginia — Adds crunch and a toasty finish; finely chop so it layers neatly on top.
- Chocolate chipsmelted (optional) — Optional coating or drizzle for a richer, dessert-like finish.
The Method for Peanut Butter Stuffed Dates
- If using chocolate, place the chocolate chips in a microwave-safe bowl and microwave in 30-second intervals, stirring between each interval, until the chocolate is smooth and creamy; set aside to stay pourable.
- Make a lengthwise slit in each Medjool date without cutting all the way through and remove the pit.
- Spoon the peanut butter into a piping bag or a plastic sandwich bag and snip a small corner to create a nozzle.
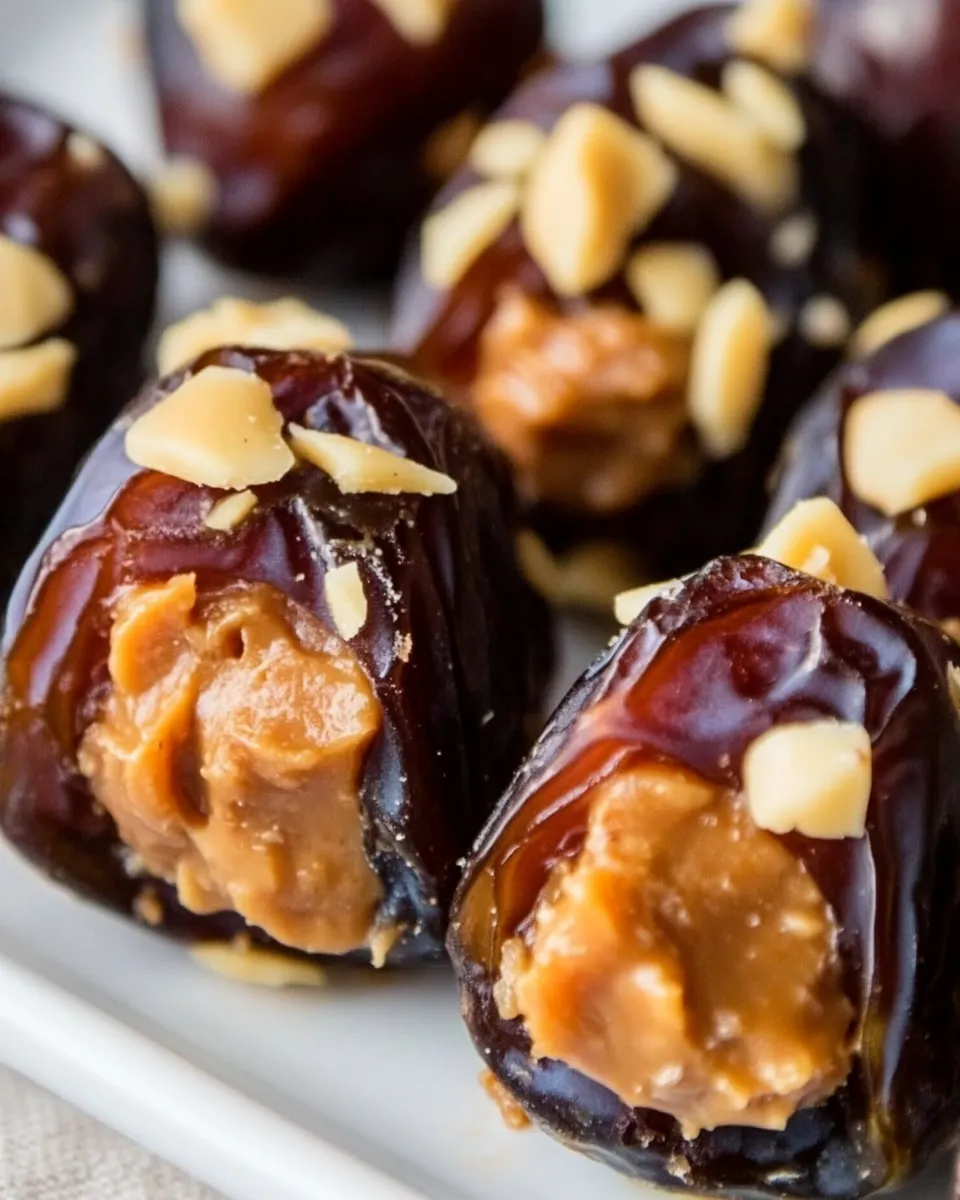
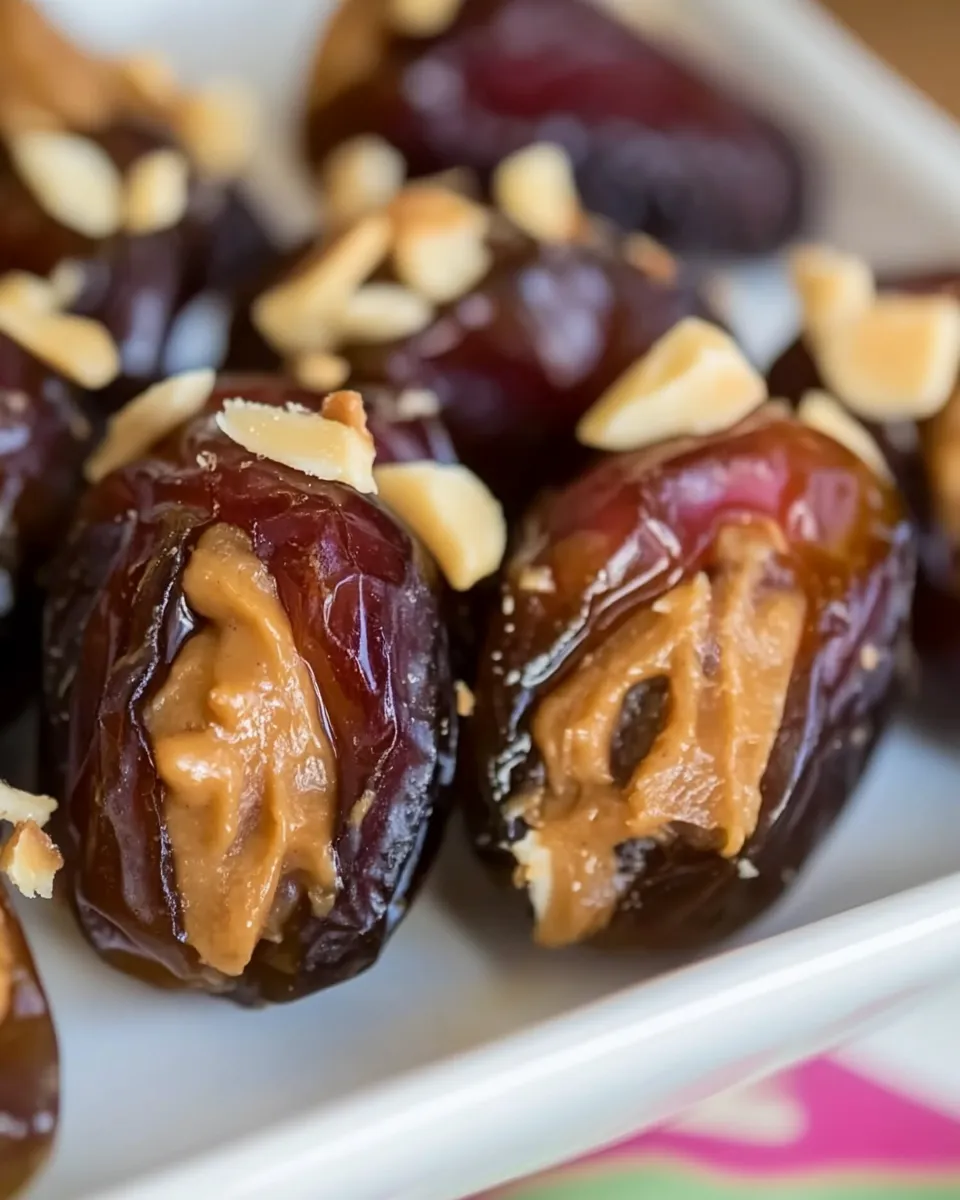
- Pipe peanut butter into the center cavity of each date.
- Top the peanut butter in each date with the chopped peanuts.
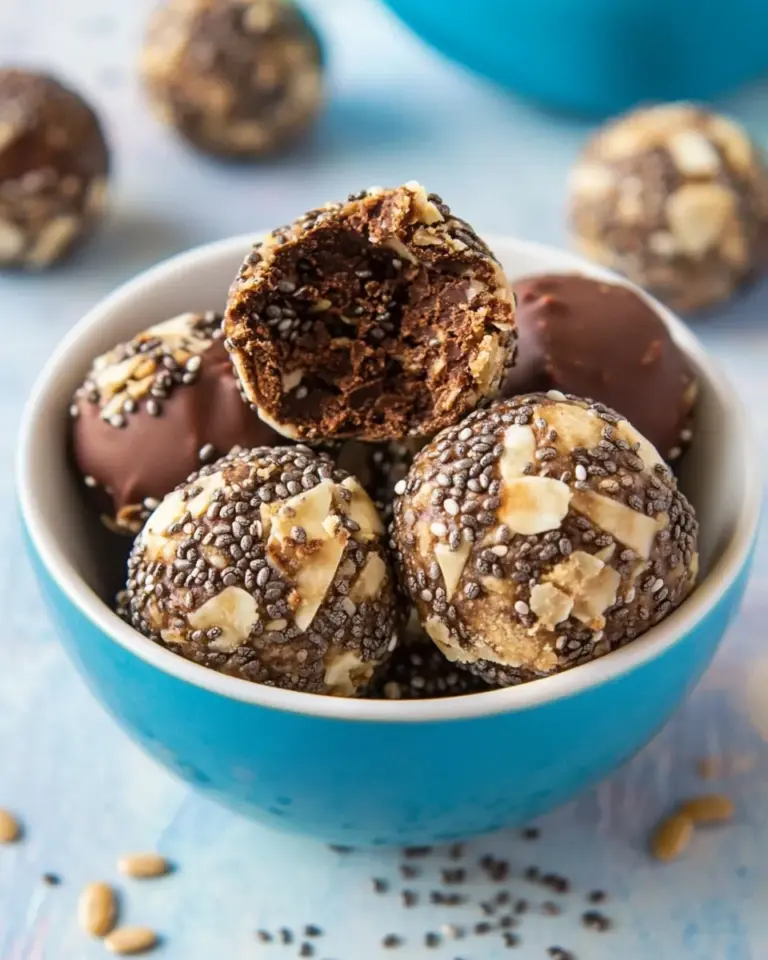
- If using melted chocolate, either drizzle the chocolate over the prepared dates or dip each whole date into the chocolate, letting excess drip off; place the dates on a tray or plate to catch drips.
- Allow chocolate to set at room temperature or chill briefly until firm before serving.
Why This Peanut Butter Stuffed Dates Stands Out
There are a few reasons these Peanut Butter Stuffed Dates become a repeat snack in my kitchen. First, texture contrast: the tender, sticky date against smooth peanut butter and crunchy peanuts hits multiple satisfying textures. Second, flexibility: you can skip the chocolate, add it, or switch peanut butter styles without changing the method.
They require almost zero prep and no cooking (unless you count quick microwaving of chocolate). That makes them a reliable choice when time is short. Finally, they present beautifully without any plating drama — a tray of stuffed dates looks thoughtful and finished even if you made them in five minutes.
Vegan & Vegetarian Swaps
- For a vegan version: keep everything as-is but verify the chocolate chipsmelted (optional) are dairy-free. Some brands are vegan; others are not.
- For a nut-free option: swap peanut butter for a seed butter like sunflower seed butter, and replace peanutschopped – I use Virginia with roasted sunflower seeds or shelled pumpkin seeds for crunch.
- For flavor variation: use almond butter or cashew butter instead of peanut butter. The method is unchanged.
Gear Checklist
- Cutting board and small sharp knife — for slicing dates and removing pits cleanly.
- Piping bag or plastic sandwich bag — makes filling neat and consistent.
- Microwave-safe bowl (if using chocolate) — to melt the chocolate chipsmelted (optional) in intervals.
- Tray or plate and parchment paper — to catch drips when drizzling or dipping with chocolate.
- Spoon or small spatula — to transfer peanut butter into the bag and to scrape melted chocolate as needed.
Things That Go Wrong
- Dates are dry or tough: that usually means older, dehydrated fruit. Swap them for fresher, plumper Medjool dates or soak for a few minutes in warm water, then pat dry before filling.
- Peanut butter is too runny or too thick: if it’s runny the stuffing can ooze out; chill it briefly so it firms up. If it’s too stiff to pipe, stir in a tiny splash of oil to loosen, or use a spoon to fill the cavity instead of piping.
- Chocolate seizes when melting: avoid moisture and stir between short microwave intervals. If it looks grainy, add a small amount of neutral oil and stir to smooth.
- Dates split or tear: make shallower slits and remove the pit carefully with a small knife or your fingers, keeping the date casing mostly intact so it holds the filling.
Holiday & Seasonal Touches
For winter gatherings, drizzle the chocolate chipsmelted (optional) and then sprinkle a tiny pinch of flaky sea salt on top — it elevates the sweetness and looks festive. You can also dust with a little cocoa powder or cinnamon for a holiday aroma.
In warmer months, skip the chocolate and top with citrus zest (orange or lime) over the chopped peanuts for a bright note. For a holiday platter, alternate plain stuffed dates with chocolate-dipped ones so guests can choose.
Insider Tips
- Prep the dates ahead: you can pit and stuff dates a few hours before serving, then top with chopped peanuts right before guests arrive to keep crunch at its best.
- Room temperature matters: if your kitchen is warm, chill filled dates briefly so the peanut butter firms and holds the chopped nuts or chocolate.
- Cut neat slits: make a single lengthwise slit without cutting through the date — it preserves the natural casing and creates a neat pocket for filling.
- Piping trick: if you don’t have a piping bag, use a plastic sandwich bag and snip a tiny corner to control flow. Work slowly to avoid overfilling.
- Batch consistency: if serving many, arrange dates on parchment in rows; when drizzling chocolate, work methodically so each gets an even coating.
Meal Prep & Storage Notes
These hold well refrigerated for up to 5 days in an airtight container. If you used melted chocolate, chill them until the chocolate sets, then store between layers of parchment to prevent sticking. Let them sit at room temperature for 10–15 minutes before serving so the peanut butter softens and the date flavors come forward.
For longer storage, freeze on a tray until solid, then transfer to a freezer-safe container for up to 2 months. Thaw in the refrigerator, then bring to room temperature before serving for the best texture. Note that frozen and thawed dates can be slightly softer than fresh-stuffed ones, but they still taste great.
Frequently Asked Questions
- Can I use any type of date? Medjool dates are ideal because they’re soft and large, making them easy to pit and stuff. Smaller, drier varieties will work but may need a short warm soak to soften.
- Do I have to melt chocolate? No. Chocolate is optional. Use it if you want a richer dessert-like finish; otherwise, the dates and peanut butter are delicious on their own.
- How do I avoid messy hands? Use a piping bag to fill dates neatly. If you hand-fill, keep a damp paper towel nearby to wipe your fingers between batches.
- Can these be served at room temperature? Yes. They’re best at cool room temperature. If your kitchen is warm, refrigerate briefly so the filling holds.
- Is there an allergy-friendly version? Yes. Replace peanut butter with a seed butter and peanutschopped – I use Virginia with chopped roasted seeds to keep the texture and flavor contrast.
That’s a Wrap
These Peanut Butter Stuffed Dates are one of those recipes that feels special but barely requires effort. They’re versatile, quick, and forgiving. Keep the ingredient list tight — Medjool Dates, Peanut butter, peanutschopped – I use Virginia, and chocolate chipsmelted (optional) — and follow the few simple steps for a consistent result every time.
Make a small batch for yourself or a big platter for guests. Either way, you’ll have a snack that looks like thought went into it but was effortless to pull together. Enjoy, and don’t be afraid to tweak toppings to match your pantry and mood.
Easy Peanut Butter Stuffed Dates
Equipment
- Knife
- Piping Bag
- Microwave-safe Bowl
Ingredients
Ingredients
- Medjool Dates
- Peanut butter
- peanutschopped – I use Virginia
- Chocolate chipsmelted optional
Instructions
Instructions
- If using chocolate, place the chocolate chips in a microwave-safe bowl and microwave in 30-second intervals, stirring between each interval, until the chocolate is smooth and creamy; set aside to stay pourable.
- Make a lengthwise slit in each Medjool date without cutting all the way through and remove the pit.
- Spoon the peanut butter into a piping bag or a plastic sandwich bag and snip a small corner to create a nozzle.
- Pipe peanut butter into the center cavity of each date.
- Top the peanut butter in each date with the chopped peanuts.
- If using melted chocolate, either drizzle the chocolate over the prepared dates or dip each whole date into the chocolate, letting excess drip off; place the dates on a tray or plate to catch drips.
- Allow chocolate to set at room temperature or chill briefly until firm before serving.
Notes
If you want these dates to taste like healthy Snickers, you can add a small amount of your favorite caramel sauce to them as well.
Don’t worry if you don’t have a piping bag you can use a Ziploc bag or a storage bag with the tip cut off to fill the date cavity.