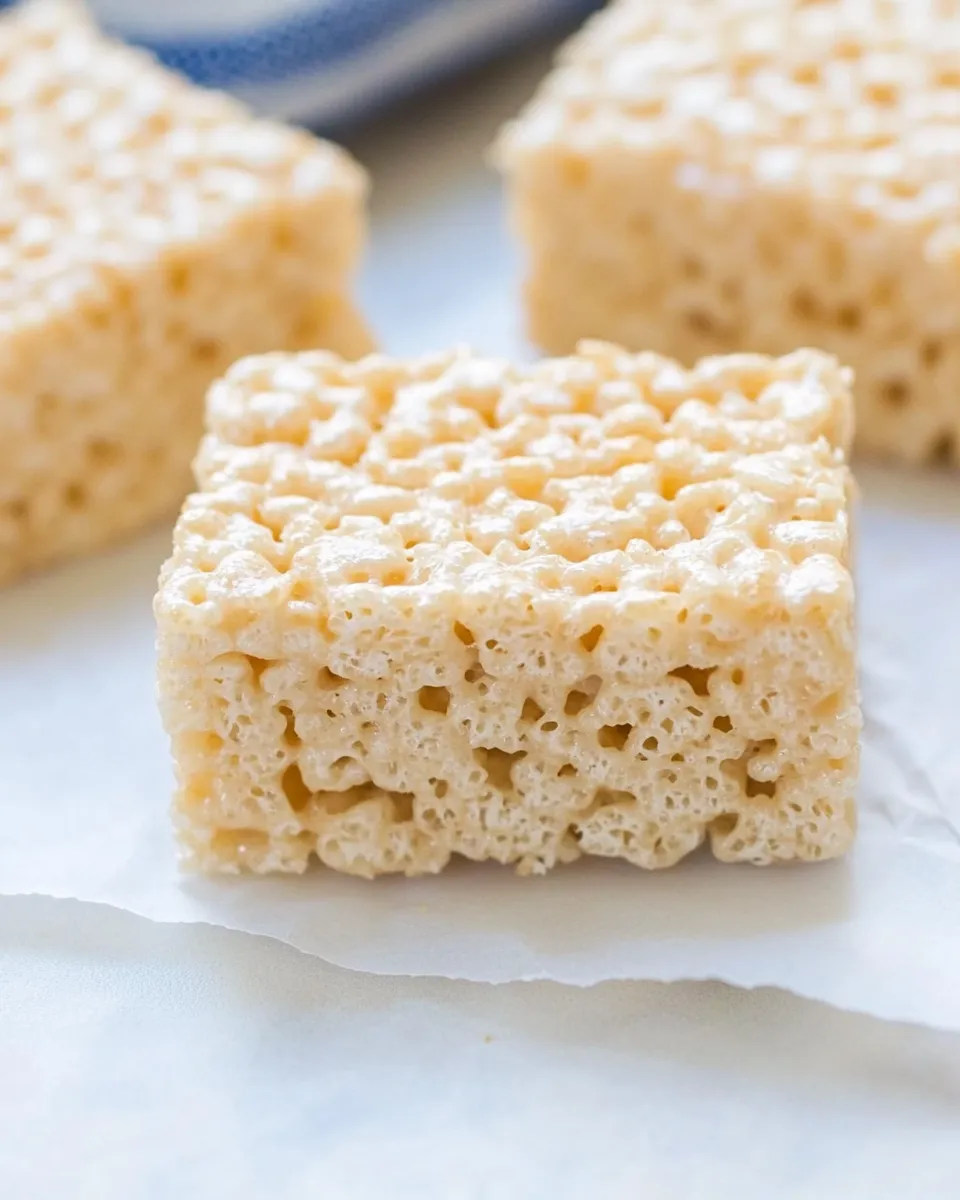
These Rice Krispies treats are the nostalgic snack you grew up with—soft, chewy, and delightfully sweet—but upgraded by one simple, dramatic step: browning the butter. Browning develops nutty, toasty flavors that cut through the sweetness of the marshmallows and give the bars a deeper, more interesting profile. The recipe is quick, forgiving, and uses pantry staples, which makes it perfect for a last-minute dessert, bake sale, or an afternoon snack with coffee.
I tested these until the texture felt just right: crisp but not dry, tender without being gummy. The technique is straightforward, but timing matters—especially when you’re browning butter and melting marshmallows. Follow the sequence below and you’ll get clean, even bars every time. There are no complicated tricks, just a couple of small attentions that make a big difference.
Below you’ll find an exact ingredient list pulled from the recipe, the step-by-step method in the original order, troubleshooting tips, storage notes, and ideas for mild variations. Read through the watch-outs before you start and you’ll save yourself a needless reheat or a scorched batch.
Ingredient List
- 5 1/2 cups Rice Krispies Cereal — provides the light, crunchy base and structure for the bars; measure so the cereal isn’t packed too tightly.
- 1/2 cup unsalted butter, browned — browning brings nutty flavor and depth; the instructions show how to brown it in the pan so you get the aroma and color without burning.
- 1/4 teaspoon salt, optional — balances sweetness and enhances the browned-butter notes; add only if you want a subtle savory counterpoint.
- 10-ounce bag miniature or large marshmallows — the binding agent that melts into a glossy, sticky matrix; either size works, though melting time may vary slightly.
Cook Browned Butter Rice Krispies Treats Like This
- Line an 8-by-8-inch baking pan with aluminum foil (leave an overhang for easy removal) and lightly spray with cooking spray or lightly butter the foil; set pan aside.
- Place 5 1/2 cups Rice Krispies cereal in a large heatproof mixing bowl; set aside.
- Put 1/2 cup unsalted butter in a heavy-bottomed large pot or skillet over medium-low heat. Stir or swirl nearly continuously as the butter melts, foams, clears, then turns golden and begins to brown and smell nutty.
- As soon as the butter begins to brown, remove the pan from the heat and continue stirring for about 1 minute to stop carryover cooking.
- If using, stir 1/4 teaspoon salt into the browned butter.
- Add the entire 10-ounce bag of marshmallows to the pan. Let them soften for 30–60 seconds, then stir. If they do not fully melt from the residual heat, return the pan to very low heat and stir constantly just until the marshmallows are fully melted and smooth—do not overheat or brown the marshmallows.
- Pour the melted marshmallow-and-butter mixture over the 5 1/2 cups cereal. Stir gently and thoroughly until the cereal is evenly coated.
- Transfer the mixture into the prepared pan. Using a spatula or lightly greased hands, press the mixture firmly and evenly into the pan, packing it into the corners and edges.
- Let the bars set at room temperature for at least 2 hours before slicing. To speed up setting, refrigerate until firm.
- Store the treats in an airtight container at room temperature or in the refrigerator for up to 1 week, or in the freezer for up to 3 months.
The Upside of Browned Butter Rice Krispies Treats
Most Rice Krispies treats lean heavily on one-note sweetness. Browning the butter changes that. The Maillard-like flavors from browned butter give the bars a toasty backbone so they taste more rounded and less sugary. That complexity means they pair better with coffee and can stand up to other flavors if you decide to layer or top them later.
Texture-wise, these stay pliable and tender when cooled properly. The method minimizes overcooking the marshmallows, which avoids rubbery or hard bars. They come together fast—about 10 minutes of active cooking—and require only a waiting period to set. For quick hosting or last-minute treats, this is an easy, crowd-pleasing upgrade to the classic.
Smart Substitutions
If you don’t have exactly what’s listed, there are workable swaps that keep the spirit of the recipe:
- Butter: If you only have salted butter, use it and skip the optional salt. The recipe is forgiving to that swap.
- Marshmallows: Either miniature or large marshmallows will melt; larger ones might need a touch more time on very low heat.
- Cereal: Plain puffed rice is the base idea—substituting a different crisped rice cereal will change texture, but it still yields a valid bar.
Keep in mind these swaps change flavor and texture subtly. The browned butter is the signature here; don’t bypass that step if you want the intended flavor outcome.
Gear Up: What to Grab
- 8-by-8-inch baking pan — for even thickness and straightforward slicing.
- Heavy-bottomed large pot or skillet — distributes heat evenly for browning butter without burning.
- Large heatproof mixing bowl — to mix cereal with the melted marshmallow mixture without scrambling it.
- Spatula and a wooden spoon or heatproof silicone spatula — for stirring and pressing the mixture into the pan.
- Aluminum foil and cooking spray or butter — for lining the pan and ensuring easy removal.
- Measuring cups and teaspoons — for accurate measurements of cereal, butter, and salt.
Watch Outs & How to Fix
Here are the common missteps and how to recover them quickly.
- Butter burned: If you see black flecks or smell a bitter char, discard and start over. Burned butter tastes off and will carry that flavor through the whole batch.
- Butter not browned enough: If you want the flavor but didn’t wait for the browning stage, you can return the pan to medium-low and carefully continue to brown, stirring constantly until golden and nutty, then remove from heat.
- Marshmallows not fully melted: Return the pan to very low heat and stir constantly until smooth. Avoid high heat; marshmallows will scorch and turn grainy.
- Bars too soft after chilling at room temp: Press firmly into the pan next time and allow full setting time. Refrigerate to speed setting if you need to slice sooner.
- Bars sticky and hard to slice cleanly: Chill the pan briefly to firm up the bars, then lift out using the foil overhang and slice with a sharp knife warmed under hot water, wiping it dry between cuts.
Season-by-Season Upgrades
Think of the base bars as a blank canvas. Small finishing touches change the mood without reworking the method.
- Fall: A sprinkle of warm spice blends or a drizzle of a seasonal sauce on top can add warmth and depth.
- Winter holidays: Press a few festive sprinkles into the top right after pressing the mixture into the pan so they adhere as the bars set.
- Spring: Lighten the presentation with a thin drizzle of melted chocolate after the bars have set and been sliced.
- Summer: Serve chilled for a bright, firm texture that complements fresh fruit on the side.
When you add toppings, do so immediately after pressing the mixture into the pan so they settle into the surface as the bars cool.
What I Learned Testing
I cooked these at different stove settings and with different pots. The heavy-bottom pan and medium-low heat are non-negotiable for predictable browning. Too hot and the butter jumps from golden to bitter fast. Swirling and stirring nearly continuously is the difference between perfectly nutty butter and a batch you’ll toss.
I also tested both miniature and large marshmallows. The result is the same if you are attentive: smooth, glossy marshmallow coating that binds the cereal. If marshmallows cool too much before stirring them with the cereal, you’ll end up with clumps. Timing is everything—soften, then stir, then add heat only if needed.
Finally, pressing the mixture firmly matters more than you think. It affects density, sliceability, and shelf life. Use lightly greased hands or a spatula and press from the center toward the edges to pack the mixture evenly.
Meal Prep & Storage Notes
These treats hold well, which makes them great for prep-ahead snacks. Follow the storage guidance exactly for best texture:
- At room temperature: Store in an airtight container for up to 1 week.
- Refrigerator: The treats can also be kept in the refrigerator for up to 1 week; chilling firms them faster and can make slicing cleaner.
- Freezer: For longer storage, freeze in an airtight container for up to 3 months. Thaw at room temperature before serving.
Keep layers separated with parchment or wax paper to prevent sticking and press the lid on gently so you don’t compress the bars out of shape.
Reader Q&A
Q: Can I make these in a larger pan?
A: Yes. A larger pan will yield thinner bars that set faster. Adjust expectations for thickness and baking time—these are no-bake bars, so “time” mainly refers to how long they take to set.
Q: My marshmallows browned—are they salvageable?
A: If the marshmallows show signs of browning or scorching, the texture will be compromised (grainy or stiff). If the browning is minimal and the flavor is fine, you can proceed, but avoid further heating.
Q: Do I have to brown the butter?
A: No, you don’t have to, but browning imparts a nutty, complex flavor that elevates a simple treat. If you skip it, use regular melted butter and skip the extra stir off-heat step.
Let’s Eat
Once set, lift the foil out and slice with a sharp knife—warm the blade between cuts for clean edges. These bars benefit from a few minutes at room temperature after slicing so the texture softens slightly. Serve on a simple plate or wrap individually for lunchboxes or gifts.
Every bite should have that gentle toasty note from the browned butter and the familiar marshmallow chew we all love. Simple to make, easy to share, and a small twist that makes them feel special. Enjoy.
Browned Butter Rice Krispies Treats
Equipment
- 8-by-8-inch baking pan
- Aluminum Foil
- cooking spray or butter
- large heatproof mixing bowl
- heavy-bottomed pot or skillet
- Spatula
Ingredients
Ingredients
- 5 1/2 cupsRice Krispies Cereal
- 1/2 cupunsalted butter browned
- 1/4 teaspoonsalt optional
- 10- ouncebag miniature or large marshmallows
Instructions
Instructions
- Line an 8-by-8-inch baking pan with aluminum foil (leave an overhang for easy removal) and lightly spray with cooking spray or lightly butter the foil; set pan aside.
- Place 5 1/2 cups Rice Krispies cereal in a large heatproof mixing bowl; set aside.
- Put 1/2 cup unsalted butter in a heavy-bottomed large pot or skillet over medium-low heat. Stir or swirl nearly continuously as the butter melts, foams, clears, then turns golden and begins to brown and smell nutty.
- As soon as the butter begins to brown, remove the pan from the heat and continue stirring for about 1 minute to stop carryover cooking.
- If using, stir 1/4 teaspoon salt into the browned butter.
- Add the entire 10-ounce bag of marshmallows to the pan. Let them soften for 30–60 seconds, then stir. If they do not fully melt from the residual heat, return the pan to very low heat and stir constantly just until the marshmallows are fully melted and smooth—do not overheat or brown the marshmallows.
- Pour the melted marshmallow-and-butter mixture over the 5 1/2 cups cereal. Stir gently and thoroughly until the cereal is evenly coated.
- Transfer the mixture into the prepared pan. Using a spatula or lightly greased hands, press the mixture firmly and evenly into the pan, packing it into the corners and edges.
- Let the bars set at room temperature for at least 2 hours before slicing. To speed up setting, refrigerate until firm.
- Store the treats in an airtight container at room temperature or in the refrigerator for up to 1 week, or in the freezer for up to 3 months.