I make yogurt at home because it tastes better than anything in a plastic tub, and because once you know the few small steps it takes, it becomes one of the simplest weekend tasks. This recipe gives you thick, creamy yogurt with clean flavor and nothing added — just milk and a good starter. It’s forgiving and deliberately low-tech: a thermometer helps, but you can do it by feel.
Expect a little waiting time — the magic happens while you do other things. The hands-on work is brief, and the payoff is a week (or more) of fresh yogurt for breakfasts, sauces, dressings, and snacks. I’ll walk you through the exact temperatures, timing, and a few practical ways to strain and store your batch so it fits your kitchen and schedule.
Ingredient Checklist
- 2 litre organic milk — Use 2% or whole as specified; this is the base that determines richness and final texture.
- 245 g yogurt — 2% or full fat; this is your live-culture starter. Make sure it contains active cultures and is plain (no flavors or additives).
From Start to Finish: Greek Yogurt
- Pour all 2 litres of milk into a heavy pot and heat over medium heat, stirring occasionally to prevent scorching, until the milk reaches 195°F / 90°C. Use a thermometer. If you do not have one, stop heating just before the milk boils (as it begins to simmer).
- Remove the pot from the heat and let the milk cool to 110°F / 43°C. Use a thermometer. If you do not have one, test by dipping a clean pinky into the milk and counting to 20 — it should feel warm but not painfully hot at 20 seconds; if it is too hot, let it cool longer.
- Reserve about 1 cup (≈240 ml) of the cooled milk in a small bowl. Add all 245 g of the yogurt to that bowl and whisk until smooth to make a starter slurry.
- Pour the yogurt starter back into the pot with the remaining cooled milk and whisk gently and thoroughly to combine.
- Cover the pot to hold the heat (a lid, then wrap the pot in a blanket or place in a warm insulated spot). Keep the milk-yogurt mixture warm and undisturbed for at least 6 hours. Do not move or shake the pot during this incubation.
- After the incubation period, transfer the pot to the refrigerator and chill, undisturbed, for 24 hours. After 24 hours the yogurt is ready to eat.
- If you want thicker, strained (Greek) yogurt: line a fine-mesh strainer with cheesecloth, place it over a bowl, pour the chilled yogurt into the lined strainer, and let it drain for several hours or until whey stops dripping. You may hang the cheesecloth to speed draining if desired.
- Store unstrained yogurt in the refrigerator for up to 10 days. Straining to remove whey will thicken the yogurt and can extend its refrigerated life by about one additional week.
- Use whole or 2% milk and full‑fat (2% or full) yogurt as the recipe specifies; avoid skim milk. Make sure you reach the correct heating and cooling temperatures and do not disturb the yogurt during incubation.
Why This Greek Yogurt Stands Out
This version focuses on two things: control and texture. Starting with good milk and a reliable starter means you control the fat level and flavor, so you get consistent results. Heating to 195°F/90°C changes the milk proteins so the finished yogurt sets firmer and resists a watery whey separation. That one step is responsible for much of the difference between a good homemade yogurt and a runnier store-bought plain yogurt.
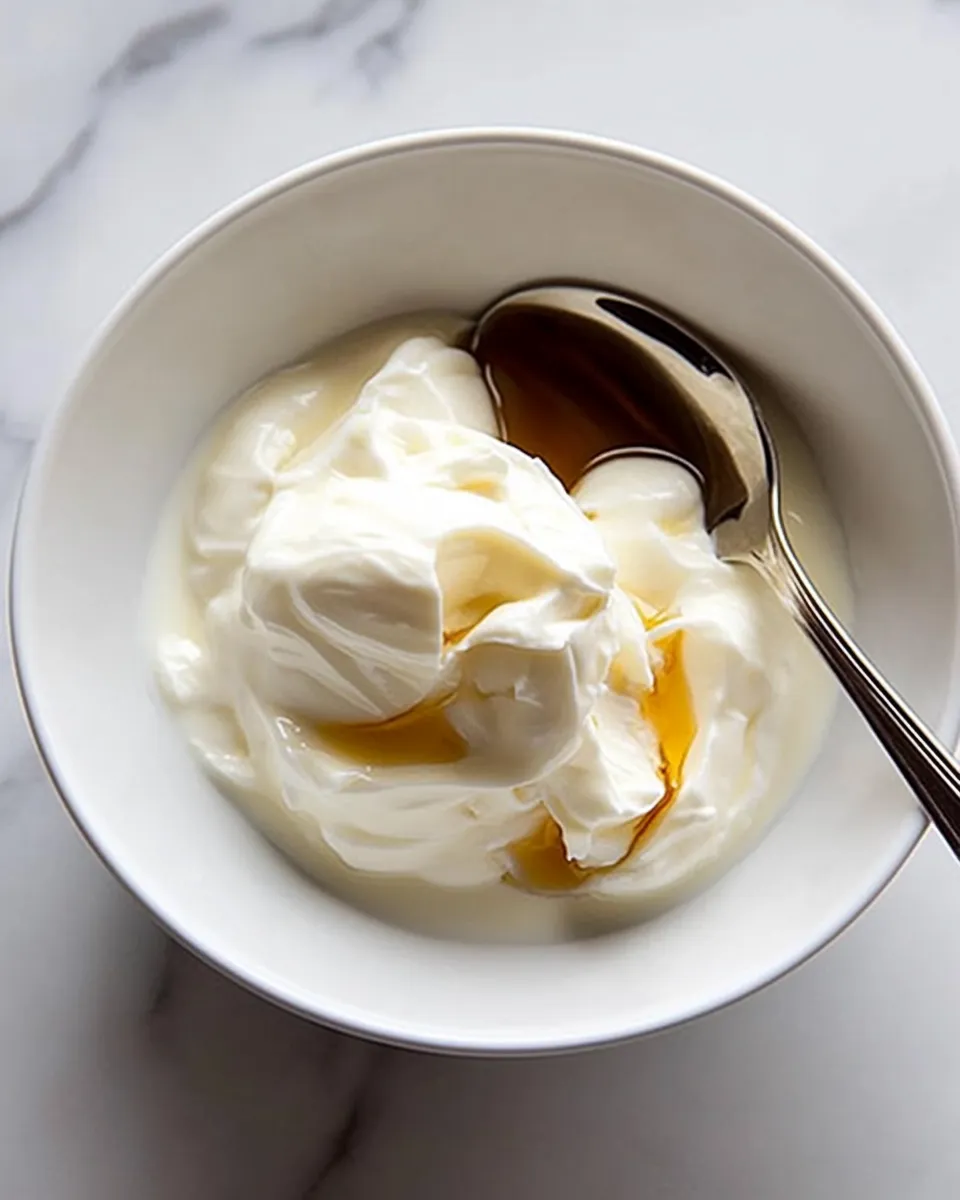
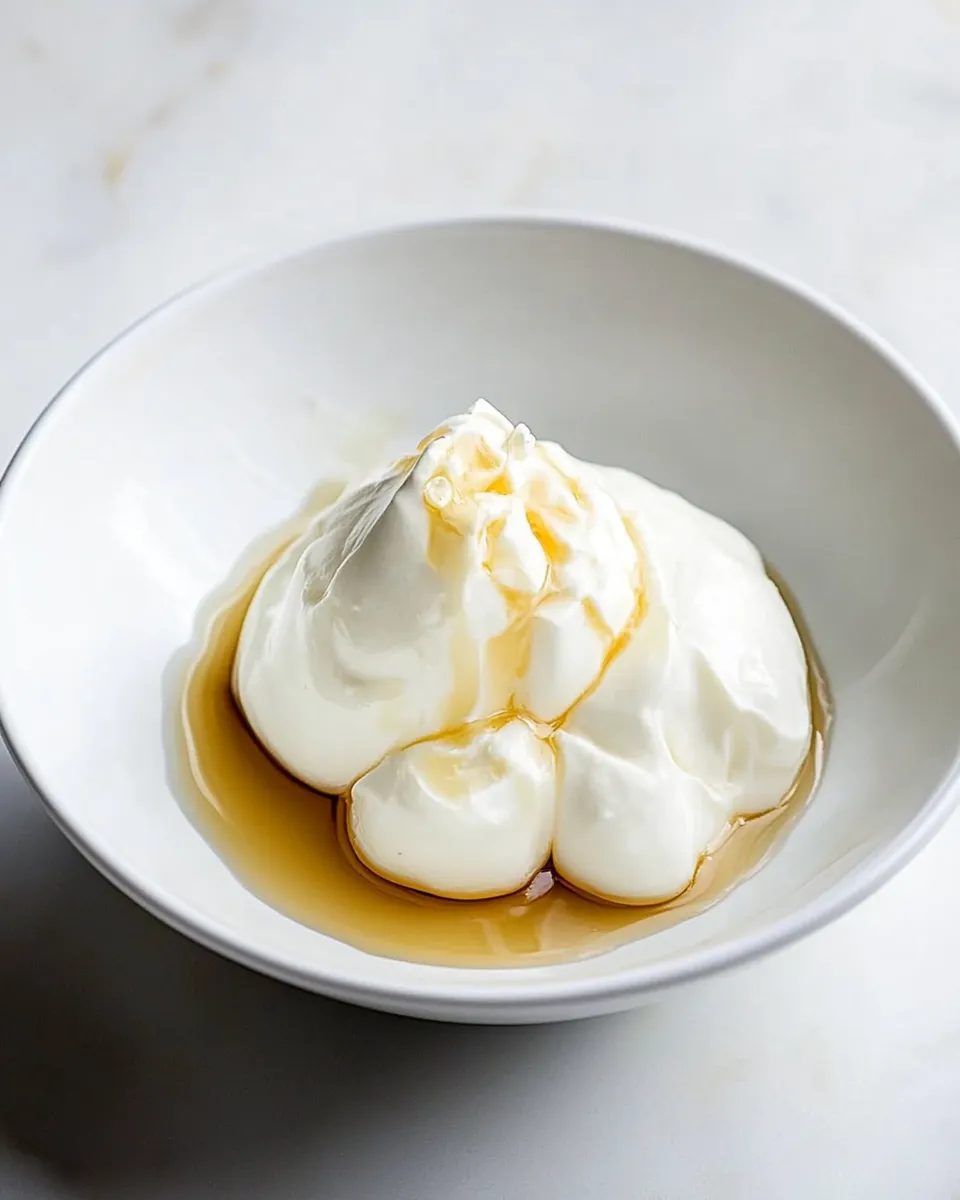
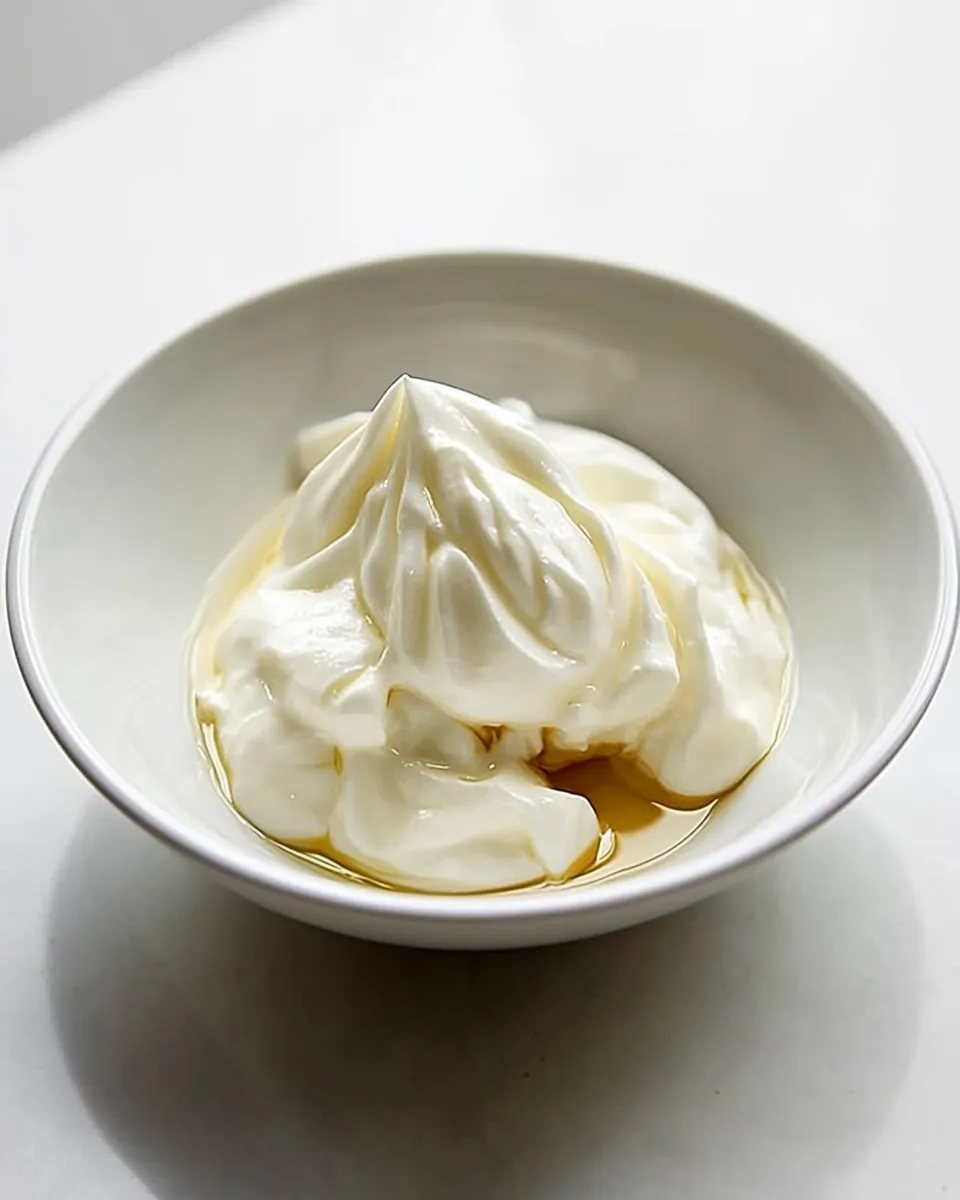
The 24-hour chill after incubation is a personal favorite tip: it lets flavors settle and the tang mature without over-acidifying. If you strain it, you’ll end up with the thick, spreadable texture we usually call Greek yogurt — ideal for spooning onto fruit, folding into sauces, or using as a base for dips.
Budget & Availability Swaps
- Milk: The recipe specifies whole or 2% milk. If whole milk is expensive or hard to find, 2% is an acceptable, slightly leaner alternative that still gives good body.
- Starter yogurt: Use any plain yogurt with live cultures labeled on the package. If you only have smaller tubs, use the same total weight (245 g) of combined tubs rather than buying a new brand unless you want to experiment.
- Organic vs conventional: Organic milk is in the ingredient list; if you prefer or need to save money, conventional whole milk will still produce yogurt. The final texture is influenced by fat content more than the organic label.
What’s in the Gear List
- Heavy pot — Even heating prevents scorching; a thicker-bottomed pot is easier to manage.
- Thermometer — Instant-read or candy thermometer; it’s the most reliable way to hit 195°F/90°C and 110°F/43°C.
- Small bowl — For the starter slurry when you mix yogurt into reserved milk.
- Whisk — To blend the starter smoothly into the milk.
- Lid and insulating material — A lid, blanket, or towel to wrap the pot and hold the heat during incubation.
- Cheesecloth and fine-mesh strainer — If you want to strain to make Greek-style yogurt.
- Bowl for draining — To catch whey if you strain your yogurt.
- Refrigerator space — The pot or containers must chill undisturbed for 24 hours after incubation.
Troubles You Can Avoid
- Scorched milk: Stir while heating and use medium heat. A heavy pot distributes heat better and reduces the risk of burning on the bottom.
- Too-warm starter: If the milk is hotter than 110°F/43°C when you add the yogurt slurry, you can kill the cultures. Always bring the milk down to the target temperature before adding the starter.
- Wobbly or watery set: Make sure you reach 195°F/90°C when heating — this is the key step to getting a stable gelatin network for a firmer set. Also, don’t disturb the pot during incubation.
- Over-souring: Incubating much longer than needed increases acidity. The recipe calls for at least 6 hours; taste earlier batches to learn how long your environment needs.
- Inconsistent results: Keep incubation warm and steady. Wrap the pot in a towel or place it in an oven with the light on (but the oven off) to maintain temperature.
Make It Fit Your Plan
Meal-prep: Make this batch on a day you have a couple of hours to monitor the heating stage, then forget it while it incubates and chills. The first two steps take the active time; incubation and refrigeration are hands-off. Keep a jar of strained yogurt in the fridge for breakfasts or to use as a sour cream substitute.
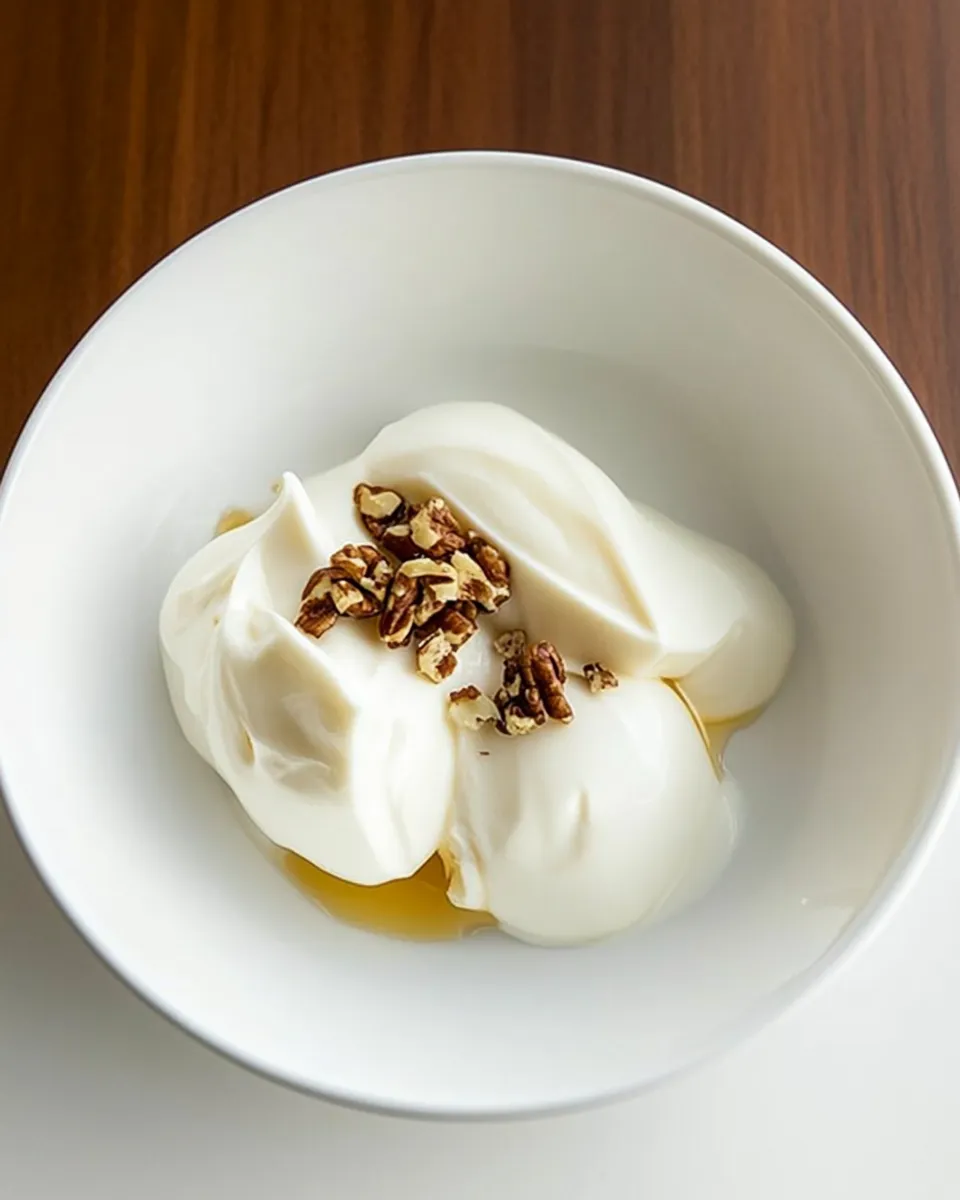
Portioning: After chilling, divide into jars for single-serve breakfasts or into larger containers for cooking. Thick, strained yogurt spreads well on toast topped with honey and nuts. Unstrained is excellent in smoothies and for pourable dressings.
Flavoring: Add honey, jam, fresh fruit, or toasted nuts at the time of serving. Avoid mixing in strong sweeteners before refrigeration if you plan to use the yogurt in savory cooking later.
What Could Go Wrong
- No set at all: Most often because the milk didn’t heat enough to 195°F/90°C or the starter cultures were dead. Check your thermometer and the starter’s expiration/quality. Use yogurt with active cultures.
- Grainy texture: Overheating or boiling the milk can cause protein denaturation that leads to a grainy curd. Heat gently and stop as it begins to simmer.
- Excess whey separation: Some whey is normal. If it’s excessive, try longer cooling after heating before adding the starter, confirm you reached 195°F/90°C, or strain the yogurt for a thicker result.
- Unpleasant sourness: Incubated too long or too warm. Shorten incubation time next batch and keep the pot in a cooler incubating environment.
Save for Later: Storage Tips
Keep unstrained yogurt refrigerated and use within 10 days. If you strain to make Greek-style yogurt, it will thicken and may keep for about one additional week in the refrigerator due to reduced moisture.
Store in clean, airtight containers. If you’re taking jars on the go, a small layer of plastic wrap directly on the surface before closing can protect against cross-flavors in a packed fridge. Avoid freezing if you want to preserve texture — yogurt can be frozen, but thawed yogurt often becomes grainy and separated. For best flavor and texture, use refrigerated yogurt within the recommended windows.
Quick Q&A
- Can I use skim milk? The recipe specifies whole or 2% and advises against skim milk. Skim yields a thinner, less satisfying texture.
- Can I reuse yogurt starter from my batch? Yes. Take a few tablespoons from a successfully set batch as the starter for your next one. Over multiple generations, consider refreshing with a commercial starter occasionally to maintain culture strength.
- Do I need a thermometer? It’s strongly recommended. The target temperatures are specific: 195°F/90°C to heat, and 110°F/43°C to add the starter. If you don’t have one, use the pinky test described in the directions, but expect a little more variability.
- How long to incubate? At least 6 hours undisturbed. Incubation time affects tang and thickness — longer gives tangier yogurt, but don’t go so long it becomes overly sour.
- Why chill 24 hours after incubation? Chilling completes the set and allows the flavor to mellow. Skipping the full 24-hour chill will give you looser, less settled yogurt.
See You at the Table
Homemade yogurt is a small ritual with a generous reward: clean flavor, control over ingredients, and a versatile pantry staple. Once you’ve done a batch or two, you’ll learn how your kitchen’s temperature and your personal taste influence time and technique. Keep a jar in the fridge, and use it freely — it makes breakfasts brighter and sauces silkier.
If you try this recipe, start with the exact steps here, then adjust incubation and straining to find your perfect texture. Bring a bit of this everyday simplicity to your table — and enjoy what you made.
Homemade Greek Yogurt Recipe by Chef Maria Loi
Equipment
- heavy pot
- Thermometer
- Small Bowl
- Whisk
- Lid
- blanket or insulated wrap
- Fine mesh strainer
- Cheesecloth
- Refrigerator
Ingredients
Ingredients
- 2 litreorganic milk2% or whole
- 245 gyogurt2% or full fat
Instructions
Instructions
- Pour all 2 litres of milk into a heavy pot and heat over medium heat, stirring occasionally to prevent scorching, until the milk reaches 195°F / 90°C. Use a thermometer. If you do not have one, stop heating just before the milk boils (as it begins to simmer).
- Remove the pot from the heat and let the milk cool to 110°F / 43°C. Use a thermometer. If you do not have one, test by dipping a clean pinky into the milk and counting to 20 — it should feel warm but not painfully hot at 20 seconds; if it is too hot, let it cool longer.
- Reserve about 1 cup (≈240 ml) of the cooled milk in a small bowl. Add all 245 g of the yogurt to that bowl and whisk until smooth to make a starter slurry.
- Pour the yogurt starter back into the pot with the remaining cooled milk and whisk gently and thoroughly to combine.
- Cover the pot to hold the heat (a lid, then wrap the pot in a blanket or place in a warm insulated spot). Keep the milk-yogurt mixture warm and undisturbed for at least 6 hours. Do not move or shake the pot during this incubation.
- After the incubation period, transfer the pot to the refrigerator and chill, undisturbed, for 24 hours. After 24 hours the yogurt is ready to eat.
- If you want thicker, strained (Greek) yogurt: line a fine-mesh strainer with cheesecloth, place it over a bowl, pour the chilled yogurt into the lined strainer, and let it drain for several hours or until whey stops dripping. You may hang the cheesecloth to speed draining if desired.
- Store unstrained yogurt in the refrigerator for up to 10 days. Straining to remove whey will thicken the yogurt and can extend its refrigerated life by about one additional week.
- Use whole or 2% milk and full‑fat (2% or full) yogurt as the recipe specifies; avoid skim milk. Make sure you reach the correct heating and cooling temperatures and do not disturb the yogurt during incubation.
Notes
You can cook sometasty barbecue carrotswith Greek yogurt.