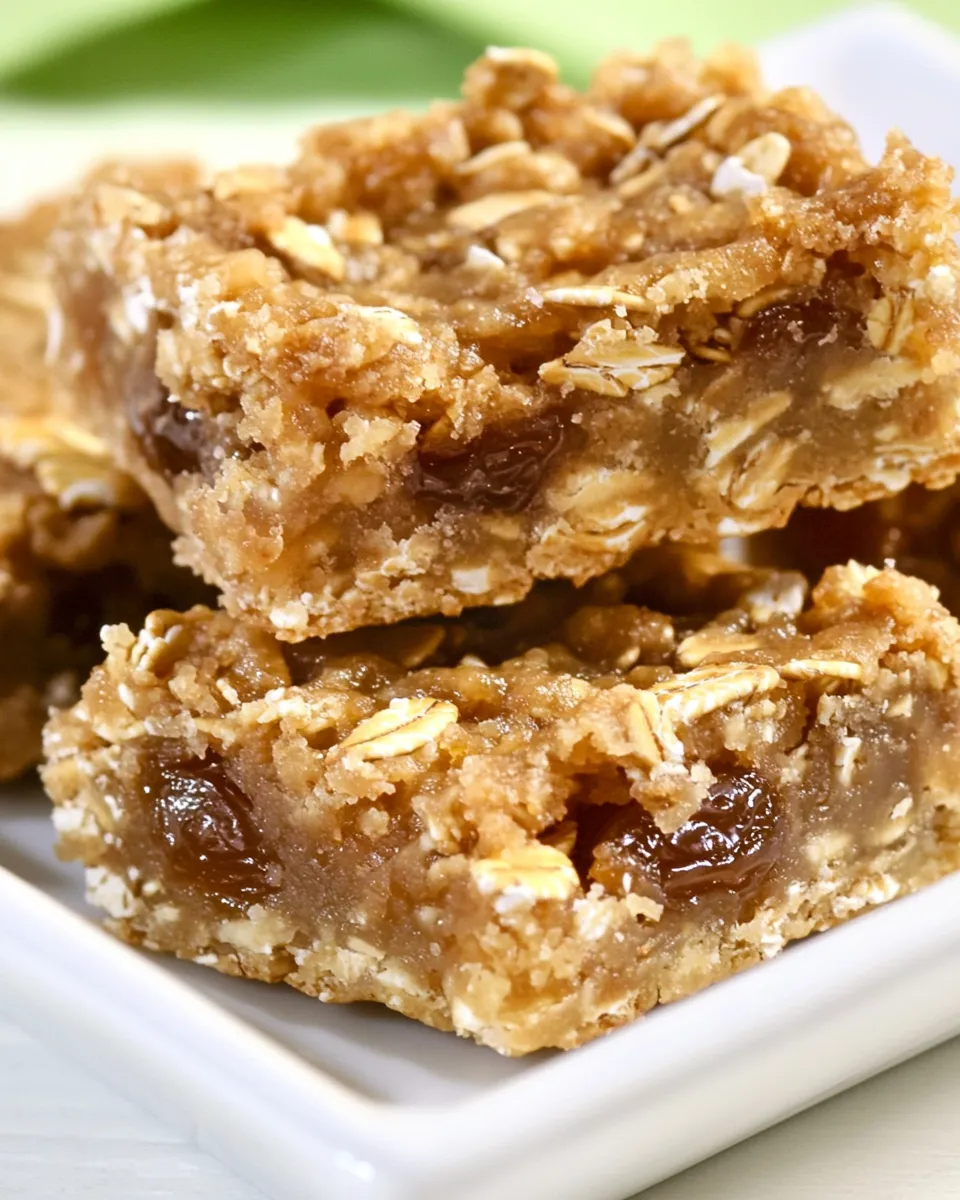
These oat-date bars are one of those recipes I turn to again and again when I want something both comforting and reliably wholesome. They come together with pantry-friendly ingredients, have a satisfying chew from the oats, and a caramel-like date filling that feels indulgent without a lot of fuss. I like to bake a pan on Sunday afternoon so I have something to grab with tea or to tuck into lunchboxes during the week.
No complicated equipment, no temperamental dough — just measured ingredients and a bit of patience while the bars bake and cool. The texture is somewhere between a chewy cookie and a dense crumb bar. They slice neatly once cooled, and the oat topping crisps around the edges while the date layer keeps things sweet and tender.
Below you’ll find the ingredient list and step-by-step directions exactly as the recipe requires, plus practical swaps, troubleshooting tips, storage notes, and answers to the questions I get most often. If you like baking with whole grains and natural sweeteners, these will become a routine you reach for.
The Ingredient Lineup
Ingredients
- 1 1/2 cups white whole-wheat flour — provides structure and a nuttier whole-wheat flavor while staying tender.
- 1 cup brown coconut palm sugar — sweetens and adds a caramel note; brown sugar-style moisture helps the bars hold together.
- 1 cup old-fashioned rolled oats — gives chew and texture; use old-fashioned oats for structure rather than quick oats.
- 1 1/2 teaspoons cinnamon — warms the filling and oat layers; balances the date sweetness.
- 1/2 teaspoon baking soda — a touch of lift so the crust and topping aren’t flat.
- 1/2 teaspoon salt — essential for flavor balance and to brighten the sweetness.
- 1 1/2 cups water — used to cook the dates into a smooth, spreadable paste.
- 1 1/2 cups Medjool dates, pitted and chopped — the heart of the filling; Medjool gives caramel depth and natural sweetness.
- 1 teaspoon vanilla extract — stirred into the cooled date paste for aromatic lift.
- 3/4 cup coconut oil, solid, see directions — cut into small pieces and worked into the dry mixture to create a tender, crumbly crust and topping.
Oat-Date Bars, Made Easy
- Preheat oven to 350°F. Line an 8 x 8-inch pan with parchment paper (leave an overhang for lifting the bars out later).
- Place the measured 3/4 cup coconut oil in the freezer for about 15 to 20 minutes, until solid.
- While the coconut oil chills, make the date paste: bring 1 1/2 cups water to a gentle simmer in a saucepan over medium-high heat. Add 1 1/2 cups pitted, chopped Medjool dates, reduce heat to medium-low, and cook, stirring occasionally, until the dates break down into a thick paste, about 10 minutes.
- Remove the date mixture from heat and let it cool to room temperature. Stir in 1 teaspoon vanilla extract once cooled.
- In a large bowl, combine the dry ingredients: 1 1/2 cups white whole-wheat flour, 1 cup brown coconut palm sugar, 1 cup old-fashioned rolled oats, 1 1/2 teaspoons cinnamon, 1/2 teaspoon baking soda, and 1/2 teaspoon salt. Mix until evenly distributed.
- Remove the solid coconut oil from the freezer and dice it into pea-sized pieces.
- Add the diced coconut oil to the dry mixture. Use your hands to work the oil into the dry ingredients until the mixture is lumpy and moist and holds together when pressed.
- Reserve about half of this oat mixture for the topping. Press the other half firmly and evenly into the bottom of the prepared pan to form the crust.
- Spread the cooled date paste in an even layer over the crust.
- Sprinkle the reserved oat mixture evenly over the date layer and gently press/tap it down to compact slightly (do not fully flatten into a solid layer).
- Bake until the top is golden brown and the filling is set, about 35 to 45 minutes. Remove from oven and allow the bars to cool completely in the pan before lifting out on the parchment and cutting into squares.
Why It’s Crowd-Pleasing
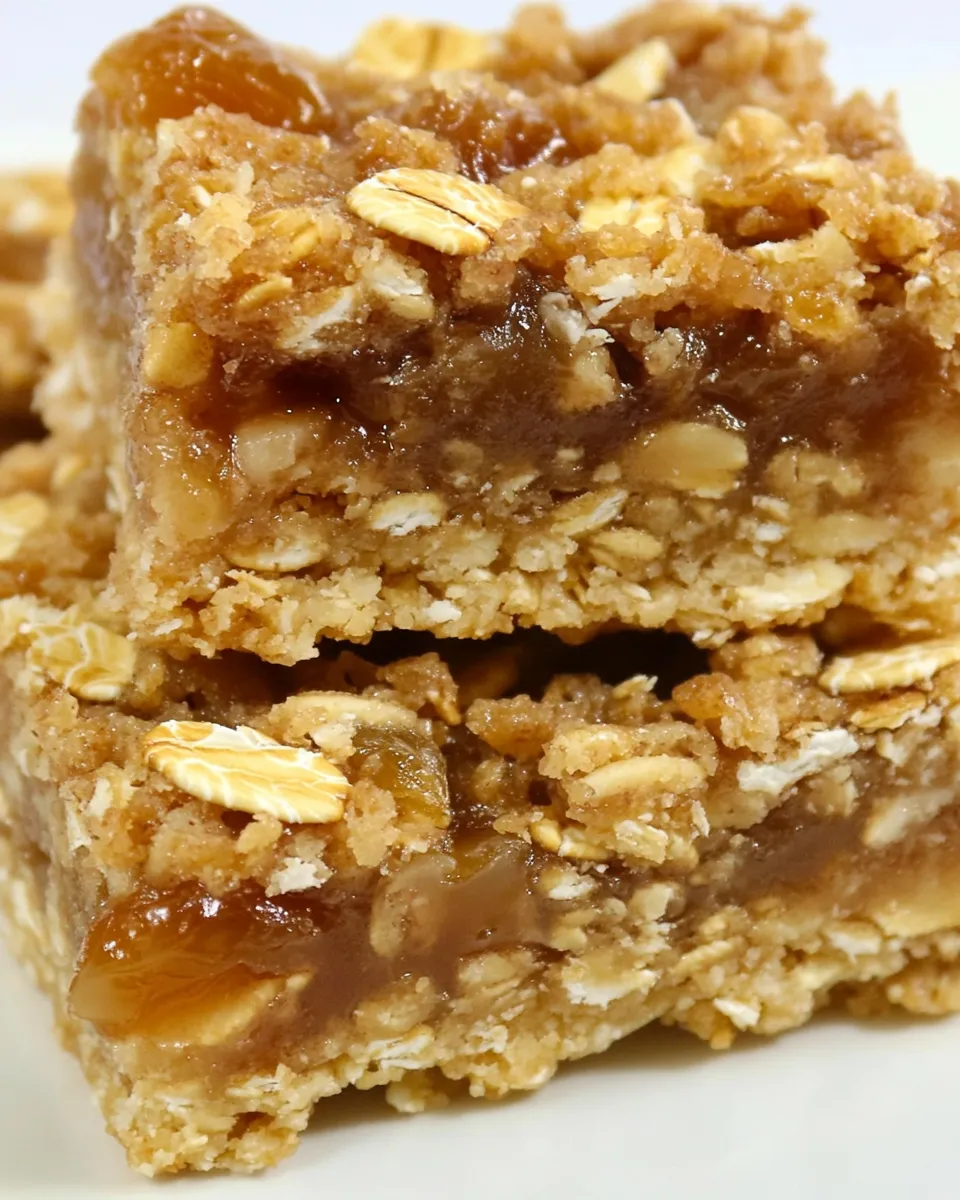
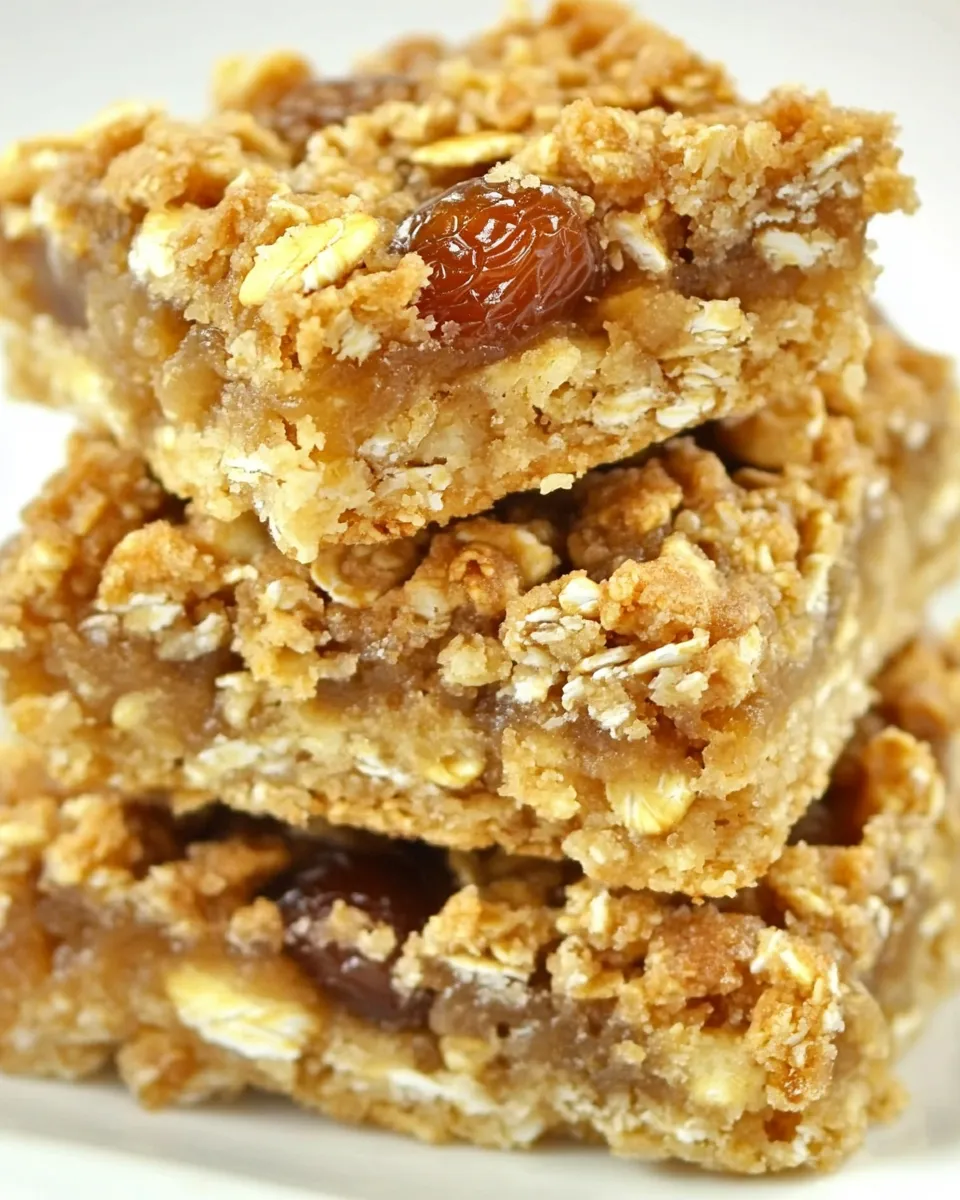
These bars are a reliable hit because they balance a few simple textures and flavors: a crumbly oat crust, a sticky sweet date center, and a crisp-tender topping. Dates provide deep, natural sweetness that tastes richer than granulated sugar, so the final result feels indulgent despite using whole-wheat flour and oats.
The flavor profile is familiar without being bland. Cinnamon and the caramel notes from coconut palm sugar and Medjool dates make these bars broadly appealing — kids, coworkers, and potluck crowds tend to reach for them first. They’re also easy to portion and transport, which makes them a practical choice when you need a crowd-pleasing baked good.
Swap Guide
I like keeping the original build for texture, but here are thoughtful substitutions if you need them:
- Flour: You can use all-purpose flour instead of white whole-wheat for a lighter crumb. The bars will be less nutty but still tasty.
- Sugar: If you don’t have brown coconut palm sugar, regular light brown sugar works. Expect a slightly different flavor profile.
- Oats: Old-fashioned rolled oats give the best chew; quick oats will make the topping more uniform and less textured.
- Coconut oil: If you prefer, use a neutral oil-based solid fat like chilled butter cut into small pieces. Flavor will shift slightly (butter adds richness).
- Dates: If Medjool aren’t available, use another soft, sweet date variety—soak briefly in hot water to soften before chopping.
- Vegan: The recipe is already vegan if your coconut oil is the only fat; using butter would make it non-vegan.
What You’ll Need (Gear)
- 8 x 8-inch baking pan — for even baking and the right thickness.
- Parchment paper — essential for an easy lift and clean edges.
- Medium saucepan — to simmer and break down the dates into paste.
- Large mixing bowl — to combine dry ingredients and work in the coconut oil.
- Measuring cups and spoons — accuracy matters for texture.
- A sharp knife and cutting board — to chop the dates before cooking.
- Hands (or a pastry cutter) — to work the solid coconut oil into the dry mix until crumbly.
Missteps & Fixes
Even simple recipes can go sideways. Here are common problems and how to fix them.
Dates aren’t breaking down or the filling is lumpy
If the date mixture stays lumpy after the suggested cook time, increase the simmer slightly and stir more frequently. You can also mash with the back of a spatula in the pan. If your dates are dry, add a tablespoon or two of additional hot water and continue cooking until you reach a spreadable paste.
Topping won’t hold together
If the oat mixture doesn’t clump when pressed, either the coconut oil wasn’t worked in well enough or it softened too much. Chill any remaining oil briefly and work it back into the dry mix, or press the topping slightly firmer into the date layer before baking. The mixture should be lumpy and moist and hold when pressed in your hand.
Bars come out too soft or gummy
Undercooking or cutting before fully cooled can cause a gummy center. Bake until the top is golden and filling feels set; then allow the pan to cool completely before lifting the slab out. Cooling lets the filling firm up and makes neat slices.
Edges burn before center is set
Ovens vary. If edges brown too quickly, tent the pan loosely with foil halfway through baking, and continue until the center is set. You can also place the pan on a lower rack so the top doesn’t brown too fast.
Make It Year-Round
These bars are seasonless. In cooler months, serve them warm with a mug of tea. In summer, bake and store them in the fridge for a cool snack. Dates are shelf-stable year-round, so you can make these whenever you want without thinking about seasonal fruit. To give them a seasonal touch, add spices (ginger or nutmeg in fall/winter) or a sprinkle of flaked sea salt on top after baking for a summer-sweet contrast.
If You’re Curious
Why coconut oil solid? The recipe relies on solid fat distributed through the dry mix to create a short, tender crumb. Chilling the coconut oil keeps it solid long enough to dice and work into the dry ingredients; as the bars bake, the fat melts and creates pockets that produce tender texture. If you used melted coconut oil, the result would be denser and less crumbly.
Why simmer the dates with water? Cooking breaks down the dates into a cohesive paste that spreads cleanly between the crust and topping. That paste is what gives the bars their caramel-like, naturally sweet center without adding syrup or extra sugar beyond the recipe.
Meal Prep & Storage Notes
These bars are very forgiving for make-ahead. Once completely cooled, wrap the whole slab in parchment and foil or store in an airtight container. They keep at room temperature for up to 3 days, tightly wrapped. For longer storage, refrigerate up to 10 days or freeze for up to 3 months.
To freeze: cut into squares, place pieces in a single layer on a baking sheet to flash-freeze, then transfer to an airtight container or freezer bag with parchment between layers. Thaw at room temperature or warm briefly in a low oven or microwave before serving.
Your Top Questions
Can I use another sweetener? Yes—brown sugar is the closest swap, though the flavor will shift. The date paste provides primary sweetness, so the sugar mostly contributes to texture and a caramel tone.
Are the bars gluten-free? Not as written. To make them gluten-free, use a gluten-free flour blend that substitutes cup-for-cup for wheat flour and ensure the oats are certified gluten-free.
Why chill the coconut oil? Chilling firms the oil so it can be diced and worked into the dry mix in pea-sized pieces. Those pieces create the crumbly texture you want.
Can I make the date paste ahead? Yes. Make it, cool it, and store in the fridge in an airtight container for up to 5 days. Bring to room temperature before spreading.
How thick should the bars be? Using an 8 x 8-inch pan gives bars roughly 3/4–1 inch thick. If you use a larger pan, they will be thinner and bake faster—check the center at 25–30 minutes.
Next Steps
Ready to bake? Pull together the ingredients, chill your coconut oil while you make the date paste, and follow the steps above. These bars reward patience at the cooling stage, so plan for at least an hour of cooling time before slicing. Once you taste that tender oat layer paired with the sticky date filling, you’ll understand why this has become a go-to treat in my kitchen. If you try them, leave a note about what swap you made and how they turned out — I always enjoy hearing what readers experiment with.

Oat-Date Bars
Equipment
- 8 x 8-inch pan
- Parchment Paper
- Saucepan
- Large Bowl
Ingredients
Ingredients
- 1 1/2 cupswhite whole-wheat flour
- 1 cupbrown coconut palm sugar
- 1 cupold-fashioned rolled oats
- 1 1/2 teaspoonscinnamon
- 1/2 teaspoonbaking soda
- 1/2 teaspoonsalt
- 1 1/2 cupswater
- 1 1/2 cupsmedjool datespitted and chopped
- 1 teaspoonvanilla extract
- 3/4 cupcoconut oilsolid see directions
Instructions
Instructions
- Preheat oven to 350°F. Line an 8 x 8-inch pan with parchment paper (leave an overhang for lifting the bars out later).
- Place the measured 3/4 cup coconut oil in the freezer for about 15 to 20 minutes, until solid.
- While the coconut oil chills, make the date paste: bring 1 1/2 cups water to a gentle simmer in a saucepan over medium-high heat. Add 1 1/2 cups pitted, chopped Medjool dates, reduce heat to medium-low, and cook, stirring occasionally, until the dates break down into a thick paste, about 10 minutes.
- Remove the date mixture from heat and let it cool to room temperature. Stir in 1 teaspoon vanilla extract once cooled.
- In a large bowl, combine the dry ingredients: 1 1/2 cups white whole-wheat flour, 1 cup brown coconut palm sugar, 1 cup old-fashioned rolled oats, 1 1/2 teaspoons cinnamon, 1/2 teaspoon baking soda, and 1/2 teaspoon salt. Mix until evenly distributed.
- Remove the solid coconut oil from the freezer and dice it into pea-sized pieces.
- Add the diced coconut oil to the dry mixture. Use your hands to work the oil into the dry ingredients until the mixture is lumpy and moist and holds together when pressed.
- Reserve about half of this oat mixture for the topping. Press the other half firmly and evenly into the bottom of the prepared pan to form the crust.
- Spread the cooled date paste in an even layer over the crust.
- Sprinkle the reserved oat mixture evenly over the date layer and gently press/tap it down to compact slightly (do not fully flatten into a solid layer).
- Bake until the top is golden brown and the filling is set, about 35 to 45 minutes. Remove from oven and allow the bars to cool completely in the pan before lifting out on the parchment and cutting into squares.