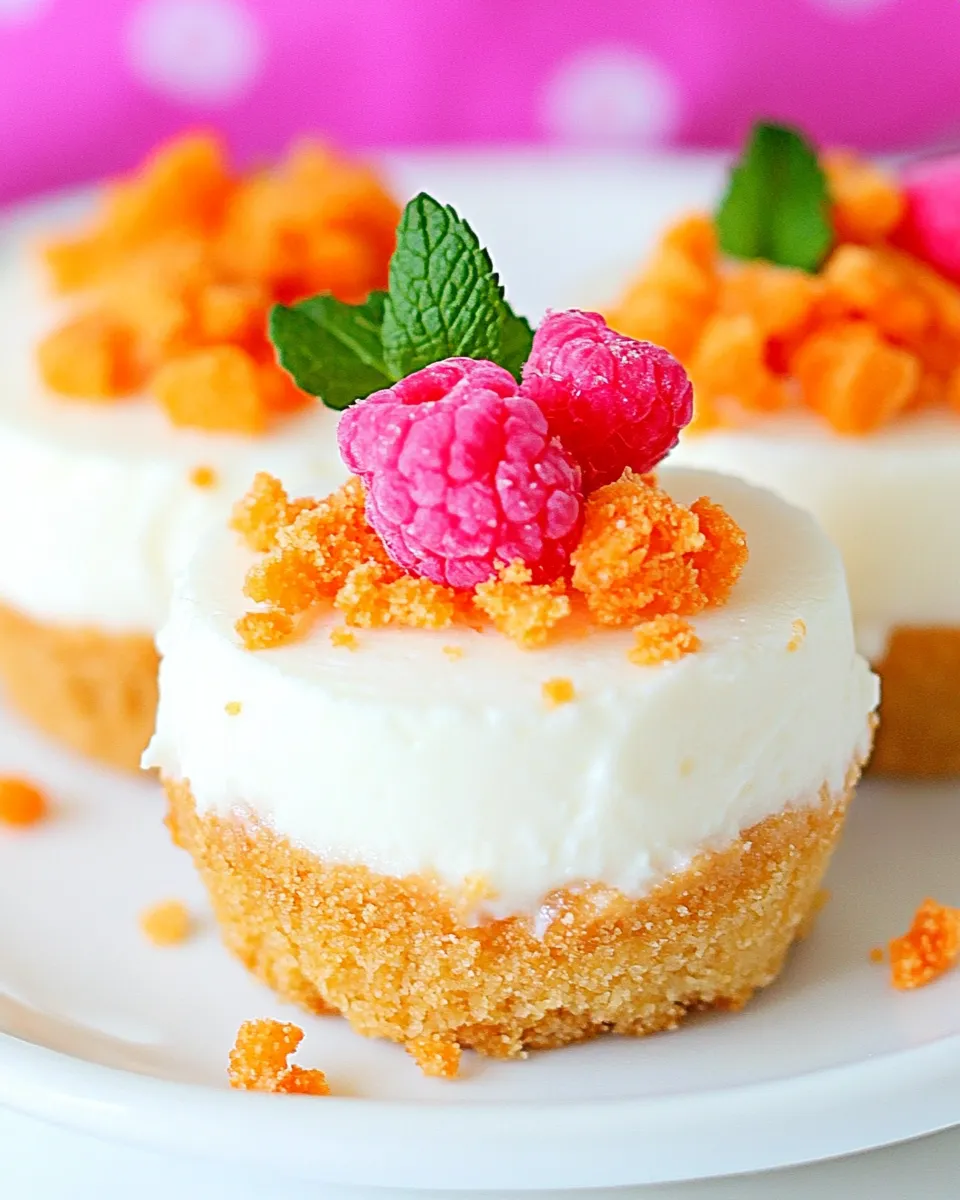
These No-Bake Mini Cheesecakes are a weekday-friendly dessert that looks delightful with very little effort. I turn to this recipe when I want something that feels special but doesn’t demand an oven, timing with a thermometer, or a long cleanup. They’re small, portable, and perfect for parties, lunchboxes, or a quick treat after dinner.
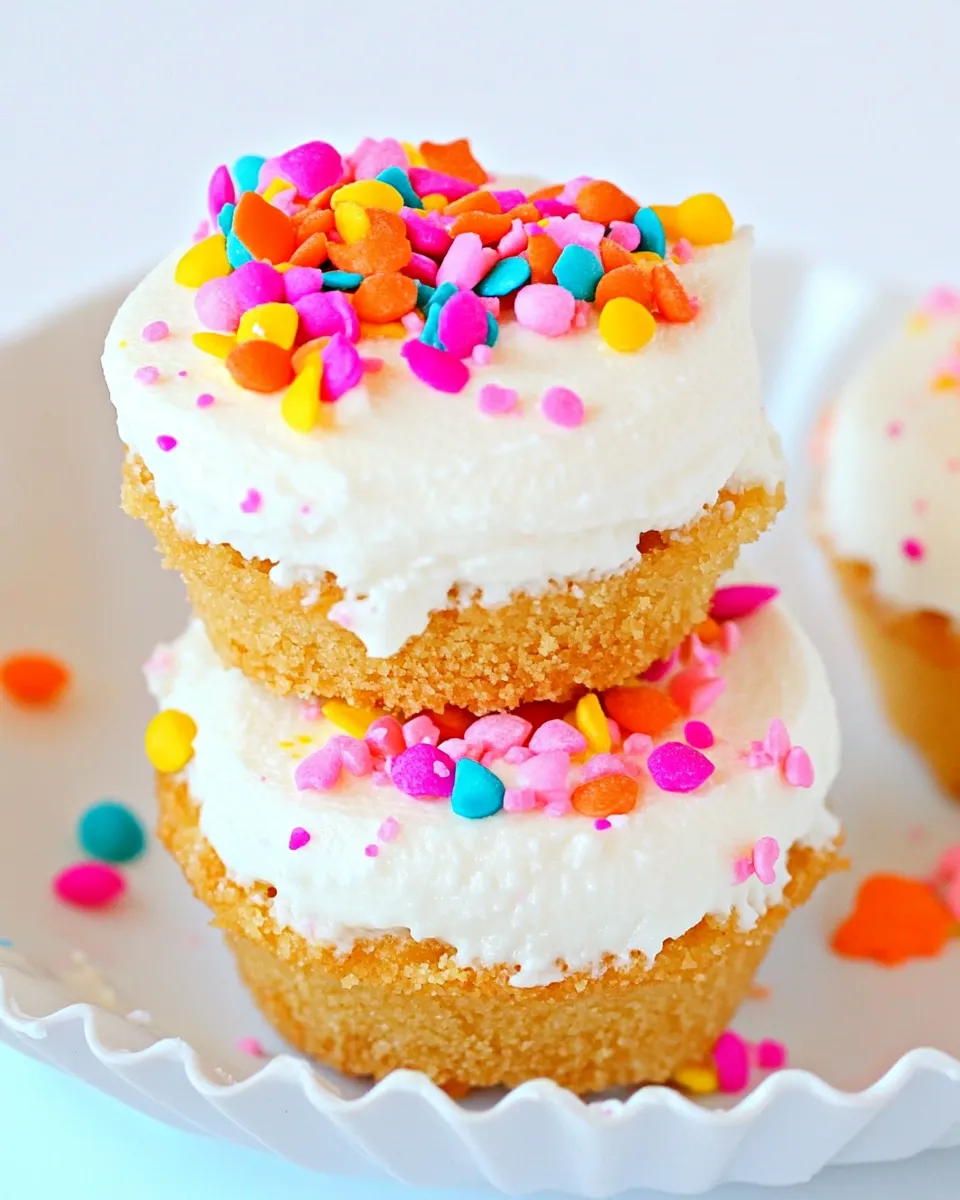
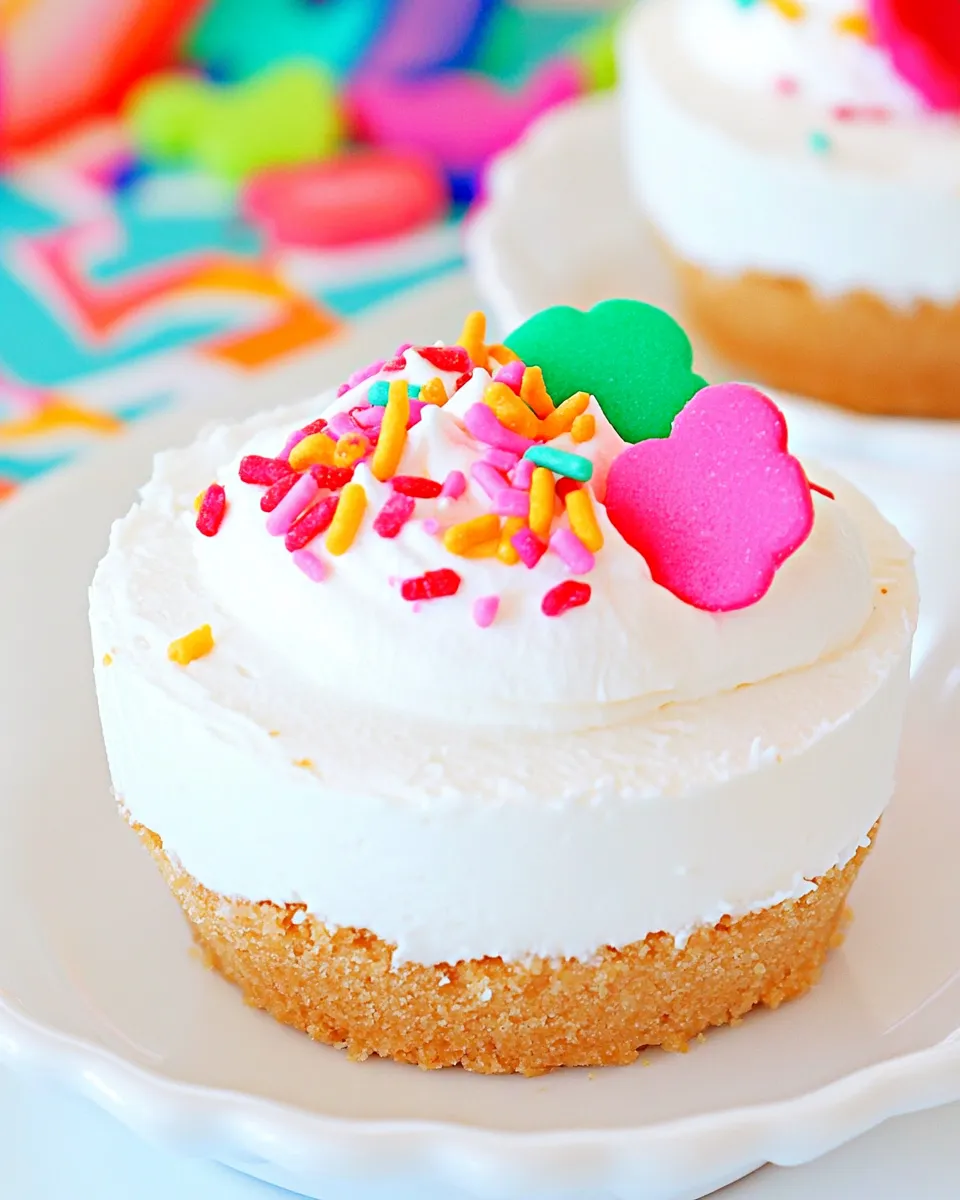
I like that the recipe uses a short, predictable ingredient list and clear steps. You don’t need pastry skills—just basic tools and a bit of patience while they chill. The result is light, creamy cheesecakes with a crisp cookie base and a festive sprinkle finish.
Below I’ll walk you through what to buy, the exact steps I follow, and practical options if you need allergen swaps, diet-friendly tweaks, or make-ahead plans. Keep the recipe close; it’s one I make again and again.
Your Shopping Guide
When you shop for this recipe, focus on freshness and simplicity. Buy a full-fat block of PHILADELPHIA Cream Cheese for the best texture; it blends smoother than the spreadable tubs. The COOL WHIP comes in a tub labeled “Whipped Topping”; choose the 8 oz. size to match the directions.
For the crust, standard OREO Cookies work perfectly. If you want a chocolate-on-chocolate bite, grab the original OREOs. If someone prefers less sweetness in the base, look for a reduced-sugar chocolate cookie, but expect a slightly different flavor balance.
Other shopping notes: pick up a 12-cup muffin tin (if you don’t already have one), 12 paper liners, and a small jar of multi-colored sprinkles for the cheerful finish. You don’t need specialty tools—an electric mixer is handy, but a sturdy whisk and some elbow grease can do the job in a pinch.
Ingredients
- 1pkg.8 oz. PHILADELPHIA Cream Cheese, softened — brings the rich, tangy base; softening to room temperature makes it whip smooth.
- 1/2cupsugar — sweetens the filling; measured amount keeps balance with COOL WHIP.
- 1tub8 oz. COOL WHIP Whipped Topping, thawed — lightens the texture and makes the filling no-bake friendly.
- 12OREO Cookies — crushed into a quick crust; one per mini cheesecake gives an easy chocolate base.
- 2Tbsp.multi-colored sprinkles — a small amount for visual pop; adjust color to match any occasion.
No-Bake Mini Cheesecakes, Made Easy
- Line a 12-cup muffin tin with 12 paper liners.
- Put 1 OREO cookie into each paper-lined cup. Crush each cookie into crumbs (using a fork or the bottom of a cup) and press the crumbs lightly to form a small crust in the bottom of each cup.
- In a medium bowl, beat 1 pkg. (8 oz.) PHILADELPHIA Cream Cheese (softened) and 1/2 cup sugar with an electric mixer until smooth and blended.
- Gently fold in 1 tub (8 oz.) COOL WHIP Whipped Topping (thawed) until the mixture is uniform and no streaks remain.
- Spoon or pipe the cream cheese mixture evenly over the crushed-cookie crusts, filling the 12 cups.
- Sprinkle 2 Tbsp. multi-colored sprinkles evenly over the tops of the mini cheesecakes.
- Refrigerate the cheesecakes for 1 hour to set before serving.
Top Reasons to Make No-Bake Mini Cheesecakes

- Speed: Ready in about an hour with minimal hands-on time. You assemble and chill—no baking required.
- Reliability: The recipe is forgiving. Chill time sets the filling, and the COOL WHIP keeps the texture light.
- Portion control: Individual servings mean easy serving and predictable portions for guests or kids.
- Kid-friendly prep: Crushing cookies and piping filling are fun, low-risk tasks for helpers.
- Customizable: Swap sprinkles, top with fruit, or use flavored cookies to shift the profile quickly.
Allergy-Friendly Substitutes
If you need to work around common allergens, here are practical swap suggestions. Each change will alter texture and flavor slightly, so choose based on which allergy you’re accommodating.
- Dairy-free: Use a dairy-free cream cheese alternative that’s designed to whip and a non-dairy whipped topping (look for soy- or coconut-based COOL WHIP alternatives). Note: textures vary between brands—chill longer if needed.
- Egg-free: This recipe is already egg-free, so it’s safe for egg allergies as written.
- Gluten-free: Replace OREO Cookies with certified gluten-free sandwich cookies or chocolate gluten-free cookies. Press and set as usual.
- Sugar-sensitive: Use a granulated sugar substitute that measures 1:1, if you must remove sugar—but test one batch first. Some substitutes affect texture and aftertaste.
Hardware & Gadgets
- 12-cup muffin tin — keeps minis uniform and easy to transport.
- Paper liners — make serving and cleanup simpler.
- Electric mixer — speeds blending for the cream cheese and sugar; a handheld mixer is fine.
- Medium mixing bowl — for beating the cream cheese and sugar.
- Rubber spatula — for folding in COOL WHIP without deflating it too much.
- Piping bag (optional) — for neater filling; a zip-top bag with the corner snipped works well.
- Fork or bottom of a cup — for crushing OREO Cookies if you don’t want to use a food processor.
Avoid These Traps
- Skipping softening the cream cheese. If it’s cold, you’ll get lumps and overmixing. Let it sit at room temperature about 30 minutes.
- Folding too vigorously. You want a uniform mix but not a deflated one. Fold gently until no streaks remain.
- Overpacking the cookie crust. Press lightly to form a base; too firm a crust makes the bite too dense.
- Rushing the chill time. One hour is the minimum. If cut too soon, the filling may not hold its shape.
- Using frozen COOL WHIP. Thaw it fully overnight in the fridge for easiest folding and best texture.
Make It Diet-Friendly
Small changes can lower calories or carbs, though they will change taste and texture. Here are responsible swaps that keep the method intact.
- Light version: Use a light cream cheese block and a light COOL WHIP labeled for lower calories. The filling will be slightly less rich but still scoopable.
- Lower sugar: Try a 1:1 sugar substitute that measures like sugar. Start with half the recommended amount if you’re sensitive to sweetness, then adjust next time.
- Smaller portions: Use mini muffin liners in a mini muffin tin to increase portion control and reduce serving size without changing the recipe.
- Protein boost: Top with a spoon of high-protein Greek yogurt (strained) rather than extra sprinkles—adds satiety but shifts flavor.
Flavor Logic
The recipe’s backbone is creamy, tangy filling and a chocolate cookie base. That contrast is what makes each bite work. Use those contrasts to develop variations.
- Brighten with citrus: Add a teaspoon of lemon or lime zest to the cream cheese before folding in COOL WHIP for a fresh lift.
- Chocolate lovers: Swap multi-colored sprinkles for mini chocolate chips or shaved chocolate.
- Fruit finish: Top with a single raspberry, strawberry slice, or blueberry to add acidity and color.
- Seasonal touches: Use holiday-colored sprinkles, crushed peppermint, or toasted coconut depending on the season.
Prep Ahead & Store
Make-ahead tips
These mini cheesecakes are ideal for prepping a day ahead. Assemble them up to 24 hours before serving and keep them covered in the refrigerator. The flavors meld and the texture firms nicely with time.
Storage
- Refrigerator: Store airtight for up to 3 days. Paper liners may absorb moisture over time; consider a shallow covered container to avoid smudging.
- Freezer: You can freeze the assembled minis for up to 1 month. Flash-freeze on a sheet tray until solid, then transfer to a sealed container. Thaw in the refrigerator for several hours before serving.
- Transport: Keep chilled in a cooler or insulated bag with ice packs. They don’t travel well at room temperature for more than an hour.
Common Questions
- Can I skip the COOL WHIP and use whipped cream instead? — You can, but whipped cream can weep and soften faster. If you use stabilized whipped cream (with gelatin or a stabilizer), the texture will be closer to the original.
- How long should they chill? — The recipe specifies refrigerating for 1 hour. That’s the minimum; chilling longer (2–4 hours) firms them more and improves slicing or transport.
- Can I make these without an electric mixer? — Yes. Beat the softened cream cheese and sugar with a sturdy whisk or wooden spoon until smooth, then fold in the COOL WHIP by hand.
- Do the cookie crusts need butter? — No. This method uses whole cookies pressed into the bottom without added fat. If you prefer a firmer, buttery crust, you can crush cookies and mix in a small amount of melted butter—but that would add an ingredient not in the original list.
- Will the paper liners stick? — A slight stick is possible. Using higher-quality or non-stick liners reduces sticking. Chilling fully before unmolding helps keep them intact.
Save & Share
If you try these No-Bake Mini Cheesecakes, snap a picture and share it with friends—or with me if you like commenting on the blog. I love hearing about what topping combinations you prefer and any clever swaps that worked for you. These are simple, reliable, and a little bit festive—the kind of recipe I keep on hand for last-minute celebrations.
Save the page, bookmark it, or print the instructions to keep in your kitchen binder. And remember: the more you make them, the more you’ll discover small tweaks that suit your taste. Happy assembling!
No-Bake Mini Cheesecakes
Equipment
- 12-cup muffin tin
- Paper liners
- fork or cup for crushing cookies
- Medium Mixing Bowl
- Electric Mixer
- Spoon or piping bag
Ingredients
Ingredients
- 1 pkg.8 oz. PHILADELPHIA Cream Cheese softened
- 1/2 cupsugar
- 1 tub8 oz. COOL WHIP Whipped Topping thawed
- 12 OREO Cookies
- 2 Tbsp.multi-colored sprinkles
Instructions
Instructions
- Line a 12-cup muffin tin with 12 paper liners.
- Put 1 OREO cookie into each paper-lined cup. Crush each cookie into crumbs (using a fork or the bottom of a cup) and press the crumbs lightly to form a small crust in the bottom of each cup.
- In a medium bowl, beat 1 pkg. (8 oz.) PHILADELPHIA Cream Cheese (softened) and 1/2 cup sugar with an electric mixer until smooth and blended.
- Gently fold in 1 tub (8 oz.) COOL WHIP Whipped Topping (thawed) until the mixture is uniform and no streaks remain.
- Spoon or pipe the cream cheese mixture evenly over the crushed-cookie crusts, filling the 12 cups.
- Sprinkle 2 Tbsp. multi-colored sprinkles evenly over the tops of the mini cheesecakes.
- Refrigerate the cheesecakes for 1 hour to set before serving.