If you’ve ever dined at Olive Garden, you know that one of the highlights of the meal is the warm, buttery breadsticks that are served fresh from the oven. They have a slight chewiness, a golden color, and a flavor that keeps you coming back for more. Imagine being able to recreate that experience in your own kitchen! Today, I’ll guide you through a simple yet delightful recipe for Olive Garden Breadsticks that will have your family and friends begging for seconds. With only a handful of ingredients, you can whip up a batch of these irresistible breadsticks that pair perfectly with your favorite pasta or salad. Let’s get started!
The Upside of Olive Garden Breadsticks
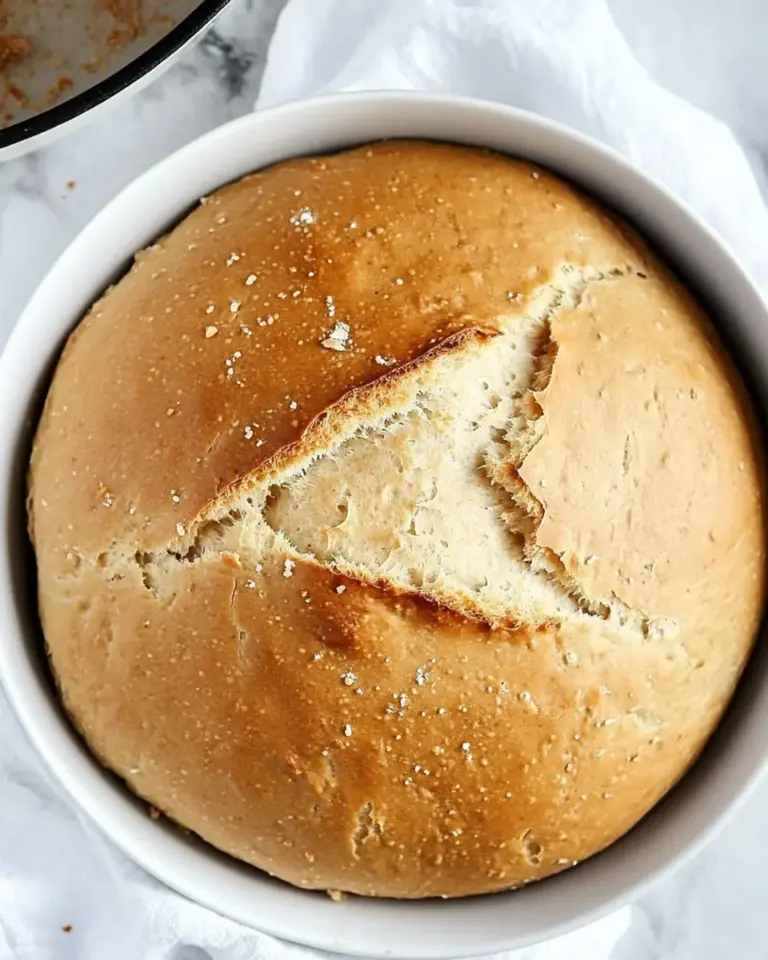
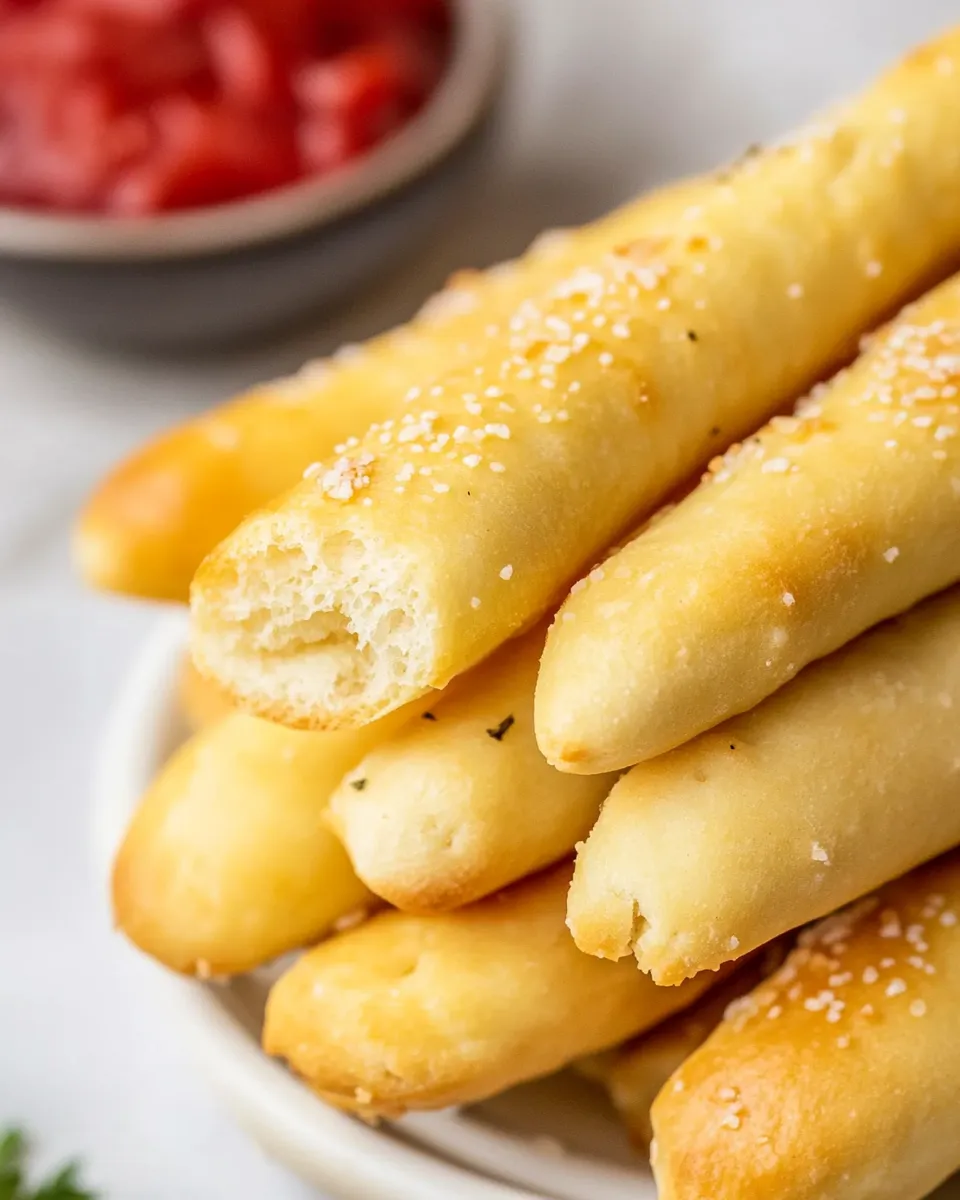
There’s something magical about fresh breadsticks. They’re soft, fluffy, and just the right amount of salty. Plus, they bring a comforting, homey feeling to any meal. Homemade Olive Garden Breadsticks can elevate a family dinner, impress your guests, or even serve as a delightful snack. They are versatile, easy to make, and can be customized to suit your taste. Imagine enjoying warm, garlicky breadsticks right out of the oven, slathered in butter, and seasoned to perfection. What’s not to love?
Shopping List
- 1 1/2 cups warm water
- 2 tablespoons sugar
- 1 tablespoon instant or rapid rise yeast
- 1 tablespoon salt
- 2 tablespoons softened butter
- 4 cups all-purpose flour
- 3 tablespoons melted butter (divided)
- 1/2 teaspoon sea salt (to taste)
- 1/4 teaspoon garlic powder
Gear Checklist
- Mixing bowl: For combining your ingredients.
- Measuring cups and spoons: Accurate measurements are key to success.
- Wooden spoon or spatula: To mix the dough.
- Baking sheet: For the breadsticks to rise and bake.
- Kitchen towel: To cover the dough while it rises.
- Oven: To bake the breadsticks to golden perfection.
Olive Garden Breadsticks, Made Easy
Step 1: Prepare the Dough
In a large mixing bowl, combine the warm water, sugar, and yeast. Let this mixture sit for about 5 minutes, or until it becomes frothy. This step activates the yeast and ensures your breadsticks will rise beautifully.
Step 2: Mix in the Remaining Ingredients
Once the yeast is activated, add the softened butter and salt to the bowl. Gradually stir in the all-purpose flour, one cup at a time, until a soft dough forms. You may need a little more or less flour, depending on the humidity in your kitchen.
Step 3: Knead the Dough
Transfer the dough to a lightly floured surface and knead for about 5-7 minutes until it becomes smooth and elastic. This step is crucial for developing the gluten, which gives the breadsticks their chewy texture.
Step 4: Let the Dough Rise
Place the kneaded dough in a lightly greased bowl, cover it with a kitchen towel, and let it rise in a warm area for about 1 hour, or until it has doubled in size.
Step 5: Shape the Breadsticks
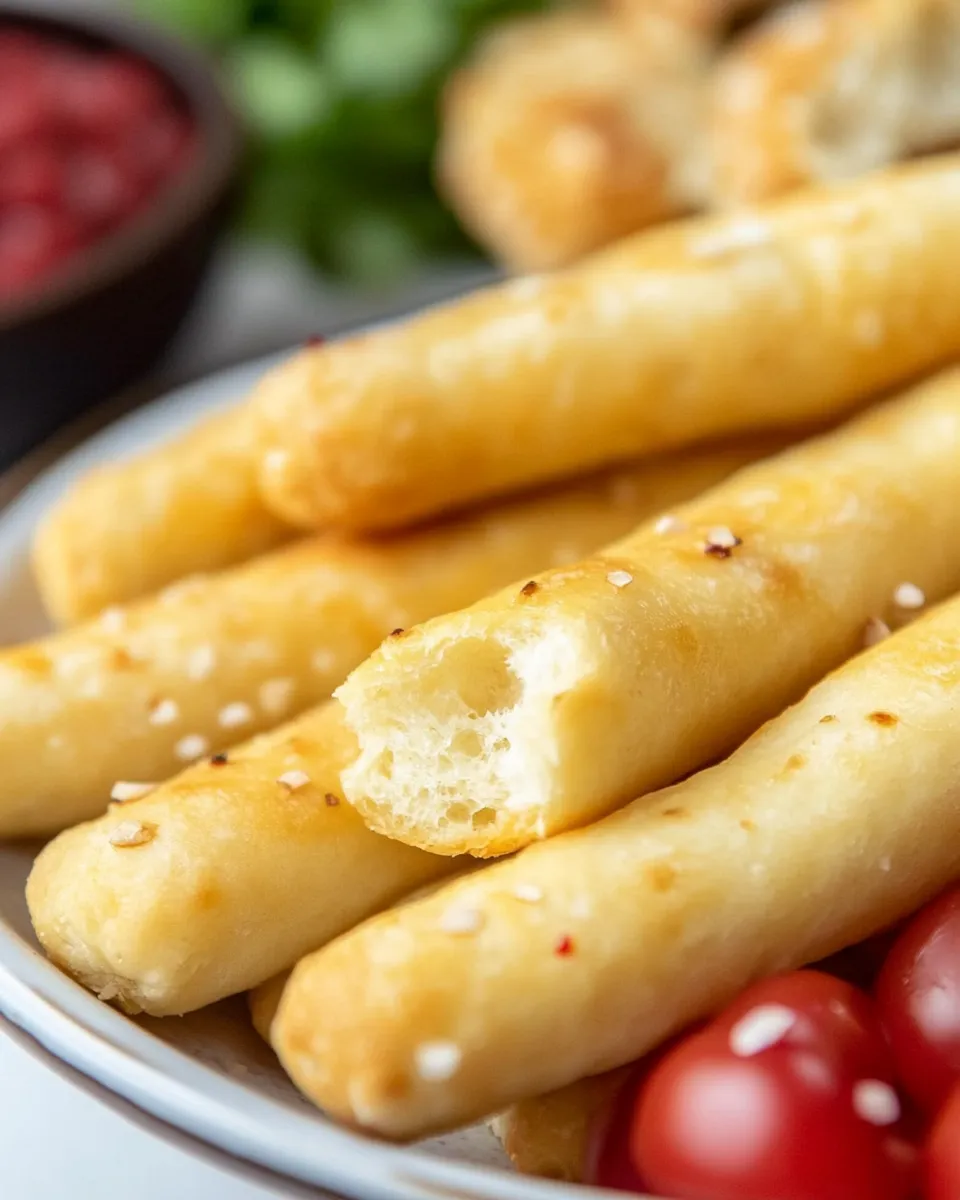
After the dough has risen, punch it down to release any air bubbles. Divide the dough into 12 equal pieces. Roll each piece into a long, thin strip, about 6 inches long, and place them on a baking sheet lined with parchment paper.
Step 6: Second Rise
Cover the shaped breadsticks with a kitchen towel and let them rise again for about 30 minutes. This will give them that fluffy, soft texture we love.
Step 7: Bake
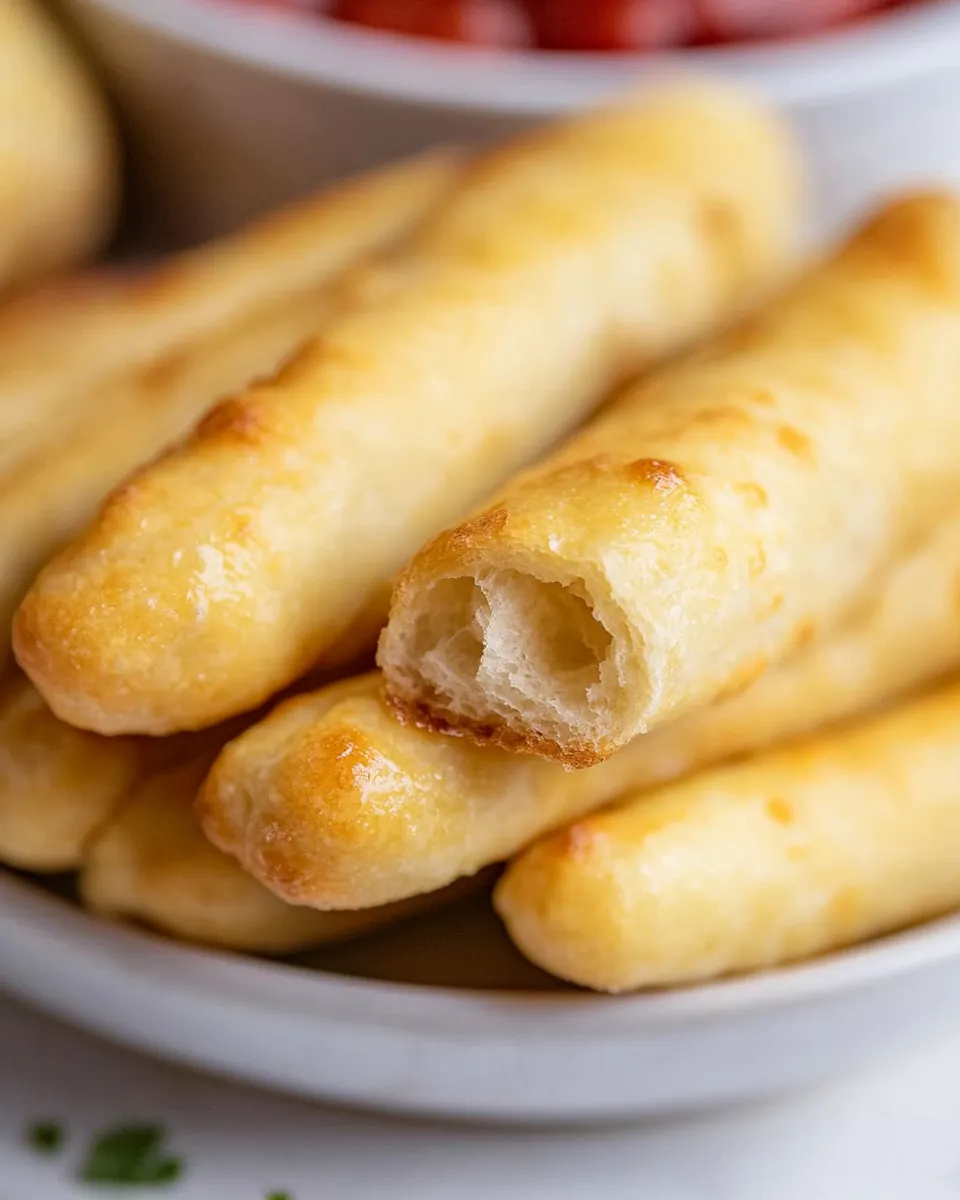
Preheat your oven to 400°F (200°C). Once the breadsticks have risen, bake them in the preheated oven for about 12-15 minutes, or until they are golden brown.
Step 8: Brush with Garlic Butter
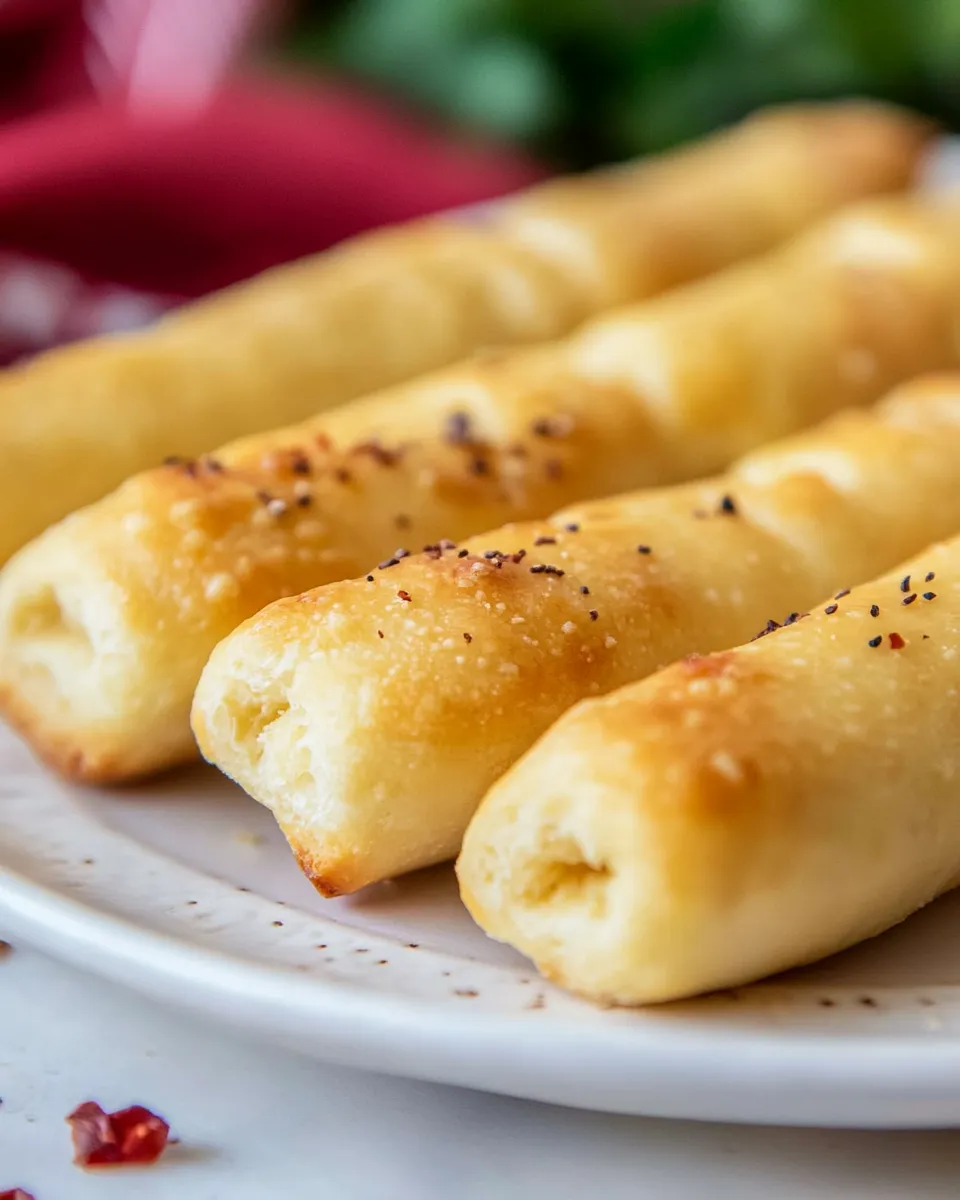
Remove the breadsticks from the oven and immediately brush them with melted butter mixed with garlic powder and sea salt. This is the finishing touch that gives them that signature Olive Garden flavor!
Budget & Availability Swaps
- All-purpose flour: Substitute with bread flour for a chewier texture.
- Butter: Use margarine if you prefer a dairy-free option.
- Instant yeast: Active dry yeast can be used, but it requires proofing before mixing.
- Sea salt: Regular table salt can be used in a pinch.
Learn from These Mistakes
- Don’t skip the first proofing step; it’s vital for yeast activation.
- Avoid over-kneading the dough; it can make the breadsticks tough.
- Make sure your water is warm, not hot, to avoid killing the yeast.
- Keep an eye on the oven; breadsticks can go from golden to burnt quickly!
Meal Prep & Storage Notes
Olive Garden Breadsticks are best enjoyed fresh, but you can prepare the dough in advance. After the first rise, shape the breadsticks and place them on a baking sheet, then cover and refrigerate for up to 24 hours. When you’re ready to bake, let them come to room temperature and rise for about 30 minutes before baking. Leftover breadsticks can be stored in an airtight container for up to 2 days. Reheat them in the oven for a few minutes to regain their softness.
Quick Q&A
Can I freeze Olive Garden Breadsticks?
Absolutely! Once the breadsticks have cooled completely, place them in a freezer-safe bag or container. They’ll last for up to 3 months. To reheat, simply bake from frozen at 350°F (175°C) for about 10-15 minutes.
What can I serve with these breadsticks?
These breadsticks pair perfectly with a variety of dishes, including pasta, soups, and salads. They can also be served with marinara sauce for a delightful appetizer.
How do I know when the breadsticks are done baking?
The breadsticks should be golden brown on the top and sound hollow when tapped on the bottom. If you have a kitchen thermometer, they should register around 190°F (88°C) internally.
Can I add herbs or cheese to the dough?
Absolutely! Feel free to mix in dried herbs like oregano or basil, or even grated Parmesan cheese for an extra flavor boost!
That’s a Wrap
Making Olive Garden Breadsticks at home is not only satisfying but also a fun cooking project that everyone will love. With the right ingredients and a little patience, you can create a batch of soft, buttery breadsticks that will transport you straight to your favorite Italian restaurant. Whether you’re hosting a dinner party or just enjoying a quiet night in, these breadsticks are sure to impress. Give this recipe a try, and watch as your kitchen fills with the aroma of freshly baked bread. Happy baking!
Olive Garden Breadsticks
Equipment
- Mixing Bowl
- Measuring cups and spoons
- Wooden Spoon or Spatula
- Baking Sheet
- Kitchen towel
- Oven
Ingredients
- 1 1/2 cups warm water
- 2 tablespoons sugar
- 1 tablespoon instant or rapid rise yeast
- 1 tablespoon salt
- 2 tablespoons softened butter
- 4 cups all-purpose flour
- 3 tablespoons melted butter divided
- 1/2 teaspoon sea salt to taste
- 1/4 teaspoon garlic powder
Instructions
- In a large mixing bowl, combine the warm water, sugar, and yeast. Let this mixture sit for about 5 minutes, or until it becomes frothy.
- Once the yeast is activated, add the softened butter and salt to the bowl. Gradually stir in the all-purpose flour, one cup at a time, until a soft dough forms.
- Transfer the dough to a lightly floured surface and knead for about 5-7 minutes until it becomes smooth and elastic.
- Place the kneaded dough in a lightly greased bowl, cover it with a kitchen towel, and let it rise in a warm area for about 1 hour, or until it has doubled in size.
- After the dough has risen, punch it down to release any air bubbles. Divide the dough into 12 equal pieces. Roll each piece into a long, thin strip, about 6 inches long, and place them on a baking sheet lined with parchment paper.
- Cover the shaped breadsticks with a kitchen towel and let them rise again for about 30 minutes.
- Preheat your oven to 400°F (200°C). Once the breadsticks have risen, bake them in the preheated oven for about 12-15 minutes, or until they are golden brown.
- Remove the breadsticks from the oven and immediately brush them with melted butter mixed with garlic powder and sea salt.
Notes
- Make sure your water is warm, not hot, to properly activate the yeast without killing it.
- Leftover breadsticks can be stored in an airtight container for up to 2 days and reheated in the oven.
- You can prepare dough in advance and refrigerate it after shaping for up to 24 hours before baking.