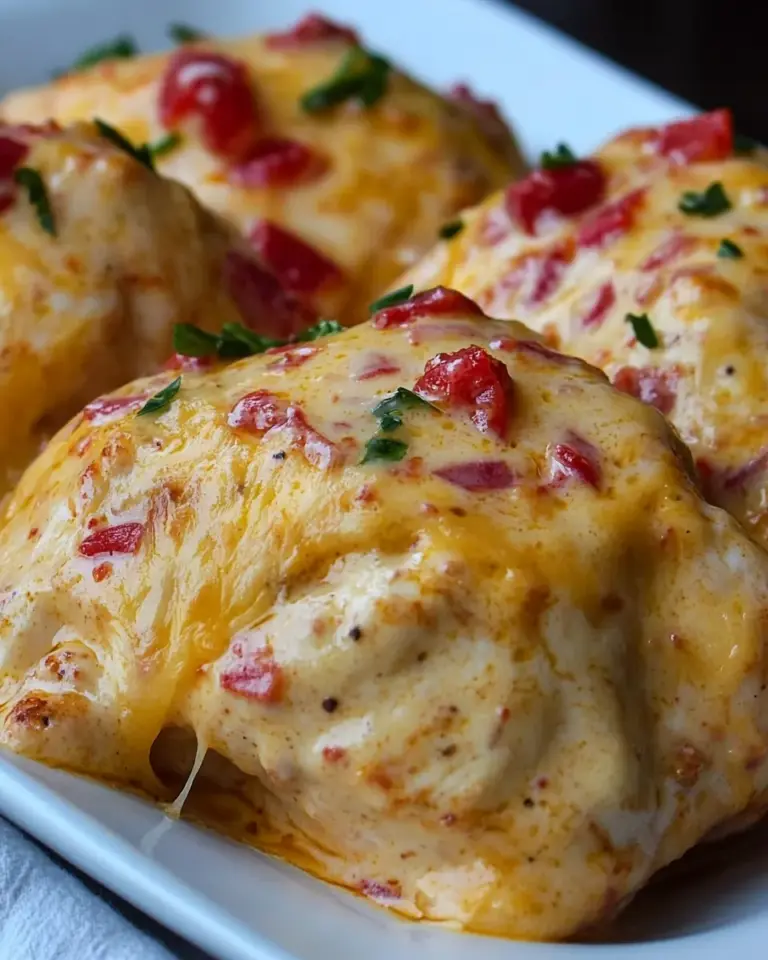
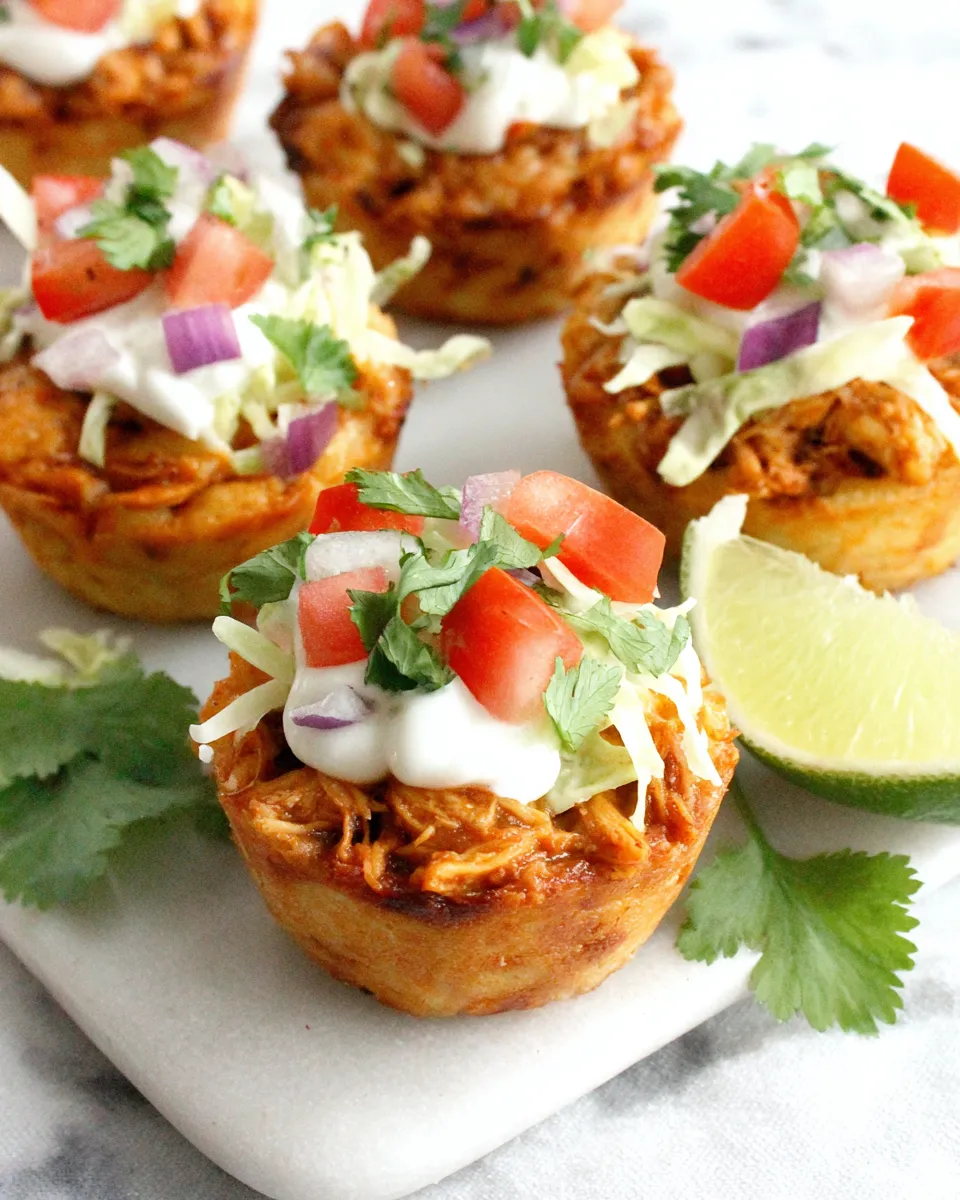
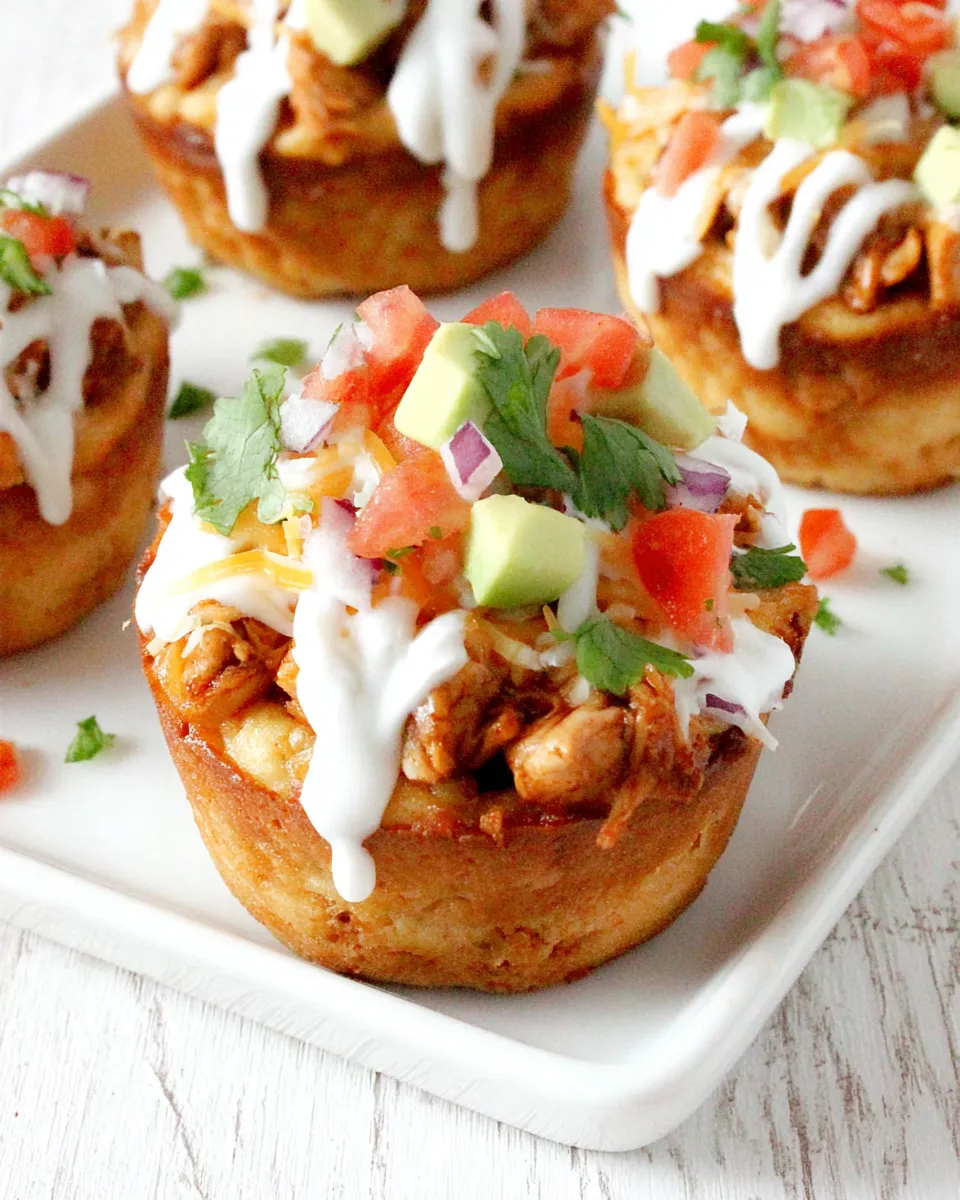
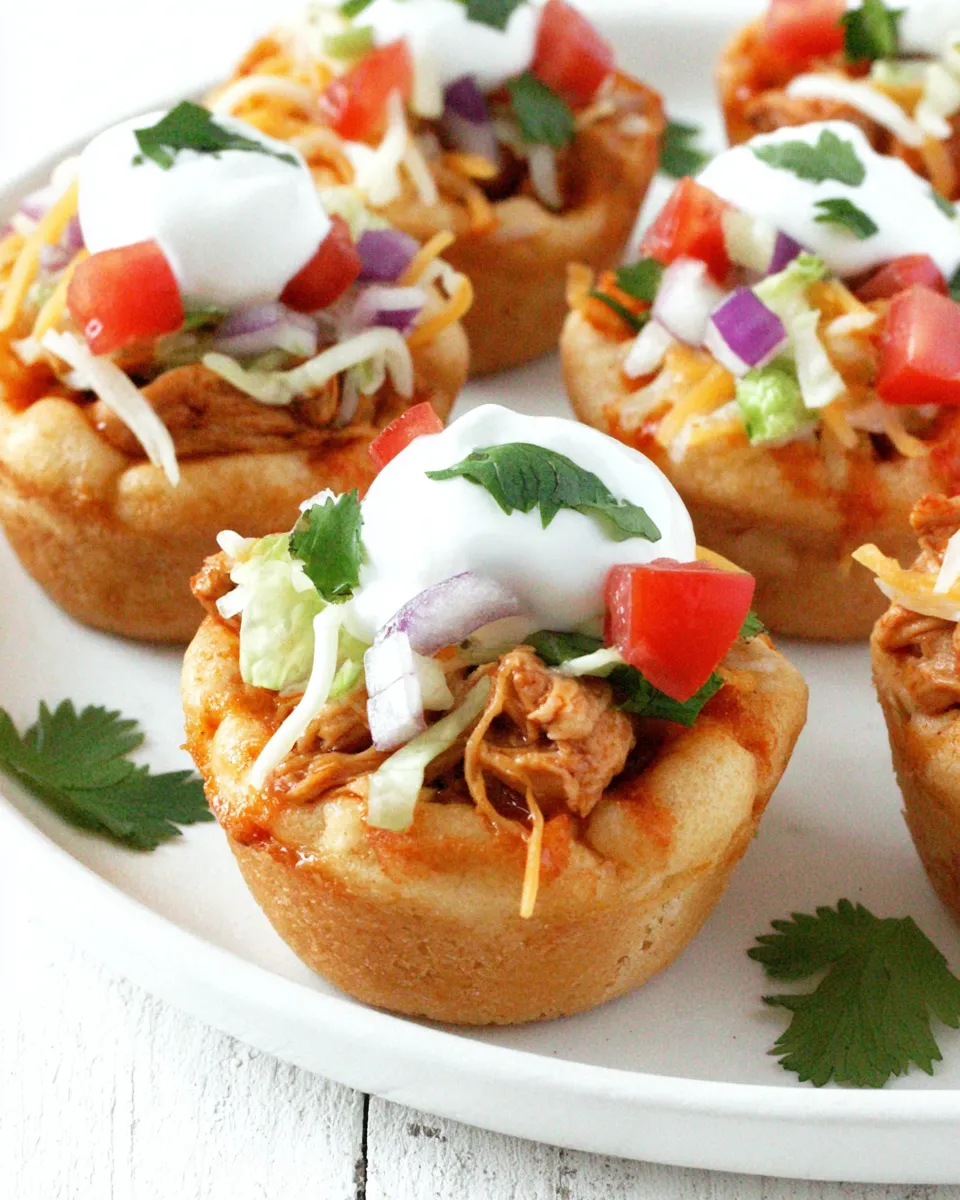
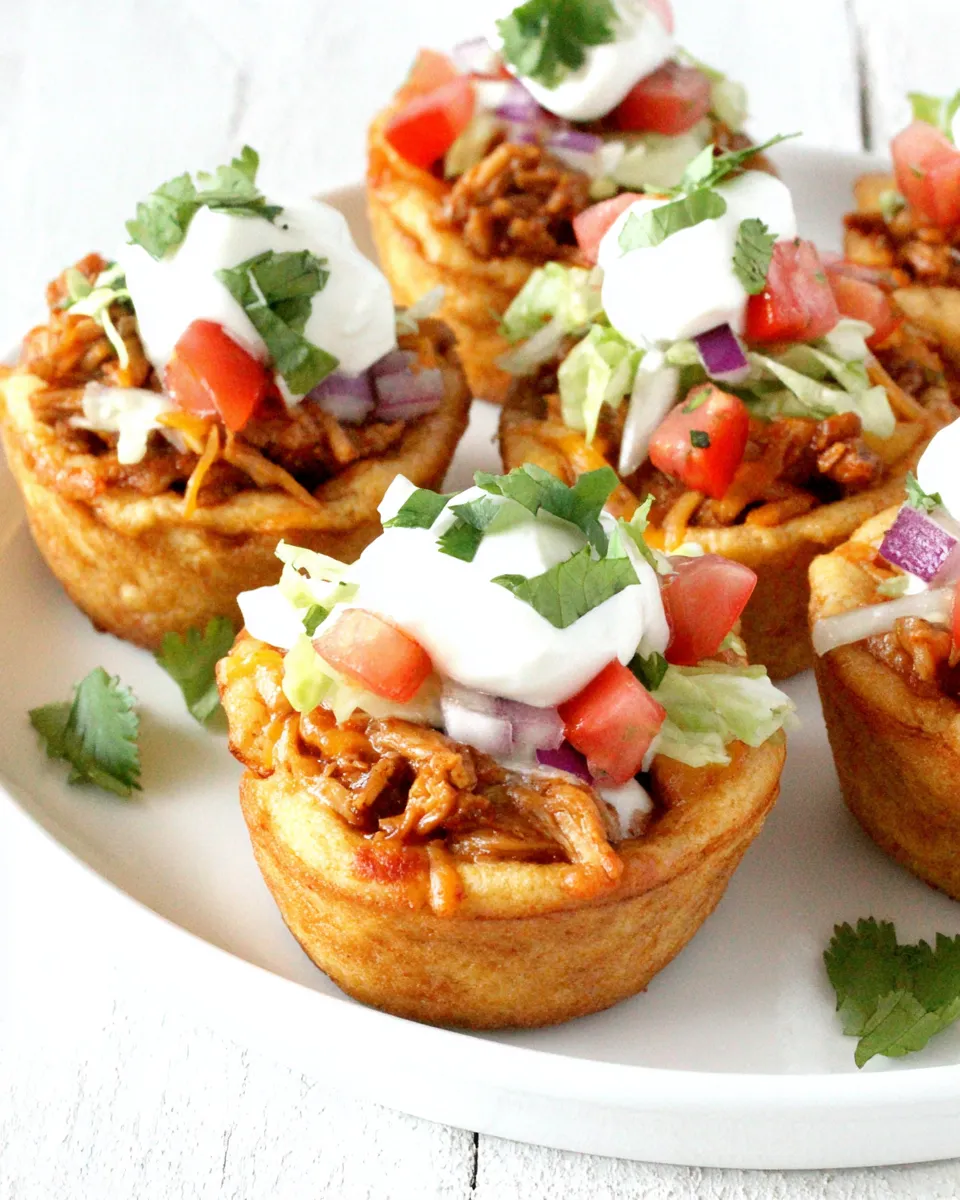
These Chicken Taco Cupcakes are a playful, crowd-pleasing riff on classic taco night—each one a little handheld savory pie that combines tender shredded chicken, bold seasoning, gooey cheese, and all your favorite taco toppings. They’re perfect for busy weeknights, potlucks, or casual parties when you want something easy to serve and even easier to eat. The recipe uses refrigerated biscuit dough for a flaky, buttery shell and a quick, flavorful chicken filling that comes together in minutes. Below you’ll find an ingredient list, step-by-step directions rewritten for clarity, tips to customize the mix, and serving suggestions to make these your go-to taco appetizer.
Why You’ll Love These Chicken Taco Cupcakes
Think of these as mini chicken pot pies dressed up like tacos. They’re quick to assemble, require minimal hands-on time, and use ingredients you likely already have in your pantry. The combination of lime juice brightening the seasoned chicken, the melty Mexican blend cheese, and crisp toppings like lettuce and tomato creates a perfect balance of textures and flavors. Plus, they’re portable and kid-friendly—great for both lunchboxes and adult gatherings.
Ingredients
- 2 cups cooked and shredded chicken (see Note)
- 2 tablespoons Old El Paso taco seasoning
- 2/3 cup water
- 1 tablespoon lime juice (less or more to taste)
- 1 (7.5 oz) package refrigerated biscuits
- 1 cup shredded Mexican blend cheese
- Toppings: lettuce, tomato, sour cream, guacamole, salsa
Note on the Chicken
Use cooked, shredded chicken that suits your dietary preferences. You can poach, roast, or use leftover roasted chicken—just shred it finely so it mixes evenly with the sauce. If you buy pre-cooked chicken from a store or market, double-check the ingredient list meets your needs. The listed amount, 2 cups cooked and shredded chicken, is what the recipe is based on.
Equipment
- Muffin tin (12-cup)
- Mixing bowl
- Small saucepan or microwave-safe bowl
- Wooden spoon or spatula
- Measuring cups and spoons
Step-by-Step Directions
Follow these rewritten, clear steps to make the recipe exactly as intended. The directions keep the original order and ingredient amounts but are presented for ease of use.
- Preheat your oven to 375°F (190°C). Lightly grease a 12-cup muffin tin or spray it with nonstick spray so the biscuit shells release easily.
- Open the 7.5-ounce package of refrigerated biscuits. Working with one biscuit at a time, gently press or stretch each biscuit into a thin circle large enough to line one muffin cup. Place each flattened biscuit into a muffin cup, pressing the dough up the sides to form a little cup. Repeat for all 12 cups. If you have extra dough, you can save it for another use or create slightly thicker shells where needed.
- Place the muffin tin with lined biscuit cups in the preheated oven and bake for about 5 to 7 minutes, just until the biscuit cups start to set and barely brown. Remove from the oven; they will finish baking later with the filling. This par-bake prevents soggy bottoms once the filling is added.
- While the biscuit cups par-bake, combine the filling ingredients. In a medium saucepan over medium-low heat (or in a microwave-safe bowl if you prefer), add the 2 cups cooked and shredded chicken, 2 tablespoons Old El Paso taco seasoning, and 2/3 cup water. Stir to combine so the seasoning dissolves into the water and coats the chicken evenly.
- Bring the chicken mixture to a gentle simmer on the stovetop, stirring occasionally. Allow it to simmer for about 3 to 5 minutes, or until the liquid has reduced and the chicken is coated with a thickened seasoning sauce. If using a microwave, heat in 30- to 60-second intervals, stirring between intervals, until the mixture is hot and the sauce has slightly thickened.
- Once the sauce has thickened, remove the pan from the heat and stir in 1 tablespoon lime juice. Taste and adjust the lime juice if you want more brightness. The lime lifts the flavors and balances the taco seasoning.
- Spoon approximately 2 to 3 tablespoons of the chicken mixture into each par-baked biscuit cup. The goal is to fill the cups without overstuffing so the tops of the biscuits can rise and crisp in the final bake.
- Sprinkle about 1 cup shredded Mexican blend cheese evenly over the filled cups—roughly a heaping tablespoon of cheese per cup. Distribute the cheese so each cupcake gets a nice cheesy top.
- Return the filled muffin tin to the oven and bake at 375°F (190°C) for 8 to 12 minutes, or until the biscuit shells are golden brown and the cheese is melted and bubbling. Baking times vary by oven and biscuit brand; keep an eye on them so they don’t overbake.
- Remove the muffin tin from the oven and let the Chicken Taco Cupcakes cool in the tin for about 5 minutes. This brief rest helps the shells set and makes them easier to remove without breaking.
- Carefully lift each cupcake from the tin using a thin spatula or a butter knife, and transfer to a serving platter. Top each cupcake with shredded lettuce, diced tomato, a dollop of sour cream, a spoonful of guacamole, and a drizzle or spoonful of your favorite salsa. Serve warm and enjoy.
Make-Ahead and Storage
You can assemble the filled biscuit cups and refrigerate them, covered, for up to 24 hours before baking. If you plan to make these ahead for a party, par-bake the biscuit cups and store them separately from the filling and cheese. When ready to bake, fill, top with cheese, and finish baking as directed. Leftovers keep in an airtight container in the refrigerator for 2 to 3 days. Reheat in a 350°F (175°C) oven for 8 to 10 minutes or until warmed through and cheese is melty. Microwaving will soften the biscuit shells, so oven reheating is preferred to maintain texture.
Substitutions and Variations
- If you want extra heat, stir a few dashes of hot sauce into the chicken mixture before filling the cups.
- Swap the Mexican blend cheese for sharp cheddar, pepper jack, or a dairy-free shredded cheese alternative if you prefer a different flavor profile.
- For a lighter version, use whole-grain or reduced-fat biscuits where available, and opt for light sour cream.
- Add canned black beans or corn (drained) to the chicken mixture for extra texture and fiber—about 1/2 cup works well without changing bake time.
- Make them vegetarian by substituting cooked and seasoned shredded jackfruit or crumbled and seasoned plant-based chicken for the shredded chicken.
Tips for Success
- Shred the chicken finely so it fills the cups evenly and every bite has a good balance of chicken and biscuit.
- Par-baking the biscuits briefly ensures the bottoms don’t get soggy from the filling.
- Don’t overfill the cups—leave a little space for the biscuit to rise and to brown around the edges.
- Let the cupcakes rest for a few minutes after baking; that short cooldown helps them hold together when you remove them from the pan.
Serving Suggestions
Serve these Chicken Taco Cupcakes warm with extra lime wedges and your favorite hot sauces on the side. They pair nicely with a simple green salad, tortilla chips, or a fresh corn salad. For gatherings, set up a toppings station with lettuce, tomatoes, sour cream, guacamole, and salsa so guests can personalize their cupcakes.
Nutritional Notes
The nutritional content will vary depending on the type of biscuits and cheese you choose and the amount of toppings you add. Using light cheese and reduced-fat biscuits will lower calories and fat. Adding lettuce and tomato increases fiber and vitamin content, while guacamole adds healthy fats.
Final Thoughts
These Chicken Taco Cupcakes are one of those recipes that looks fancy but is genuinely simple. They combine the comforting familiarity of shredded seasoned chicken with the fun of a portable, handheld presentation. Whether you’re feeding a family or serving a crowd, they’re easy to scale up and easy to love. Tweak the toppings for different occasions and you’ll find yourself coming back to this recipe again and again.
Enjoy making—and sharing—these delicious Chicken Taco Cupcakes.
Chicken Taco Cupcakes
Equipment
- Muffin Tin
- Skillet
- Measuring cups and spoons
- Spatula or spoon
- Oven
Ingredients
- 2 cups cooked shredded chicken see note
- 2 tablespoons Old El Paso taco seasoning
- 2/3 cup water
- 1 tablespoon lime juice less or more to taste
- 1 package (7.5 oz) refrigerated biscuits
- 1 cup shredded Mexican blend cheese
- Toppings lettuce, tomato, sour cream, guacamole, salsa
Instructions
- Preheat the oven to 400°F (200°C) and lightly spray a muffin tin with cooking spray.
- In a skillet over medium-high heat combine the shredded chicken, taco seasoning, and water; stir and cook until the sauce thickens and the water has evaporated.
- Remove the skillet from the heat and stir in about 1 tablespoon lime juice, adjusting to taste.
- While the chicken cooks, open the biscuit package and press each biscuit into the bottom and up the sides of the prepared muffin cups to form shells.
- Spoon about 1 1/2 tablespoons of the chicken mixture into each biscuit shell, then divide the shredded cheese evenly over the tops.
- Bake for 8–10 minutes or until the biscuit cups are golden brown and the cheese is melted.
- Remove from the oven and top each cupcake with desired toppings such as lettuce, tomato, sour cream, guacamole, and salsa, then serve warm.
Notes
- Use leftover cooked chicken for convenience.
- To cook raw chicken, brown bite-sized pieces in 1–2 tablespoons butter before adding seasoning and water.
- Adjust lime juice to taste.
- If you don't have chicken, substitute leftover beef.