Learning How To Cut Chicken Wings is one of those kitchen skills that instantly makes weeknight dinners and game-day snacks more accessible. Whether you’re breading, baking, frying, or smoking, properly sectioning whole chicken wings saves money, improves presentation, and helps sauces cling where you want them. In this article I’ll walk you through the simple, safe method I use every time I need 12 whole chicken wings cut into their three classic parts: drumette, wingette (flat), and tip. You’ll get clear step-by-step directions, safety tips, a short ingredient list, and a quick recipe idea so you can put your freshly cut wings straight to work.
What You’ll Need
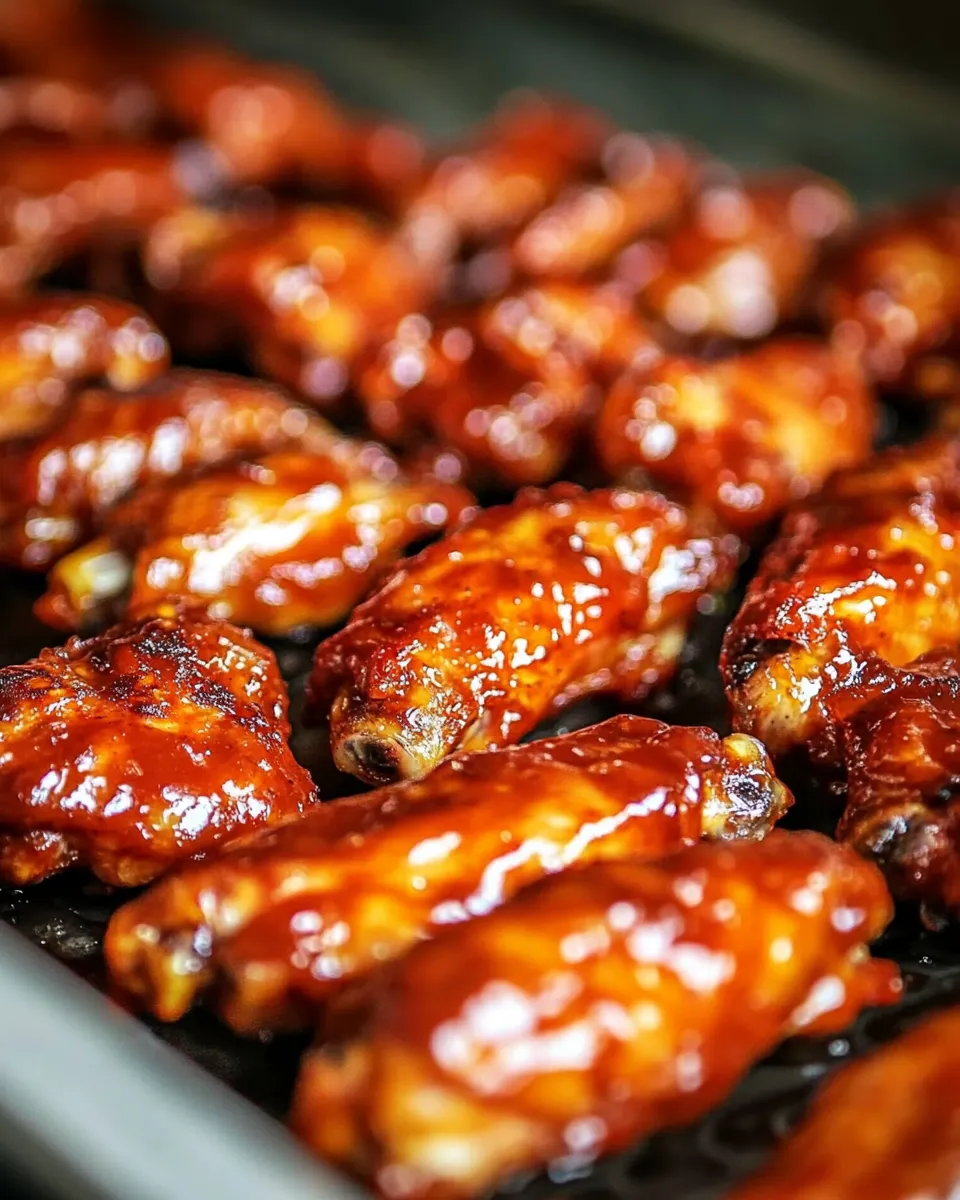
- 12 whole chicken wings (3 sections each: drumette, wingette, tip)
- A sharp chef’s knife or boning knife
- Cutting board (preferably non-slip)
- Kitchen shears (optional but handy)
- Paper towels
- Small bowl for discarded tips
Why Cut Your Own Wings?
Buying whole wings and cutting them yourself is economical and gives you control over portion sizes. The drumette and wingette are the meatiest parts that everyone loves; the tip is excellent for stock or roasting later. Cutting properly also exposes joint lines and cartilage so you can separate sections cleanly, resulting in evenly cooked pieces.
Important Safety and Prep Tips
- Work with a clean, dry cutting board and a very sharp knife—dull knives slip and increase risk of injury.
- Pat the wings dry with paper towels before cutting. Dry skin is easier to handle and reduces slipping.
- Keep a small bowl nearby to collect tips or any trimmings you don’t want to cook immediately.
- Wipe down surfaces and wash your hands thoroughly after handling raw poultry.
Step-by-Step: How To Cut Chicken Wings
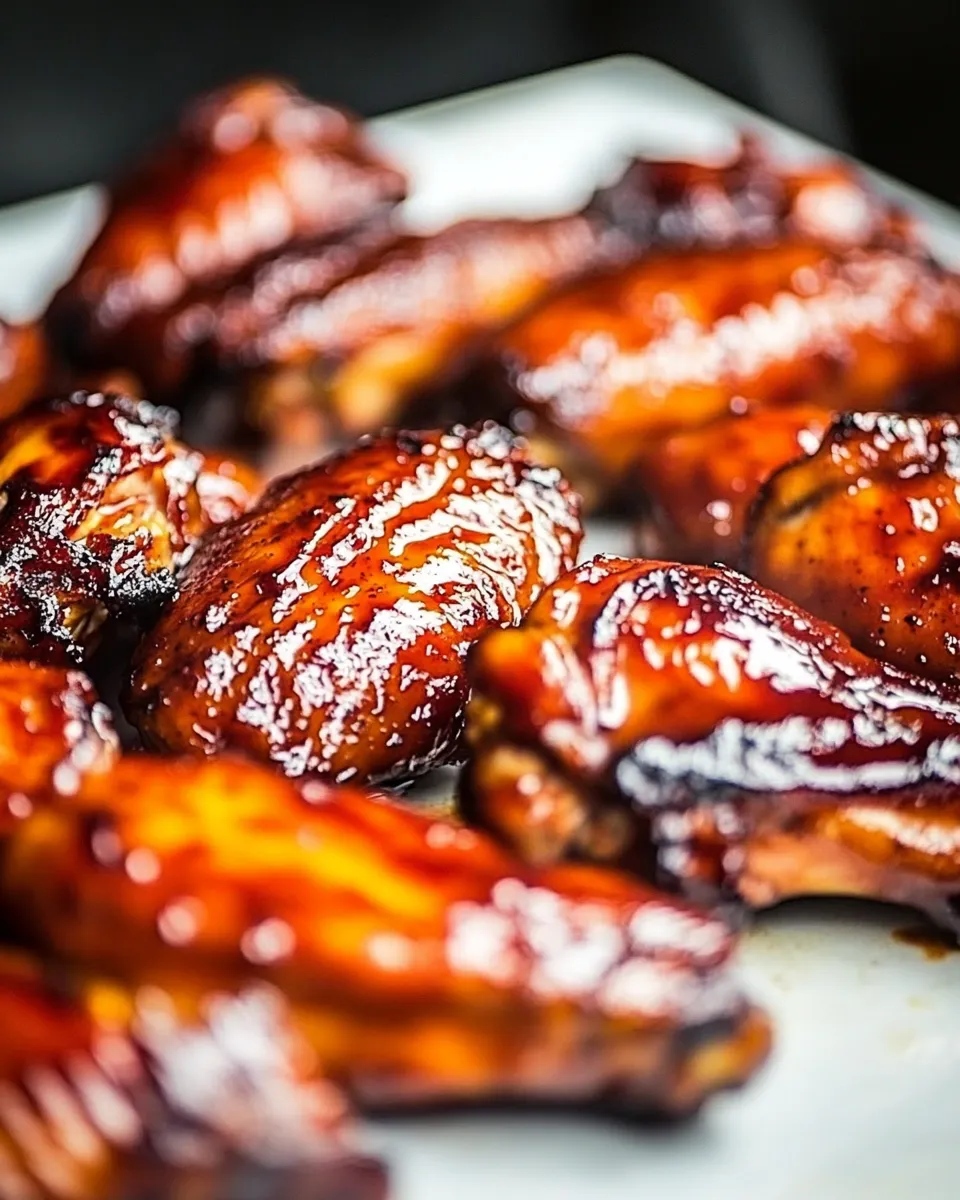
The following method follows a consistent order so you end up with twelve drumettes, twelve wingettes, and twelve tips from your 12 whole wings. I’ve rewritten the original directions into clear, sequential steps that match the ingredient list exactly.
- Prepare your workspace. Clear a clean section of counter space, place a non-slip cutting board down, and have paper towels, your knife or kitchen shears, and a bowl for discarded tips within reach. Make sure your knife is sharp.
- Unpack and inspect the wings. Remove the wings from their packaging and lay them flat on the cutting board. Check for any excess feathers or loose bits and remove them with a quick pull or a small knife. If the wings are very cold and stiff, let them sit at room temperature for five to ten minutes to relax slightly—this makes joints easier to find.
- Dry each wing. Pat both sides of each wing with paper towels to remove surface moisture. Dry skin provides more control and safer cutting.
- Locate the joints. Lay a wing flat with the skin-side up. Gently bend the wing to feel where one bone meets another; you’ll notice a flexible joint area. This is the place you want to cut so you separate the drumette, wingette, and tip cleanly.
- Separate the drumette from the wingette. Place the wing on the board with the thicker end (the drumette) to your dominant hand. Using a sharp knife, cut through the joint where the drumette meets the wingette. You’re aiming for the soft joint area; if you hit bone, adjust slightly and cut at the joint itself. Some cooks prefer kitchen shears for this cut because they follow the natural shape around the joint.
- Separate the wingette from the tip. Take the remaining wingette and tip portion. Flex the smaller joint to find the soft area between the flat section and the thin tip. Cut through that joint to remove the tip. Set the wingette aside and place the tip into the small bowl for stock or discard.
- Repeat for all wings. Continue the same two-joint method for each of the remaining whole wings until you have separated all 12 drumettes, 12 wingettes, and 12 tips. Work in batches if your board feels crowded.
- Trim excess skin or bone fragments. Quickly scan each separated piece and trim any sharp bone splinters or unnecessary loose skin for a neater presentation. Keep the trimming minimal—this is about clean looks, not removing meat.
- Final rinse and dry (optional). If you prefer, you can give the cut pieces a quick cold water rinse and then pat thoroughly dry with paper towels. Dry pieces brown better if you plan to roast or fry them.
- Store or use immediately. If you’re not cooking right away, arrange the pieces in a shallow airtight container or plastic bag and refrigerate. Use within one to two days, or freeze for longer storage.
Quick Recipe Idea: Simple Oven-Baked Wings
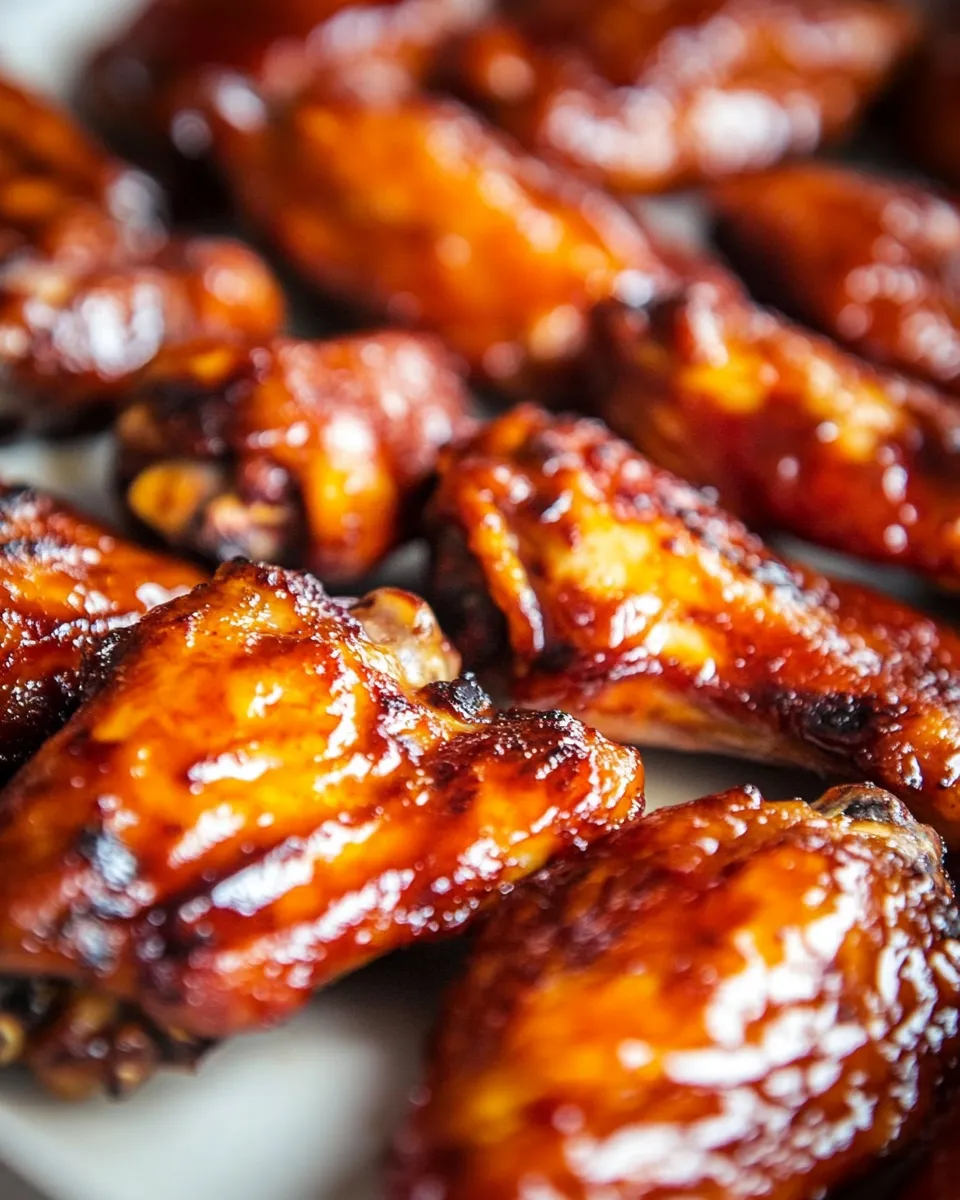
Now that your wings are cut, here’s a short, straightforward recipe to put them to use. This uses the same quantities as the ingredient list above and remains faithful to the amounts.
Ingredients
- 12 whole chicken wings (cut into 3 sections as instructed)
- 2 tablespoons neutral oil (like vegetable or canola oil)
- 1½ teaspoons kosher salt
- 1 teaspoon black pepper
- 1 teaspoon garlic powder
- 1 teaspoon smoked paprika
- Your favorite sauce for tossing, about ¾ cup
Directions
- Preheat the oven to 425°F (220°C). Line a baking sheet with foil and set a wire rack on top if you have one—this helps the wings cook evenly and crisp up.
- Pat the cut wings dry again with paper towels. Place the pieces in a large bowl.
- Drizzle the 2 tablespoons neutral oil over the wings. Sprinkle the 1½ teaspoons kosher salt, 1 teaspoon black pepper, 1 teaspoon garlic powder, and 1 teaspoon smoked paprika across them. Toss the wings so each piece is evenly coated in oil and seasonings.
- Arrange the wings in a single layer on the wire rack or directly on the lined baking sheet, leaving space between pieces.
- Bake for 35–40 minutes, flipping once halfway through. Cook until skin is golden brown and internal temperature reads 165°F (74°C) with a meat thermometer.
- Remove wings from the oven and transfer them to a clean bowl. Pour about ¾ cup of your favorite sauce over the wings and toss to coat, or serve sauces on the side for dipping.
- Serve hot with celery sticks, carrot sticks, and a dipping sauce of choice.
Uses For the Tips
Don’t throw those tips away. They are excellent for making homemade chicken stock. Toss the tips into a pot with water, onion, carrot, celery, a bay leaf, and a few peppercorns. Simmer for an hour or two, strain, and you’ll have a flavorful broth perfect for soups or cooking grains.
Troubleshooting Common Problems
- If the knife slips: stop, reposition the wing, and pat it dry again. A slip usually means either the surface is wet or the blade is dull.
- If you can’t find the joint: gently bend the wing back and forth until the joint becomes obvious. The joint is the flexible, give-y area between bones.
- If the cut looks ragged: use kitchen shears to finish the separation. Shears follow curves more naturally than knives in some cases.
Storage and Reheating
Refrigerate leftover cooked wings within two hours of cooking. Store in an airtight container for up to two days. Reheat in a 400°F (200°C) oven for 8–10 minutes to crisp the skin again, or reheat in an air fryer for 4–6 minutes. Avoid microwaving if you want to preserve crispiness.
Final Tips for Perfectly Cut Wings Every Time
- Practice makes perfect. The first few wings might take longer, but you’ll speed up quickly.
- A sharp knife or good kitchen shears is the best investment for safety and clean cuts.
- Keep the bone-in pieces intact; cutting through bone creates splinters and jagged edges. Aim for the joint space.
- Use wing tips for stock—they offer more flavor than throwing them away.
Wrapping Up
Mastering How To Cut Chicken Wings unlocks better texture, portion control, and more economical meals. With a sharp knife, a little practice, and the clear step-by-step approach above, you’ll have neatly separated drumettes, wingettes, and tips from your 12 whole chicken wings in no time. Once you’ve got the technique down, experiment with rubs, glazes, and cooking methods to make wings your signature snack or family dinner staple.
Happy cooking—and enjoy those perfectly cut wings!
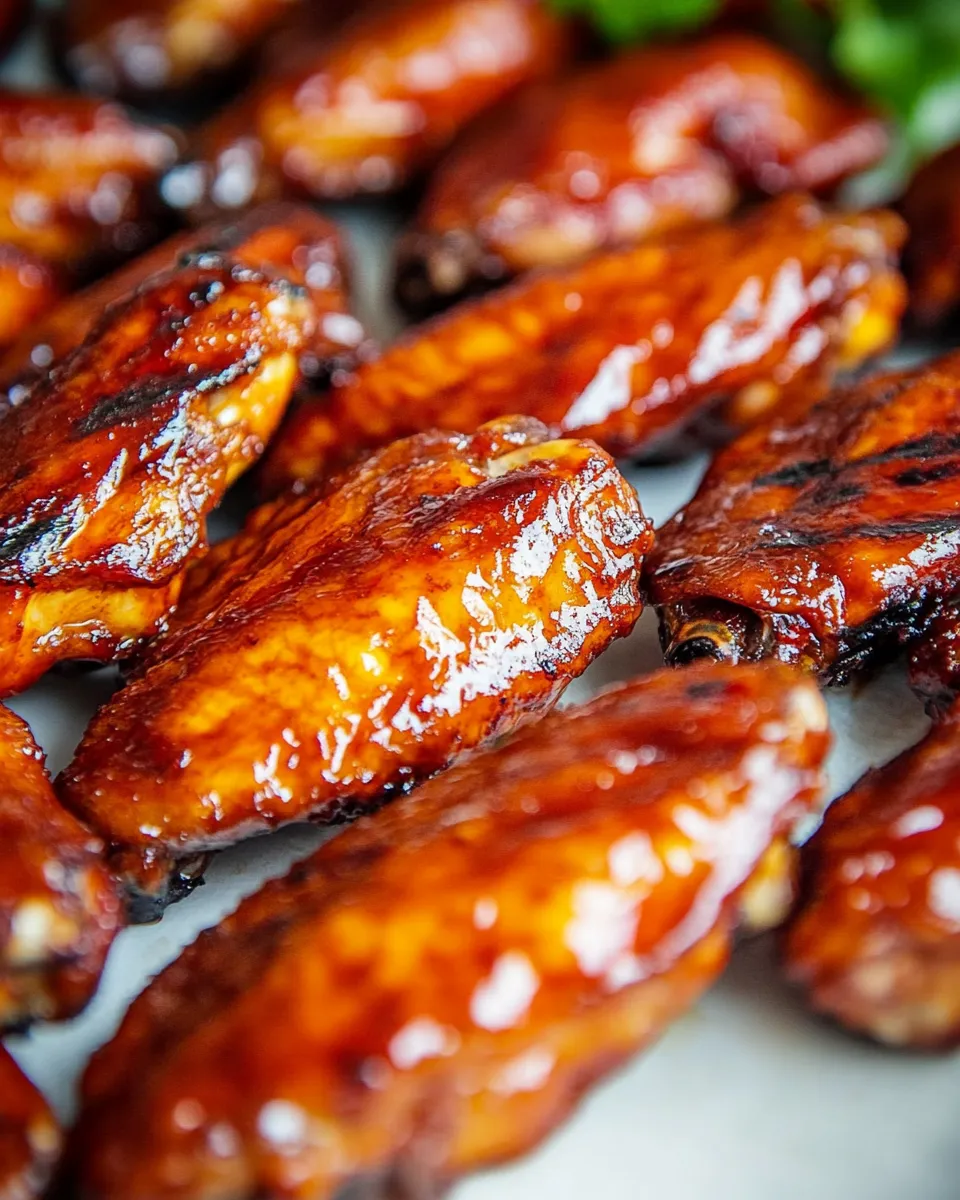
How To Cut Chicken Wings
Equipment
- Cutting Board
- Sharp heavy knife or cleaver
Ingredients
- 12 whole chicken wings (each wing has 3 sections)
Instructions
- Remove the 12 whole chicken wings from their package and place them on a clean cutting board, patting them dry with paper towels.
- Work with one wing at a time. Hold the wing and locate the thin, pointy tip (the wing tip) at the smallest end.
- Move the wing at the joint to feel for the small bump that marks the joint between the tip and the middle section.
- Using a very sharp knife, cut through the joint just above the bump toward the larger end to remove the wing tip. If you can’t find the exact spot, bend the joint back until it pops to expose the joint, then cut cleanly through it.
- Next locate the middle joint between the middle section and the drumette by feeling for the bump. Bend the joint to identify the seam, then cut just above the bump toward the larger end to separate the middle section from the drumette.
- Repeat the same process for each remaining wing until all 12 wings are separated into tips, middles (flats), and drumettes.
Notes
- Dry the wings well before cutting to prevent slipping.
- Use a very sharp, heavier knife for better control.
- Bend the joint back until it pops if you can't find the right spot to cut.
- Cut at a slight angle to help the knife pass through the joint.
- Avoid hacking or striking the wing with the knife; cut with a steady motion.