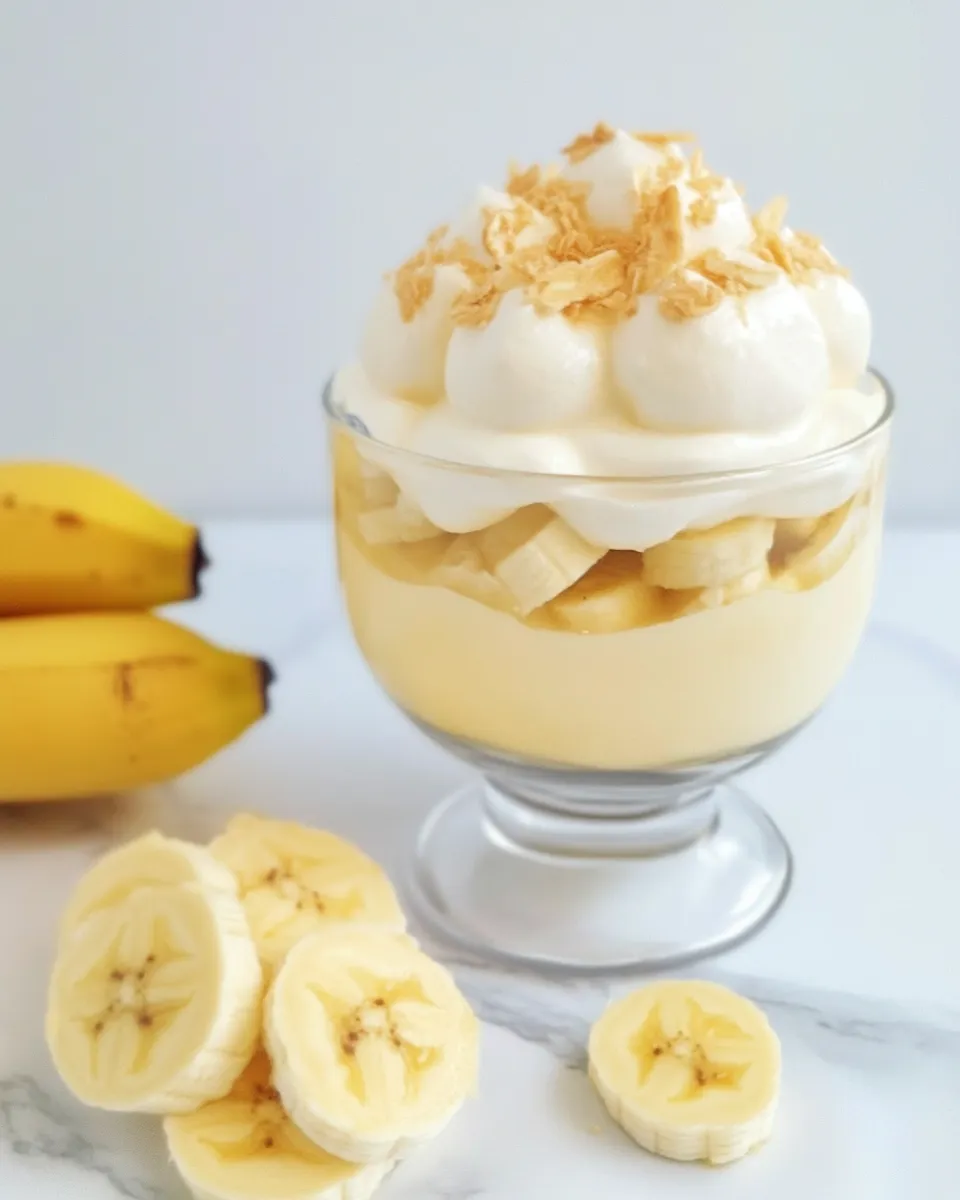
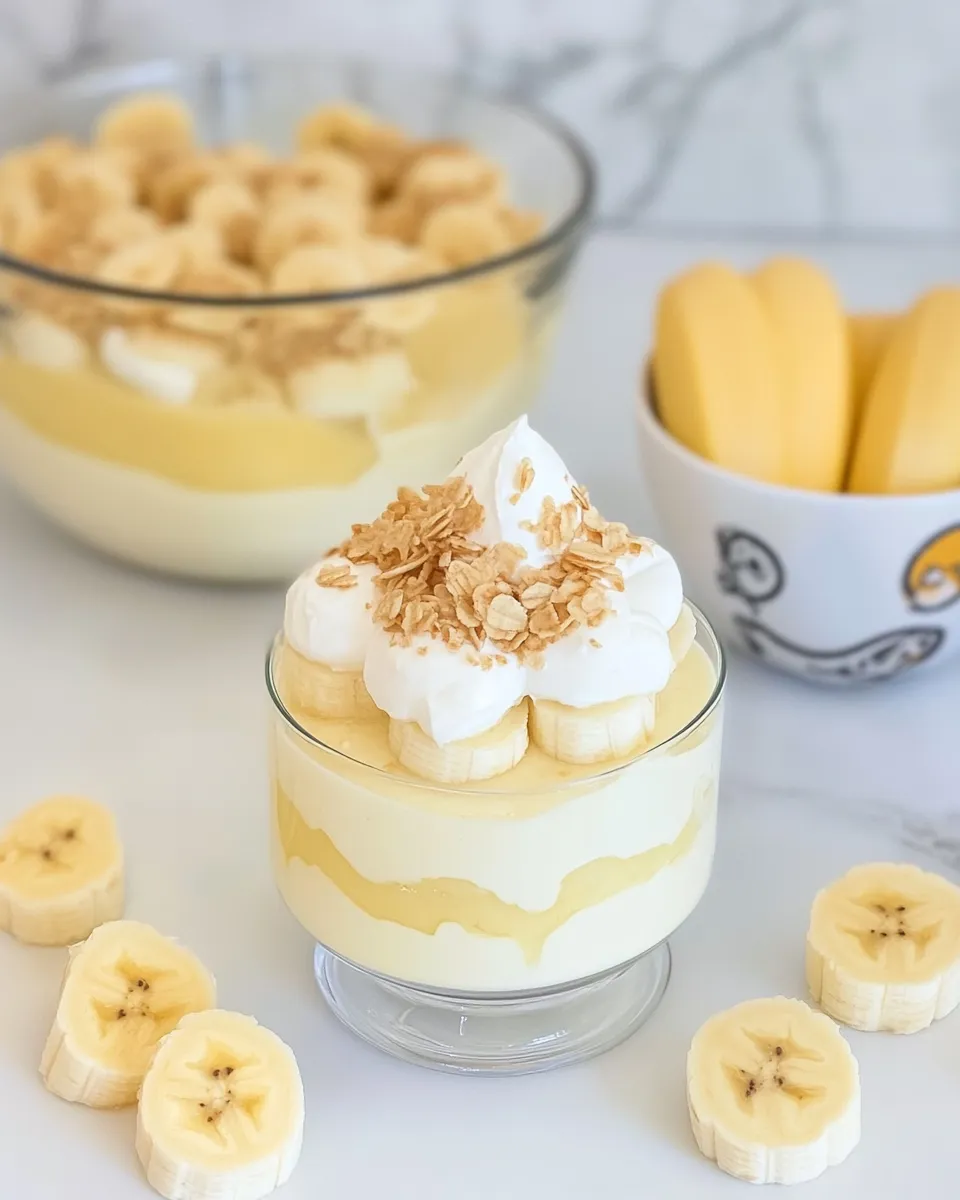
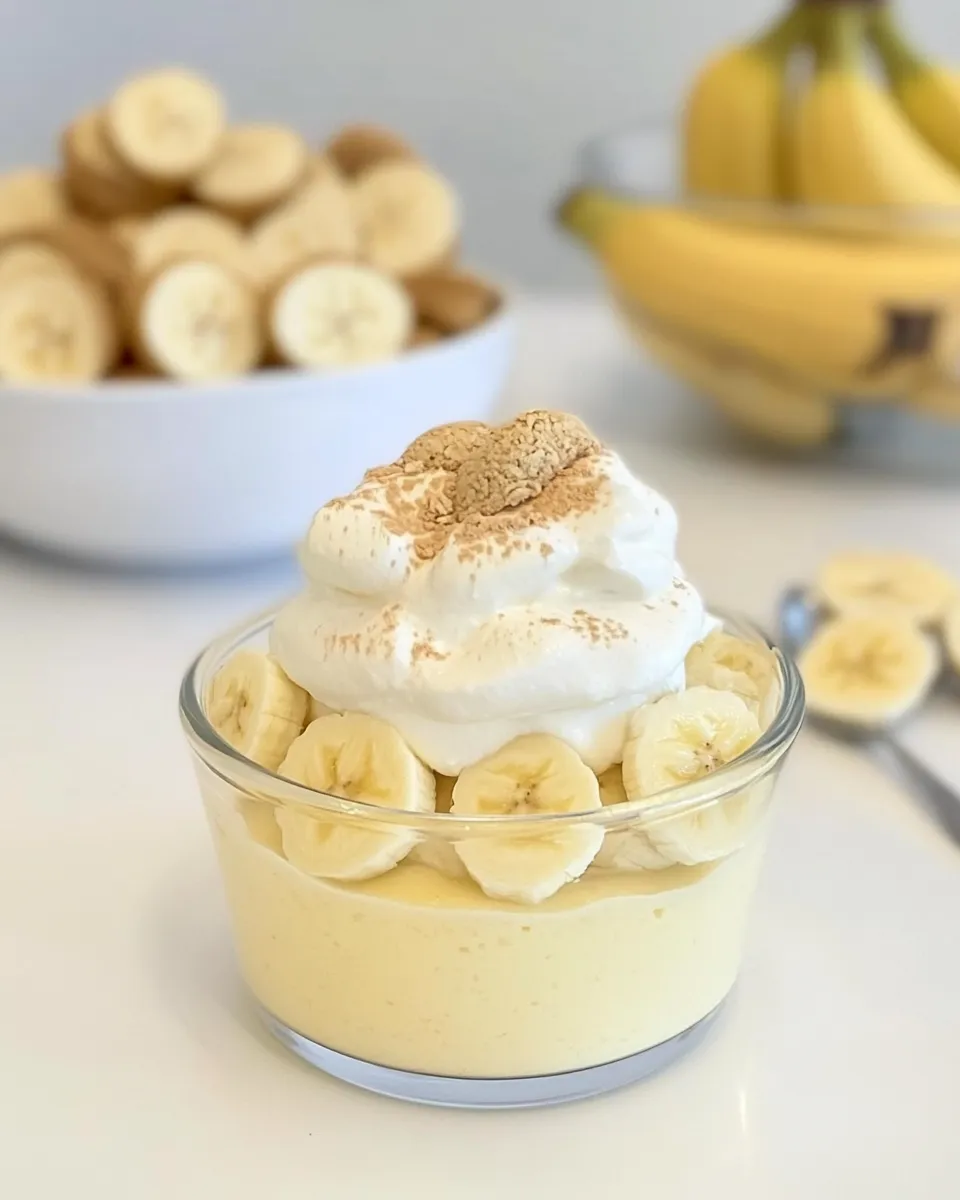
There’s something undeniably comforting about a bowl of homemade banana pudding. The creamy layers of velvety custard, fresh banana slices, and crunchy vanilla wafers create a delightful treat that hits the spot every time. Whether you’re hosting a gathering or just looking for a sweet escape at home, this Banana Pudding from Scratch is your perfect companion. With just a handful of ingredients and a little love, you can whip up this classic dessert that will have everyone coming back for seconds.
Why It’s My Go-To
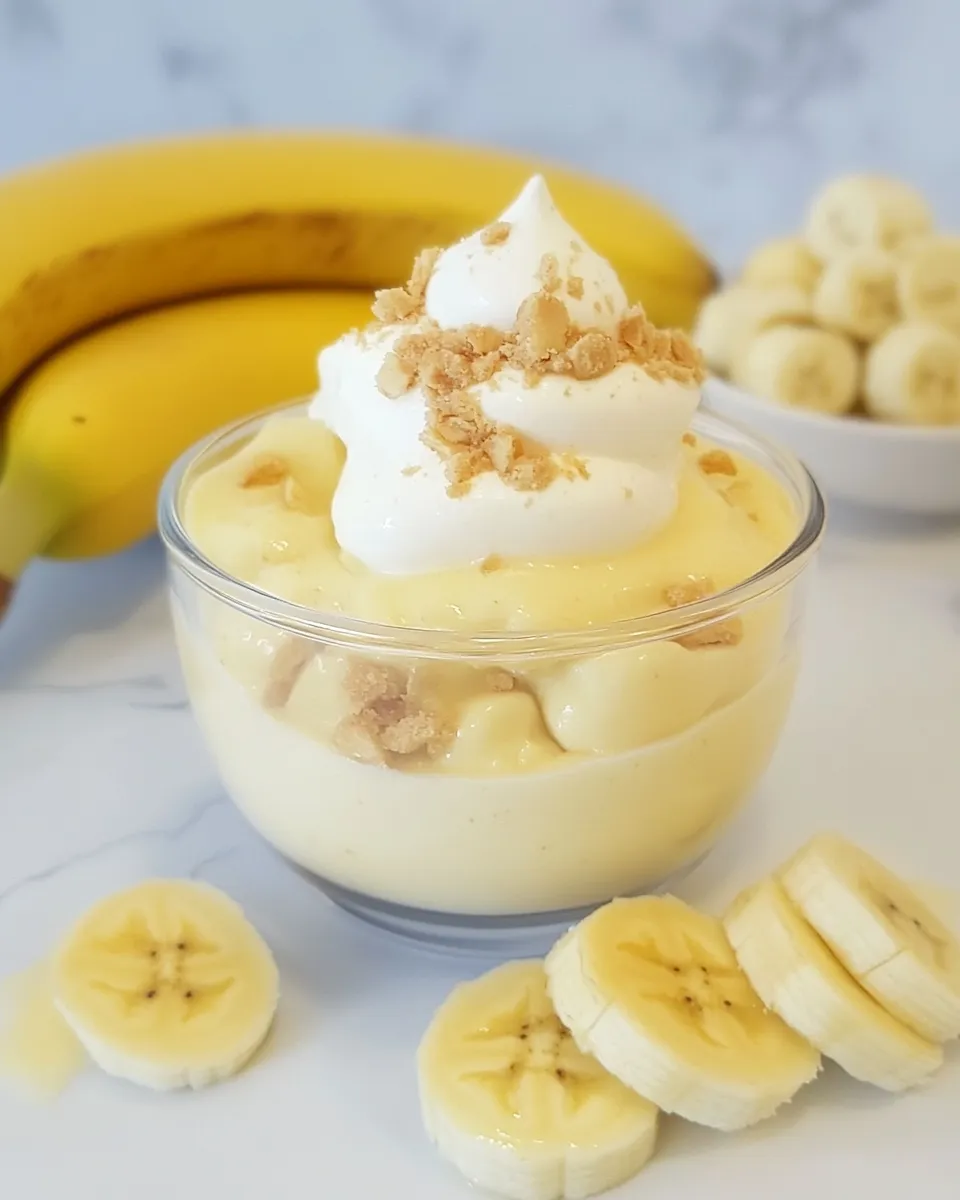
Every time I make Banana Pudding from Scratch, it takes me back to my childhood. The smell of bananas mingling with the sweet scent of vanilla always brings a smile to my face. This dessert is not only a crowd-pleaser but also incredibly satisfying to prepare. The process of creating the rich custard from scratch is rewarding, and the layers of flavor and texture make this treat shine. For me, it’s the perfect balance of creamy, fruity, and crunchy that keeps me reaching for another spoonful.
The Essentials
To make this delightful Banana Pudding from Scratch, you’ll need the following essentials:
- 1 cup granulated sugar: This sweetens the custard and balances the flavors perfectly.
- 3 tablespoons cornstarch: This thickens our pudding, giving it that luscious texture.
- 2 teaspoons salt: A pinch of salt enhances the sweetness and rounds out the flavors.
- 2 cups whole milk: The creamy base of our pudding; whole milk provides the richness we desire.
- 2 large egg yolks: These add depth and help create a smooth custard.
- 1 teaspoon vanilla extract: Pure vanilla elevates the flavor profile to the next level.
- 1 cup heavy whipping cream: For whipping into fluffy clouds that top our dessert.
- 2 large bananas for slicing: Choose firm, yet ripe bananas for the best flavor and texture.
- Lemon juice for dipping bananas: Prevents browning and keeps your bananas looking fresh.
- 24-36 vanilla wafers: The classic crunchy element that adds texture and sweetness.
What’s in the Gear List
To make your Banana Pudding from Scratch, gather these essential tools:
- Medium saucepan: For cooking the custard mixture.
- Whisk: To combine and stir ingredients smoothly.
- Mixing bowls: For separating egg yolks and whipping cream.
- Spatula: To scrape down the sides of the bowl and ensure nothing goes to waste.
- Measuring cups and spoons: For precise ingredient measurements.
- Serving dish: To layer and display your beautiful Banana Pudding.
Banana Pudding from Scratch: Step-by-Step Guide
Now, let’s dive into making this delightful dessert with a step-by-step guide.
Step 1: Prepare the Ingredients
Gather all your ingredients on the countertop. Slice the bananas and toss them in a little lemon juice to prevent browning. Set them aside.
Step 2: Make the Custard
In a medium saucepan, whisk together the granulated sugar, cornstarch, and salt. Slowly whisk in the whole milk, making sure there are no lumps.
Step 3: Heat the Mixture
Place the saucepan over medium heat. Continuously stir the mixture until it starts to thicken and bubble, about 5-7 minutes.
Step 4: Incorporate Egg Yolks
In a separate bowl, lightly beat the egg yolks. Once the milk mixture is hot, take a ladle of the hot mixture and slowly whisk it into the egg yolks to temper them. This prevents the yolks from scrambling.
Step 5: Combine and Thicken
Pour the egg yolk mixture back into the saucepan with the remaining custard. Stir continuously for another 2-3 minutes until it thickens to a pudding-like consistency. Remove from heat and stir in the vanilla extract.
Step 6: Cool the Custard
Transfer the custard to a mixing bowl and cover it with plastic wrap, pressing it directly onto the surface to prevent a skin from forming. Allow it to cool to room temperature, then refrigerate until chilled.
Step 7: Whip the Cream
In a separate bowl, whip the heavy cream until soft peaks form. Gently fold the whipped cream into the chilled custard, being careful not to deflate the mixture.
Step 8: Assemble the Banana Pudding
In your serving dish, start with a layer of vanilla wafers, followed by a layer of sliced bananas. Spoon a layer of the custard mixture over the bananas, and repeat the layers until you reach the top, finishing with custard.
Step 9: Garnish and Chill
Top your Banana Pudding with any remaining whipped cream and perhaps a few more vanilla wafers for decoration. Cover and refrigerate for at least 2 hours before serving to let the flavors meld.
Healthier Substitutions
If you’re looking to lighten up your Banana Pudding from Scratch, consider these substitutions:
- Use low-fat milk instead of whole milk for a lighter version.
- Replace heavy cream with coconut cream for a dairy-free option.
- Opt for natural sweeteners like honey or maple syrup instead of granulated sugar.
- Use whole grain vanilla wafers for a healthier crunch.
What Not to Do
Creating the perfect Banana Pudding from Scratch is simple, but here are some common mistakes to avoid:
- Don’t skip the tempering step with egg yolks; it’s crucial for a smooth custard.
- Avoid using overripe bananas as they can become mushy and affect the texture.
- Do not rush the cooling process; letting the custard chill properly enhances the flavors.
- Using artificial vanilla extract can result in a less flavorful pudding; always opt for pure vanilla extract if possible.
Storage Pro Tips
To keep your Banana Pudding from Scratch fresh and delicious, follow these storage tips:
- Store leftovers in an airtight container in the refrigerator for up to 3 days.
- Layer the banana slices just before serving to keep them from browning.
- If making in advance, prepare the custard and wafers, but wait to assemble until closer to serving time.
Quick Q&A
Can I use other fruits in my pudding?
Absolutely! While bananas are classic, you can experiment with strawberries, peaches, or mixed berries for a twist on the traditional recipe.
Is it possible to make this pudding dairy-free?
Yes! You can substitute whole milk with almond milk or coconut milk, and use coconut cream in place of heavy cream for a dairy-free alternative.
How can I make my pudding thicker?
If you prefer a thicker pudding, you can add an extra tablespoon of cornstarch to the mixture when cooking the custard.
Can I freeze Banana Pudding?
While it’s best enjoyed fresh, you can freeze the custard without the bananas for up to a month. Just be aware that the texture may change slightly upon thawing.
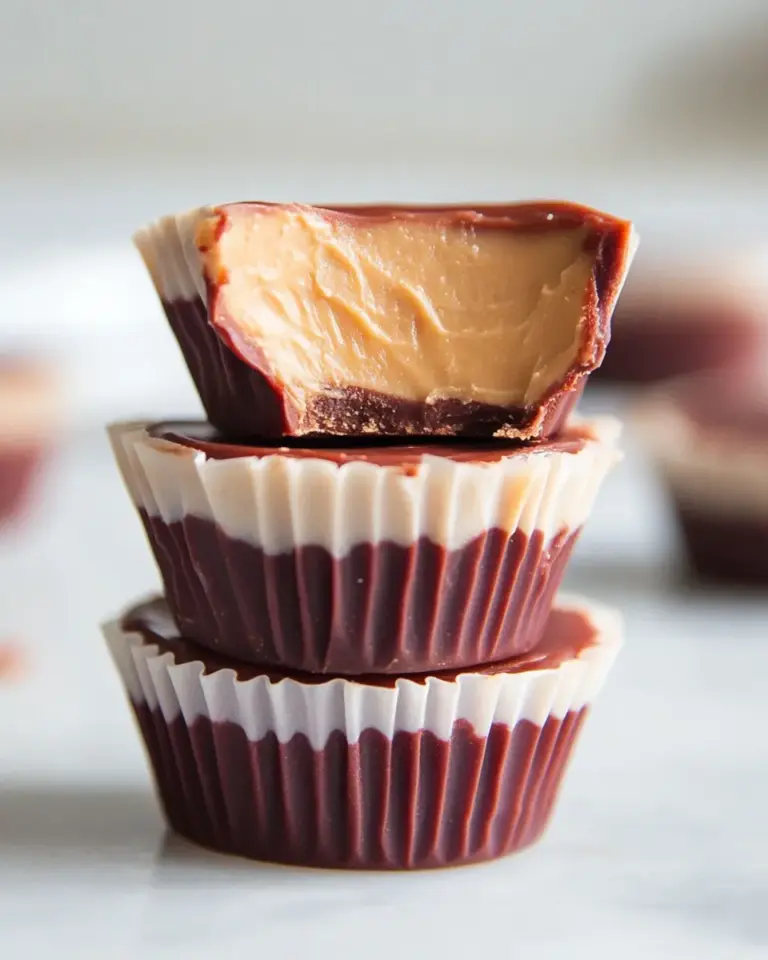
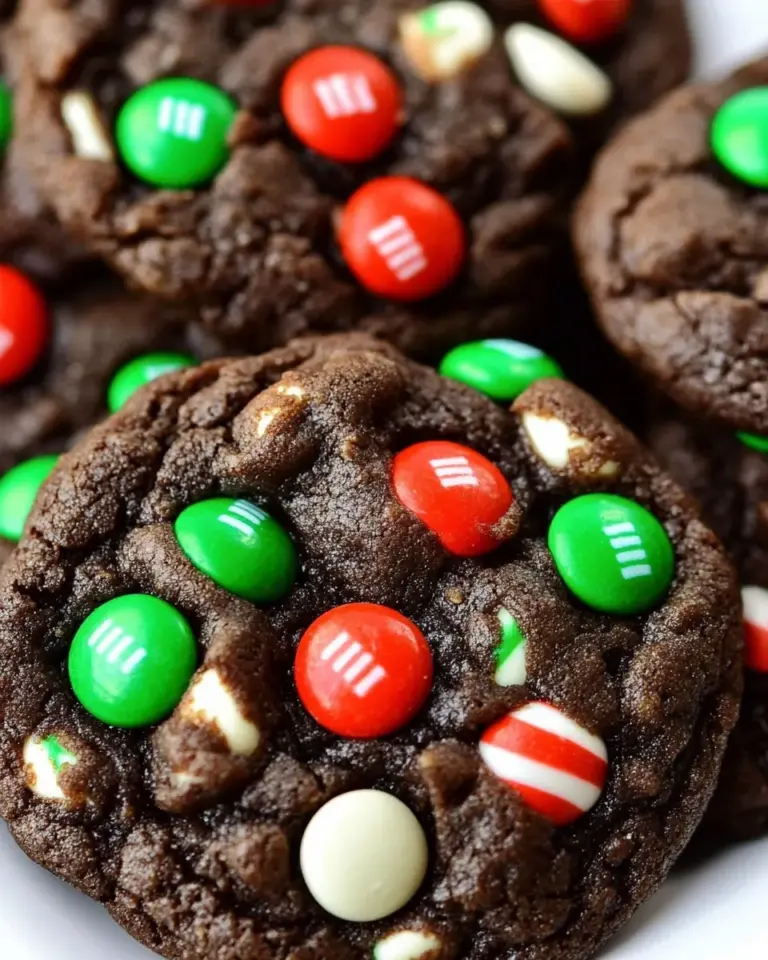
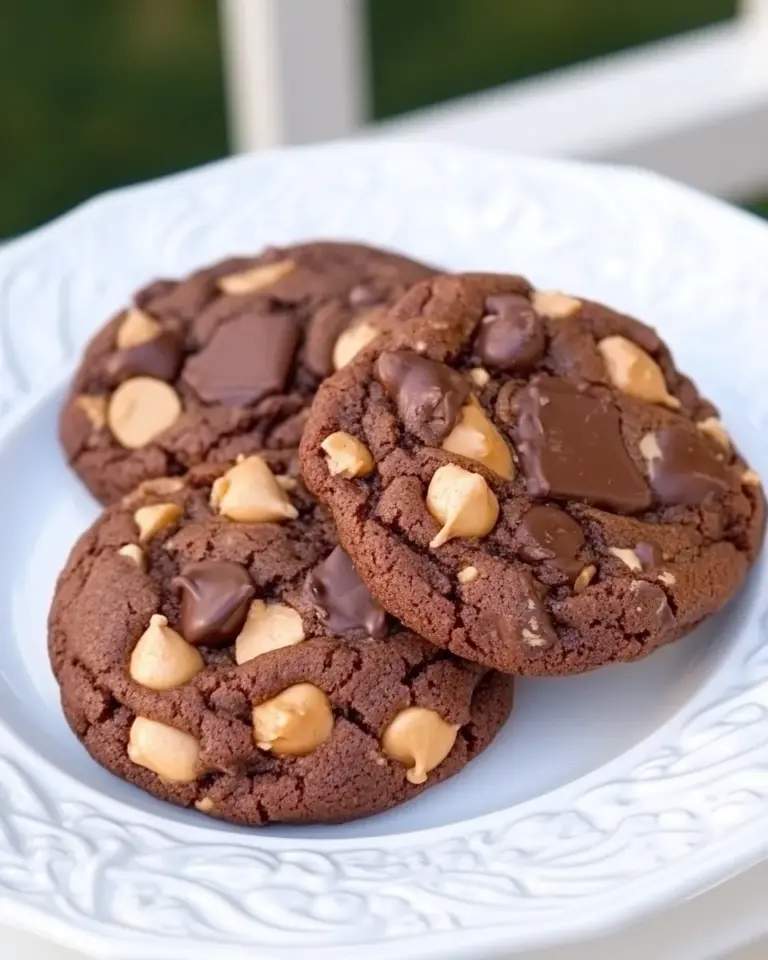
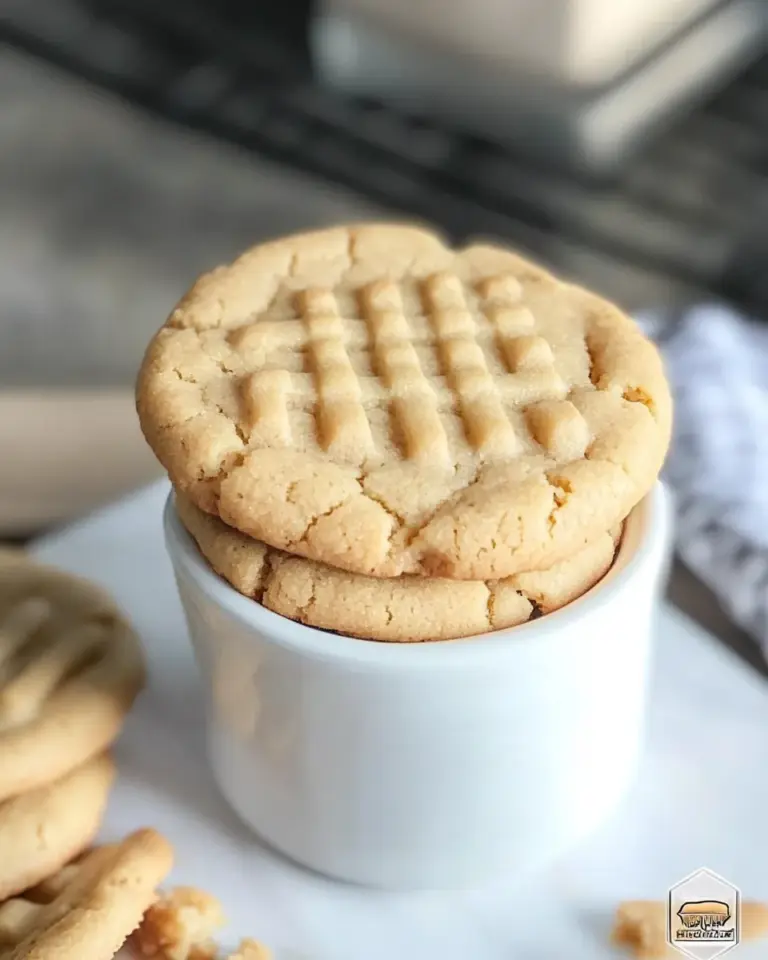
If you’re craving more delicious treats, check out these favorites:
Next Steps
Now that you know how to make Banana Pudding from Scratch, it’s time to gather your ingredients and get cooking! This recipe is perfect for family gatherings, potlucks, or simply enjoying a sweet treat at home. Don’t forget to share your delicious creation with friends and family; they will surely be impressed by your culinary skills.
So go ahead, whip up this delightful dessert, and let the comforting flavors of banana pudding transport you to a world of sweetness. Enjoy every creamy, crunchy bite!
Banana Pudding from Scratch
Equipment
- Medium Saucepan
- Whisk
- Mixing Bowls
- Spatula
- Measuring cups and spoons
- Serving Dish
Ingredients
- 1 cup granulated sugar
- 3 tablespoons cornstarch
- 2 teaspoons salt
- 2 cups whole milk
- 2 large egg yolks
- 1 teaspoon vanilla extract pure
- 1 cup heavy whipping cream
- 2 large bananas sliced
- lemon juice for dipping bananas
- 24-36 vanilla wafers classic crunchy element
Instructions
Step 1: Prepare the Ingredients
- Gather all your ingredients on the countertop. Slice the bananas and toss them in a little lemon juice to prevent browning. Set them aside.
Step 2: Make the Custard
- In a medium saucepan, whisk together the granulated sugar, cornstarch, and salt. Slowly whisk in the whole milk, making sure there are no lumps.
Step 3: Heat the Mixture
- Place the saucepan over medium heat. Continuously stir the mixture until it starts to thicken and bubble, about 5-7 minutes.
Step 4: Incorporate Egg Yolks
- In a separate bowl, lightly beat the egg yolks. Once the milk mixture is hot, take a ladle of the hot mixture and slowly whisk it into the egg yolks to temper them. This prevents the yolks from scrambling.
Step 5: Combine and Thicken
- Pour the egg yolk mixture back into the saucepan with the remaining custard. Stir continuously for another 2-3 minutes until it thickens to a pudding-like consistency. Remove from heat and stir in the vanilla extract.
Step 6: Cool the Custard
- Transfer the custard to a mixing bowl and cover it with plastic wrap, pressing it directly onto the surface to prevent a skin from forming. Allow it to cool to room temperature, then refrigerate until chilled.
Step 7: Whip the Cream
- In a separate bowl, whip the heavy cream until soft peaks form. Gently fold the whipped cream into the chilled custard, being careful not to deflate the mixture.
Step 8: Assemble the Banana Pudding
- In your serving dish, start with a layer of vanilla wafers, followed by a layer of sliced bananas. Spoon a layer of the custard mixture over the bananas, and repeat the layers until you reach the top, finishing with custard.
Step 9: Garnish and Chill
- Top your Banana Pudding with any remaining whipped cream and perhaps a few more vanilla wafers for decoration. Cover and refrigerate for at least 2 hours before serving to let the flavors meld.
Notes
- Use lemon juice to keep banana slices fresh and prevent browning.
- Don’t skip tempering the egg yolks to avoid scrambled custard.
- Store leftovers in an airtight container in the fridge for up to 3 days.
- For a lighter pudding, substitute low-fat milk and coconut cream.
- Assemble just before serving to keep wafers crunchy and bananas fresh.