If you’re searching for a dessert that combines the rich, fudgy goodness of brownies with the creamy delight of a no-bake cake, then this Brownie Refrigerator Cake is exactly what you need. It’s a luscious, easy-to-make treat that layers brownie flavors with cream cheese, whipped cream, and crunchy cookie bits, all set beautifully in the refrigerator. This dessert is perfect for any occasion, whether you’re hosting a family gathering, celebrating a birthday, or simply craving a chocolatey indulgence without the oven heat. With minimal ingredients and simple steps, you’ll have a crowd-pleasing dessert ready to impress.
Why This Recipe Is a Must-Try
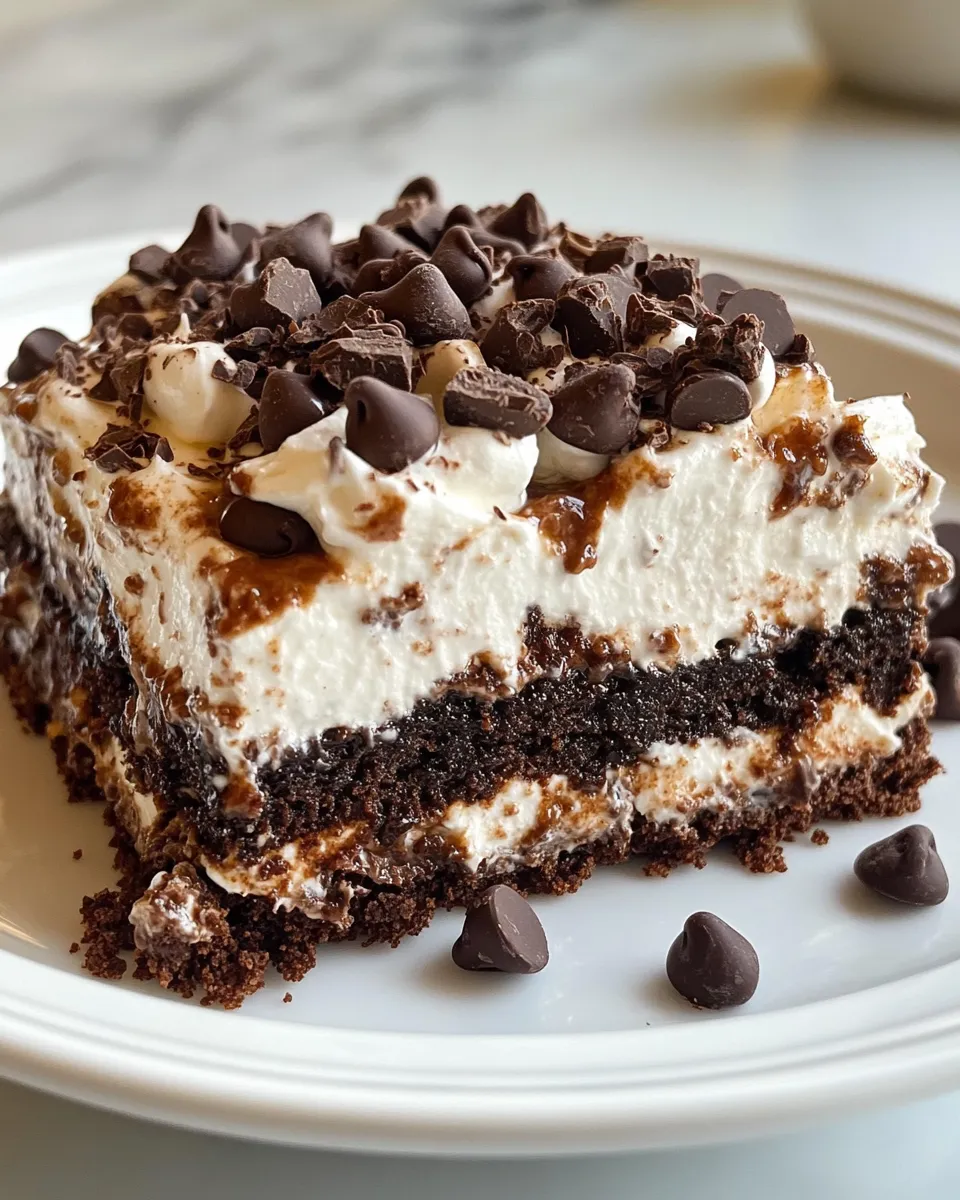
There’s something magical about a Brownie Refrigerator Cake. It captures the best parts of a traditional brownie and transforms them into a light, airy, and creamy cake that requires no baking beyond the initial brownie preparation. Unlike dense brownies, this cake boasts layers of texture—from the soft brownie base to the smooth cream cheese filling, fluffy whipped cream, and crunchy chocolate cookies sprinkled throughout.
This recipe is also incredibly flexible and forgiving. It’s a great way to use boxed brownie mix without any fuss, making it accessible for beginner bakers or anyone short on time. Plus, the cake’s chill time in the fridge means you can prepare it a day ahead, giving the flavors time to meld perfectly. If you love desserts like cheesecake or layered chocolate treats, this recipe will quickly become a favorite. For a twist on chocolate desserts, you might also enjoy my Chocolate Chip Cheesecake Recipe With Chocolate Ganache, which shares some of the creamy decadence found here.
Ingredients
- 2 cups brownie mix
- 1/4 cup vegetable oil
- 2 large eggs
- 1 cup cream cheese, softened
- 1/2 cup powdered sugar
- 1 teaspoon vanilla extract
- 1 cup whipped cream
- 1 cup mini chocolate chips
- 1 cup cold milk
- 1 package of chocolate cookies, crushed
Each ingredient is chosen to create the perfect balance of fudgy brownie, smooth cream cheese, and crunchy texture. Using softened cream cheese ensures a silky filling, while the whipped cream lightens up the richness. The cold milk helps melt the brownie mix just enough to create a soft, pudding-like base once chilled.
How To Make Brownie Refrigerator Cake
Step 1: Prepare the Brownie Base
In a mixing bowl, combine the 2 cups of brownie mix with 1 cup of cold milk. Stir gently until the mixture is smooth and lump-free. This will create a brownie pudding-like texture that forms the cake’s base. Pour this mixture into a greased or parchment-lined 9×13 inch pan, spreading evenly. Place the pan in the refrigerator to set while you prepare the cream cheese layer.
Step 2: Make the Cream Cheese Filling
In a separate bowl, beat together the softened cream cheese, powdered sugar, and vanilla extract until smooth and creamy. Gently fold in the whipped cream, being careful not to deflate it. This combination creates a luscious, airy filling that perfectly complements the dense brownie base.
Step 3: Assemble the Cake
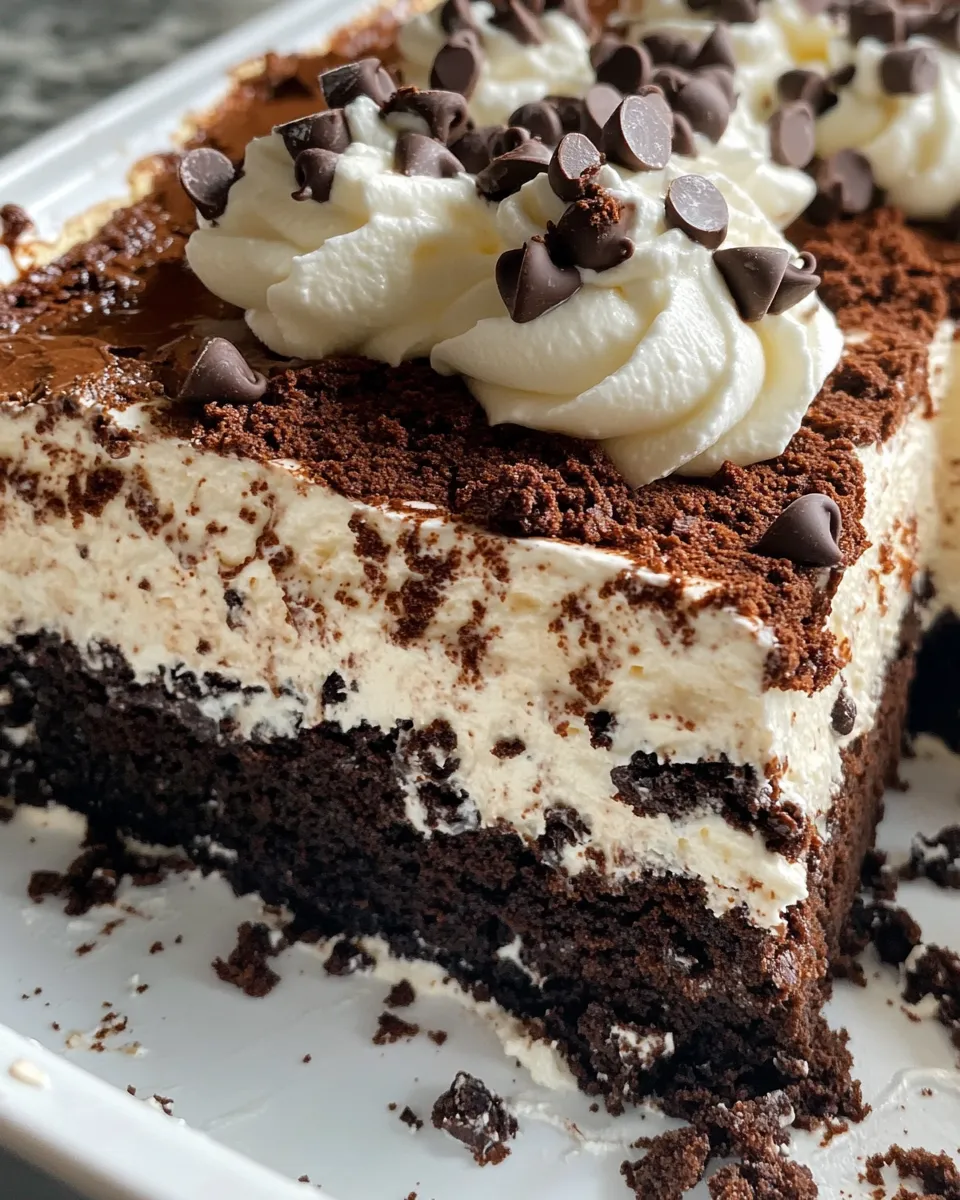
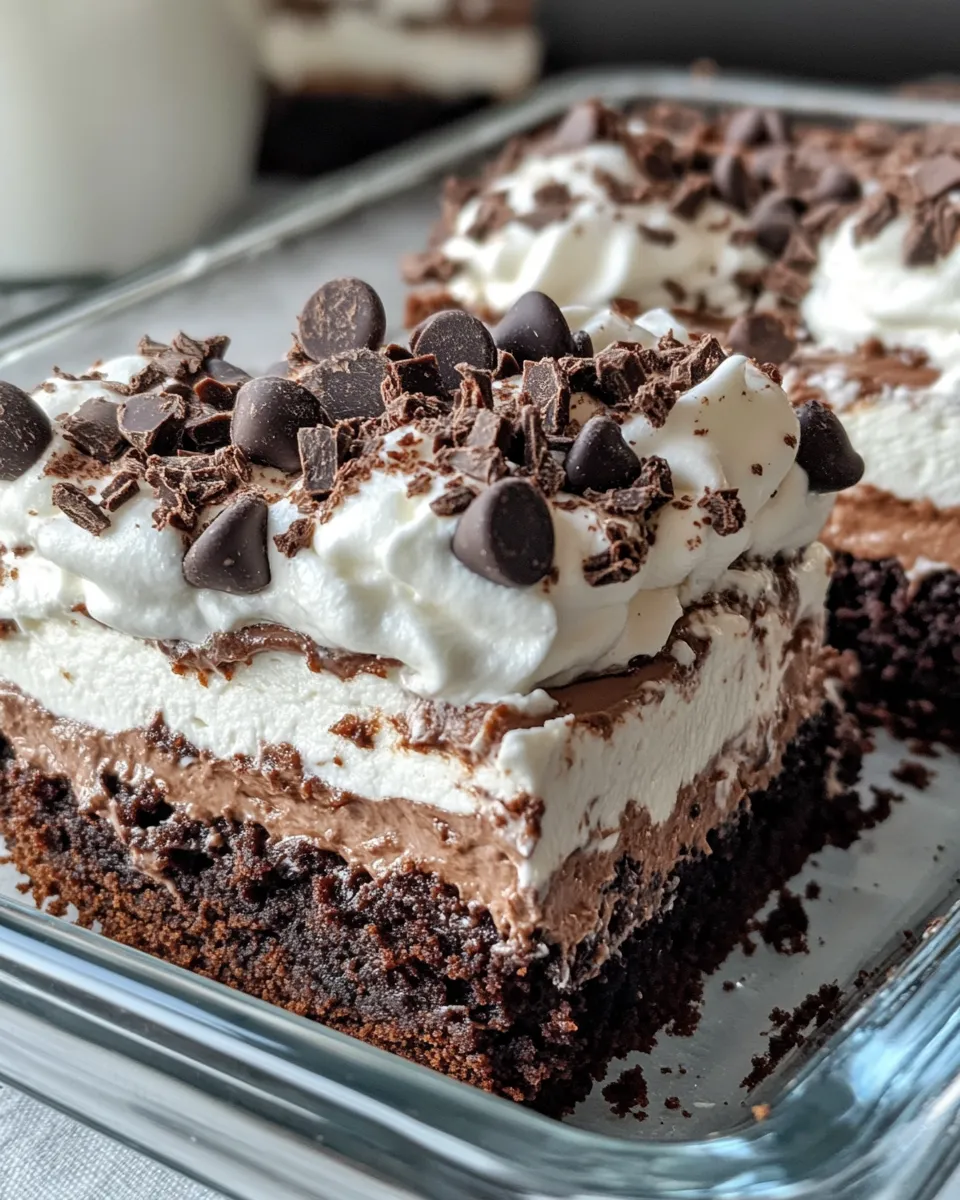
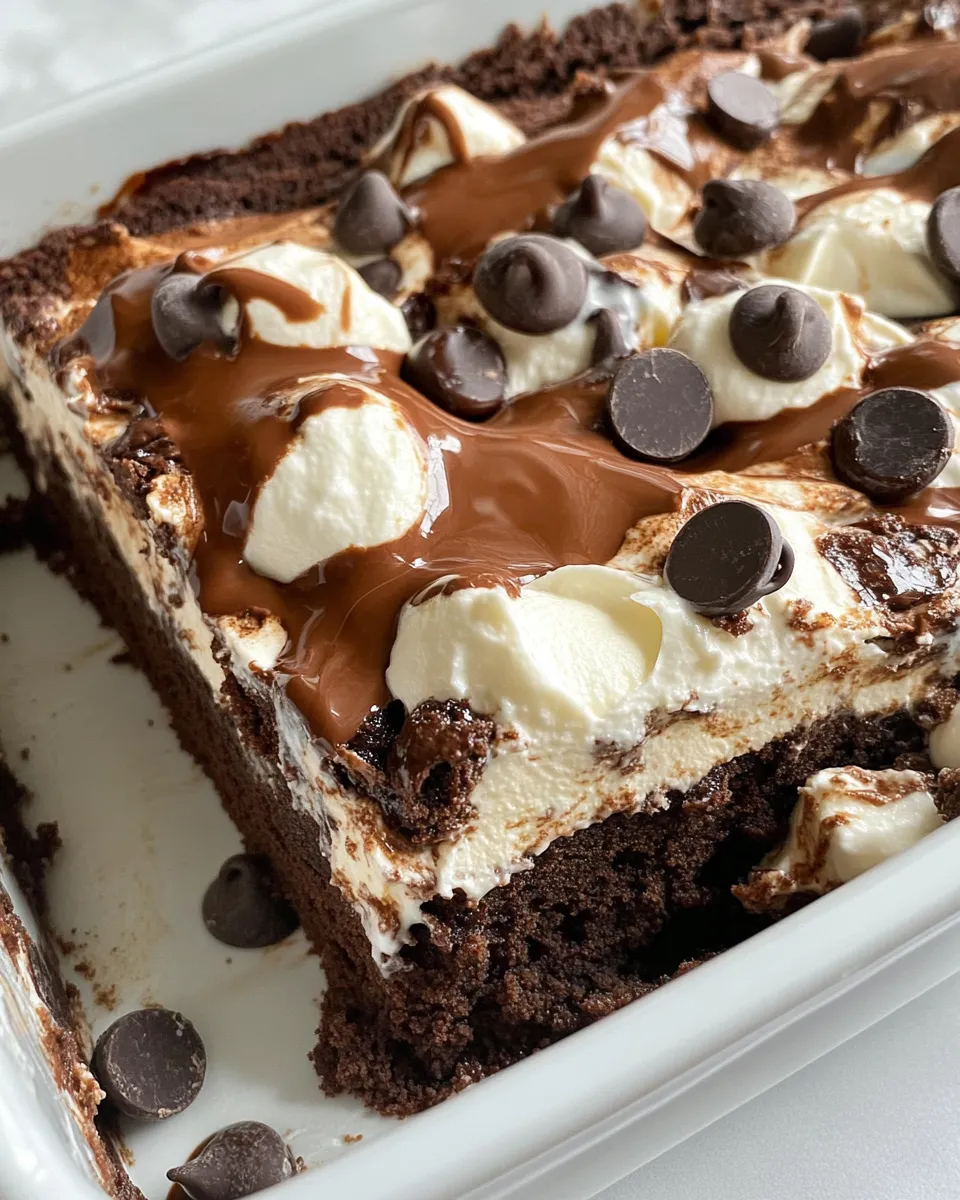
Remove the brownie base from the refrigerator once it has firmed up slightly. Spread the cream cheese mixture evenly over the brownie layer. Then sprinkle the crushed chocolate cookies and mini chocolate chips generously on top. The cookies add a delightful crunch, while the chocolate chips provide extra bursts of chocolate in every bite.
Step 4: Chill and Serve
Cover the entire cake with plastic wrap and refrigerate for at least 4 hours, preferably overnight. This chilling time allows the layers to set and the flavors to meld beautifully. When ready to serve, slice into squares and enjoy the creamy, chocolatey goodness of your Brownie Refrigerator Cake.
Common Mistakes to Avoid
- Using warm milk instead of cold milk when mixing the brownie base can affect the texture, making it less firm.
- Not softening the cream cheese properly may result in lumps in the filling. Always let it come to room temperature before mixing.
- Overmixing the whipped cream with the cream cheese can deflate it, losing the light texture.
- Skipping the chilling time will cause the cake layers not to set properly, making it difficult to slice.
- Using regular-sized chocolate chips instead of mini chips can cause uneven distribution in the topping.
Variations and Customizations
- Nutty Delight: Add chopped walnuts or pecans into the brownie base or sprinkle on top for extra crunch.
- Fruit Twist: Fold in fresh raspberries or sliced strawberries into the cream cheese filling for a fruity surprise.
- Peanut Butter Swirl: Swirl some peanut butter into the brownie mix before chilling for a rich, nutty flavor.
- Mint Chocolate: Add a few drops of peppermint extract to the cream cheese filling and use crushed mint chocolate cookies on top.
- Cookie Crumble: Experiment with different cookie types, like Oreos or chocolate wafers, for varied textures and flavors.
How to Store Leftovers
After enjoying your Brownie Refrigerator Cake, wrap the leftovers tightly with plastic wrap or store them in an airtight container. Keep it refrigerated, where it will stay fresh for up to 4 days. Because of the creamy filling, this dessert should not be left out at room temperature for extended periods. For longer storage, you can freeze it in portions wrapped individually in plastic wrap and foil. Thaw in the refrigerator overnight before serving for the best texture.
FAQ
Can I use homemade brownie batter instead of a boxed mix?
Absolutely! If you prefer, you can substitute the boxed brownie mix with your favorite homemade brownie batter. Just be sure to adjust the liquid content accordingly to achieve the pudding-like consistency needed for the base.
Is it possible to make this cake dairy-free?
Yes, you can use dairy-free cream cheese and whipped topping alternatives along with plant-based milk to make a dairy-free version. Just ensure that the brownie mix is also free from dairy ingredients.
How long does the chilling time need to be?
For the best results, refrigerate the cake for at least 4 hours. However, chilling it overnight is optimal as it allows the layers to firm up and the flavors to blend beautifully.
Can I use regular-sized chocolate chips instead of mini chocolate chips?
You can, but mini chocolate chips distribute more evenly throughout the cake’s topping, ensuring that every bite has a bit of chocolate. If using regular chips, consider chopping them into smaller pieces first.
Conclusion
This Brownie Refrigerator Cake is an irresistible dessert that combines the best of brownies and no-bake cakes into one easy-to-make treat. With its creamy layers, chocolatey goodness, and delightful crunch, it’s sure to impress anyone lucky enough to try it. Its simplicity and flexibility make it perfect for both novice bakers and seasoned dessert lovers alike. Whether you’re making it for a special occasion or a simple family dessert, it’s a recipe that will quickly become a go-to in your repertoire. Enjoy every slice of this luscious, chilled delight!
Share on Pinterest
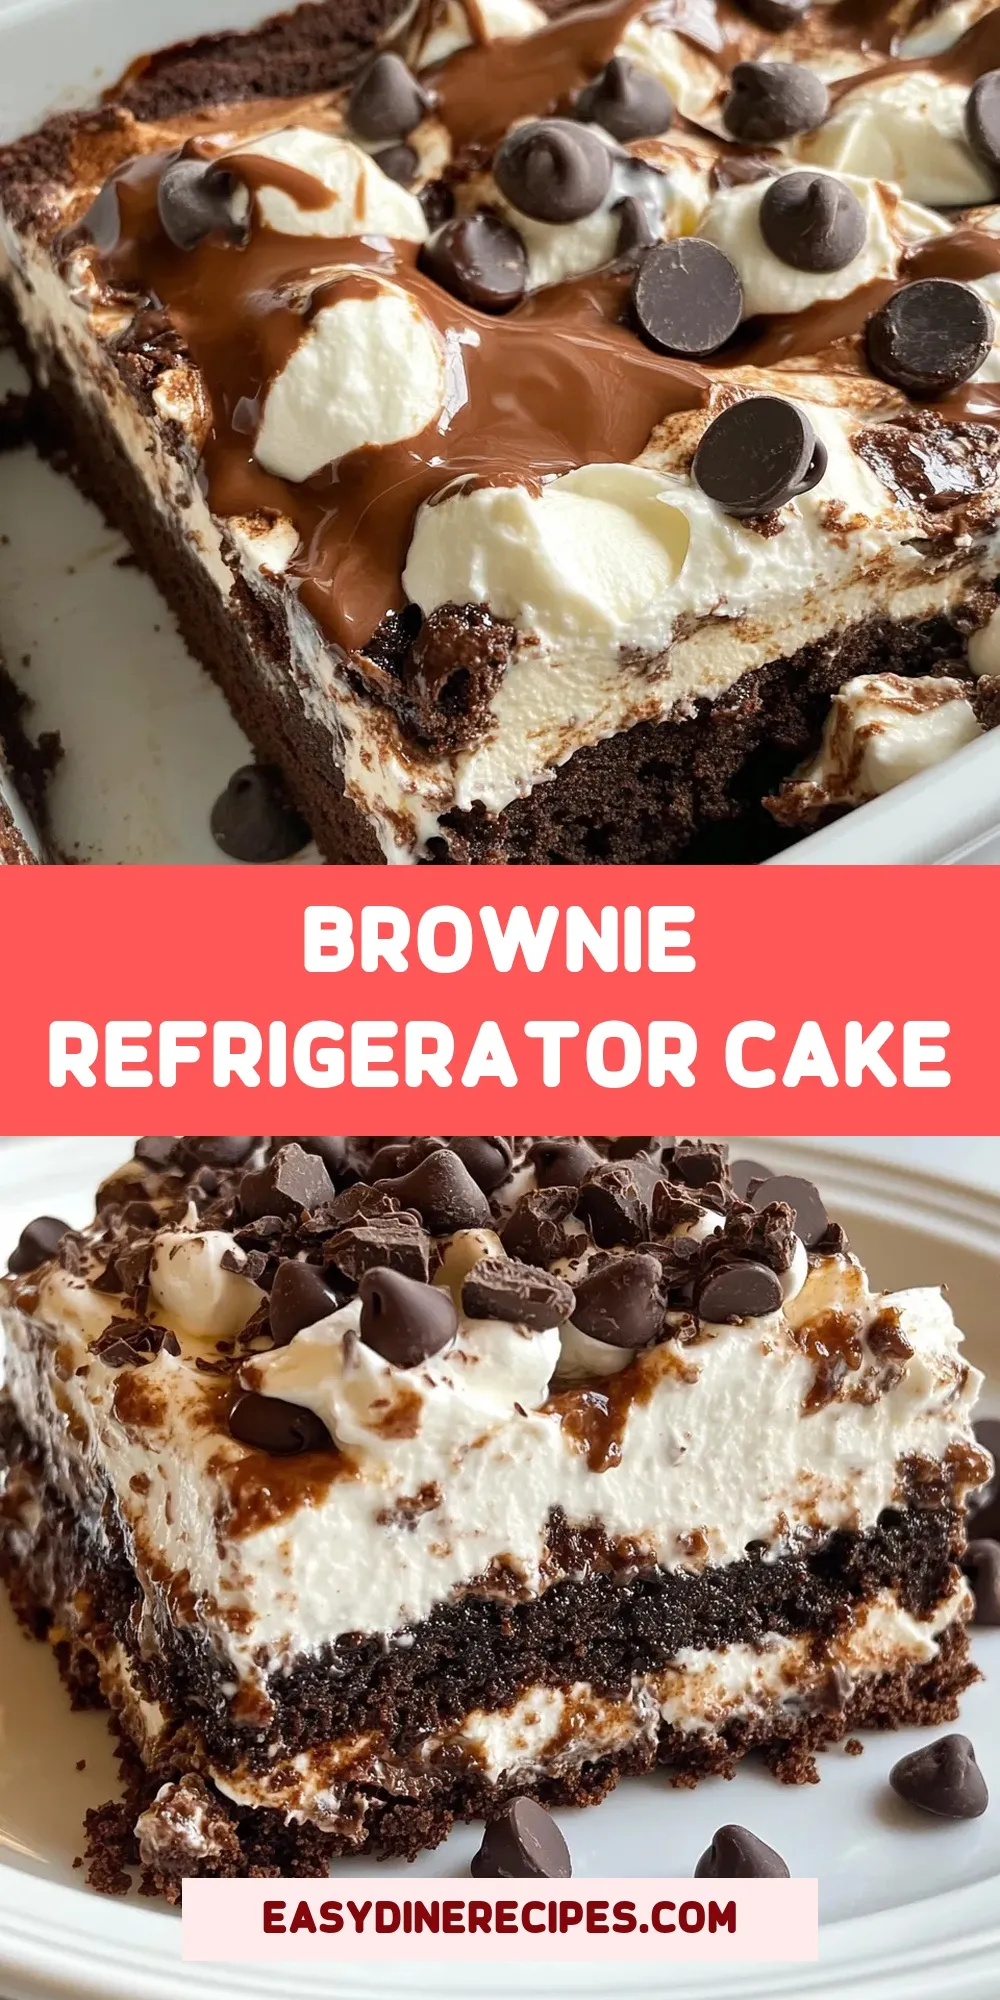
Brownie Refrigerator Cake
Equipment
- Mixing Bowl
- 9x13 inch Pan
- Whisk
Ingredients
- 2 cups brownie mix
- 1/4 cup vegetable oil
- 2 large eggs
- 1 cup cream cheese softened
- 1/2 cup powdered sugar
- 1 teaspoon vanilla extract
- 1 cup whipped cream
- 1 cup mini chocolate chips
- 1 cup cold milk
- 1 package chocolate cookies crushed
Instructions
Step 1: Prepare the Brownie Base
- In a mixing bowl, combine the 2 cups of brownie mix with 1 cup of cold milk. Stir gently until the mixture is smooth and lump-free. Pour this mixture into a greased or parchment-lined 9x13 inch pan, spreading evenly. Place the pan in the refrigerator to set while you prepare the cream cheese layer.
Step 2: Make the Cream Cheese Filling
- In a separate bowl, beat together the softened cream cheese, powdered sugar, and vanilla extract until smooth and creamy. Gently fold in the whipped cream, being careful not to deflate it.
Step 3: Assemble the Cake
- Remove the brownie base from the refrigerator once it has firmed up slightly. Spread the cream cheese mixture evenly over the brownie layer. Then sprinkle the crushed chocolate cookies and mini chocolate chips generously on top.
Step 4: Chill and Serve
- Cover the entire cake with plastic wrap and refrigerate for at least 4 hours, preferably overnight. When ready to serve, slice into squares and enjoy.
Notes
- Use cold milk to ensure the brownie base sets properly and has a pudding-like texture.
- Let cream cheese soften fully before mixing to avoid lumps in the filling.
- Chill the cake for at least 4 hours or overnight for best flavor and texture.