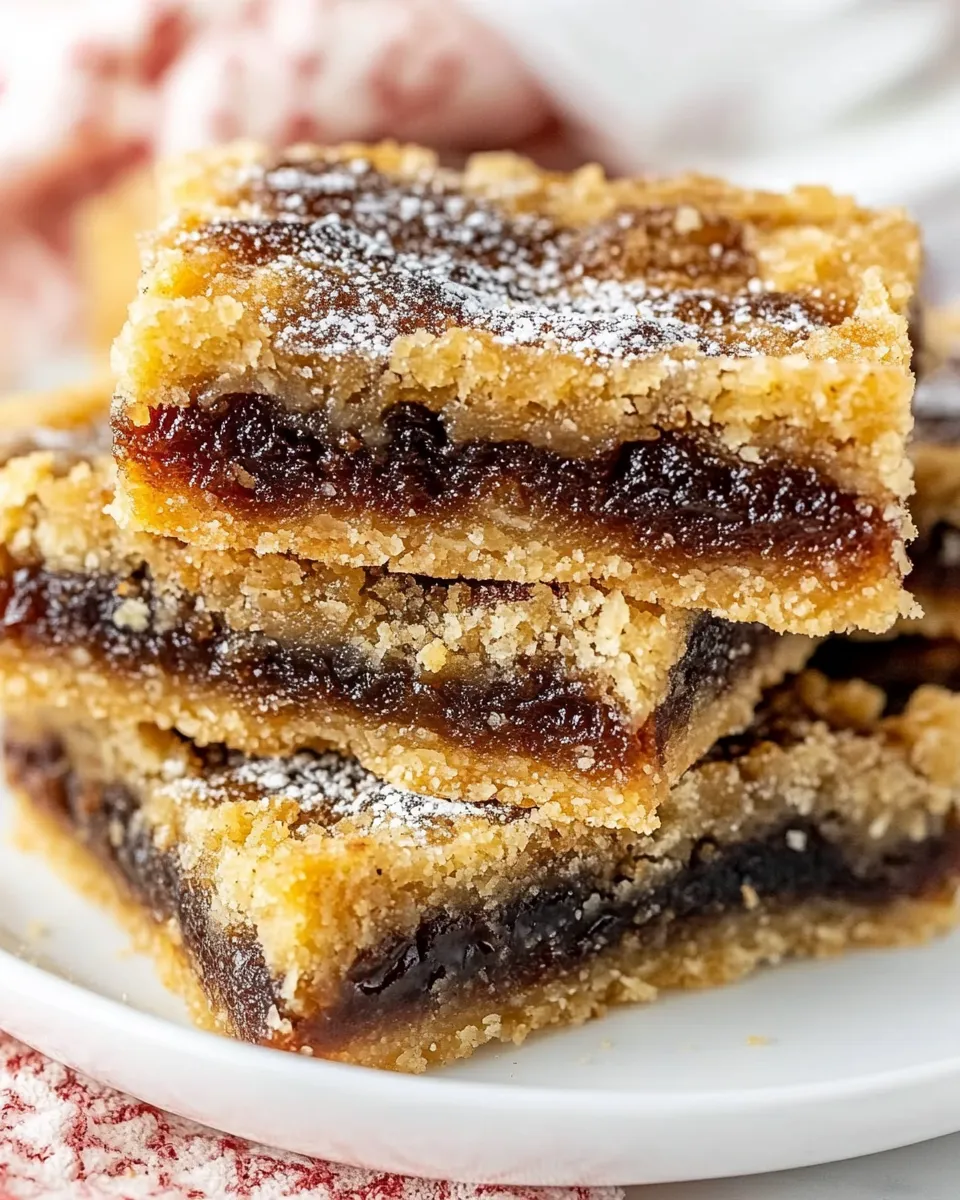
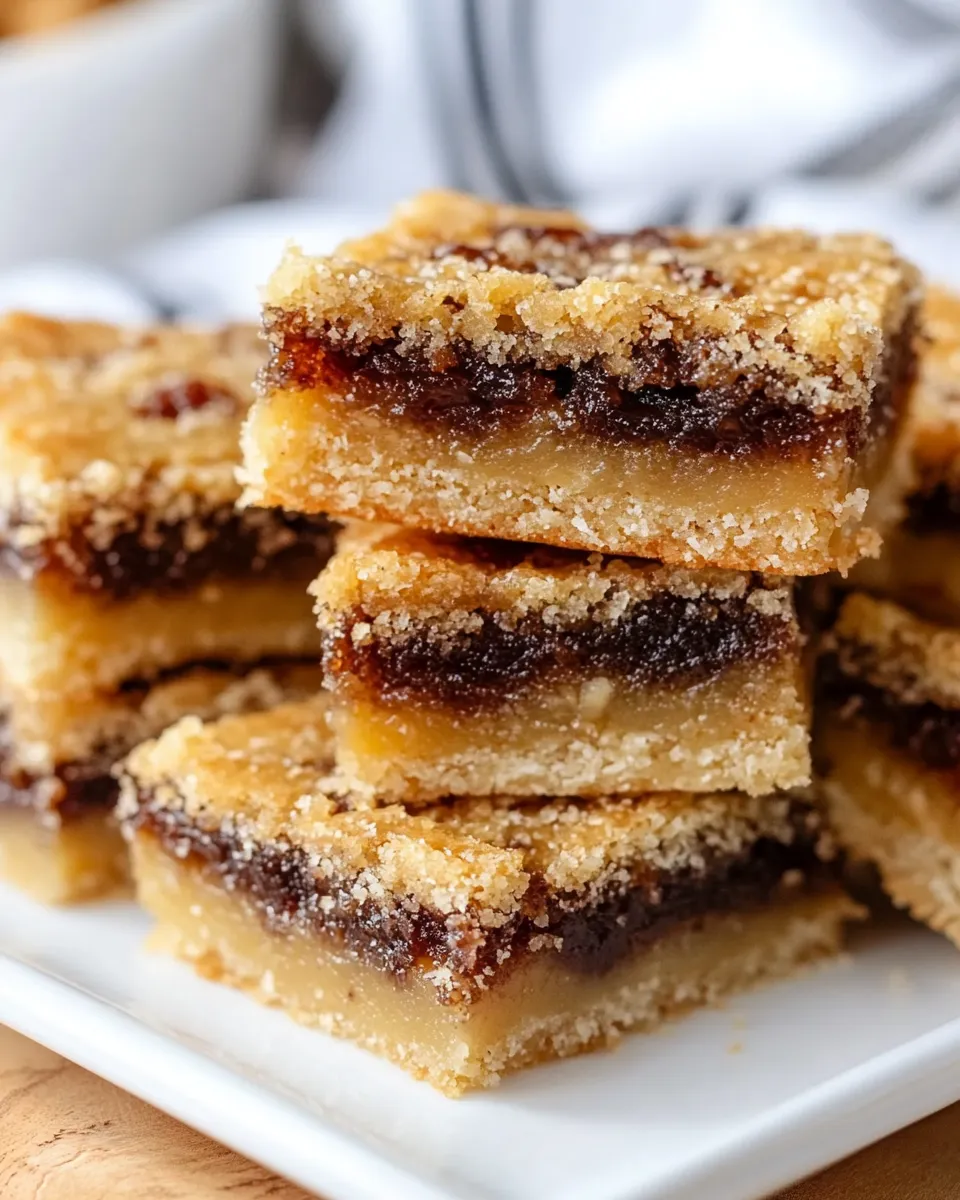
Looking for a delightful dessert that packs all the goodness of classic butter tarts but in a convenient bar form? You’ve struck gold with this fabulous recipe for Butter Tart Bars! Imagine a buttery, flaky base topped with a rich, gooey filling that offers every bit of the sweet indulgence you crave, all while being incredibly simple to whip up.
Perfect for potlucks, parties, or just a cozy night at home, these bars will win over your taste buds and become a beloved treat in your kitchen.
Why This Recipe Is a Must-Try

Butter Tart Bars are the ultimate sweet treat for anyone with a love for caramel-like desserts.
They are easy to make, even for beginners, and can be enjoyed with friends or family.
The beautiful combination of flavors and textures ensures each bite is a delectable experience.
Plus, they cut neatly into bars, making them perfect for serving.
You’re going to love how they satisfy your sweet tooth while bringing a little joy to your day!
Ingredients
To create these mouthwatering Butter Tart Bars, you’ll need the following ingredients:
- 2 ½ cups (300 g) all-purpose flour
- ¾ cup (90 g) powdered sugar
- ½ teaspoon salt
- ¾ cup (170 g) unsalted butter, melted and cooled
- 1 ½ cups (180 g) packed brown sugar
- ¾ cup (180 ml) maple syrup
- 3 large eggs
- 1 teaspoon vanilla extract
- 1 cup (150 g) chopped pecans or walnuts (optional)
These ingredients blend together to create a crust that’s both buttery and crumbly with a sweet, gooey filling that’s smooth and bursting with flavor.
How To Make Butter Tart Bars
Step 1: Prepare Your Baking Dish
Start by preheating your oven to 350°F (175°C).
Line a 9×13-inch baking dish with parchment paper, allowing some overhang for easy removal later.
This is the secret to perfectly lifted bars!
Step 2: Make the Crust
In a large mixing bowl, combine the all-purpose flour, powdered sugar, and salt.
Stir these dry ingredients together until they are well mixed.
Next, add the melted and cooled unsalted butter to the flour mixture.
Stir until it all comes together into a soft dough.
It should feel moist but crumbly.
Press this dough evenly into the bottom of the prepared baking dish to form the crust.
Go ahead and make sure it’s flat and even; this will give you a great foundation for your filling.
Step 3: Bake the Crust
Place the baking dish in the oven and bake for about 15-20 minutes, or until the edges are lightly golden.
This step is crucial, as it helps set the crust before adding the gooey filling.
Once done, remove it from the oven and let it cool slightly as you prepare the filling.
Step 4: Make the Filling
In a separate mixing bowl, combine the packed brown sugar, maple syrup, eggs, and vanilla extract.
Whisk these ingredients together until the mixture is smooth and well combined.
If you’re using nuts, fold them into the filling now.
Step 5: Assemble and Bake
Pour the luscious filling over the pre-baked crust, spreading it evenly to cover the surface.
Pop the baking dish back into the oven and bake for an additional 25-30 minutes.
You’ll know they’re ready when the filling is set and slightly jiggles in the center.
Step 6: Cool and Cut
Once baked, remove the dish from the oven and allow it to cool completely in the pan on a wire rack.
Once cool, lift the bars out using the parchment paper overhang, and cut them into squares or rectangles based on your preference.
Expert Tips
To elevate your Butter Tart Bars, consider these expert tips:
- Ensure your butter is melted and cooled to prevent it from cooking the eggs when mixed.
- For a deeper flavor, try browning the butter before adding it to the crust mixture.
- Let the bars cool completely before cutting; this helps them set and makes for clean edges.
- Don’t skip the nuts, if you enjoy them! They add a delightful crunch and offset the sweetness of the filling.
Variations and Customizations

Want to mix things up? Here are some fun variations to try:
- Use different types of nuts, such as almonds or hazelnuts, for unique flavor profiles.
- Substitute honey for maple syrup for a different kind of sweetness.
- Add in dark chocolate chips for a sweet and indulgent twist!
- Incorporate coconut flakes for a tropical vibe.
How to Store Leftovers
After enjoying your Butter Tart Bars, you might have some leftovers (if you’re lucky!).
Store them in an airtight container at room temperature for up to 3 days.
If you want them to last longer, refrigerate them for up to a week.
For extended storage, you can freeze the bars.
Just wrap them tightly in plastic wrap and aluminum foil and freeze for up to three months.
When you’re ready to indulge again, simply thaw at room temperature.
FAQ
Can I make these Butter Tart Bars ahead of time?
Absolutely! These bars are perfect for making ahead.
You can prepare them a day in advance and store them in an airtight container, making them an excellent option for gatherings.
Can I use gluten-free flour for this recipe?
Yes, you can substitute all-purpose flour with a gluten-free flour blend.
Just make sure to follow the blend’s specific guidelines for ratios and adjustments.
What kind of nuts can I use in the filling?
You can use any nuts you like! Pecans and walnuts are traditional choices, but you could also try slivered almonds or hazelnuts for a different flavor.
How do I know when the filling is set?
The filling should be set when the edges are firm, and the center is slightly jiggly but not liquid.
It will continue to firm up as it cools.
Conclusion
Butter Tart Bars are an absolute must-try for any dessert lover.
With their easy preparation and decadent flavor, they’re sure to become a favorite in your household.
Whether served at a gathering or as a sweet treat for yourself, these bars capture the essence of classic butter tarts in a delightful, portable form.
So roll up those sleeves and get baking, because these buttery, gooey, nutty bars are calling your name! Enjoy every bite!
Butter Tart Bars
Equipment
- Mixing Bowl
- Baking Dish
- Whisk
Ingredients
Crust Ingredients
- 2.5 cups All-purpose flour
- 0.75 cup Powdered sugar
- 0.5 teaspoon Salt
- 0.75 cup Unsalted butter, melted and cooled
Filling Ingredients
- 1.5 cups Packed brown sugar
- 0.75 cup Maple syrup
- 3 large Eggs
- 1 teaspoon Vanilla extract
- 1 cup Chopped pecans or walnuts (optional)
Instructions
- Step 1: Preheat your oven to 350°F (175°C) and line a 9×13-inch baking dish with parchment paper.
- Step 2: In a large mixing bowl, combine the all-purpose flour, powdered sugar, and salt. Stir until well mixed.
- Step 3: Add the melted and cooled unsalted butter to the flour mixture and stir until it forms a soft dough.
- Step 4: Press the dough evenly into the bottom of the prepared baking dish.
- Step 5: Bake the crust for 15-20 minutes until the edges are lightly golden.
- Step 6: In a separate bowl, combine the packed brown sugar, maple syrup, eggs, and vanilla extract. Whisk until smooth.
- Step 7: If using nuts, fold them into the filling mixture.
- Step 8: Pour the filling over the pre-baked crust and spread evenly.
- Step 9: Bake for an additional 25-30 minutes until the filling is set and slightly jiggles in the center.
- Step 10: Allow to cool completely in the pan on a wire rack before cutting into squares or rectangles.