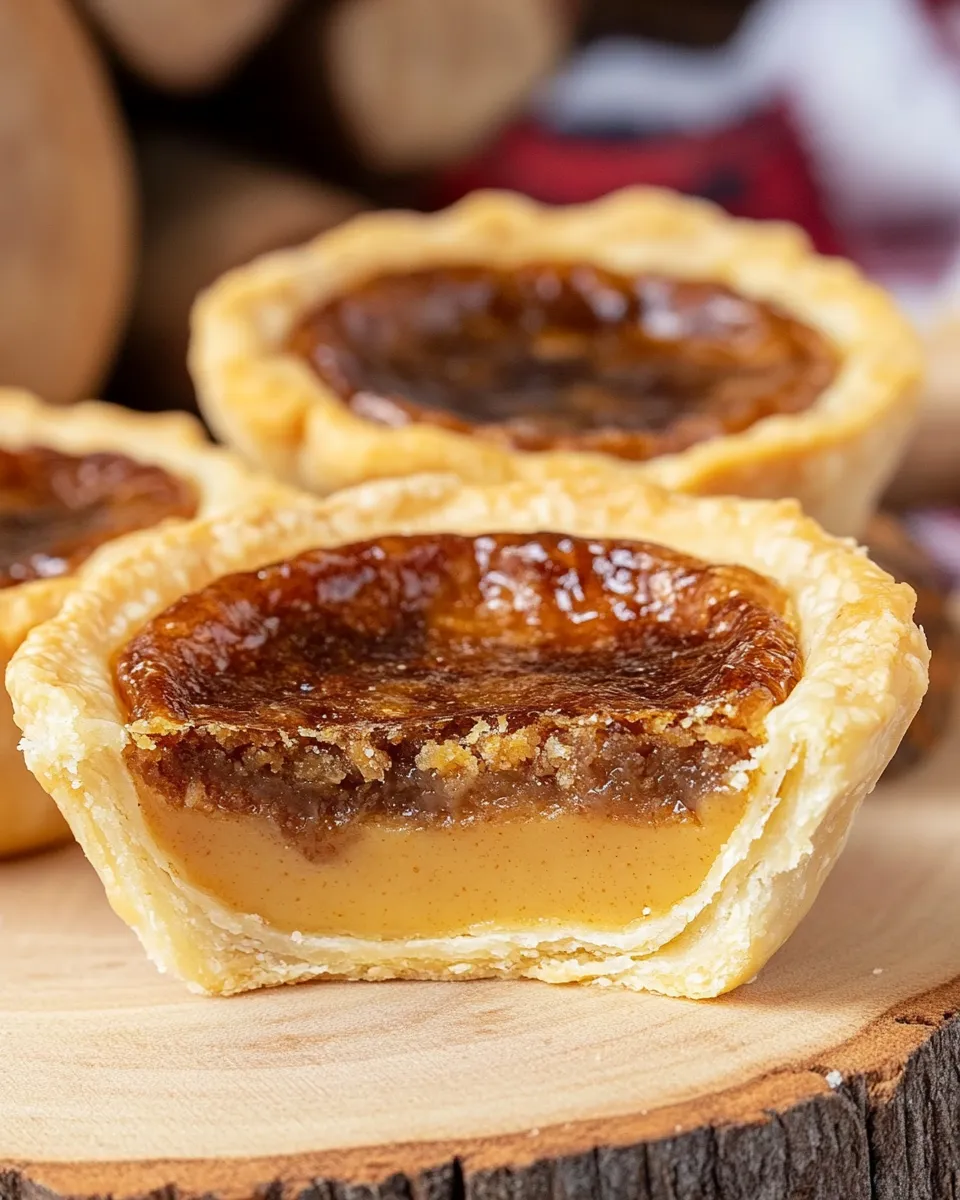
If you’ve never tried a butter tart, you’re in for a delicious treat! These little pastries are a sweet and gooey delight, packed with rich flavors and a hint of nostalgia.
Originating from Canada, butter tarts are a beloved dessert that showcases the beauty of simplicity in baking.
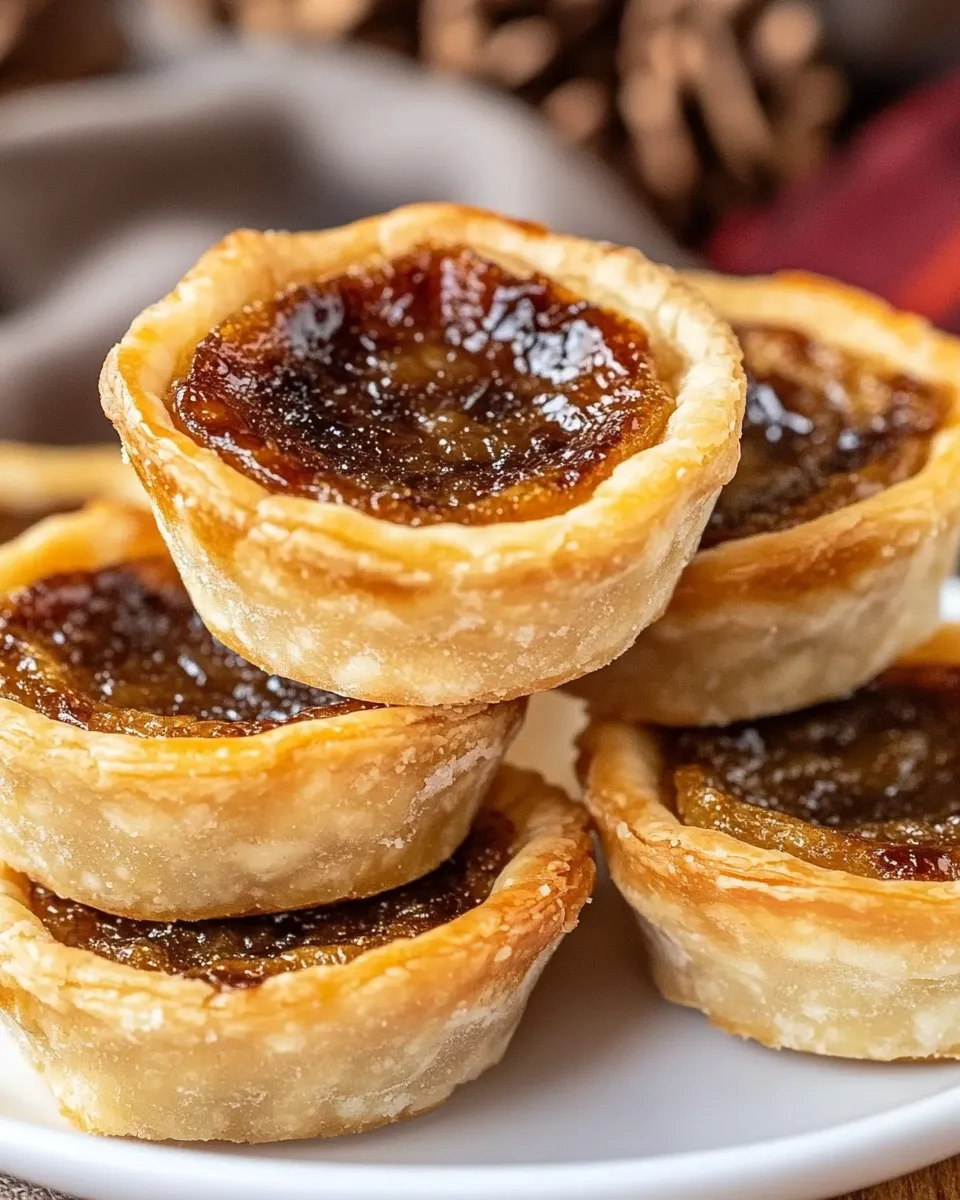
With this recipe, you’ll be creating buttery, flaky pastry shells filled with a luscious sweet filling that melts in your mouth.
Let’s dive into the world of butter tarts, where the sweet gooey goodness awaits!
Why This Recipe Is a Must-Try
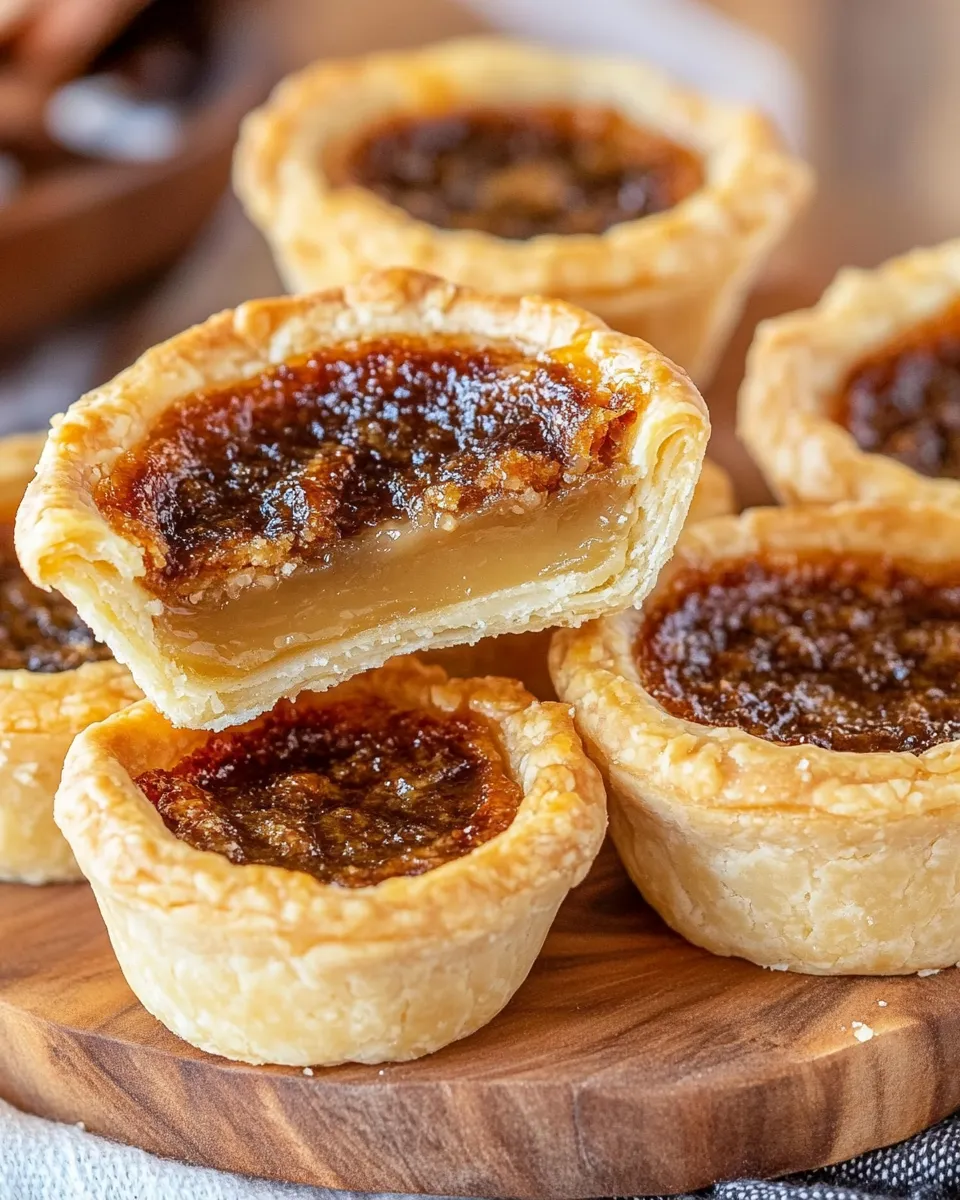
Everything about a butter tart screams comfort.
The contrast of a flaky pastry shell and a sweet, sticky filling is simply irresistible.
This recipe is not only easy to follow, but it also uses simple ingredients that you likely already have at home.
Whether you’re treating yourself, impressing friends at a gathering, or enjoying a cozy night in, these butter tarts will surely bring joy to any occasion.
Plus, they’re a true Canadian classic, offering a taste of tradition that your taste buds will thank you for!
Ingredients
- 1 ½ cups (180 g) all-purpose flour
- ¼ teaspoon salt
- ½ cup (113 g) salted butter, cold and cubed
- 4-6 tablespoons very cold water
The beauty of this recipe lies in its simplicity.
Each ingredient plays a vital role in achieving that perfect balance of flaky pastry and gooey filling.
Trust me, you’ll be amazed at how such humble ingredients can come together to create something so delightful!
How To Make Canadian Butter Tarts Recipe

Step 1: Prepare the Pastry Dough
To start, we need to make the pastry dough.
In a large mixing bowl, combine the all-purpose flour and salt.
This will be the base of your tart shells.
Next, add in the cold, cubed salted butter.
Using your fingertips or a pastry cutter, work the butter into the flour until the mixture resembles coarse crumbs.
Don’t worry about being too precise here; small chunks of butter will help create a flaky texture.
Once the butter is nicely incorporated, add the very cold water a tablespoon at a time.
Mix gently until the dough starts to come together.
You want it to be moist but not sticky.
If needed, add a little more water, but make sure to do this gradually.
Step 2: Chill the Dough
Gather the dough into a ball and flatten it slightly into a disc.
Wrap it in plastic wrap and refrigerate for at least 30 minutes.
Chilling the dough allows the butter to firm up, which will help create that flaky texture we all love.
Step 3: Roll Out the Dough
After chilling, remove the dough from the fridge and let it sit for a few minutes to soften slightly.
On a floured surface, roll out the dough to about 1/8 inch thick.
Use a round cutter or a glass to cut out circles that will fit into your tart pans.
Carefully place the dough circles into the tart pans, pressing them gently into the sides and bottoms.
Trim any excess dough hanging over the edges.
Repeat this process until all your dough is used up.
Step 4: Make the Filling
Now that the tart shells are ready, it’s time to prepare the filling.
In a medium bowl, mix together brown sugar, maple syrup (or corn syrup), eggs, and vanilla extract.
Whisk until everything is well combined and smooth.
You can customize the filling with add-ins like chopped nuts or raisins at this stage if you’d like.
Just remember to keep everything well mixed!
Step 5: Fill the Tarts
Preheat your oven to 375°F (190°C).
Carefully fill each tart shell with the prepared filling, making sure not to overfill.
Leave a little space at the top, as the filling will puff up during baking.
Step 6: Bake the Tarts
Place the filled tart pans in the oven and bake for about 25-30 minutes, or until the filling is bubbly and the edges of the pastry are golden brown.
Keep an eye on them, as baking times can vary depending on your oven.
Step 7: Cool and Enjoy
Once done, remove the tarts from the oven and allow them to cool in the pans for about 10 minutes.
After that, transfer them to a wire rack to cool completely.
Enjoy them warm or at room temperature for the best experience!
Expert Tips
- Always use cold ingredients for the pastry. Cold butter is key to flaky crusts!
- If you find the dough difficult to roll out, let it rest at room temperature for a few minutes before trying again.
- Do not skip the chilling step; this makes a huge difference in texture and flavor.
- To ensure even baking, rotate the tart pans halfway through baking time.
Variations and Customizations

- Add a splash of bourbon or rum to the filling for an extra kick of flavor!
- Try using different types of sugar like coconut sugar for a deeper flavor.
- Consider adding spices like cinnamon or nutmeg to the filling for a warm, cozy vibe.
- You can also add dark chocolate chips or caramel for a fun twist!
How to Store Leftovers
Leftover butter tarts can be stored in an airtight container at room temperature for up to three days.
If you want to keep them longer, they can be refrigerated for about a week.
For the absolute best results, consider freezing them! Wrap each tart tightly in plastic wrap and place them in a freezer bag.
They’ll keep well for up to three months.
Allow them to thaw at room temperature before enjoying!
FAQ
Can I use unsalted butter instead of salted butter?
Absolutely! If you prefer unsalted butter, that’s perfectly fine.
Just add a pinch of salt to the filling to maintain flavor balance.
What can I use instead of corn syrup?
You can substitute corn syrup with maple syrup or honey.
Just keep in mind that the flavor may change a little, but it will still be delicious!
How can I tell when the butter tarts are done baking?
The tarts are done when the filling is bubbly and the pastry edges are golden brown.
If you insert a toothpick, it should come out clean from the filling.
Can I make the pastry dough ahead of time?
Yes! You can prepare the pastry dough ahead of time and refrigerate it for up to three days, or freeze it for up to three months.
Just allow it to thaw in the fridge before rolling it out.
Conclusion
There you have it, a delightful and simple recipe for Canadian butter tarts that is bound to make your taste buds dance with joy! These little tarts are perfect for any occasion and can easily fit into your dessert rotation.
Whether you keep them classic or play with variations, they will undoubtedly put a smile on your face.
So roll up your sleeves, gather your ingredients, and start baking these delectable treats today! You’ll be amazed at how something so simple can bring so much happiness.
Canadian Butter Tarts
Equipment
- Mixing Bowl
- Tart Pans
- Rolling Pin
Ingredients
Pastry Ingredients
- 1.5 cups All-purpose flour
- 0.25 teaspoon Salt
- 0.5 cup Salted butter, cold and cubed
- 4-6 tablespoons Very cold water
Filling Ingredients
- 0.5 cup Brown sugar
- 0.5 cup Maple syrup or corn syrup
- 2 large Eggs
- 1 teaspoon Vanilla extract
Instructions
- Step 1: In a large mixing bowl, combine the all-purpose flour and salt. Add the cold, cubed salted butter and work it into the flour until it resembles coarse crumbs.
- Step 2: Add very cold water a tablespoon at a time, mixing gently until the dough comes together. Gather into a ball, flatten into a disc, wrap in plastic wrap, and refrigerate for at least 30 minutes.
- Step 3: Roll out the chilled dough on a floured surface to about 1/8 inch thick. Cut out circles and place them into tart pans, trimming excess dough.
- Step 4: In a medium bowl, mix together brown sugar, maple syrup (or corn syrup), eggs, and vanilla extract until smooth.
- Step 5: Preheat oven to 375°F (190°C). Fill each tart shell with the prepared filling, leaving space at the top.
- Step 6: Bake for 25-30 minutes until the filling is bubbly and the pastry edges are golden brown. Rotate pans halfway through baking.
- Step 7: Allow the tarts to cool in the pans for 10 minutes, then transfer to a wire rack to cool completely. Enjoy warm or at room temperature.