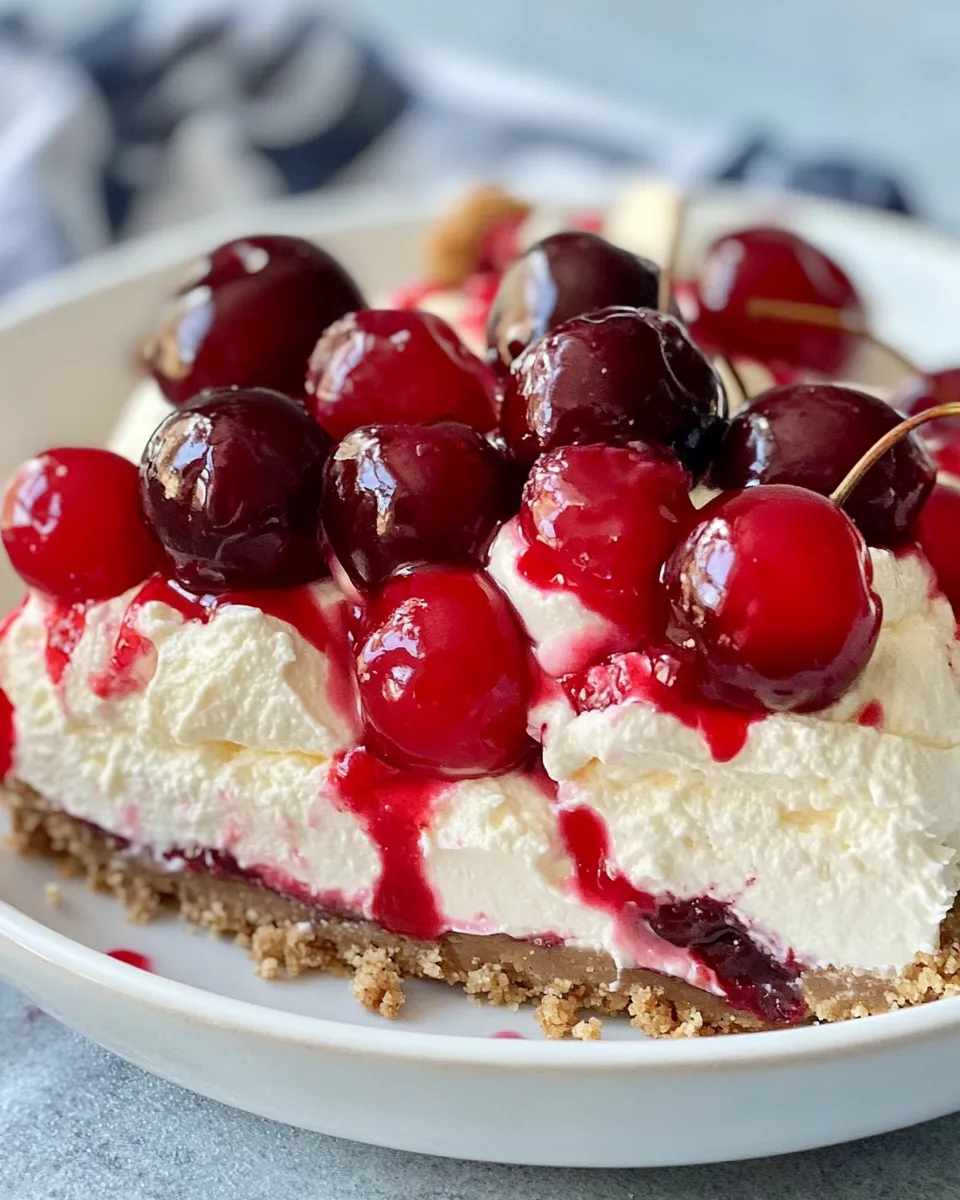
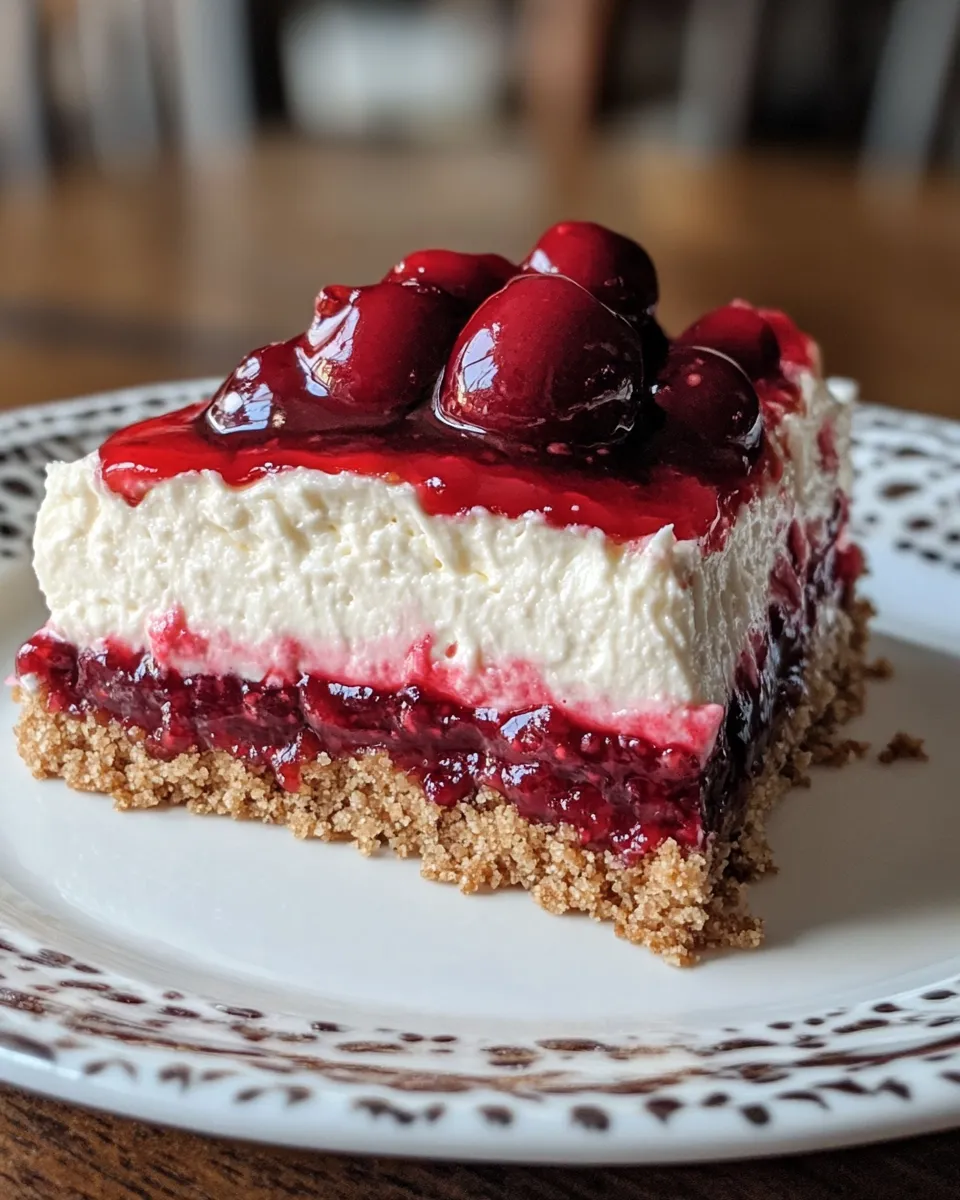
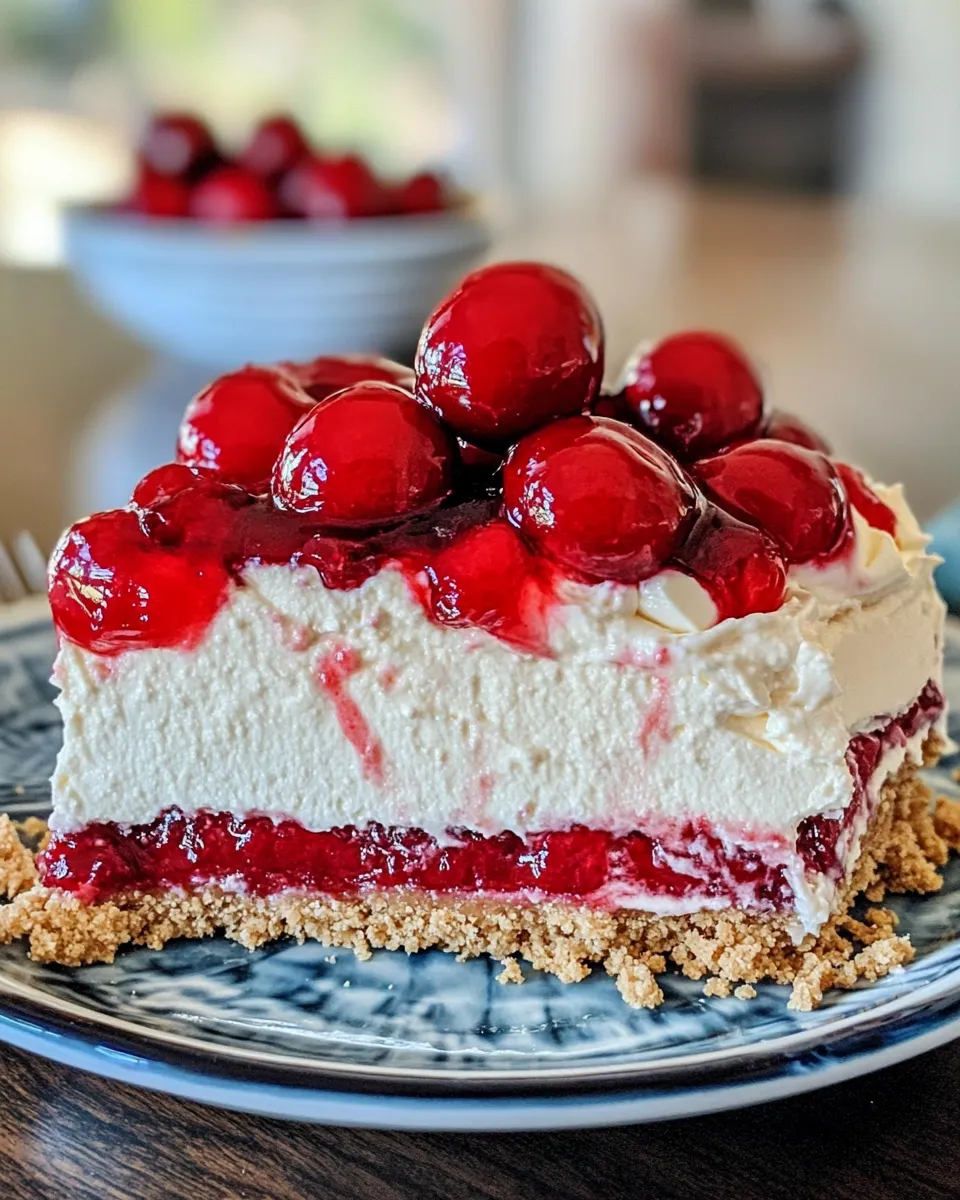
If you’re craving a dessert that’s rich, creamy, and bursting with fruity goodness, this Cherry Cheesecake Recipe No Bake is exactly what you need. Perfectly smooth cheesecake filling meets a buttery graham cracker crust, all topped with luscious cherry pie filling. Best of all? No oven required! Whether you’re a seasoned baker or just looking for an easy treat to impress, this no-bake cherry cheesecake is a crowd-pleaser that comes together quickly and effortlessly.
Why This Recipe Is a Must-Try
This Cherry Cheesecake Recipe No Bake combines the best of both worlds: the classic creamy texture of cheesecake without the fuss of baking. It’s ideal for warm days when you don’t want to heat up your kitchen or when you need a last-minute dessert that still looks and tastes fabulous. The simple ingredients come together in under 30 minutes, making it accessible for all skill levels.
What makes this recipe stand out is the balance between the crunchy graham cracker crust and the smooth cream cheese filling, perfectly complemented by the sweet and tangy cherry topping. Plus, it’s versatile enough to customize with your favorite toppings or mix-ins. If you enjoy other easy desserts, you might also love the Cherry Dump Cake, which is another fantastic cherry-filled option that’s equally simple to make.
Ingredients
- 1 cup crushed graham crackers
- 1/2 cup unsalted butter, melted
- 1 package (8 ounces) cream cheese, softened
- 1 cup powdered sugar
- 1 teaspoon vanilla extract
- 1 cup heavy whipping cream
- 1 can (20 ounces) cherry pie filling
How To Make Cherry Cheesecake Recipe No Bake
Step 1: Prepare the Crust
In a medium bowl, combine the crushed graham crackers and melted butter. Mix until the crumbs are evenly coated and resemble wet sand. Press this mixture firmly into the bottom of a 9-inch springform pan or pie dish to form the crust. Use the back of a spoon or the bottom of a glass to pack it down tightly. Place the crust in the refrigerator to chill while you prepare the filling.
Step 2: Make the Cheesecake Filling
In a large mixing bowl, beat the softened cream cheese until smooth and creamy using an electric mixer on medium speed. Gradually add the powdered sugar and vanilla extract, continuing to beat until well combined and fluffy.
Step 3: Whip the Heavy Cream
In a separate chilled bowl, whip the heavy whipping cream until stiff peaks form. This means when you lift the beaters, the peaks stand straight without collapsing. Gently fold the whipped cream into the cream cheese mixture using a spatula, being careful not to deflate the airy texture.
Step 4: Assemble the Cheesecake
Spread the creamy filling evenly over the chilled graham cracker crust. Smooth the top with an offset spatula or the back of a spoon. Refrigerate the cheesecake for at least 4 hours, or overnight if possible, to allow it to set properly.
Step 5: Add the Cherry Topping
Once the cheesecake is firm, spoon the cherry pie filling evenly over the top. For an extra touch, you can add fresh cherries or a sprinkle of chopped nuts if you like. Serve chilled and enjoy!
Common Mistakes to Avoid
- Not softening the cream cheese properly can cause lumps in the filling. Make sure it’s at room temperature before mixing.
- Overmixing the whipped cream into the filling can cause it to lose volume. Fold gently to keep it light and fluffy.
- Pressing the crust too lightly will make it crumbly. Firmly pack the graham cracker mixture to create a sturdy base.
- Skipping refrigeration time will result in a runny cheesecake. Allow enough time for it to fully set before serving.
Variations and Customizations
- Swap the cherry pie filling for blueberry, strawberry, or mixed berry pie filling for a different fruity twist.
- Add a layer of chocolate ganache on top of the crust before adding the cheesecake filling for a rich chocolate cherry cheesecake.
- Mix mini chocolate chips or chopped nuts into the cheesecake filling for added texture.
- Use a gluten-free graham cracker crust to make this recipe suitable for gluten sensitivities.
How to Store Leftovers
Store leftover cherry cheesecake in an airtight container or cover the pan tightly with plastic wrap. Keep it refrigerated and consume within 3-4 days for the best flavor and texture. If you want to freeze it, wrap the cheesecake well in plastic wrap and aluminum foil, then freeze for up to 1 month. Thaw overnight in the refrigerator before serving.
FAQ
Can I use low-fat cream cheese or whipped cream?
While you can use low-fat versions, the cheesecake might not be as creamy or hold its structure as well. For best results, use full-fat cream cheese and heavy whipping cream.
Is it possible to make this cheesecake without a springform pan?
Yes, you can use a regular pie dish or any round dessert dish. Just be aware that removing the cheesecake in one piece might be more challenging without a springform pan.
How long does it take for the cheesecake to set?
The cheesecake typically needs at least 4 hours of refrigeration to set properly, but overnight chilling is ideal for the best texture and flavor.
Can I prepare this cheesecake a day in advance?
Absolutely! This no-bake cherry cheesecake is perfect for making ahead. Prepare it the day before your event and keep it refrigerated until ready to serve.
Conclusion
This Cherry Cheesecake Recipe No Bake is a delightful treat that combines ease and elegance in one simple dessert. With a crisp graham cracker crust, rich and fluffy cream cheese filling, and a vibrant cherry topping, it’s sure to become a favorite in your recipe collection. Whether you’re serving it at a family gathering or just indulging in a sweet moment, this cheesecake delivers on flavor without the hassle of baking. For another no-bake favorite, consider trying the No Bake Chocolate Cheesecake to satisfy your dessert cravings with minimal effort.
Share on Pinterest
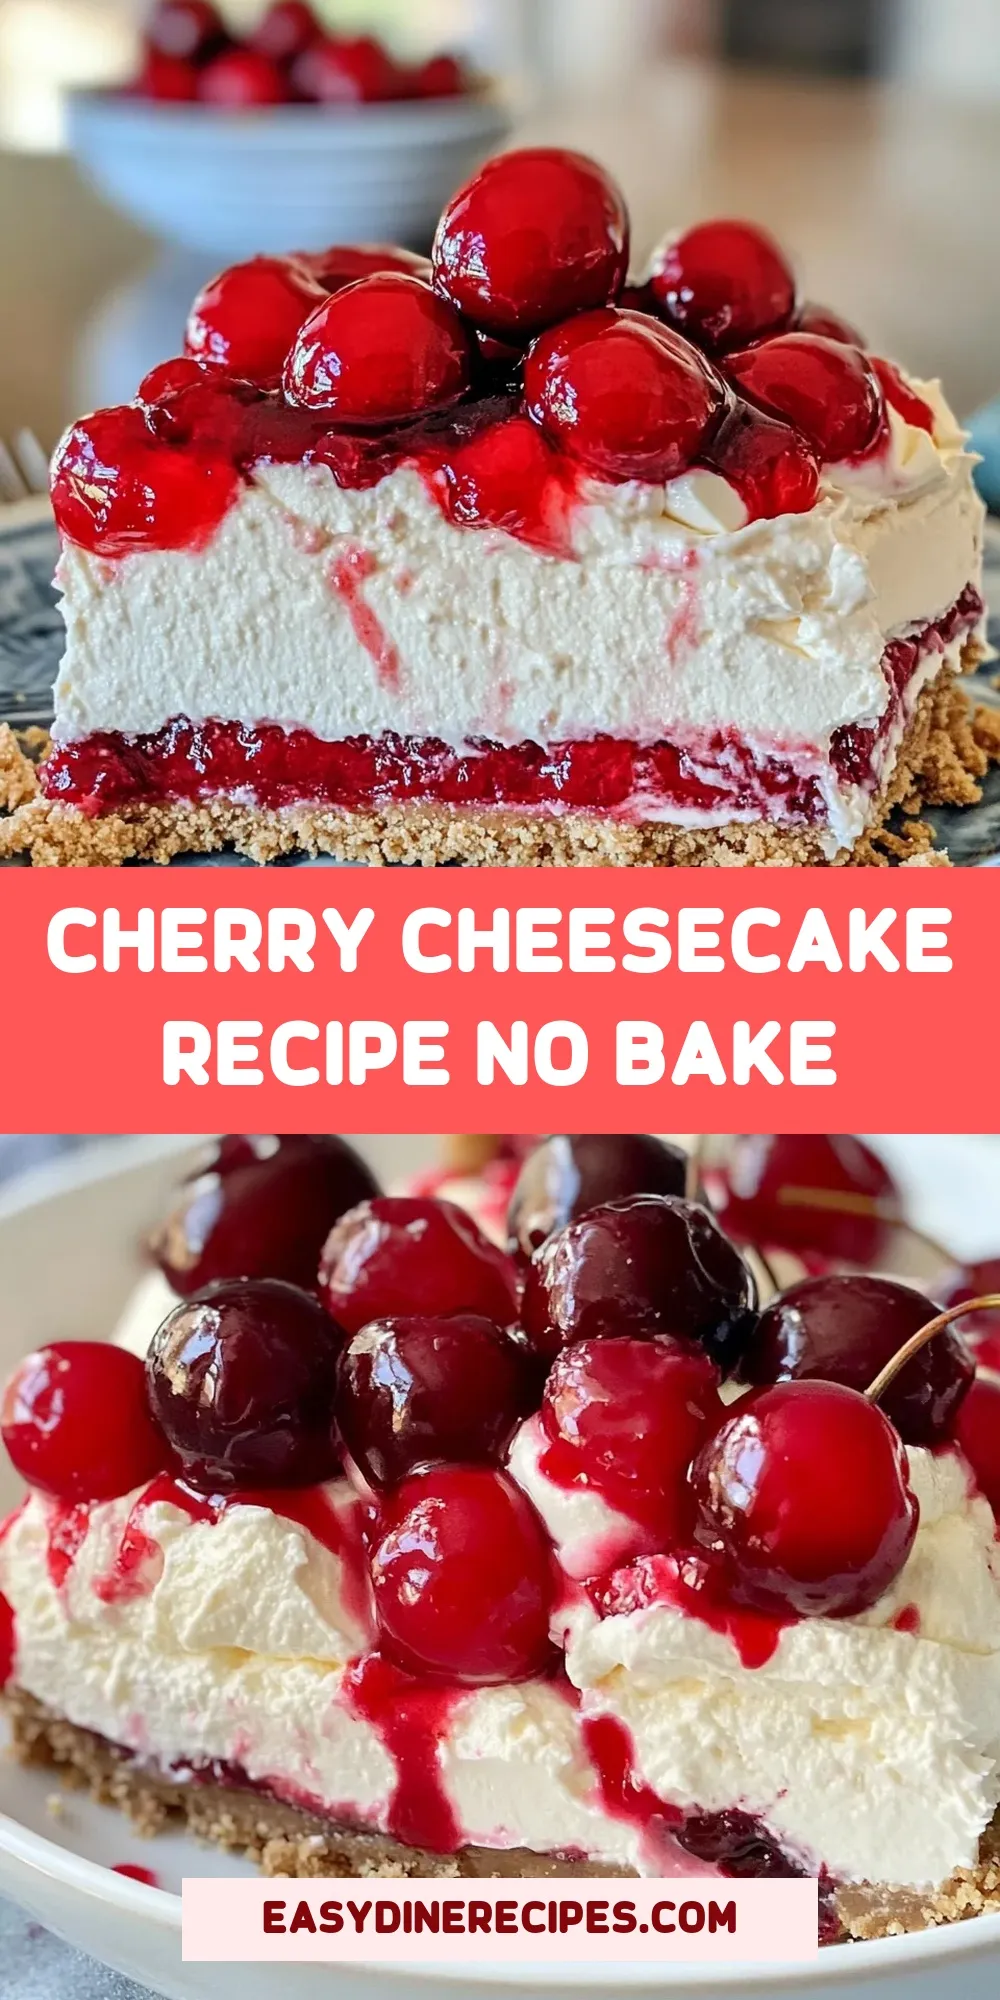
Cherry Cheesecake Recipe No Bake
Equipment
- Medium Bowl
- Electric Mixer
- Springform Pan
- Spatula
- Chilled Bowl
Ingredients
- 1 cup crushed graham crackers
- 1/2 cup unsalted butter melted
- 1 package cream cheese 8 ounces, softened
- 1 cup powdered sugar
- 1 teaspoon vanilla extract
- 1 cup heavy whipping cream
- 1 can cherry pie filling 20 ounces
Instructions
- In a medium bowl, combine the crushed graham crackers and melted butter. Mix until the crumbs are evenly coated and resemble wet sand. Press this mixture firmly into the bottom of a 9-inch springform pan or pie dish to form the crust. Use the back of a spoon or the bottom of a glass to pack it down tightly. Place the crust in the refrigerator to chill while you prepare the filling.
- In a large mixing bowl, beat the softened cream cheese until smooth and creamy using an electric mixer on medium speed. Gradually add the powdered sugar and vanilla extract, continuing to beat until well combined and fluffy.
- In a separate chilled bowl, whip the heavy whipping cream until stiff peaks form. This means when you lift the beaters, the peaks stand straight without collapsing. Gently fold the whipped cream into the cream cheese mixture using a spatula, being careful not to deflate the airy texture.
- Spread the creamy filling evenly over the chilled graham cracker crust. Smooth the top with an offset spatula or the back of a spoon. Refrigerate the cheesecake for at least 4 hours, or overnight if possible, to allow it to set properly.
- Once the cheesecake is firm, spoon the cherry pie filling evenly over the top. For an extra touch, you can add fresh cherries or a sprinkle of chopped nuts if you like. Serve chilled and enjoy!
Notes
- Make sure cream cheese is softened to room temperature to avoid lumps.
- Gently fold whipped cream into the filling to keep it light and fluffy.
- Press crust firmly to create a sturdy base that holds together well.
- Refrigerate cheesecake for at least 4 hours to ensure it sets properly.
- Try variations like blueberry or strawberry pie filling for different flavors.