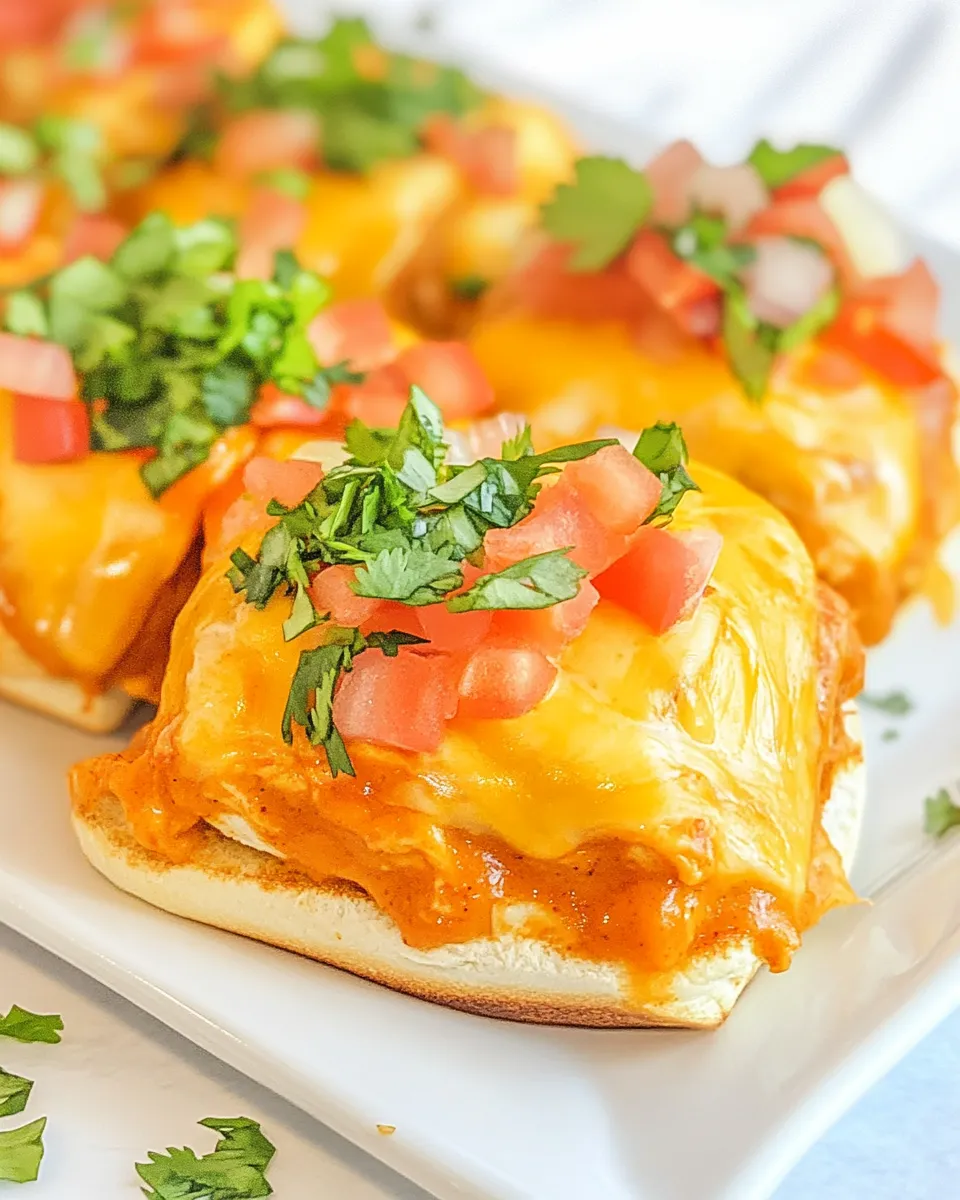
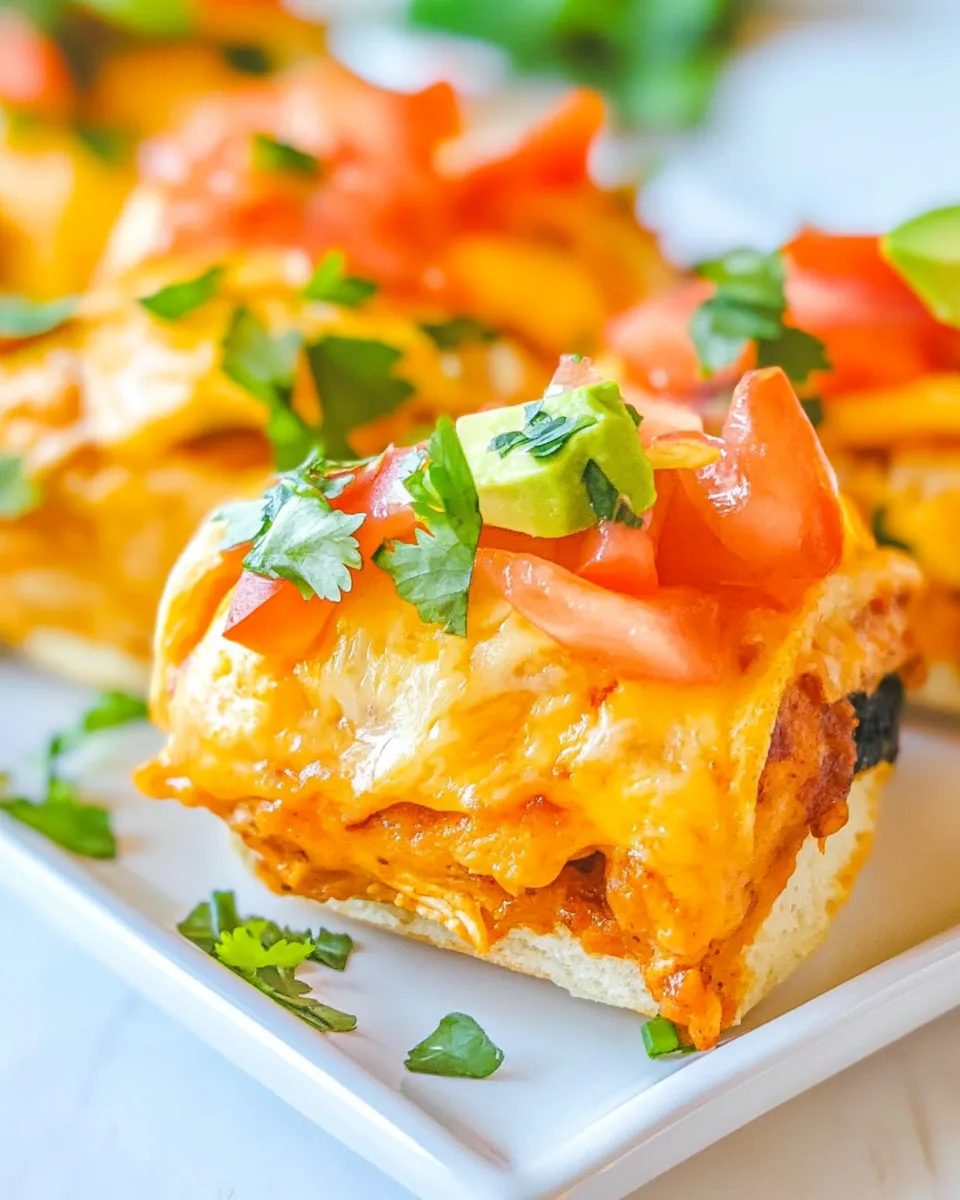
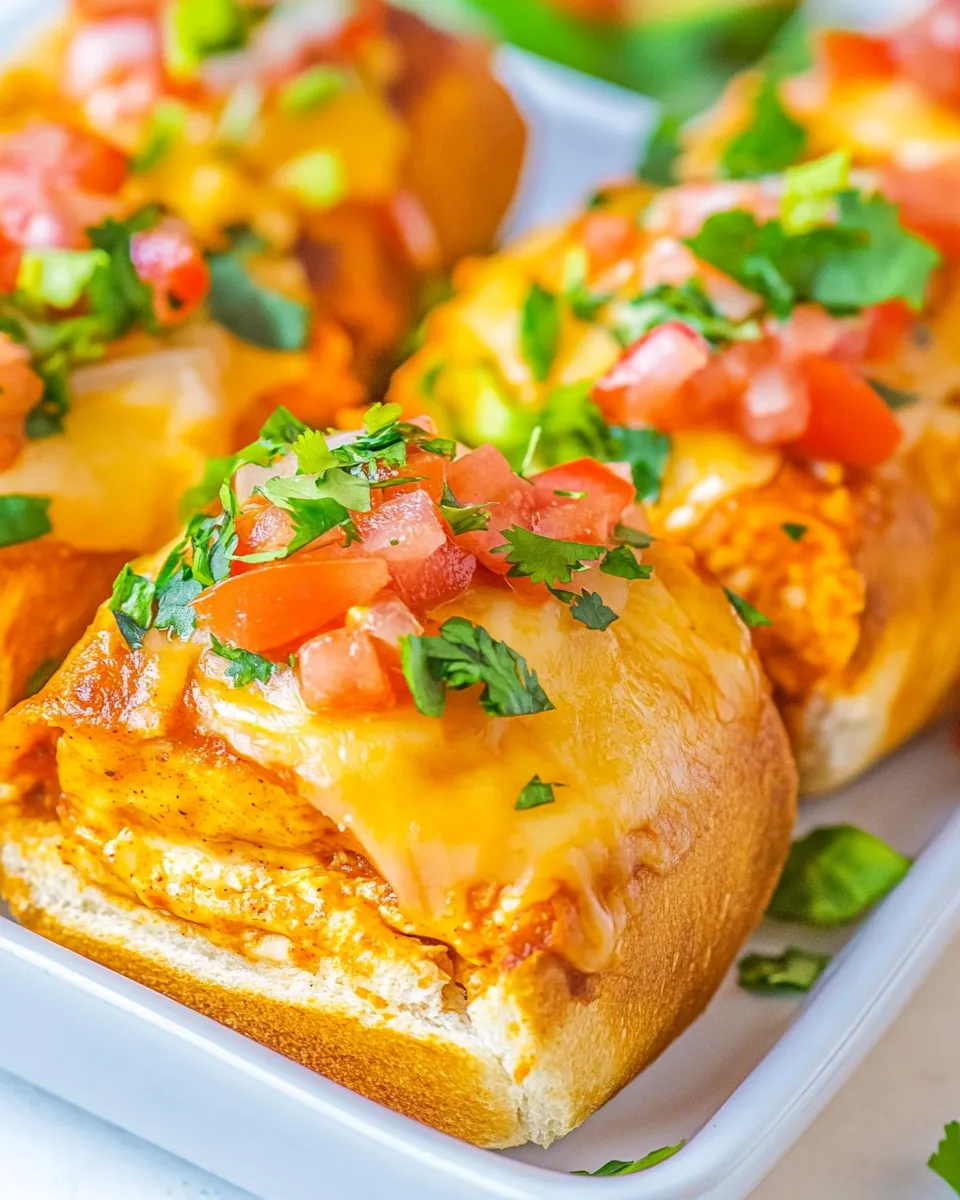
These Chicken Enchilada Sliders are the kind of recipe I reach for when I want big flavor with very little hassle. Sweet King’s Hawaiian rolls, saucy shredded chicken, melty cheese and a garlic–oregano butter finish come together in a single 9×13 pan. They bake quickly, travel well, and disappear fast at parties.
I like them for weeknight dinners when everyone wants something crowd-pleasing, and I also make them for potlucks and game days. They’re forgiving: you can use rotisserie chicken, store-bought enchilada sauce and a bag of shredded cheese and still end up with something that tastes homemade.
Below I walk you through exactly what you need, step-by-step instructions (unchanged from a trusted method), simple swaps that keep the texture and flavor intact, and practical tips for making, storing, and reheating so these sliders stay delicious whether you serve them right away or later.
What Goes Into Chicken Enchilada Sliders
Ingredients
- 1 tablespoon olive oil — heats the onion and helps build the base flavor.
- ½ cup white or yellow onion, diced small — adds sweetness and texture; dice finely so it layers evenly.
- 3 teaspoons minced garlic, divided — split for two uses: one part to cook with the onion, one to flavor the butter topping.
- 4 cups cooked and shredded chicken, rotisserie or homemade such as poached — the main protein; rotisserie is a fast, flavorful shortcut.
- 2 cups enchilada sauce, store bought or homemade — binds the filling and provides the signature enchilada flavor.
- 12 count package King’s Hawaiian Original Sweet Rolls — the soft, slightly sweet rolls are key to the classic slider contrast.
- 2 cups shredded Mexican cheese blend, or your favorite shredded cheese — melts over the chicken and holds everything together.
- 2 tablespoons unsalted butter, or more if desired — used for brushing the tops to add color and richness.
- 1 teaspoon dried Mexican oregano, regular oregano may be substituted — adds a warm, slightly citrusy herbal note to the butter.
- Finely chopped cilantro, optional for garnishing to taste — brightens the finished sliders if you like fresh herb contrast.
- Avocado slices, optional for garnishing to taste — creamy finish; add just before serving to avoid browning.
Step-by-Step: Chicken Enchilada Sliders
- Preheat oven to 350°F (175°C). Spray a 9×13-inch baking dish with cooking spray. (Optional: if using a metal pan, line it with nonstick foil for easier cleanup.)
- Prepare the King’s Hawaiian rolls: either (A) use a serrated knife to slice the entire connected package horizontally in half to make one bottom “slab” and one top “slab,” or (B) separate the rolls and slice each roll horizontally so you have 12 bottoms and 12 tops. Place the bottom slab or the 12 bottom halves in the prepared baking dish in an even layer.
- Heat 1 tablespoon olive oil in a large skillet over medium-high heat. Add 1/2 cup diced onion and sauté, stirring frequently, for about 3 to 4 minutes, until softened.
- Add 2 teaspoons of the minced garlic to the skillet and cook, stirring, for 1 minute until fragrant.
- Add 4 cups cooked, shredded chicken and 2 cups enchilada sauce to the skillet. Stir to combine and cook for about 2 minutes just to heat through and meld flavors. Remove from heat.
- Spread the chicken and enchilada sauce mixture evenly over the bottom slab or the 12 bottom roll halves in the baking dish.
- Evenly sprinkle 2 cups shredded Mexican cheese blend over the chicken mixture.
- Place the top slab or the 12 top roll halves evenly over the cheese to close the sliders.
- In a small skillet over low heat, melt 2 tablespoons unsalted butter. Stir in the remaining 1 teaspoon minced garlic and 1 teaspoon dried Mexican oregano; heat just until the butter is melted and the garlic is fragrant, stirring constantly. Do not brown the garlic.
- Brush the butter–garlic–oregano mixture evenly over the tops of the rolls.
- Tent the baking dish loosely with foil and bake at 350°F for 13 to 15 minutes. Remove the foil and bake an additional 3 to 5 minutes, or until the tops are lightly golden and toasted to your liking and the cheese is melted.
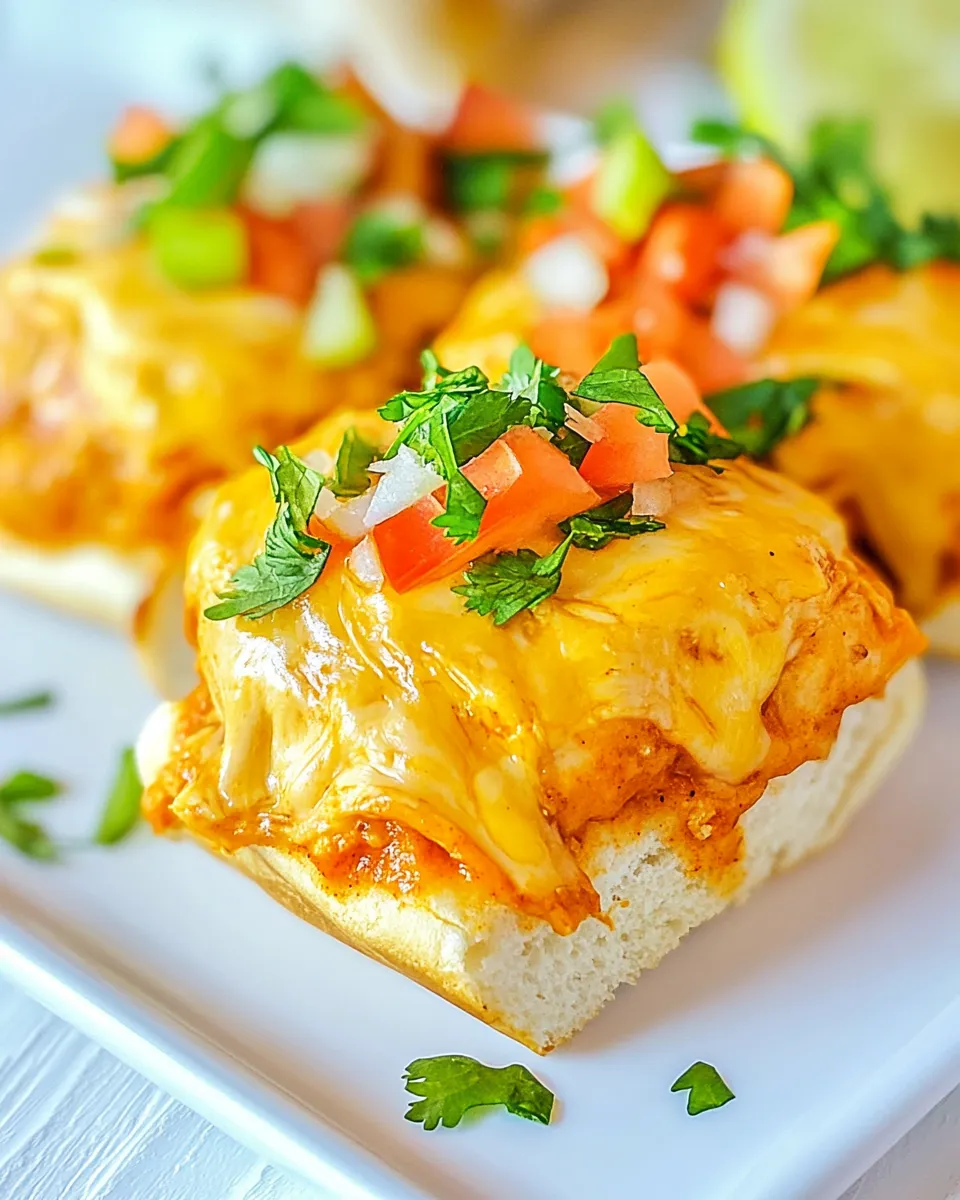
- Remove from the oven and let rest 2 to 3 minutes. Optionally garnish with finely chopped cilantro and avocado slices to taste. Serve warm.
- Storage (optional): Store leftovers airtight in the refrigerator for up to 3 days or freeze for up to 3 months. Reheat gently in a low oven or microwave, noting the texture of the bread will change after freezing.
Why This Recipe is a Keeper
Simple components, big payoff—this recipe gives you a layered comfort dish that tastes like you fussed all afternoon even when you didn’t. The sweet roll offsets the savory, tangy enchilada sauce and melty cheese, making every bite balanced and satisfying. The chicken carries the bulk of the flavor, but the garlic–oregano butter on top is the finishing touch that pulls it together.
It’s a keeper because it’s flexible and forgiving. Use rotisserie chicken to cut prep time. Swap between halving the roll package or slicing individual rolls depending on how tidy you want the assembly to be. It reheats well and travels well, which makes it excellent for leftovers or potlucks.
Finally, the steps are straightforward and quick—most of the work is combining and assembling. You don’t need tricky techniques or expensive ingredients to get consistently delicious results.
Texture-Safe Substitutions
If texture is a concern—either for picky eaters or dietary needs—you don’t have to invent new ingredients. Small technique changes preserve texture while keeping flavor intact:
- For a smoother filling, shred the cooked chicken a bit finer with two forks or pulse briefly in a food processor with some of the enchilada sauce.
- If you prefer less chew, sauté the onion until very soft and translucent so it blends into the filling rather than standing out.
- To avoid soggy bottoms, don’t over-sauce the chicken; the measured 2 cups enchilada sauce is enough to coat the 4 cups of chicken without making the rolls soggy when baked per instructions.
- Optionally separate and toast the roll bottoms lightly before assembling to add a thin barrier—use the same oven briefly so timing stays efficient.
Hardware & Gadgets
- 9×13-inch baking dish — the recipe is built around this size for even baking.
- Serrated knife — for slicing the roll package cleanly if you choose the slab method.
- Large skillet — to sauté onions, garlic and warm the chicken mixture.
- Small skillet — for melting butter and infusing it with garlic and oregano.
- Basting brush — to spread the butter–garlic–oregano mix evenly over the rolls.
- Aluminum foil — tent loosely for even melting without over-browning.
Easy-to-Miss Gotchas
- Cutting the roll slab cleanly is worth the extra second—jagged tops make assembly uneven. A serrated knife and a steady hand help.
- Don’t brown the garlic in the butter. The small skillet step specifically warns against browning—burned garlic tastes acrid and will overpower the sliders.
- Tenting the dish loosely is necessary. It lets cheese melt while protecting the tops from over-browning during the initial bake.
- Let the pan rest 2–3 minutes after baking. The filling will settle and be easier to slice without the cheese sliding out.
- Freezing changes bread texture. The recipe includes freezing guidance, but expect the rolls to be denser after thawing and reheating.
Make It Diet-Friendly
Keep the core flavors while trimming calories or sodium without swapping in unfamiliar ingredients:
- Use lean shredded chicken (remove skin) to reduce fat; the recipe works with rotisserie or poached chicken—just remove any extra skin.
- Cut back on the butter brushed on top if you want fewer calories—brush lightly or use a butter spray.
- Reduce cheese by 25% if you want a lighter cheese pull; the enchilada sauce is doing much of the flavor work.
- Choose a lower-sodium enchilada sauce if you’re watching salt. The 2 cups called for still deliver the saucy texture you need.
- Serve smaller portions alongside a big salad or roasted vegetables to keep the plate balanced.
Behind the Recipe
I developed this after a few trial runs to combine the best parts of enchiladas with handheld convenience. The first time I made them, I halved the roll package and the tops slid off everywhere until I remembered to tent the pan. After that fix, the sliders came out perfectly melty and evenly toasted.
It’s a recipe born of practical evenings: rotisserie chicken in the fridge, a jar of sauce on the shelf, and a pack of rolls. It’s also the ideal assembly-line recipe. If you’re feeding a crowd, get one person on onion duty, one on shredding chicken, and another brushing the butter—everything falls into place quickly.
Make Ahead Like a Pro
Assemble and Refrigerate
You can assemble the sliders fully (up to the butter brush) and cover tightly with foil, then refrigerate for up to 24 hours. When you’re ready, brush with the butter mixture, tent with foil and bake as instructed. Add a few extra minutes to the covered bake if cooking straight from cold.
Freeze for Longer Storage
Wrap the fully assembled dish tightly with plastic wrap followed by foil and freeze for up to 3 months. To reheat, thaw in the refrigerator overnight and then follow the bake steps. Expect the roll texture to be a little firmer after freezing—reheating gently in a low oven helps soften them back up.
Quick Reheat Tips
For single-plate leftovers, reheat in a small oven-safe dish at 300°F until warmed through, about 10–12 minutes. The microwave is fine in a pinch, but watch for sogginess. A quick toast under the broiler for 30–60 seconds after microwaving will revive the top crust.
Chicken Enchilada Sliders Q&A
- Can I use flour tortillas instead of rolls? The recipe is written for King’s Hawaiian rolls. Swapping to tortillas changes the texture and assembly; if you want a tortilla version, consider rolling and baking as enchiladas instead.
- Can I make these spicy? Use a spicier enchilada sauce or stir in a touch of hot sauce to the chicken mixture. Be mindful that the rolls mellow heat, so adjust to taste.
- How do I prevent soggy bottoms? Don’t oversaturate the chicken with sauce—2 cups for 4 cups chicken is balanced. Also, assemble on the baking dish just before baking whenever possible.
- Is there a vegetarian option? This recipe centers on shredded chicken. To keep the method, substitute a hearty vegetable or plant-based shredded protein, but note that would be an ingredient change from the source list.
- Can I make halves instead of slicing the whole slab? Yes. The instructions allow for either keeping a single bottom/top slab or slicing each roll individually. Use whichever gives you neater portions.
Ready, Set, Cook
These Chicken Enchilada Sliders are a reliable, flavorful dish that fits weeknights, parties, and leftovers with equal grace. Follow the steps, respect the small but important details (like not browning the garlic and tenting the pan), and you’ll have a tray of melty sliders that vanish fast.
Make them your own—add cilantro at the end, top with avocado slices, or keep them plain for picky eaters. Either way, you’ll have a tray of satisfying sliders that feel kind of special, but come together quickly. Happy baking—and savor every warm, cheesy bite.
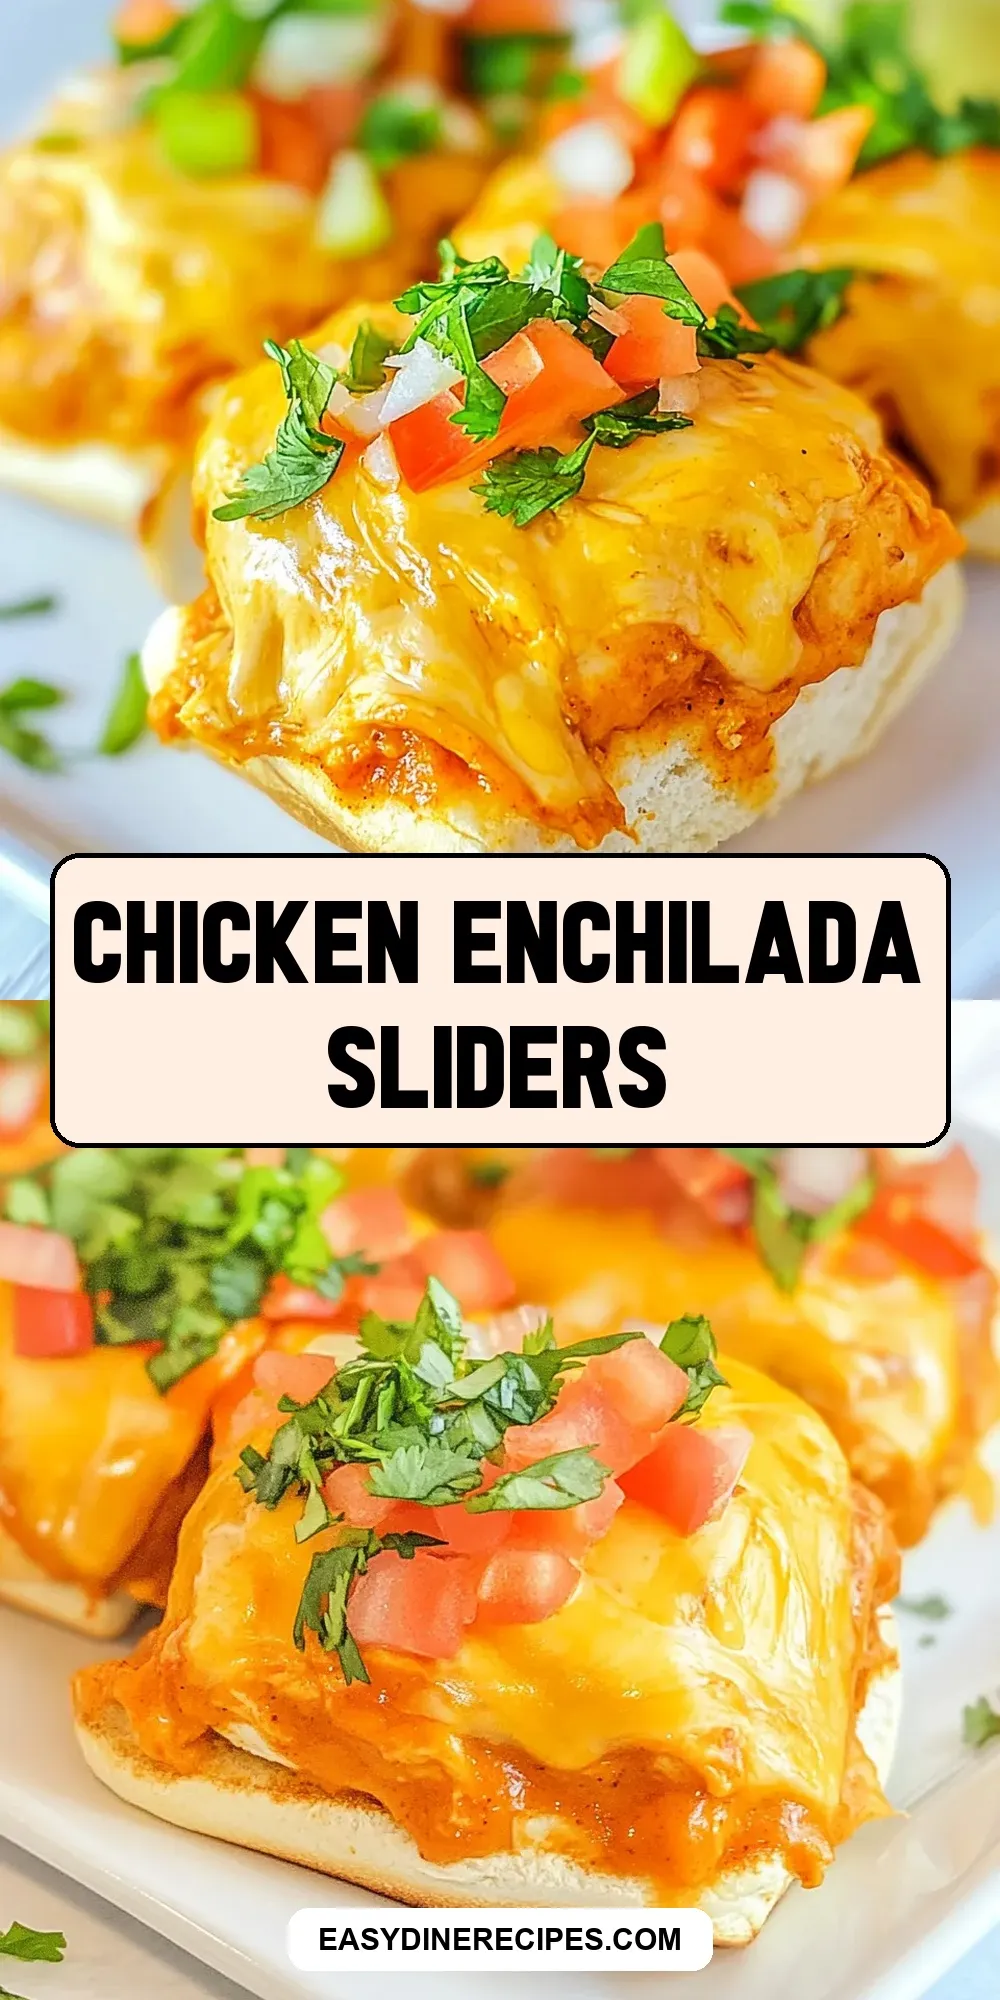
Chicken Enchilada Sliders
Equipment
- 9x13 inch Baking Dish
- Oven
- Large Skillet
- Small Skillet
- serrated knife
- Cooking spray
- nonstick foil (optional)
Ingredients
Ingredients
- 1 tablespoonolive oil
- 1/2 cupwhite or yellow onion diced small
- 3 teaspoonsminced garlic divided
- 4 cupscooked and shredded chicken rotisserie or homemade such as poached
- 2 cupsenchilada sauce store bought or homemade
- 12 count package King's Hawaiian Original Sweet Rolls
- 2 cupsshredded Mexican cheese blend or your favorite shredded cheese
- 2 tablespoonsunsalted butter or more if desired
- 1 teaspoondried Mexican oregano regular oregano may be substituted
- Finely chopped cilantro optional for garnishing to taste
- Avocado slices optional for garnishing to taste
Instructions
Instructions
- Preheat oven to 350°F (175°C). Spray a 9x13-inch baking dish with cooking spray. (Optional: if using a metal pan, line it with nonstick foil for easier cleanup.)
- Prepare the King's Hawaiian rolls: either (A) use a serrated knife to slice the entire connected package horizontally in half to make one bottom "slab" and one top "slab," or (B) separate the rolls and slice each roll horizontally so you have 12 bottoms and 12 tops. Place the bottom slab or the 12 bottom halves in the prepared baking dish in an even layer.
- Heat 1 tablespoon olive oil in a large skillet over medium-high heat. Add 1/2 cup diced onion and sauté, stirring frequently, for about 3 to 4 minutes, until softened.
- Add 2 teaspoons of the minced garlic to the skillet and cook, stirring, for 1 minute until fragrant.
- Add 4 cups cooked, shredded chicken and 2 cups enchilada sauce to the skillet. Stir to combine and cook for about 2 minutes just to heat through and meld flavors. Remove from heat.
- Spread the chicken and enchilada sauce mixture evenly over the bottom slab or the 12 bottom roll halves in the baking dish.
- Evenly sprinkle 2 cups shredded Mexican cheese blend over the chicken mixture.
- Place the top slab or the 12 top roll halves evenly over the cheese to close the sliders.
- In a small skillet over low heat, melt 2 tablespoons unsalted butter. Stir in the remaining 1 teaspoon minced garlic and 1 teaspoon dried Mexican oregano; heat just until the butter is melted and the garlic is fragrant, stirring constantly. Do not brown the garlic.
- Brush the butter–garlic–oregano mixture evenly over the tops of the rolls.
- Tent the baking dish loosely with foil and bake at 350°F for 13 to 15 minutes. Remove the foil and bake an additional 3 to 5 minutes, or until the tops are lightly golden and toasted to your liking and the cheese is melted.
- Remove from the oven and let rest 2 to 3 minutes. Optionally garnish with finely chopped cilantro and avocado slices to taste. Serve warm.
- Storage (optional): Store leftovers airtight in the refrigerator for up to 3 days or freeze for up to 3 months. Reheat gently in a low oven or microwave, noting the texture of the bread will change after freezing.