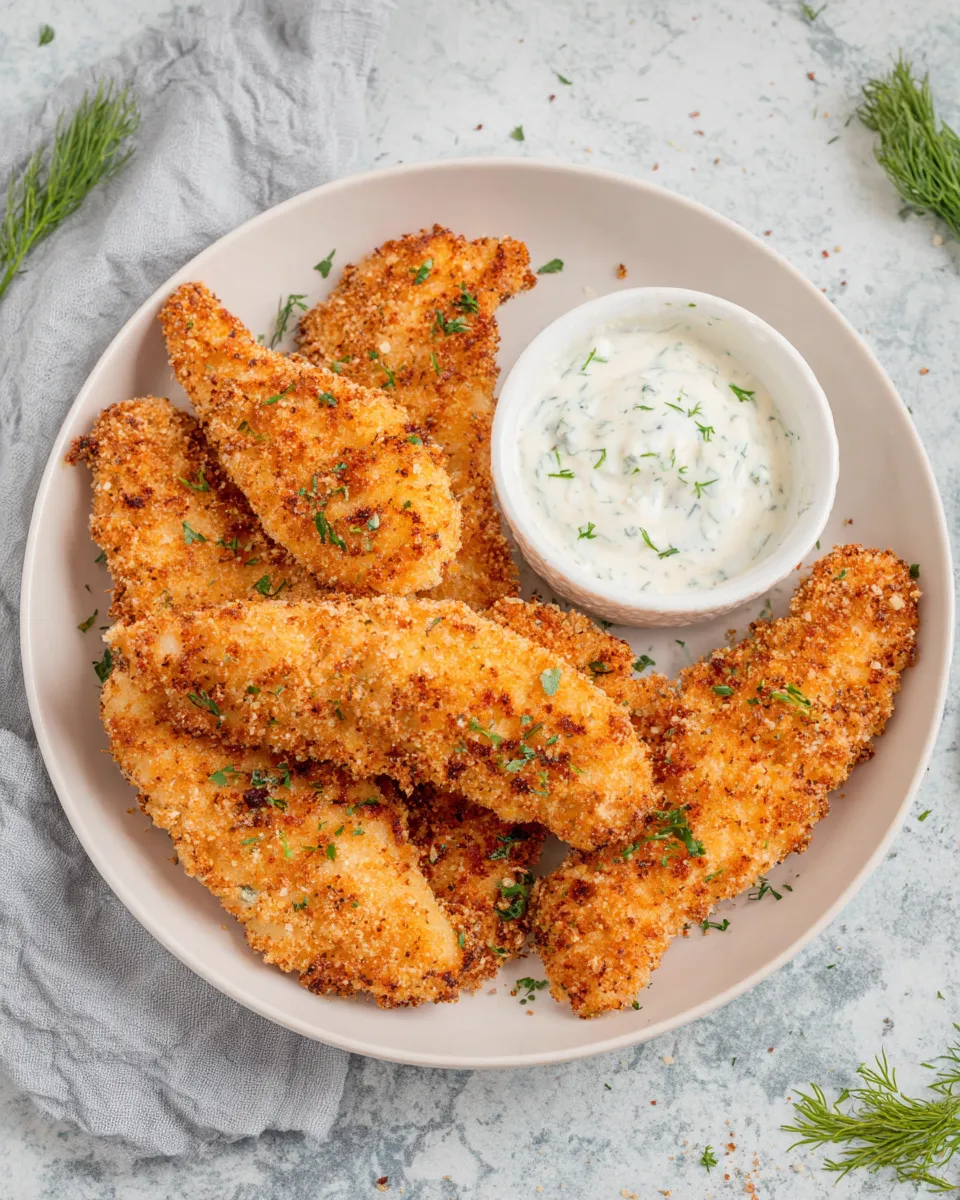
There’s something undeniably comforting about a perfect chicken finger: crisp, golden exterior, juicy interior, and a crunch that begs for one more bite. Today I’m sharing my tried-and-true Chicken Fingers Recipe made with simple pantry staples and a foolproof technique that yields irresistible results every time. This recipe uses 1 lb chicken tenderloins and a straightforward three-step breading process that creates a crunchy, flavorful coating. Whether you’re feeding picky eaters, entertaining friends, or craving a nostalgic snack, these chicken fingers deliver.
Why you’ll love this Chicken Fingers Recipe

This Chicken Fingers Recipe is approachable, fast, and dependable. The buttermilk bath tenderizes the chicken, while the seasoned flour and panko work together to produce a crust that’s both airy and substantial. You’ll find the flavor profile balanced—seasoned simply with salt, black pepper, garlic powder, and paprika—so the natural chicken taste shines through. The method is flexible: pan-fry in vegetable oil for quick results or finish in the oven if you prefer a slightly lighter finish.
Ingredients
- 1 lb chicken tenderloins
- 1 cup buttermilk
- 1 cup all-purpose flour
- 2 large eggs, beaten
- 1 cup panko breadcrumbs
- 1 teaspoon salt
- 1/2 teaspoon black pepper
- 1/4 teaspoon garlic powder
- 1/4 teaspoon paprika
- Vegetable oil for frying
Equipment
- Mixing bowls (three shallow bowls or plates)
- Large skillet or frying pan
- Tongs or a fork for turning
- Wire rack set over a baking sheet or paper towels
- Instant-read thermometer (optional but helpful)
Prep and timing
Total time: About 30–40 minutes. Active time is roughly 25 minutes. This Chicken Fingers Recipe moves quickly once you begin; the most important step is organizing your breading station so each tenderloin passes through flour, egg, and panko in sequence without sticking.
Flavor notes and tips
- Let the tenderloins sit in the buttermilk for at least 15 minutes at room temperature to tenderize and add subtle tang.
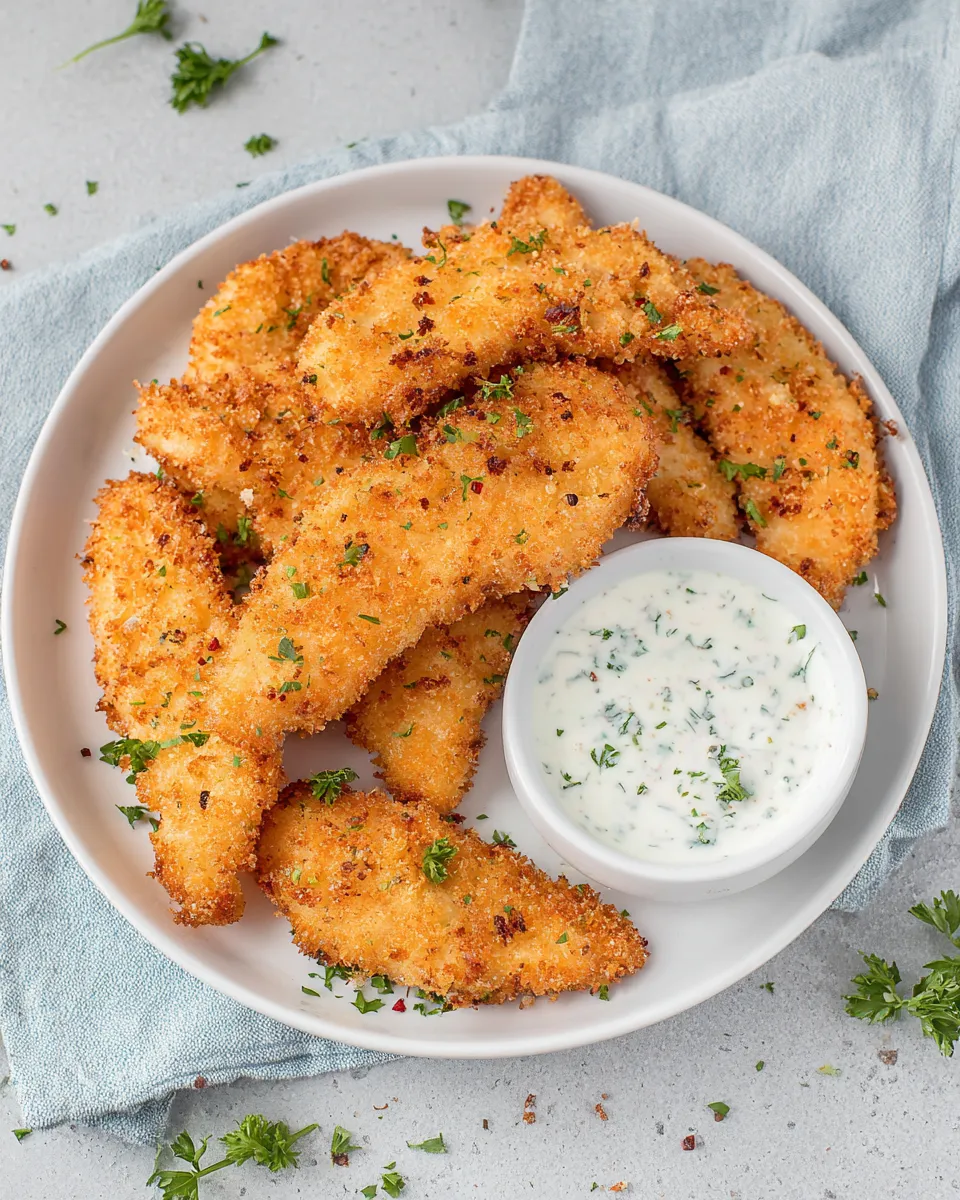
- Panko breadcrumbs create a lighter, extra-crispy coating compared to traditional breadcrumbs—perfect for this Chicken Fingers Recipe.
- Keep the oil at a steady medium-high heat. If it’s too hot, the exterior will color too quickly while the inside stays undercooked; if it’s too cool, the breading will absorb oil and become greasy.
- Use a wire rack for draining so the crust remains crisp. Paper towels will work in a pinch, but the underside of the chicken can steam and lose crunch.
- For a baked variation, arrange breaded tenders on a parchment-lined sheet, mist lightly with oil, and bake at 425°F until golden and cooked through (about 12–15 minutes, flipping once).
Step-by-step instructions
Below are the rewritten, clear, step-by-step directions for making this Chicken Fingers Recipe. The ordering follows the original flow, with precise wording and matching ingredient names and amounts.
- Marinate the chicken. Place 1 lb chicken tenderloins in a shallow bowl or dish and pour 1 cup buttermilk over them. Turn each piece so it’s evenly coated. Let the chicken sit in the buttermilk for about 15 minutes at room temperature while you set up the breading station. This softens and flavors the meat.
- Set up the breading station. Arrange three shallow bowls or plates in a row. In the first bowl, combine 1 cup all-purpose flour, 1 teaspoon salt, 1/2 teaspoon black pepper, 1/4 teaspoon garlic powder, and 1/4 teaspoon paprika; whisk together so the spices are evenly distributed. In the second bowl, beat 2 large eggs until smooth. In the third bowl, pour 1 cup panko breadcrumbs.
- Dredge the tenderloins in flour. Remove a tenderloin from the buttermilk, allowing excess to drip back into the bowl. Place it in the seasoned flour and press gently, coating the entire surface. Shake off any excess flour so the coating is thin and even.
- Dip in egg. Transfer the floured tenderloin to the bowl of beaten eggs. Dip and flip so the piece is fully coated in egg, and let any extra egg drip off for a moment before moving to the breadcrumbs.
- Coat in panko. Press the egg-coated tenderloin into the 1 cup panko breadcrumbs, turning and pressing lightly so the panko adheres evenly and forms a consistent crust. Place the breaded tenderloin on a clean plate or tray and repeat the flour-egg-panko process with the remaining pieces.
- Heat the oil. Pour enough vegetable oil into a large skillet to reach about 1/4 to 1/2 inch deep—enough to cover the bottom and allow the chicken to fry evenly without deep-frying. Heat the oil over medium-high heat until it shimmers and a small pinch of panko sizzles immediately on contact. Maintain a steady temperature in this range to ensure crisp, golden crusts.
- Fry the chicken fingers. Carefully place the breaded tenderloins into the hot oil in a single layer, leaving space between each piece so they don’t touch. Fry for about 3 minutes per side, or until each side is deep golden brown. Use tongs to turn them gently to prevent the breading from coming off. If necessary, fry in batches to avoid crowding the pan.
- Check doneness. The internal temperature should reach 165°F. If you don’t have a thermometer, cut a piece open to make sure the center is no longer pink and the juices run clear. Transfer the cooked chicken fingers to a wire rack set over a baking sheet to drain excess oil while keeping the crust crisp.
- Season and rest briefly. If you like, sprinkle a tiny pinch of additional salt on the hot chicken fingers immediately after frying. Let them rest for 2–3 minutes on the wire rack; this helps the juices settle and the coating to remain crunchy.
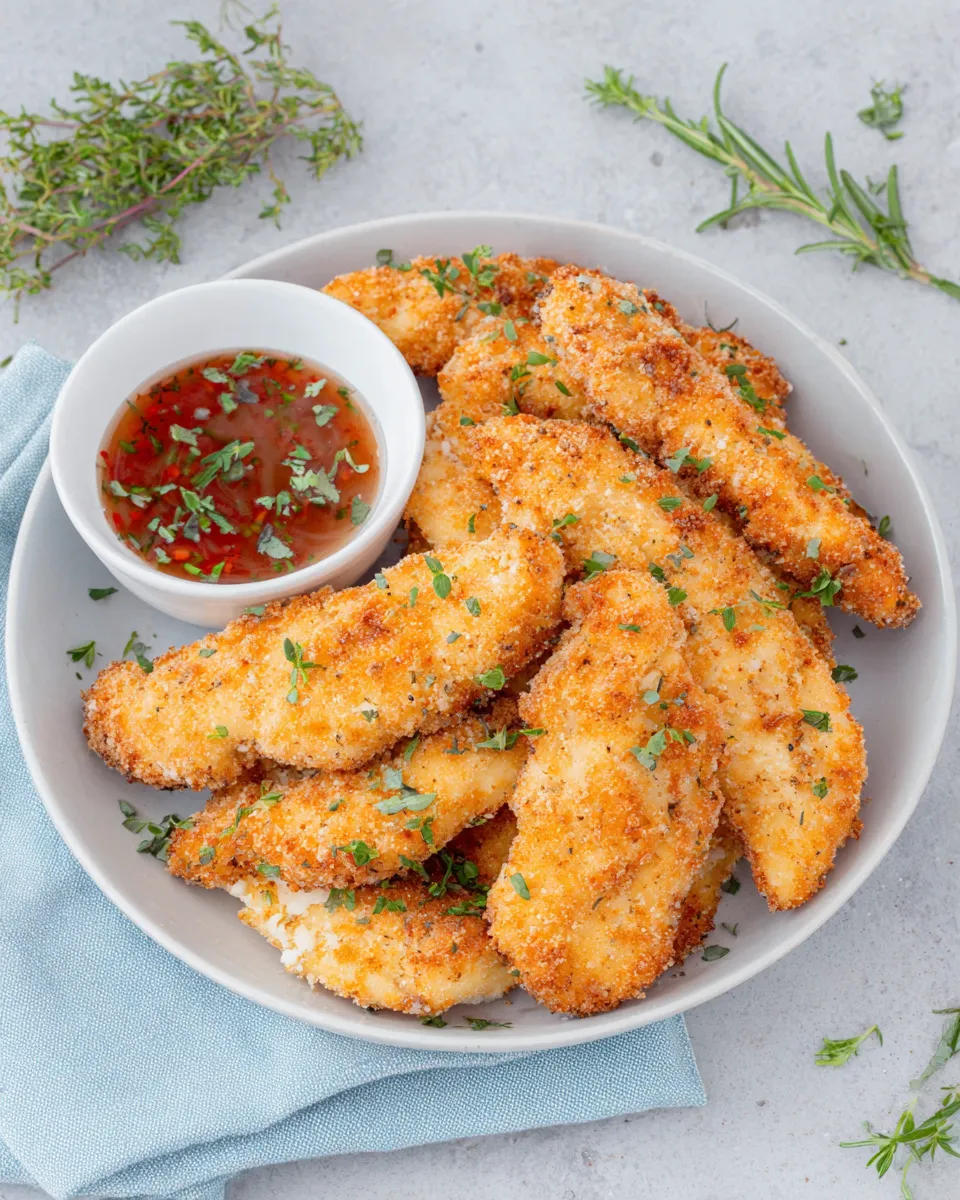
- Serve. Serve the chicken fingers hot with your choice of dipping sauces—classic options include ketchup, honey mustard, ranch, or a spicy mayo. They pair beautifully with fries, a simple green salad, or steamed veggies.
How to get extra-crispy results
If you want to take this Chicken Fingers Recipe to the next level, try a couple of pro tips: after the first dredge in flour, allow the pieces to rest for a minute before dipping into the egg; this adhesion step helps the egg and panko cling better. Also, don’t hesitate to press the panko into the chicken firmly so you get full coverage. Finally, maintain consistent oil temperature—too low and the coating absorbs oil, too high and the crust burns before the inside cooks.
Batch cooking and storage
To make a larger batch, double or triple the ingredients and fry in multiple batches, keeping cooked pieces warm in a low oven (about 200°F) on a wire rack. For leftover chicken fingers, cool completely, then refrigerate in an airtight container for up to 3 days. Reheat in a hot oven at 400°F for 8–10 minutes on a wire rack to restore crispness—avoid microwaving if you want to keep the texture.
Serving ideas
- Classic combo: Chicken fingers with fries and a honey-mustard dipping sauce.
- Sandwich: Place a warm chicken finger in a soft bun with slaw and pickles.
- Salad topper: Slice and serve over mixed greens with a tangy dressing.
- Snack board: Add to a spread with raw veggies, chips, and multiple dips for dipping variety.
Common questions
Can I use whole chicken breasts instead of tenderloins? Yes. Slice breasts into 1-inch-wide strips so they cook in the same time as the tenderloins. Keep the total weight to around 1 lb to match the recipe proportions.
Can I skip the buttermilk? The buttermilk is key for tenderness and subtle tang. If you don’t have it, whisk 1 cup milk with 1 tablespoon lemon juice or white vinegar and let it sit for 5–10 minutes to slightly thicken before using.
Is panko necessary? Panko gives the best crunch, but if you only have regular breadcrumbs, they’ll work—expect a denser crust.
Final thoughts
This Chicken Fingers Recipe is a go-to for busy weeknights and casual gatherings because it’s quick, satisfying, and reliably delicious. With just 1 lb chicken tenderloins, common pantry seasonings, and a simple three-step breading process, you can make restaurant-worthy chicken that’s crispy on the outside and juicy on the inside. Follow the steps closely, keep your oil at the right temperature, and enjoy the crunchy, flavorful results.
Happy cooking—may your chicken fingers be perfectly golden and utterly irresistible!
Chicken Fingers Recipe
Equipment
- Mixing Bowls
- shallow dishes (3)
- deep fryer or large skillet
- Tongs or fork
- Paper Towels
Ingredients
- 1 lb chicken tenderloins
- 1 cup buttermilk
- 1 cup all-purpose flour
- 2 large eggs beaten
- 1 cup panko breadcrumbs
- 1 teaspoon salt
- 1/2 teaspoon black pepper
- 1/4 teaspoon garlic powder
- 1/4 teaspoon paprika
- vegetable oil for frying
Instructions
- If needed, cut chicken tenderloins into finger-sized strips.
- Place the chicken strips in a bowl with the buttermilk, toss to coat, then refrigerate and marinate for at least 1 hour.
- In a shallow dish, whisk together the flour, salt, black pepper, garlic powder, and paprika.
- Beat the eggs in a separate shallow dish.
- Place the panko breadcrumbs in a third shallow dish.
- Dredge each marinated chicken strip in the seasoned flour, shake off excess, dip into the beaten eggs, then press into the panko to coat evenly.
- Heat vegetable oil in a deep fryer or large skillet to about 350°F (175°C) to 1/2-inch to 1-inch depth.
- Fry the coated chicken strips in batches until golden brown and cooked through, about 3–4 minutes per side depending on thickness.
- Transfer cooked chicken fingers to paper towels to drain briefly, then serve hot.
Notes
- Marinating in buttermilk tenderizes the chicken.
- Work in batches to avoid overcrowding the pan.
- Use a thermometer to keep oil around 350°F.