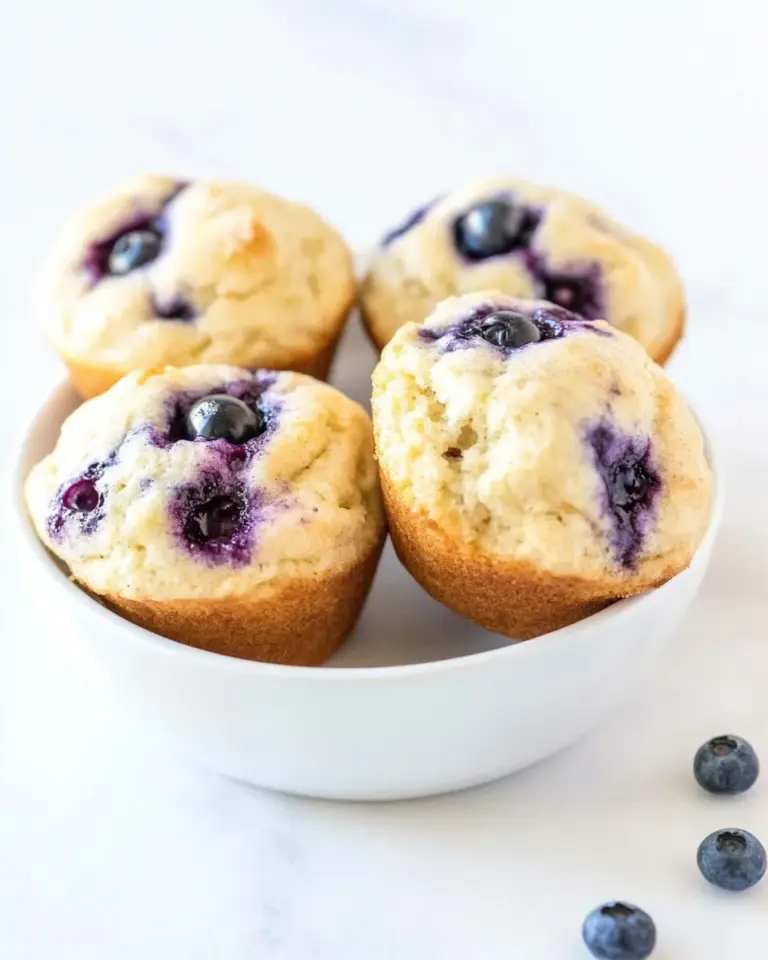
There’s something undeniably comforting about a stack of warm, fluffy pancakes, especially when they’re studded with mini chocolate chips that melt into gooey perfection. This Chocolate Chip Pancake Recipe is not just any pancake recipe; it’s the kind that promises to make your mornings feel extra special. Whether you’re treating yourself on a lazy weekend or whipping up a quick breakfast before school, these pancakes will deliver joy in every bite. They’re easy to make, delightful to eat, and a surefire way to start your day with a smile.
Why This Recipe Belongs in Your Rotation
This Chocolate Chip Pancake Recipe deserves a spot in your breakfast rotation for several reasons. First, it’s incredibly simple, requiring just a handful of ingredients that you likely already have in your pantry. Second, the pancakes are fluffy and delicious, with the perfect balance of sweetness from the chocolate chips. Finally, they’re versatile! You can mix in different ingredients like nuts or berries, or even adjust the sweetness to suit your taste. Once you try this recipe, you’ll find yourself reaching for it again and again.
The Essentials
- 8 tablespoons unsalted butter, divided: This will give your pancakes a rich flavor and fluffy texture.
- 1 tablespoon white vinegar: Helps to curdle the milk slightly, creating a buttermilk effect.
- 1 cup + 3 tablespoons whole milk, room temperature: Ensures your batter mixes smoothly.
- 1 teaspoon vanilla extract: Adds a warm, sweet flavor.
- 1 large egg, room temperature: Binds the ingredients together.
- 1-1/4 cups flour: The base of your pancake batter.
- 2 tablespoons granulated sugar: For a touch of sweetness.
- 1/2 teaspoon salt: Enhances flavor.
- 1/2 teaspoon baking powder: Helps the pancakes rise.
- 1/2 teaspoon baking soda: Works with the vinegar to create fluffiness.
- 1/4 teaspoon ground cinnamon (optional): Adds warmth and depth of flavor.
- 1 teaspoon cornstarch (optional): Can make the pancakes even fluffier.
- 1/2 cup mini chocolate chips: The star ingredient for a sweet touch.
- Syrup: To drizzle over your pancakes for the ultimate experience.
Before You Start: Equipment
- Mixing bowls: For combining your wet and dry ingredients.
- Whisk: To ensure all ingredients are well-blended.
- Skillet or griddle: Non-stick is best for easy flipping.
- Spatula: For flipping your pancakes with ease.
- Measuring cups and spoons: Accuracy is key in baking, so don’t skip these!
Chocolate Chip Pancake Recipe: Step-by-Step Guide
Step 1: Prepare the Milk
In a small bowl, combine the whole milk and white vinegar. Let it sit for about 5 minutes to curdle, creating a homemade buttermilk.
Step 2: Melt the Butter
In a microwave-safe bowl, melt 6 tablespoons of the unsalted butter. Allow it to cool slightly before adding it to the batter.
Step 3: Combine Wet Ingredients
In a large mixing bowl, whisk together the curdled milk, melted butter, vanilla extract, and the large egg until well combined.
Step 4: Mix Dry Ingredients
In another bowl, whisk together the flour, granulated sugar, salt, baking powder, baking soda, and optional ground cinnamon and cornstarch.
Step 5: Combine Wet and Dry Ingredients
Gradually add the dry ingredients to the wet mixture, stirring gently. Be careful not to overmix; it’s okay if there are a few lumps. Fold in the mini chocolate chips.
Step 6: Heat the Skillet
Preheat your skillet or griddle over medium heat. Add the remaining 2 tablespoons of butter to the pan, allowing it to melt and coat the surface.
Step 7: Cook the Pancakes
Pour about 1/4 cup of batter onto the skillet for each pancake. Cook until bubbles form on the surface and the edges look set, about 2-3 minutes. Flip and cook for an additional 1-2 minutes until golden brown.
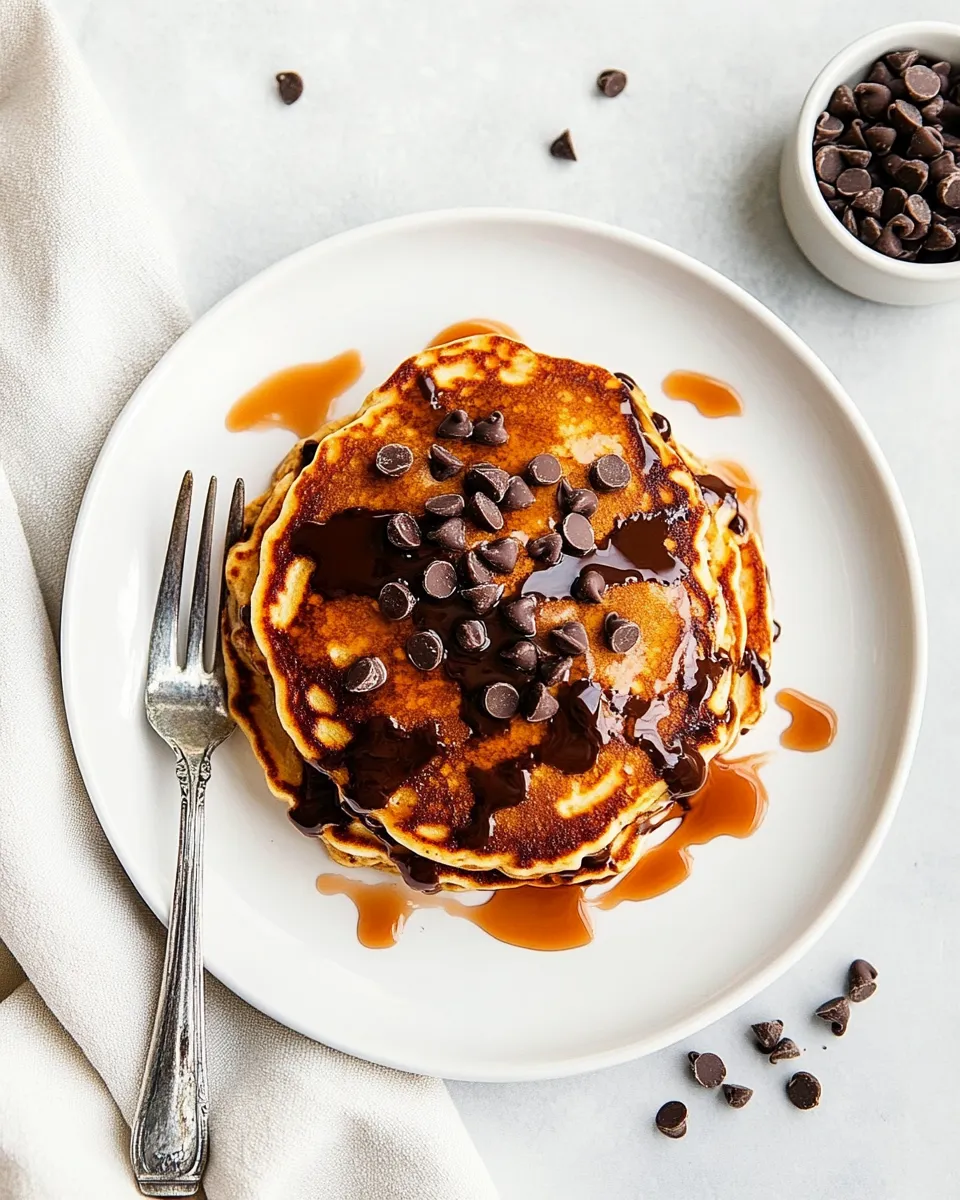
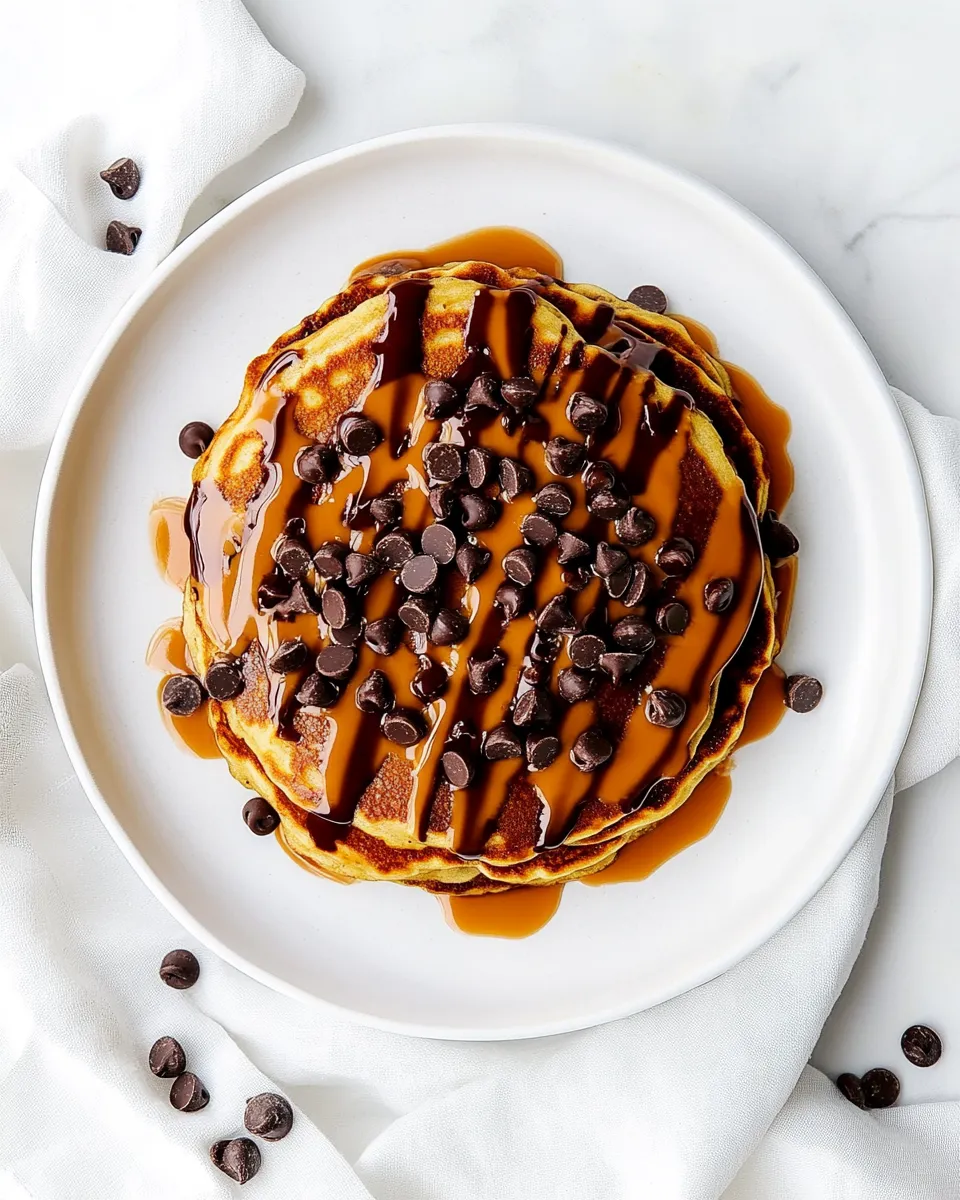
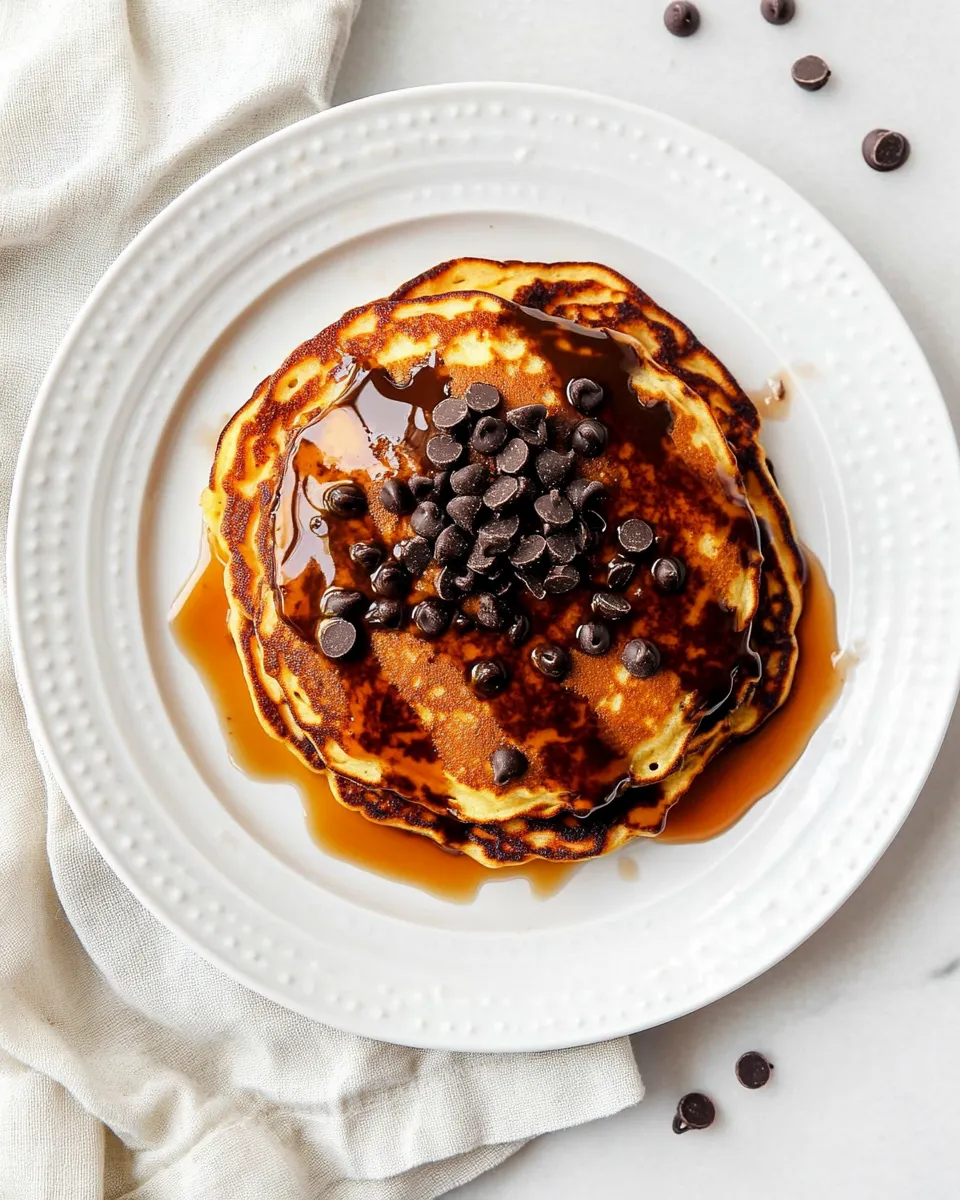
Step 8: Serve
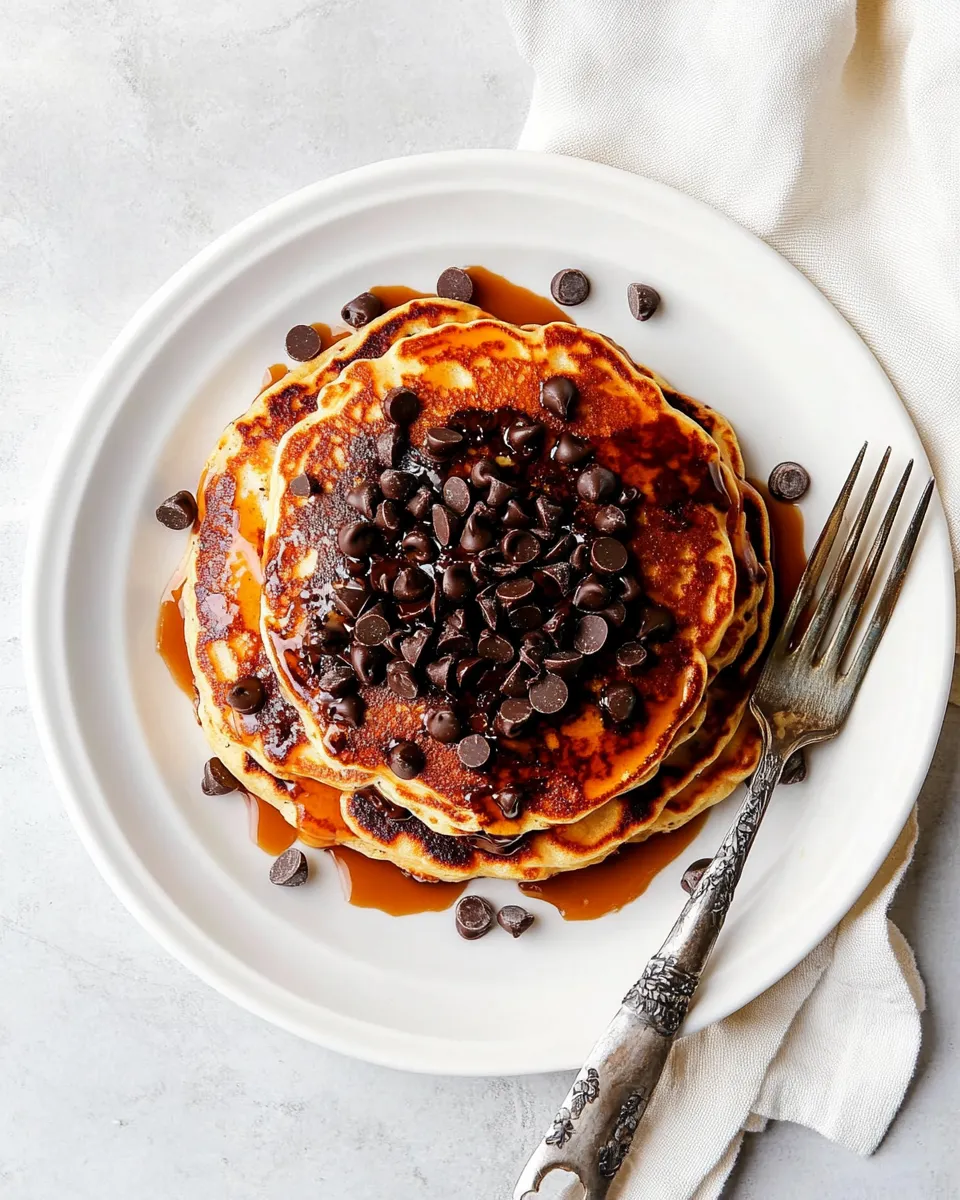
Stack your pancakes on a plate, drizzle with syrup, and extra chocolate chips if desired. Enjoy your delicious stack of chocolate chip pancakes!
Substitutions by Category
- Dairy: Substitute whole milk with almond milk or oat milk for a dairy-free option.
- Butter: Use coconut oil or a vegan butter substitute for a dairy-free variation.
- Flour: Whole wheat flour or gluten-free flour can work well in this recipe.
- Sugar: Replace granulated sugar with coconut sugar or a sugar alternative like stevia for a healthier option.
Slip-Ups to Skip
- Don’t skip the curdling of the milk; it’s crucial for achieving fluffy pancakes.
- Be cautious not to overmix the batter; a few lumps are perfectly fine.
- Make sure your skillet is adequately preheated to avoid uneven cooking.
- Watch your pancakes closely; they can burn quickly if left unattended.
Shelf Life & Storage
Chocolate chip pancakes are best enjoyed fresh, but if you have leftovers, they can be stored in the refrigerator for up to 2 days. For longer storage, consider freezing them. Allow the pancakes to cool completely, then layer them between parchment paper in an airtight container or freezer bag. They can be frozen for up to a month. To reheat, simply pop them in the toaster or microwave until warm.
Handy Q&A
Can I make the pancake batter ahead of time?
Yes, you can prepare the batter the night before and store it in the refrigerator. Just give it a gentle stir before cooking, as it may thicken overnight.
What can I add to the pancakes for extra flavor?
Feel free to add nuts, berries, or even a scoop of peanut butter to the batter for added flavor and texture!
How do I know when the pancakes are ready to flip?
Look for bubbles forming on the surface and the edges starting to look set; that’s your cue to flip!
Can I make these pancakes without sugar?
Yes, you can omit the sugar or use a sugar substitute. Just keep in mind that it may alter the flavor slightly.
Time to Try It
Now that you have this fantastic Chocolate Chip Pancake Recipe at your fingertips, it’s time to gather your ingredients and start flipping! These pancakes are not only delicious, but they also bring a bit of joy to your breakfast table. So, whether it’s a special occasion or just another day, treat yourself and your loved ones to this delightful breakfast. Happy cooking!
Chocolate Chip Pancake Recipe
Equipment
- Mixing Bowls
- Whisk
- Skillet or griddle
- Spatula
- Measuring cups and spoons
Ingredients
- 8 tablespoons unsalted butter divided
- 1 tablespoon white vinegar
- 1 cup + 3 tablespoons whole milk room temperature
- 1 teaspoon vanilla extract
- 1 large egg room temperature
- 1 1/4 cups flour
- 2 tablespoons granulated sugar
- 1/2 teaspoon salt
- 1/2 teaspoon baking powder
- 1/2 teaspoon baking soda
- 1/4 teaspoon ground cinnamon optional
- 1 teaspoon cornstarch optional
- 1/2 cup mini chocolate chips
- syrup to drizzle over pancakes
Instructions
- In a small bowl, combine the whole milk and white vinegar. Let it sit for about 5 minutes to curdle, creating a homemade buttermilk.
- In a microwave-safe bowl, melt 6 tablespoons of the unsalted butter. Allow it to cool slightly before adding it to the batter.
- In a large mixing bowl, whisk together the curdled milk, melted butter, vanilla extract, and the large egg until well combined.
- In another bowl, whisk together the flour, granulated sugar, salt, baking powder, baking soda, and optional ground cinnamon and cornstarch.
- Gradually add the dry ingredients to the wet mixture, stirring gently. Be careful not to overmix; it’s okay if there are a few lumps. Fold in the mini chocolate chips.
- Preheat your skillet or griddle over medium heat. Add the remaining 2 tablespoons of butter to the pan, allowing it to melt and coat the surface.
- Pour about 1/4 cup of batter onto the skillet for each pancake. Cook until bubbles form on the surface and the edges look set, about 2-3 minutes. Flip and cook for an additional 1-2 minutes until golden brown.
- Stack your pancakes on a plate, drizzle with syrup, and extra chocolate chips if desired. Enjoy your delicious stack of chocolate chip pancakes!
Notes
- Allow the milk and vinegar mixture to sit for at least 5 minutes to create a homemade buttermilk for fluffier pancakes.
- Do not overmix the batter; a few lumps are fine and help keep pancakes tender.
- Store leftover pancakes in the refrigerator for up to 2 days or freeze for up to a month using parchment paper between layers.