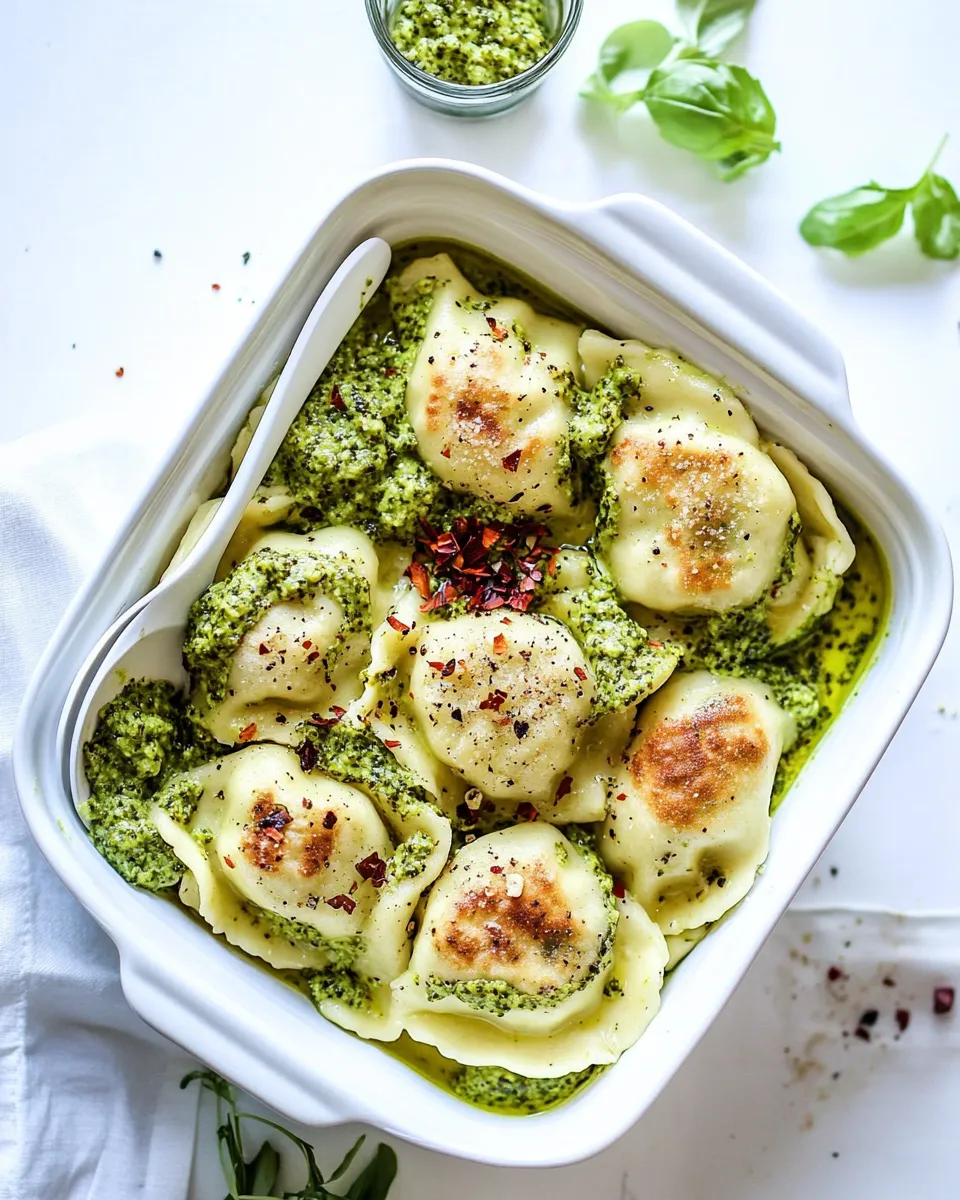
I love quick dinners that feel a little elevated without demanding an evening of work. This version of baked pierogies with a simple broccoli pesto does exactly that: frozen convenience with a fresh, bright sauce. It crisps up in the oven, so you get a golden outside and a tender, cheesy inside without frying or standing over a pan.
The broccoli pesto is fistfuls-of-flavor stuff — bright green, garlicky, and slightly nutty from pine nuts and Parmesan. You make it in a food processor while the pierogies are in the oven, which means active time is very short. Dollop it onto each pierogy at the end and finish with extra Parmesan, herbs, and chili flakes for contrast.
Practical, reliable, and crowd-pleasing: that’s how I think about this dish. It’s great for weeknights, casual get-togethers, or when you want something a little different without the fuss. Read on for the ingredient list, step-by-step method, and tips to keep the pierogies crisp and the pesto vibrant.
What Goes In
- 1 box Mrs. T’s Pierogies (Broccoli and Cheddar or your favorite flavor) — the main component; use them straight from frozen for best texture.
- 1 Tablespoon Olive oil — helps the pierogies brown and crisp in the oven.
- 1/2 cup Broccoli — the base of the pesto; small florets work best for processing.
- 1 garlic clove — for savory bite in the pesto.
- 1/4 teaspoon salt — seasons the pesto so flavors pop.
- 2 Tablespoons fresh herbs (basil or oregano or your favorite) — adds brightness; basil will be more classic, oregano earthier.
- 2 Tablespoons Pine Nuts — provides richness and structure to the pesto.
- 1/3 cup Olive oil — emulsifies the pesto and gives it a silky mouthfeel.
- 1/4 cup Parmesan Cheese — brings umami and depth to the pesto.
- Parmesan cheese to taste — for finishing; grate or shave over the plated dish.
- Chili Flakes to taste — for a hit of heat if you like it spicy.
- Pine nuts to taste — for garnish and extra crunch.
- Fresh Herbs to taste — for garnish and a fresh finish.
Make Crispy Baked Pierogies with Broccoli Pesto: A Simple Method
- Preheat the oven to 375°F (190°C). Line a baking sheet with parchment paper.
- Arrange the frozen pierogies (1 box) in a single layer on the prepared baking sheet, leaving small gaps between them.
- Drizzle 1 Tablespoon olive oil evenly over the pierogies. Gently shake the pan or use tongs/spatula to turn the pierogies so they are lightly coated in oil.
- Bake for 8 minutes. Remove the sheet, flip each pierogy, then return to the oven and bake an additional 8 minutes, or until both sides are golden and crisp.
- While the pierogies bake, make the broccoli pesto: in a food processor combine 1/2 cup broccoli, 1 garlic clove, 1/4 teaspoon salt, 2 Tablespoons fresh herbs, 2 Tablespoons pine nuts, 1/3 cup olive oil, and 1/4 cup Parmesan cheese. Process until smooth, stopping to scrape down the sides as needed.
- Transfer the pesto to a small bowl or spoon.
- When the pierogies are done, remove them from the oven and transfer to a serving platter or leave on the baking sheet for serving.
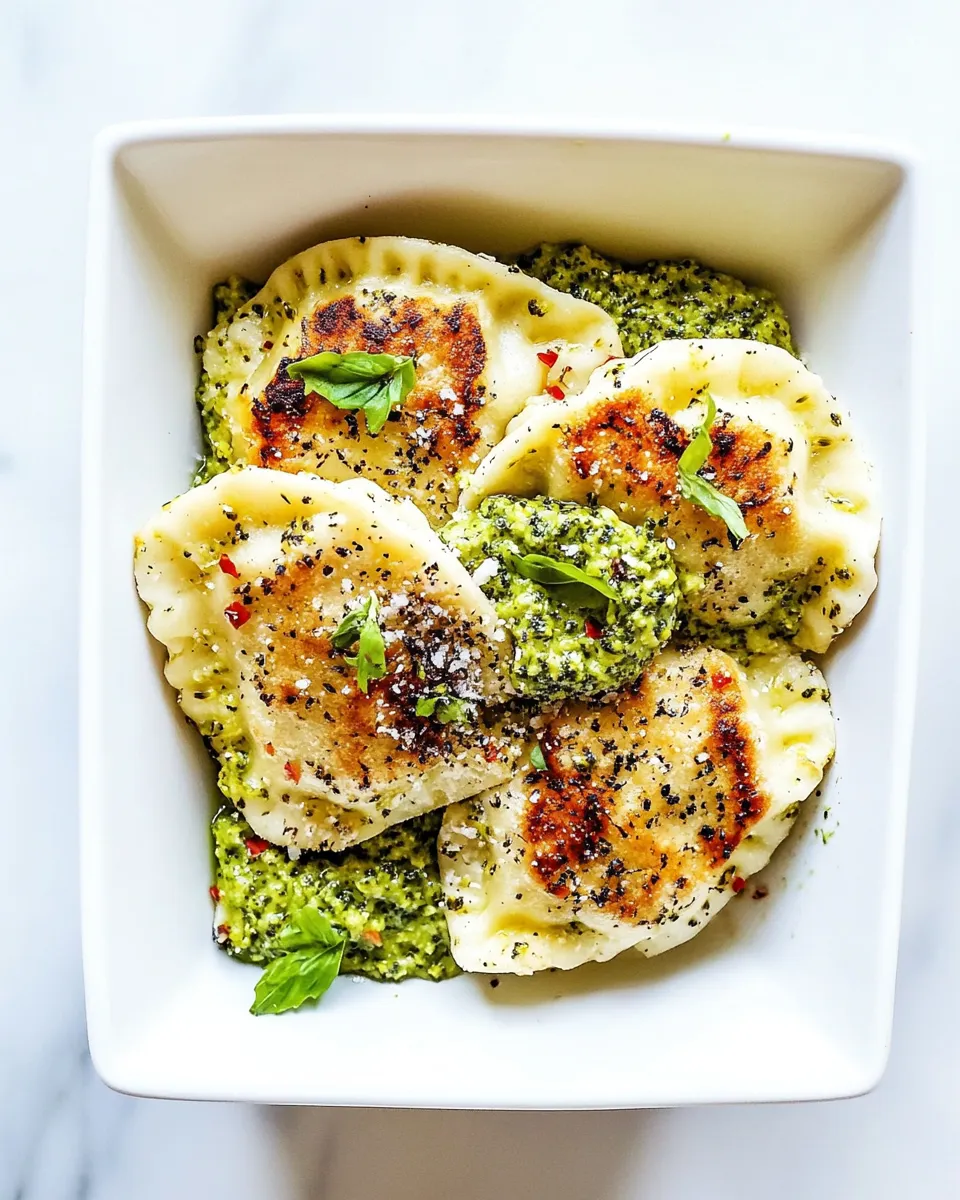
- Dollop about 1 teaspoon of broccoli pesto onto each pierogy. Sprinkle with additional Parmesan cheese, chili flakes, pine nuts, and fresh herbs to taste.
- Serve immediately.
What Sets This Recipe Apart
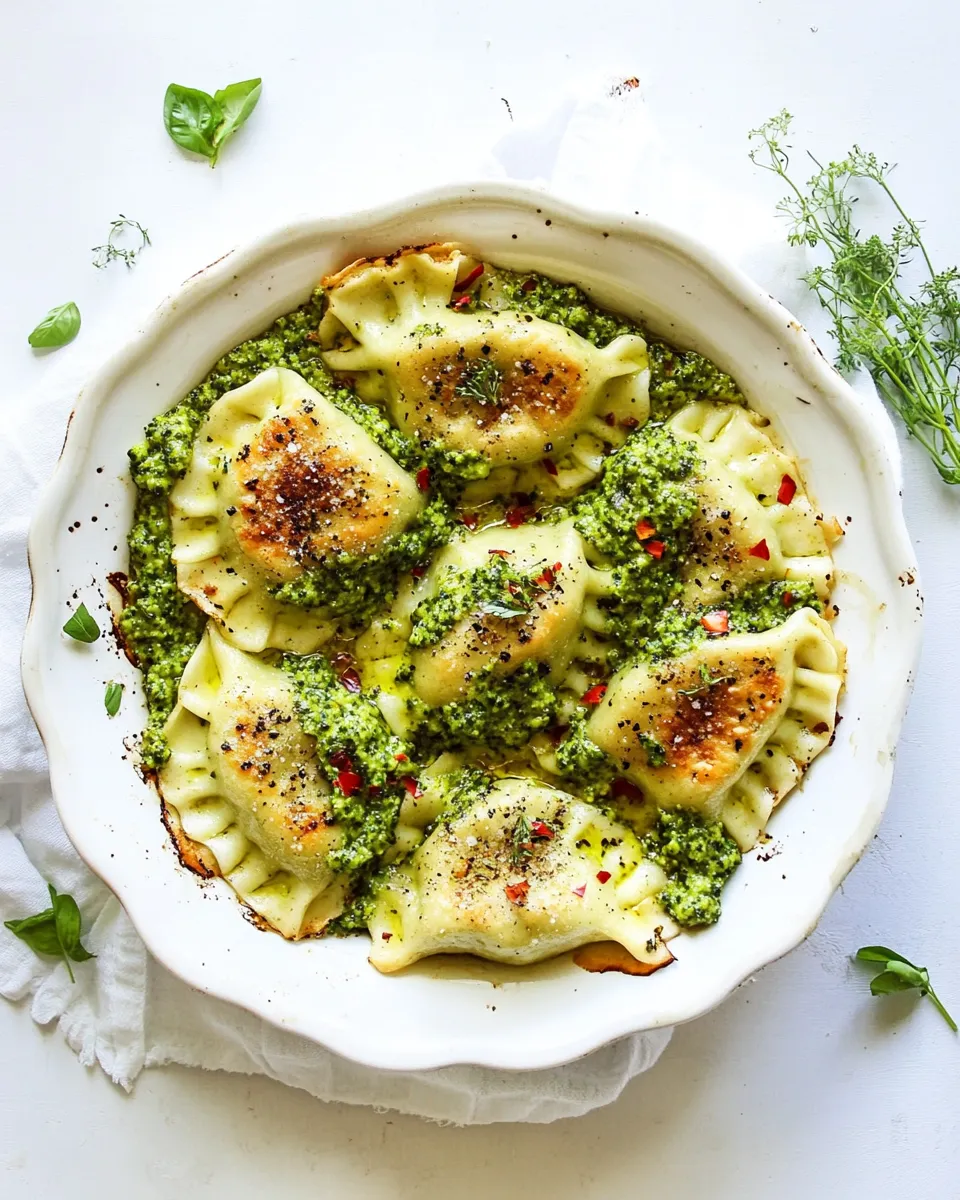
This dish is about contrasts: the golden, slightly crisp exterior of the pierogy against a fresh, vibrantly green pesto. Many pierogi recipes call for pan-frying in butter until deeply browned. Baking gives you a lighter finish with less hands-on time and fewer dishes — it’s efficient without sacrificing texture.
The broccoli pesto is another small pivot that lifts the whole thing. Turning broccoli into pesto means you get concentrated vegetable flavor and color, and the Parmesan-pine nut combo keeps it rooted in classic pesto territory. Because the pesto is made from broccoli instead of basil alone, it feels both familiar and a little unexpected.
Ingredient Flex Options
There’s room to personalize while staying faithful to the core recipe.
- Pierogy flavor: Use the listed box flavor or any frozen pierogies you prefer — the recipe works the same.
- Fresh herbs: The ingredients call out basil or oregano; pick whichever you like or substitute with another fresh herb you already have on hand.
- Pine nuts and garnish: The recipe lists pine nuts for both the pesto and finishing; you can skip the extra garnish if you prefer a milder finish.
- Heat level: Chili flakes are listed to taste — add more or less depending on how much kick you want.
Kitchen Gear Checklist
Keep these tools ready; none are fancy, but each makes the process smooth.
- Baking sheet — for evenly baking the pierogies.
- Parchment paper — prevents sticking and simplifies cleanup.
- Oven mitts — for safe handling of the hot sheet pan.
- Tongs or a spatula — to flip the pierogies.
- Food processor — for the broccoli pesto; it makes a smooth, even texture quickly.
- Measuring spoons and cups — to follow the ingredient amounts as written.
- Small bowl or spoon — to transfer and serve the pesto.
Problems & Prevention
Soggy pierogies: make sure they are spread in a single layer with small gaps; overcrowding traps steam. The oil coating in step 3 promotes browning, so don’t skip it. If your oven runs cool, give a minute or two extra on each side but watch closely.
Pesto too thin or grainy: if the pesto seems thin, pulse a few more times and scrape the sides to fully incorporate the broccoli and Parmesan. If your food processor is small and the broccoli pieces are large, chop them a touch smaller before processing.
Burning or uneven browning: flip the pierogies exactly after the first bake time. If edges are browning faster than centers, rotate the baking sheet halfway through each baking segment so heat distribution is more even.
Spring–Summer–Fall–Winter Ideas
Spring: Keep it light. Finish with lots of fresh herbs and a lemon wedge alongside for brightness. The green pesto feels right at home with spring produce.
Summer: Serve these warm pierogies as part of a relaxed spread with a simple tomato salad or grilled vegetables. The chilled pesto stores well and can be made ahead for outdoor entertaining.
Fall: Add a sprinkle of toasted pine nuts and a side of roasted root vegetables. The comforting pierogies pair nicely with deeper, earthier sides as the weather cools.
Winter: This is cozy, straightforward food for busy nights. Make a double batch of pesto for leftovers to stir into soups or spread on warm bread.
Chef’s Notes
Make the pesto while the pierogies bake to keep hands-on time minimal. The recipe quantities are balanced so a quick processing yields a smooth, spoonable pesto; you don’t need to thin it with more oil unless you prefer a looser texture.
If you want extra crunch, toast the pine nuts lightly in a dry skillet for 1–2 minutes until fragrant, then cool before adding to the pesto or using as garnish. Watch them closely — they burn quickly.
For a looser pesto for drizzling, add another splash of the listed olive oil and pulse until you reach the desired consistency. If you make the pesto ahead, store it in the refrigerator with a thin film of oil on top to slow browning.
Best Ways to Store
Leftover pierogies: cool them to room temperature and refrigerate in an airtight container for up to 3 days. Re-crisp them in a hot oven (about 375°F/190°C) for 5–8 minutes to restore texture.
Pesto: store in a small airtight container in the fridge for up to 3 days. Press a piece of plastic wrap directly onto the surface or add a thin layer of olive oil on top to reduce oxidation and keep the color bright.
Freezing pesto: while not called for in the method, if you do want to freeze, spoon pesto into ice cube trays and freeze solid; transfer cubes to a freezer bag for up to 3 months. Thaw in the refrigerator before using.
Handy Q&A
Q: Can I use thawed pierogies? A: The method assumes frozen pierogies; if yours are thawed, keep a close eye while baking because they may crisp faster. Flip and check for golden edges earlier than the listed times.
Q: Can I skip the pine nuts? A: Pine nuts add traditional pesto flavor and texture. If you prefer not to use them, omit them and expect a slightly less nutty profile; the Parmesan still provides body.
Q: Is a food processor required? A: The food processor is the easiest way to get a smooth pesto. If you don’t have one, finely chop the broccoli, herbs, pine nuts, garlic, and cheese and mix them well with olive oil by hand. It will be a chunkier spread, but still delicious.
Bring It to the Table
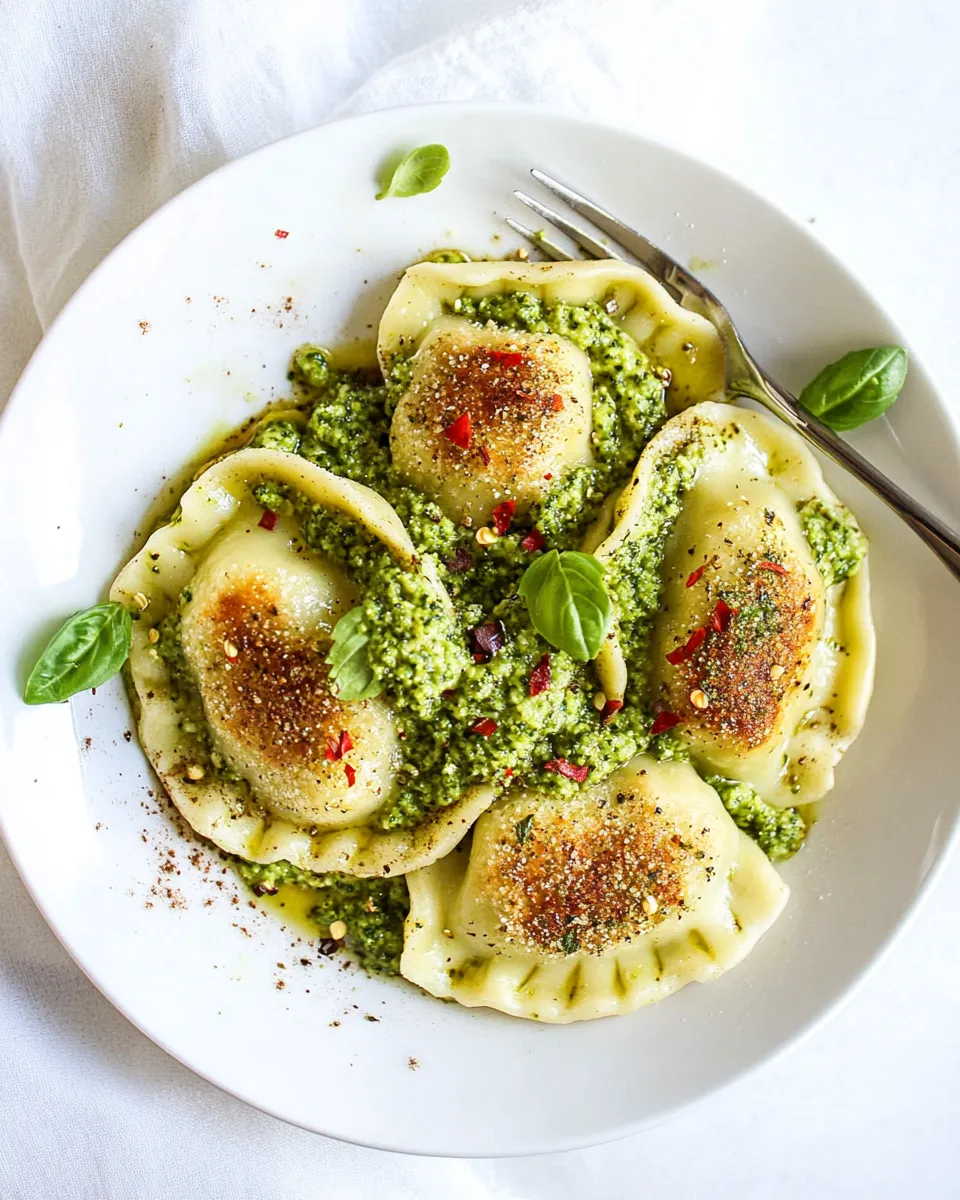
Serve the pierogies straight from the baking sheet or arrange them on a platter. Spoon or dollop about a teaspoon of broccoli pesto onto each one, then scatter extra Parmesan, a pinch of chili flakes, toasted pine nuts, and torn fresh herbs over the top. The combination of hot pierogy and cool, creamy pesto is what makes this shine.
For a casual meal, pair with a simple green salad and a crisp white wine or sparkling water. For sharing, serve a larger bowl of extra pesto on the side so guests can add more as they like. It’s an easy, satisfying dish that feels intentional — exactly the kind of recipe I reach for when I want something fuss-free but thoughtful.
Crispy Baked Pierogies with Broccoli Pesto
Equipment
- Oven
- Baking Sheet
- Parchment Paper
- Food Processor
- Tongs
Ingredients
Ingredients
- 1 box Mrs. T’s PierogiesBroccoli and Cheddar or your favorite flavor
- 1 TablespoonOlive oil
- 1/2 cupBroccoli
- 1 garlic clove
- 1/4 teaspoonsalt
- 2 Tablespoonsfresh herbsbasil or oregano or your favorite
- 2 TablespoonsPine Nuts
- 1/3 cupOlive oil
- 1/4 cupParmesan Cheese
- Parmesan cheese to taste
- Chili Flakes to taste
- Pine nuts to taste
- Fresh Herbs to taste
Instructions
Instructions
- Preheat the oven to 375°F (190°C). Line a baking sheet with parchment paper.
- Arrange the frozen pierogies (1 box) in a single layer on the prepared baking sheet, leaving small gaps between them.
- Drizzle 1 Tablespoon olive oil evenly over the pierogies. Gently shake the pan or use tongs/spatula to turn the pierogies so they are lightly coated in oil.
- Bake for 8 minutes. Remove the sheet, flip each pierogy, then return to the oven and bake an additional 8 minutes, or until both sides are golden and crisp.
- While the pierogies bake, make the broccoli pesto: in a food processor combine 1/2 cup broccoli, 1 garlic clove, 1/4 teaspoon salt, 2 Tablespoons fresh herbs, 2 Tablespoons pine nuts, 1/3 cup olive oil, and 1/4 cup Parmesan cheese. Process until smooth, stopping to scrape down the sides as needed.
- Transfer the pesto to a small bowl or spoon.
- When the pierogies are done, remove them from the oven and transfer to a serving platter or leave on the baking sheet for serving.
- Dollop about 1 teaspoon of broccoli pesto onto each pierogy. Sprinkle with additional Parmesan cheese, chili flakes, pine nuts, and fresh herbs to taste.
- Serve immediately.
Notes
You can make this recipe with any of your favorite Mrs. T’s Pierogies flavors - today I used Broccoli and Aged Cheddar.
Drizzle the frozen pierogies with olive oil to add an extra layer of crispness to the pierogy shell when baking.
Flip the pierogies halfway during baking to get a golden crust evenly on both sides.
Make the broccoli pesto ahead of time. It stores in the fridge for 2-3 weeks or in the freezer for up to 3 months.
Dollop the broccoli pesto right before serving.
If you want the pesto to be saucier, add a couple tablespoons of water to thin it out and toss it with the pierogies instead of dolloping it over.
Then, extra sprinkle of pine nuts, parmesan cheese and chili flakes are optional, but highly recommended!
Serve the pierogy recipe right away and enjoy!