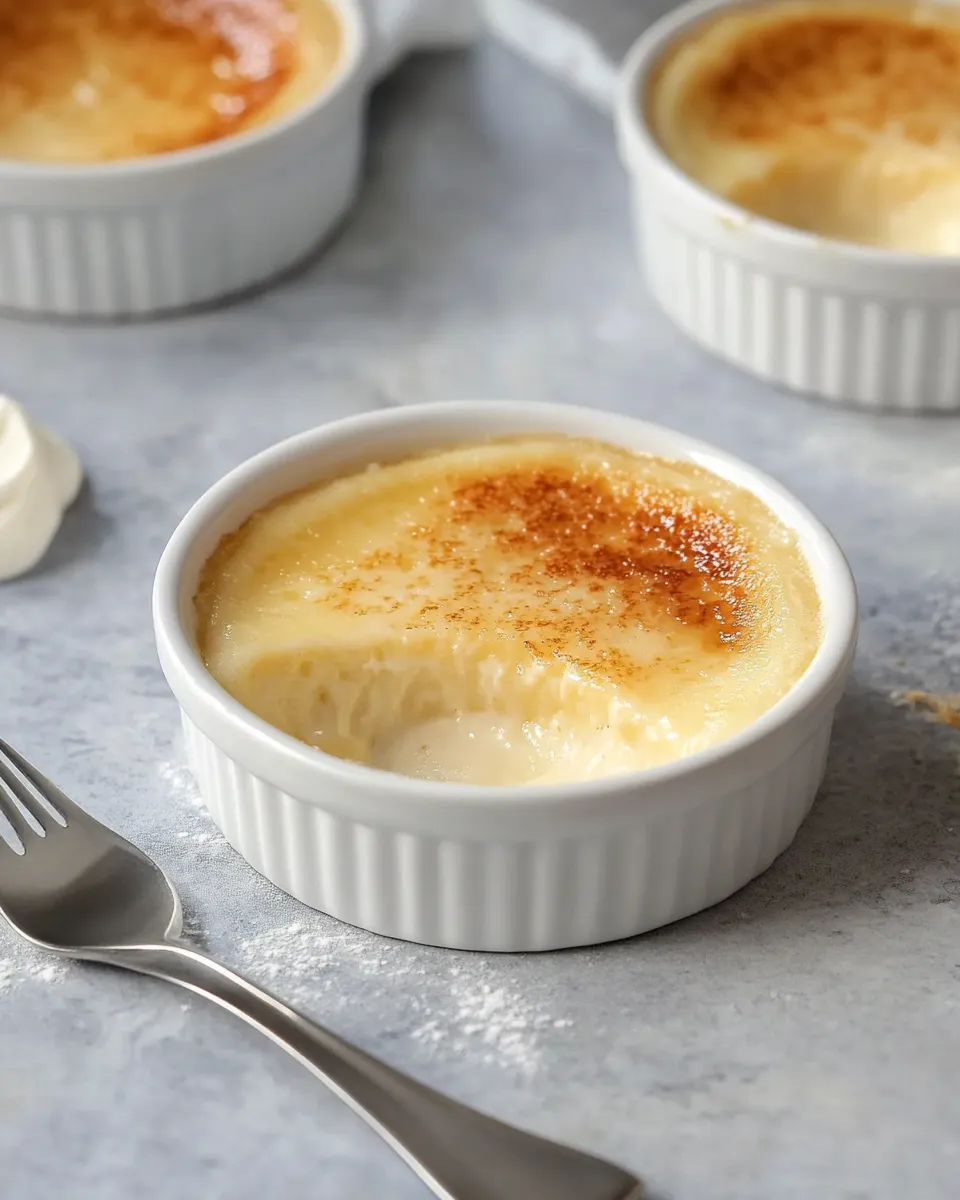
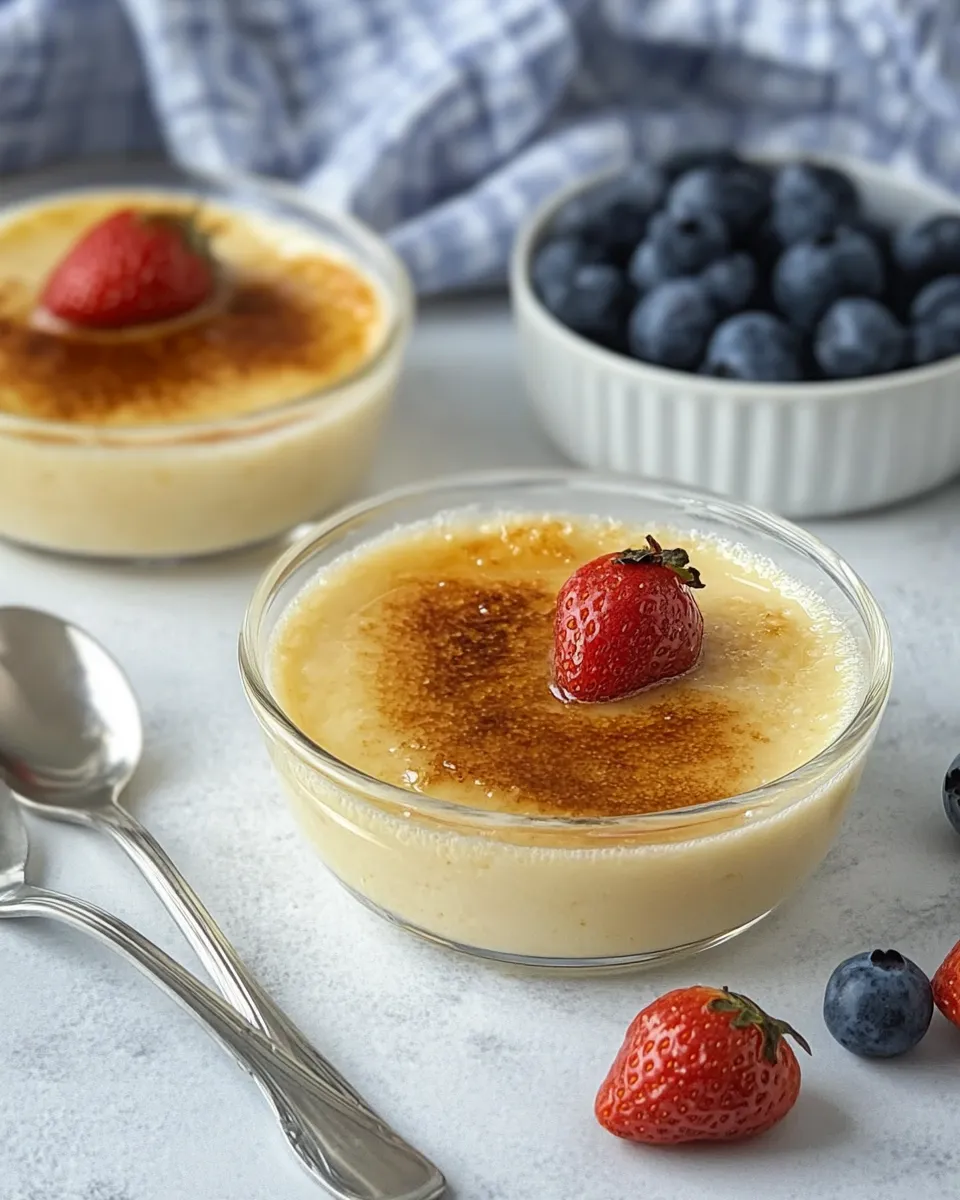
This dairy-free crème brûlée gives you the same creamy custard and crisp caramel top, without the cream. Using full-fat coconut milk keeps the texture rich and silk-smooth while staying friendly for anyone skipping dairy. It’s a straightforward dessert that fits a weeknight dinner or a small celebration.
I test recipes until they behave reliably, and this one responds well to careful heating, tempering, and a good chill. The finish—sugary shards over a cool custard—is quick to make right before serving, so timing matters but it’s not fussy.
Below you’ll find the exact ingredients used, clear step-by-step instructions, troubleshooting notes and sensible shortcuts. Follow the method closely the first time; you’ll soon have the feel of it and can adapt garnishes or serving ideas to suit the season.
What We’re Using
Ingredients
- 1 can (13.5 ounces) full-fat coconut milk — the base for the custard; gives richness and a smooth mouthfeel.
- 3/4 teaspoon vanilla extract — adds aromatic warmth and rounds the coconut flavor.
- 4 large egg yolks — the thickening agent that creates the custard structure.
- 4 tablespoons granulated sugar — sweetens and helps the custard set with the yolks.
- 4 teaspoons granulated sugar for topping — caramelizes to form the classic brittle crust.
Make Dairy-Free Crème Brûlée: A Simple Method
- Preheat the oven to 325°F (set the oven rack in the center).
- Pour the 1 can (13.5 ounces) full-fat coconut milk into a saucepan and heat over medium until it just reaches a simmer (small bubbles around the edges). Do not let it boil. Remove the pan from the heat and stir in 3/4 teaspoon vanilla extract.
- In a medium bowl, whisk together 4 large egg yolks and 4 tablespoons granulated sugar until the mixture is smooth and slightly pale.
- Temper the eggs: while whisking constantly, slowly pour about one-third of the hot coconut milk into the egg-sugar mixture to warm it. Then continue whisking and pour the remaining coconut milk into the egg mixture in a thin, steady stream until fully combined.
- (Optional but recommended for a very smooth custard) Pour the custard through a fine-mesh sieve into a large measuring cup or bowl to remove any bits of cooked egg.
- Place four 6-ounce ramekins in a deep baking dish. Evenly divide the custard mixture among the ramekins.
- Carefully pour hot (not boiling) water into the baking dish until it comes about halfway up the sides of the ramekins, taking care not to splash water into the custards.
- Bake in the preheated oven until the custards are set at the edges but still slightly jiggly in the center, about 40 minutes. Timing may vary with ovens; check for the described jiggle, not a rigid center.
- Using tongs or an oven mitt, remove the ramekins from the water bath and transfer them to a wire rack. Let them cool to room temperature, then cover and refrigerate for at least 4 hours (or overnight) to fully chill and set.
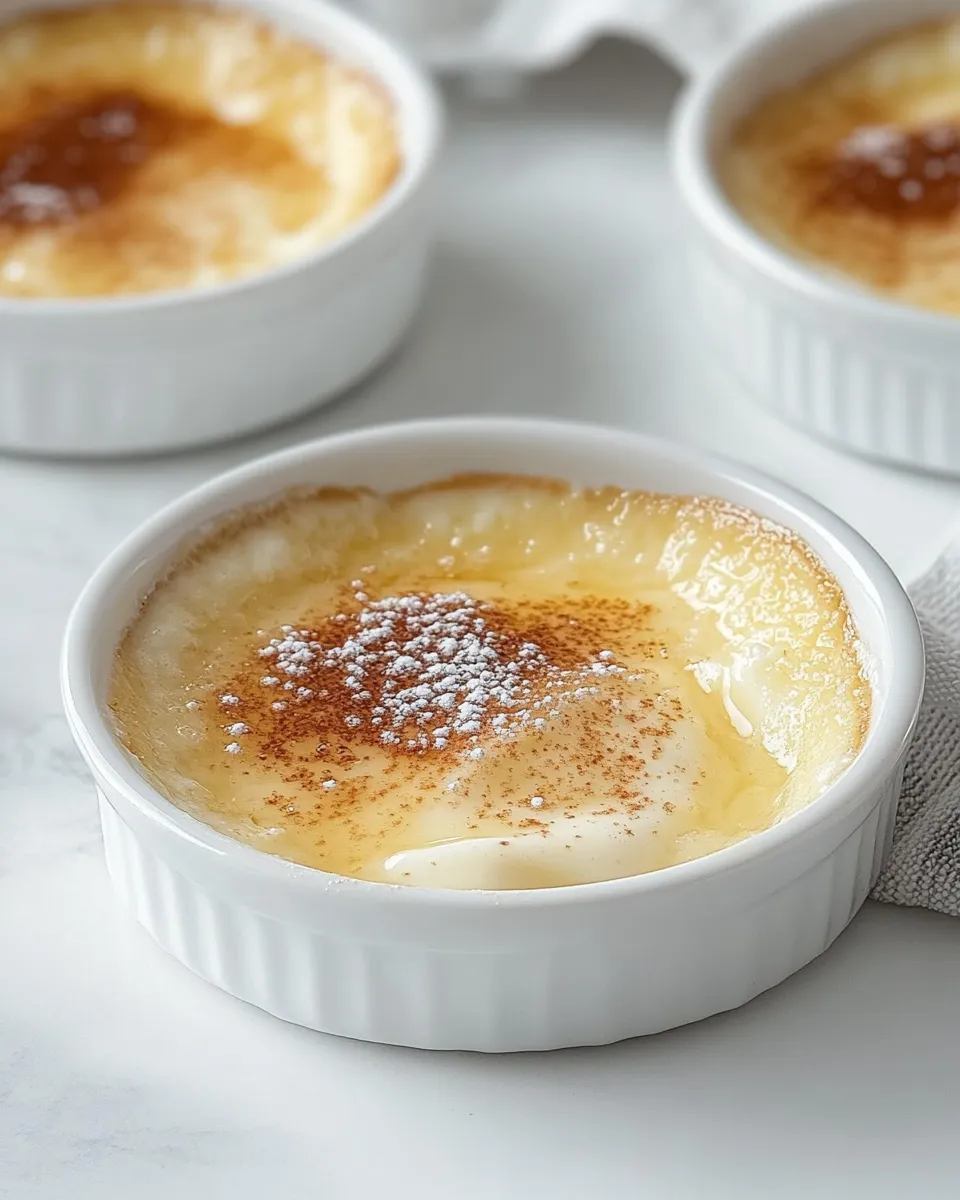
- Just before serving, sprinkle 1 teaspoon granulated sugar over the top of each chilled custard (use the 4 teaspoons reserved for topping). Caramelize the sugar with a kitchen torch until the sugar melts and turns golden brown. Allow the caramel to harden briefly, then serve.
Why I Love This Recipe
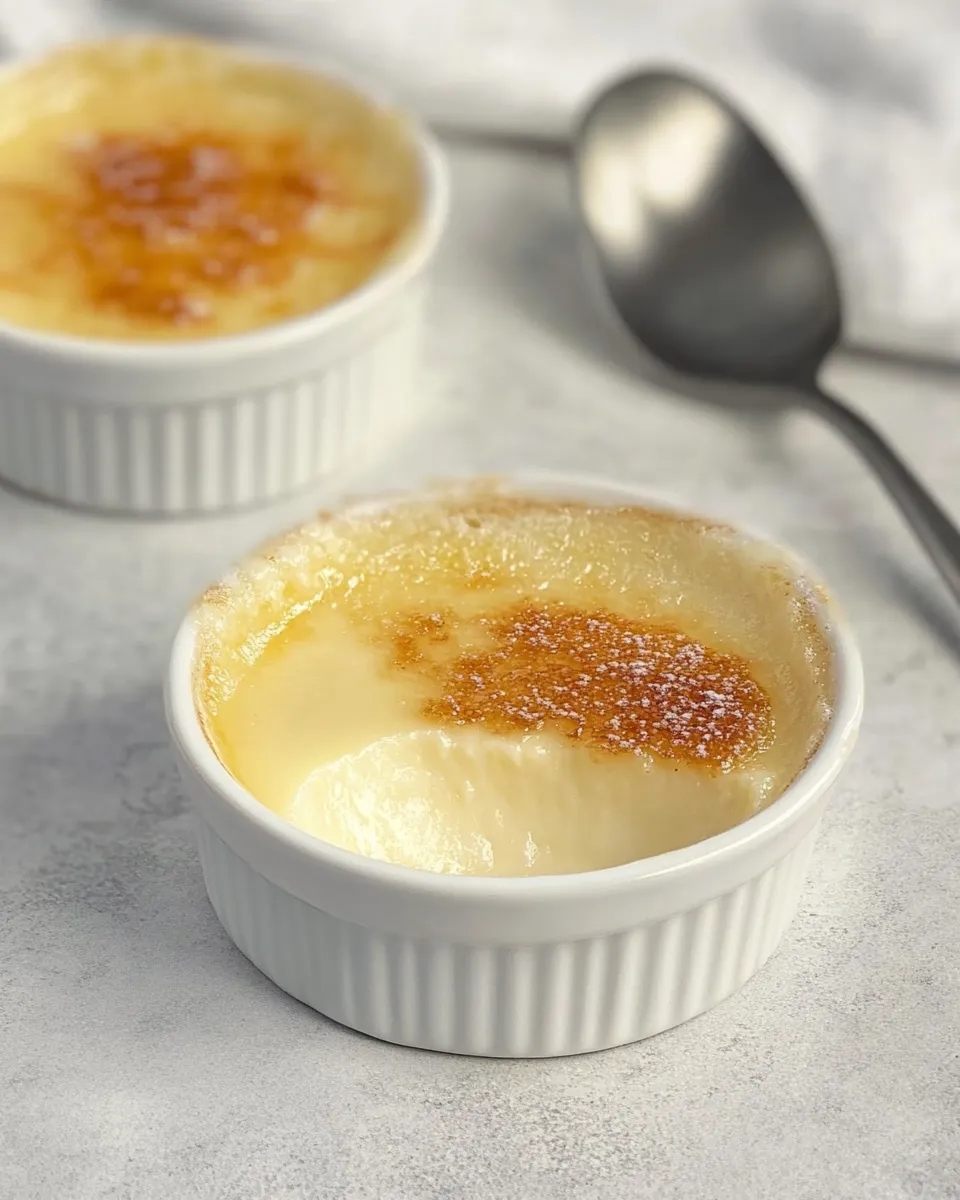
This recipe delivers that classic contrast I want in crème brûlée: a fragile, crisp caramel shell that snaps to reveal a cooling, dense custard. The coconut milk replaces dairy without feeling thin; the fat content in canned full-fat coconut milk gives the custard the same satiny texture you expect.
It’s forgiving in practical ways. Tempering the eggs and straining the custard reduce the chance of any cooked flecks, and the water bath keeps the ovens’ heat gentle and even. The long chill time makes it a great make-ahead dessert—the final torching is fast and theatrical, and you can do it at the last minute for fresh crackle.
Quick Replacement Ideas
- If you prefer less coconut aroma, choose a brand labeled “mild” or “lightly flavored” canned coconut milk—texture will stay rich.
- To caramelize without a torch, use a hot broiler set a few inches below the rack; watch closely to avoid burning.
- If you want different flavor notes, add a small amount of citrus zest to the hot coconut milk while it warms, then strain it out before combining with the eggs.
Hardware & Gadgets
- 6-ounce ramekins — standard size for portion control and even baking.
- Deep baking dish — to hold the ramekins in a water bath.
- Small saucepan — to heat the coconut milk gently.
- Whisk and medium bowl — for combining yolks and sugar and tempering.
- Fine-mesh sieve — optional but helpful for removing any coagulated egg bits.
- Kitchen torch — best tool for consistent caramelization; otherwise a broiler will work.
- Wire rack — to cool ramekins evenly after baking.
Missteps & Fixes
Custard is grainy or has tiny cooked bits
Cause: Eggs got too hot during tempering or the coconut milk boiled. Fix: Strain the custard through a fine-mesh sieve before dividing it among ramekins. For future batches, add the hot milk very slowly while whisking constantly and remove the milk from heat the moment it simmers.
Custard is runny after baking
Cause: Underbaked or oven temperature low. Fix: Return ramekins to the oven and bake a few more minutes until the edges are set. Check by giving the dish a gentle nudge—centers should still jiggle slightly. For consistent results, use an oven thermometer; many ovens run cooler or hotter than their dials indicate.
Sugar burns when torching or under the broiler
Cause: Sugar heated too long or uneven heat. Fix: Move the torch continuously and hold it a few inches above the surface, or if using the broiler, position the rack higher and watch closely—seconds matter. If one top blisters, scrape off the burnt layer carefully and sprinkle a fresh, thin layer of sugar to try again.
Spring to Winter: Ideas
- Spring: Top the caramel with a few macerated berries or a spoonful of berry compote—bright acidity wakes the coconut custard.
- Summer: Serve with slices of grilled stone fruit; its caramelized sugars echo the brûlée top.
- Autumn: Scatter a few toasted nuts or a pinch of warm spices like cinnamon into the custard before chilling for cozy depth.
- Winter: Finish with a small dollop of spiced orange marmalade that cuts through the richness and adds holiday aroma.
Cook’s Notes
1) Use the canned full-fat coconut milk specified in the ingredients for the right fat content. Lower-fat or diluted plant milks usually won’t produce the same set or mouthfeel.
2) Tempering is not optional—slowly incorporating hot liquid into the egg yolks prevents scrambling. A thin, steady stream while whisking keeps the mixture smooth.
3) Straining the custard is a small step that pays off in a velvety texture. I do it every time unless I’ve watched the tempering with strict attention.
4) Chill time matters. The custard firms as it cools; torching too soon risks melting the surface rather than creating a crisp shell.
5) If you’re sensitive to coconut flavor, choose a neutral-brand coconut milk and keep the vanilla steady; it helps balance the profile without overpowering.
Prep Ahead & Store
You can prepare the custards through step 9 and refrigerate them covered for up to 48 hours. Hold off on the sugar topping and torching until just before serving—the caramel is at its best right after it forms.
Leftover chilled, un-torched custard keeps well for about 3 days. Once caramelized, the top will gradually soften; for the best texture, plan torching immediately before serving and consume within 12–24 hours.
Your Questions, Answered
Q: Can I make this entirely without eggs? A: This version relies on egg yolks for structure; removing them changes the technique and ingredient set. If you need an egg-free custard, try a different vegan custard recipe designed around starches or agar—this recipe specifically uses yolks.
Q: Will a blender help when mixing? A: A whisk is preferable here. Over-aerating the custard can create bubbles on the surface; a gentle whisk keeps texture dense and smooth.
Q: Can I use a sugar substitute for the topping? A: Granulated sugar caramelizes predictably. Most sugar substitutes do not form the same brittle caramel; for the classic crack, use granulated sugar.
Next Steps
If you liked the texture and ease of this dairy-free custard, try experimenting with flavor infusions next. Steep a split vanilla bean in the hot coconut milk instead of extract for deeper vanilla notes. Once you have the basic process down, adjusting small elements like a hint of citrus zest or a warm spice becomes simple and satisfying.
Make the custards a day ahead, torch them a few minutes before guests arrive, and enjoy the moment when spoons hit that caramel top. It’s one of those desserts that looks special but is quietly manageable—exactly the kind of recipe I keep in my back pocket.
Dairy-Free Crème Brûlée
Equipment
- Oven
- Saucepan
- Whisk
- Medium Bowl
- Fine mesh sieve
- measuring cup or bowl
- Ramekins
- deep baking dish
- tongs or oven mitt
- Wire Rack
- Kitchen Torch
Ingredients
Ingredients
- 1 can 13.5-ounces full-fat coconut milk
- 3/4 teaspoonvanilla extract
- 4 large egg yolks
- 4 tablespoonsgranulated sugar
- 4 teaspoonsgranulated sugarfor topping
Instructions
Instructions
- Preheat the oven to 325°F (set the oven rack in the center).
- Pour the 1 can (13.5 ounces) full-fat coconut milk into a saucepan and heat over medium until it just reaches a simmer (small bubbles around the edges). Do not let it boil. Remove the pan from the heat and stir in 3/4 teaspoon vanilla extract.
- In a medium bowl, whisk together 4 large egg yolks and 4 tablespoons granulated sugar until the mixture is smooth and slightly pale.
- Temper the eggs: while whisking constantly, slowly pour about one-third of the hot coconut milk into the egg-sugar mixture to warm it. Then continue whisking and pour the remaining coconut milk into the egg mixture in a thin, steady stream until fully combined.
- (Optional but recommended for a very smooth custard) Pour the custard through a fine-mesh sieve into a large measuring cup or bowl to remove any bits of cooked egg.
- Place four 6-ounce ramekins in a deep baking dish. Evenly divide the custard mixture among the ramekins.
- Carefully pour hot (not boiling) water into the baking dish until it comes about halfway up the sides of the ramekins, taking care not to splash water into the custards.
- Bake in the preheated oven until the custards are set at the edges but still slightly jiggly in the center, about 40 minutes. Timing may vary with ovens; check for the described jiggle, not a rigid center.
- Using tongs or an oven mitt, remove the ramekins from the water bath and transfer them to a wire rack. Let them cool to room temperature, then cover and refrigerate for at least 4 hours (or overnight) to fully chill and set.
- Just before serving, sprinkle 1 teaspoon granulated sugar over the top of each chilled custard (use the 4 teaspoons reserved for topping). Caramelize the sugar with a kitchen torch until the sugar melts and turns golden brown. Allow the caramel to harden briefly, then serve.