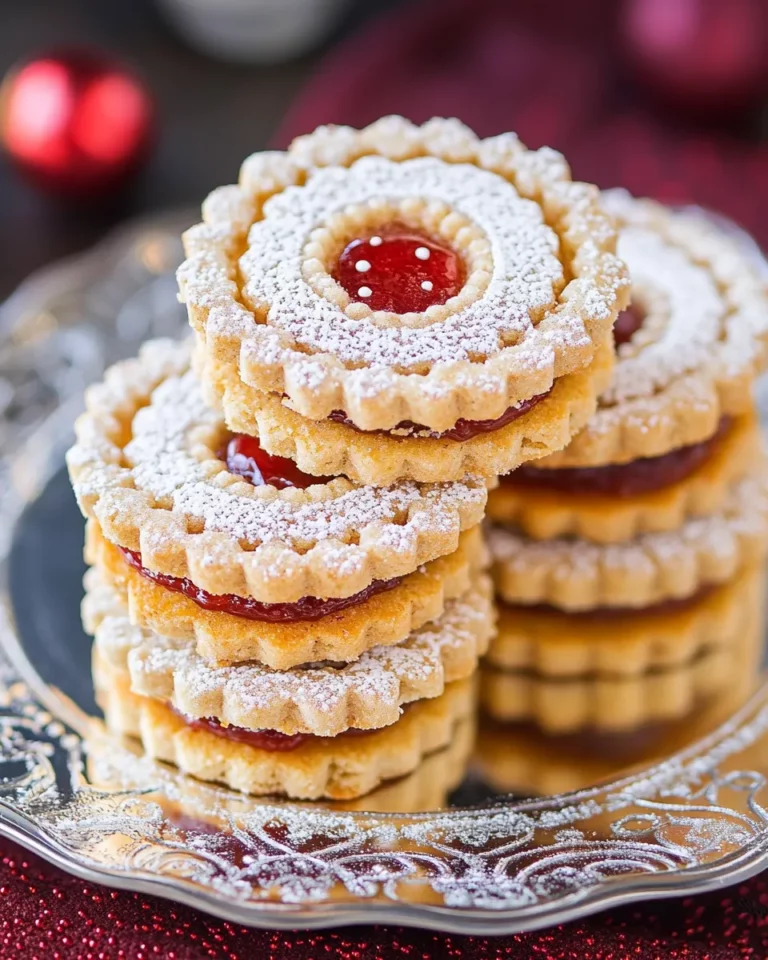
Danish Puff Pastry is a delightful treat that brings a touch of elegance to your kitchen.
Whether you are enjoying it for breakfast or dessert, this pastry is sure to impress.
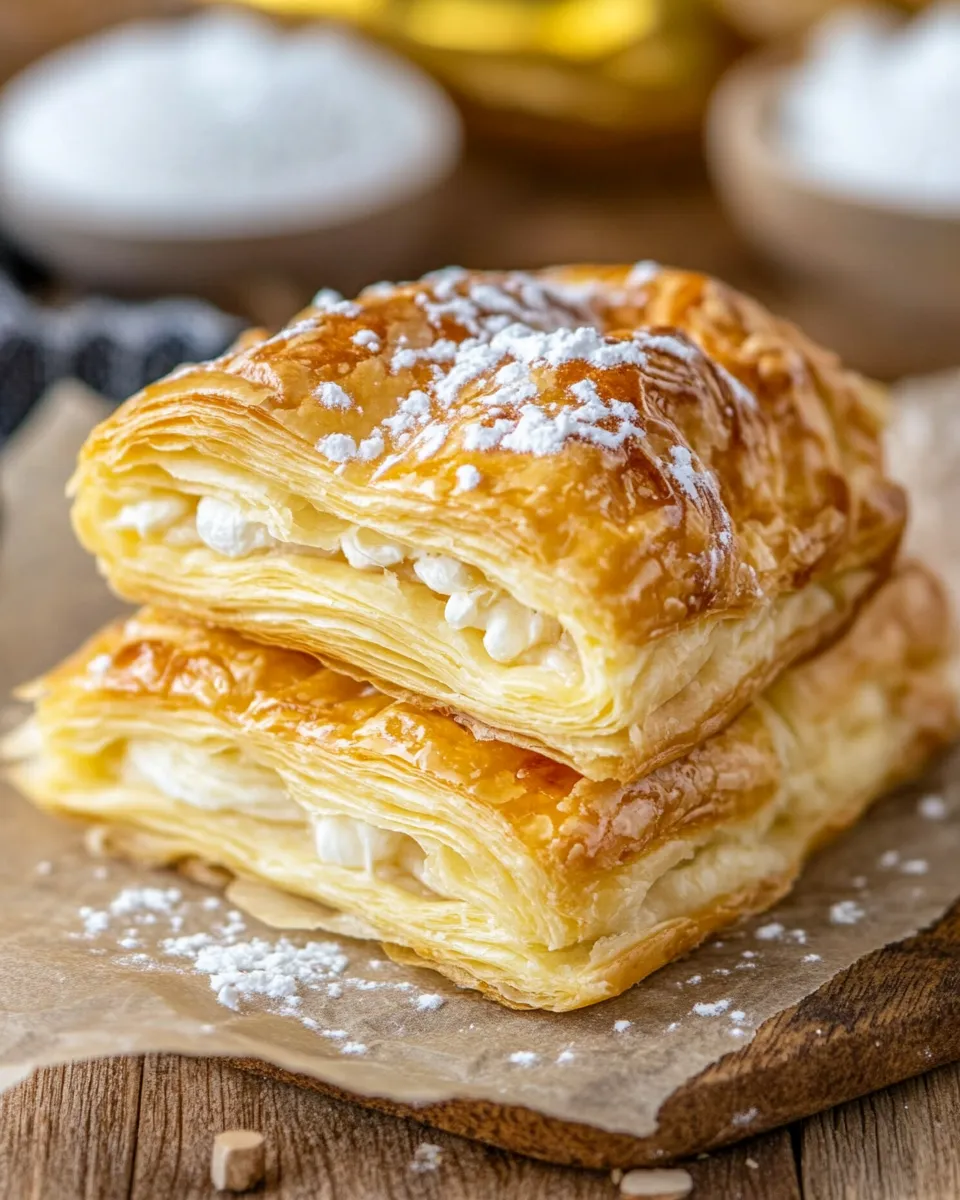
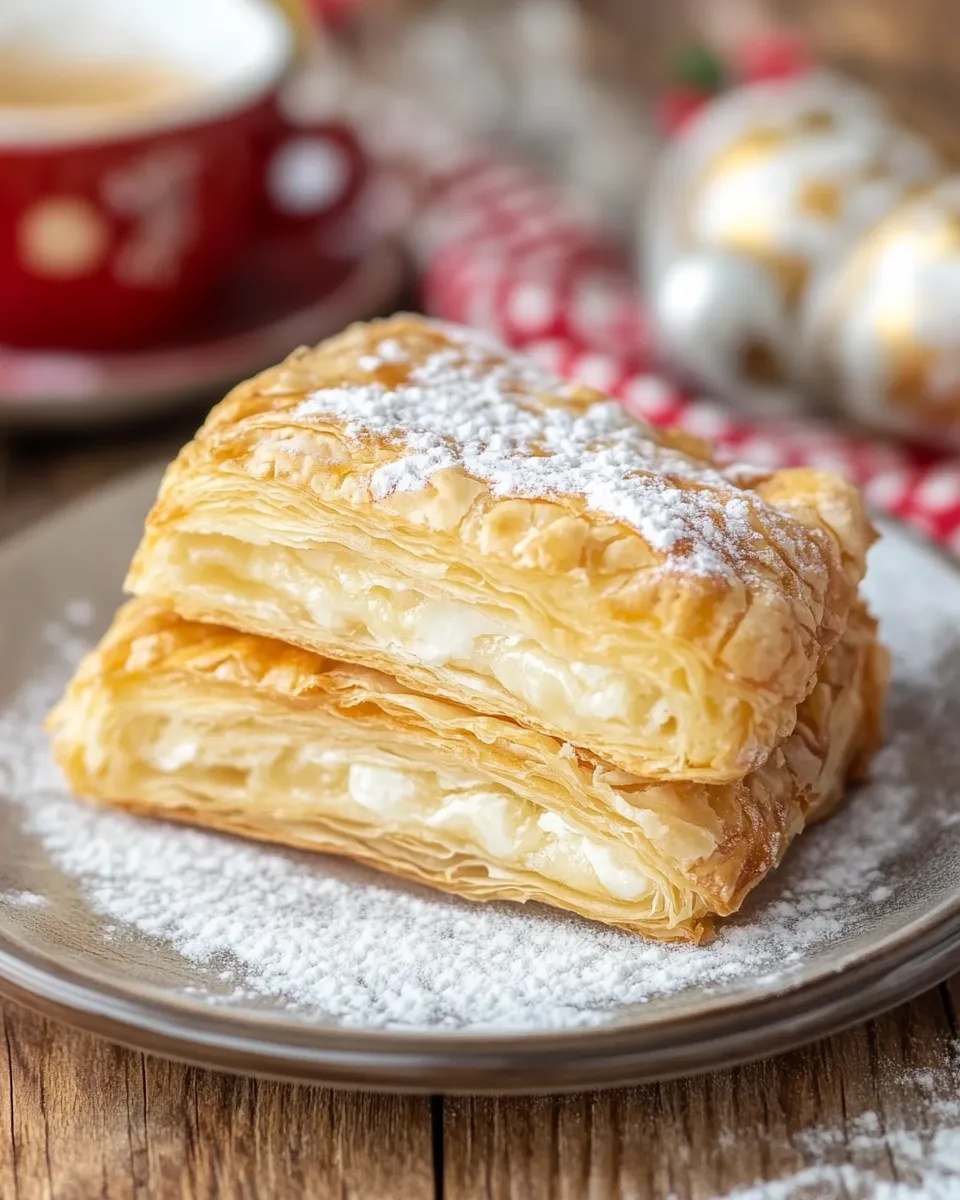
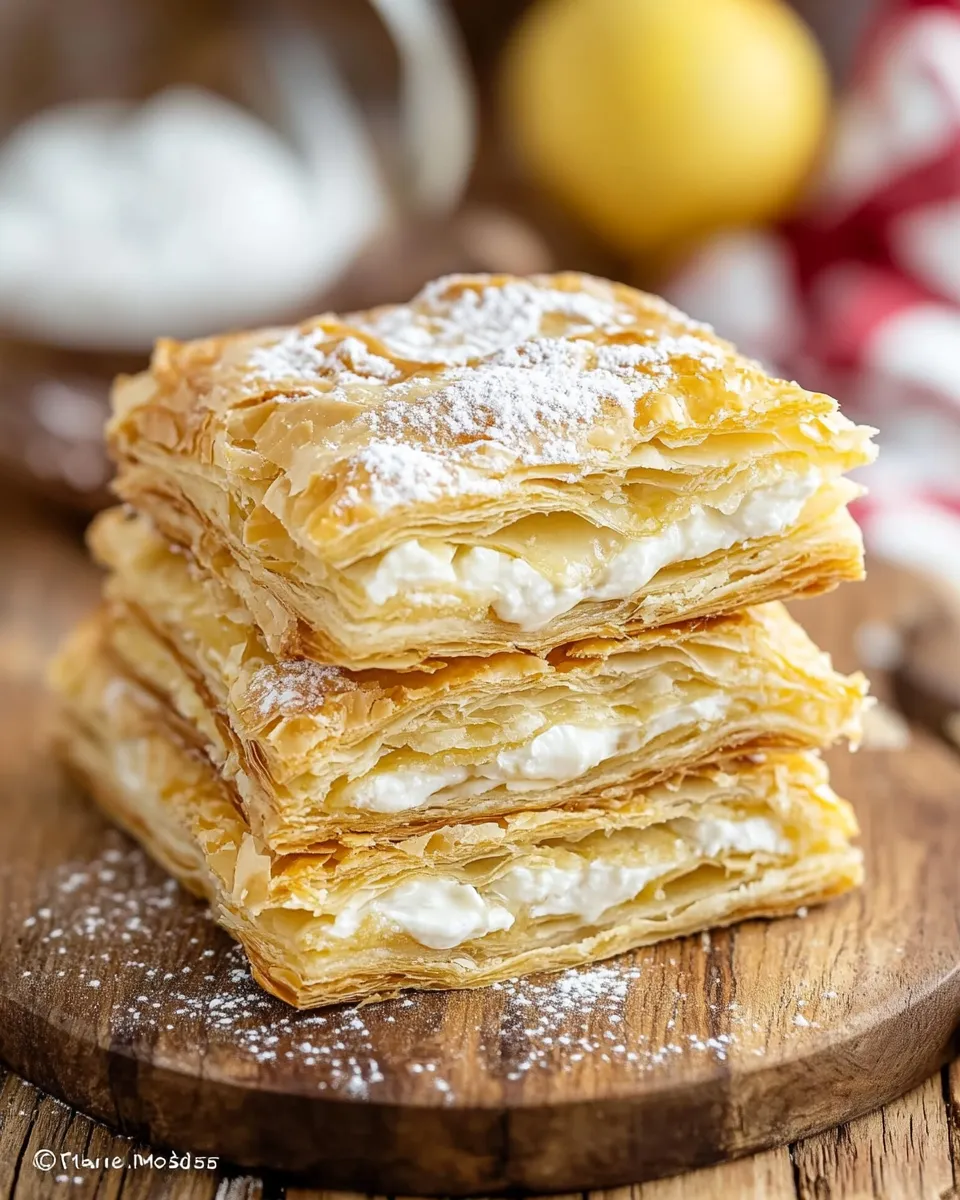
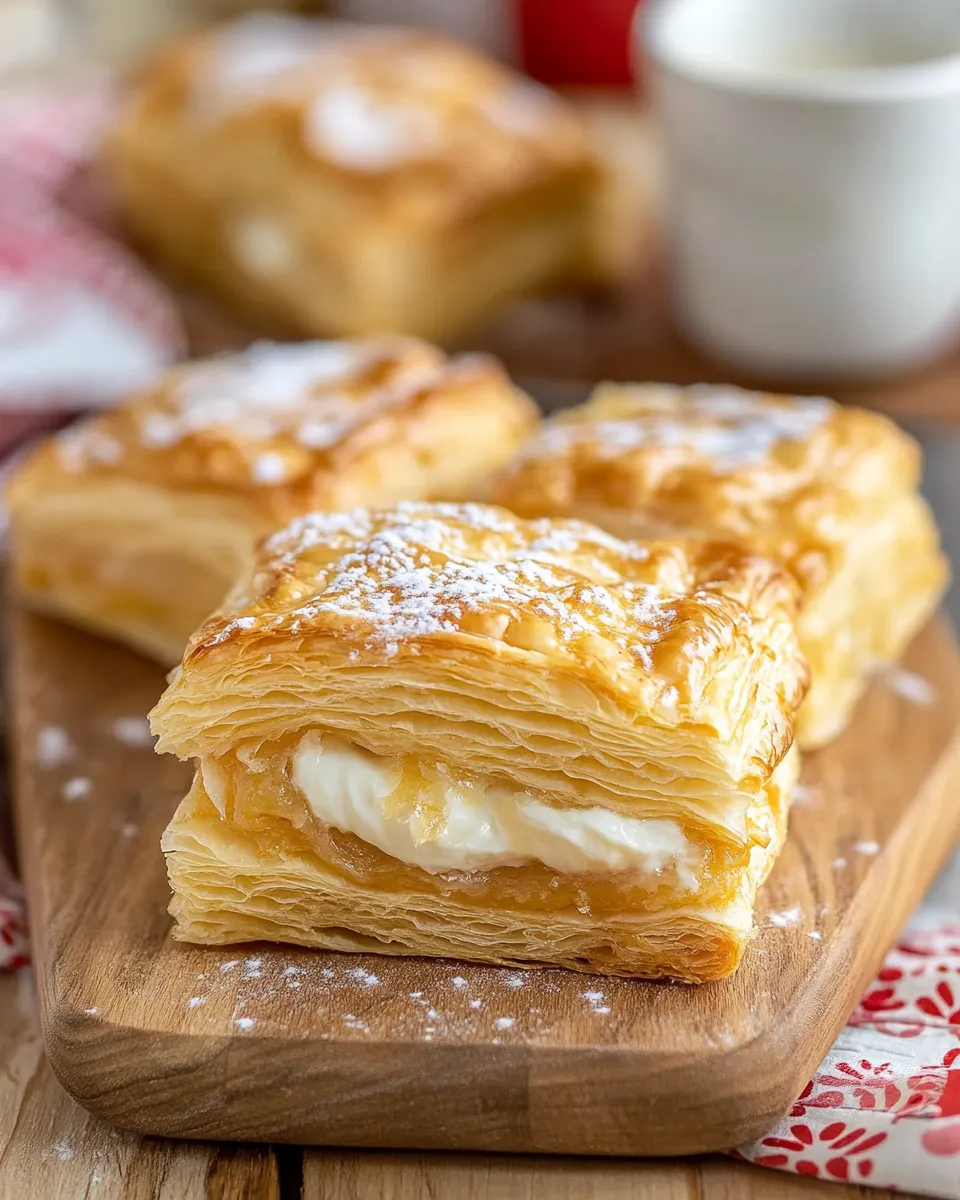
With its flaky layers and buttery flavor, it resembles the heavenly treats you find in your local bakery.
Plus, it only requires three main ingredients: flour, butter, and cold water.
Let’s dive into this simple yet delicious recipe that anyone can master!
Why This Recipe Is a Must-Try
There are many reasons to love Danish Puff Pastry.
First and foremost, it has a flaky, tender texture that pairs perfectly with various fillings.
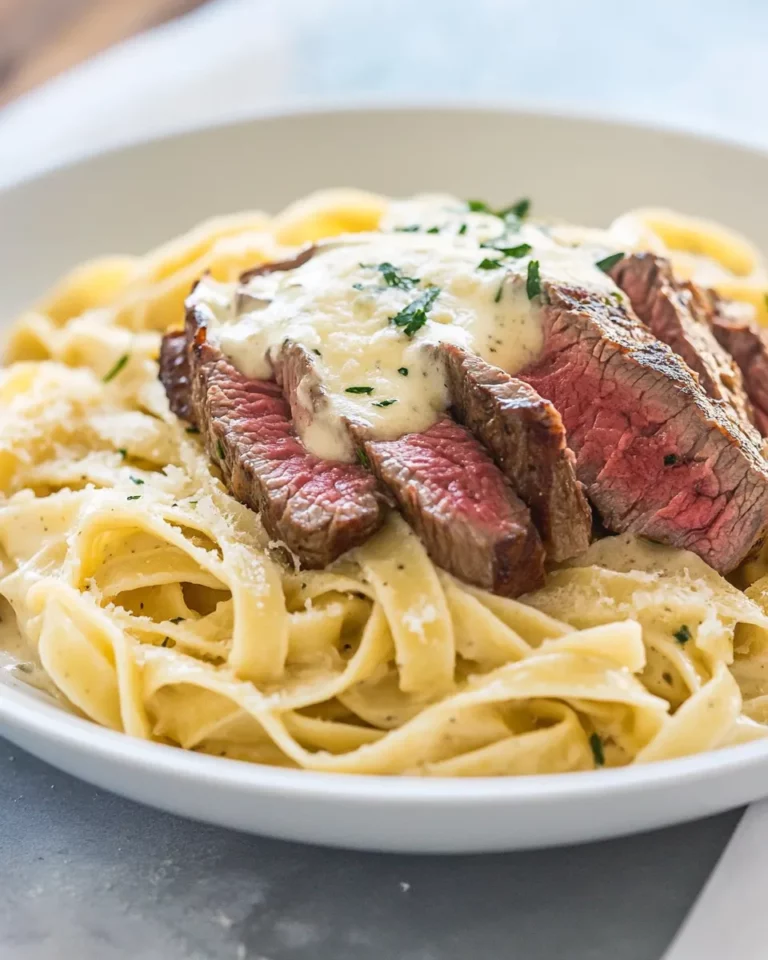
It can be transformed into sweet or savory dishes, making it an incredibly versatile pastry.
The best part? You don’t need any special equipment, and it comes together with just a little bit of patience and love.
This recipe is perfect for both beginners and skilled bakers looking to add a new technique to their repertoire.
So get ready to create something amazing with just a few simple ingredients!
Ingredients
To make Danish Puff Pastry, you will need the following ingredients:
- 1 cup (120 g) all-purpose flour
- ½ cup (113 g) unsalted butter, cold and cubed
- 2 tablespoons cold water
These ingredients come together to create a beautiful, flaky pastry that is sure to please your palate.
Make sure to use very cold butter and water to help create those delightful layers that we love in puff pastry.
How To Make Danish Puff Pastry
Step 1: Prepare the Dough
Start by placing the cold, cubed butter into a mixing bowl.
You want to make sure the butter is very cold as this helps create the flaky layers when the pastry bakes.
Add the all-purpose flour to the bowl and mix together with a pastry cutter or fork.
You want the mixture to resemble coarse crumbs, with pieces of butter no larger than a pea.
Step 2: Add Cold Water
Now, add the cold water to the mixture, one tablespoon at a time, mixing gently until the dough comes together.
You may not need all the water, so add it gradually.
Be careful not to overmix; a few dry bits are okay.
The goal is to create a cohesive dough without overworking the butter.
Step 3: Chill the Dough
Once your dough is formed, wrap it in plastic wrap and refrigerate for at least 30 minutes.
This resting period is critical as it allows the butter to solidify, which will result in a flaky pastry after baking.
Step 4: Roll Out the Dough
After chilling, lightly flour your work surface and roll out the dough into a rectangle.
Aim for about 1/4 inch thickness.
If the dough sticks, sprinkle a little more flour on your surface or on top of the dough to help with rolling.
Step 5: Fold and Roll Again
This is where the magic happens! Fold the dough into thirds like a letter and then roll it out again.
Repeat this folding and rolling process three times.
Each time you do this, you’re creating those beloved layers that will puff up during baking.
Step 6: Chill Again
After your final roll, wrap the dough in plastic wrap and refrigerate it for another 30 minutes.
This will ensure that the butter stays cold and firm.
Step 7: Preheat Your Oven
Preheat your oven to 400°F (200°C).
This is the perfect temperature for puff pastry to rise and become golden brown.
Step 8: Cut and Shape the Pastry
Once your dough has chilled again, remove it from the refrigerator and roll it out one last time.
Cut it into desired shapes for your pastries.
You can make triangles, squares, or rectangles depending on what you want to fill them with!
Step 9: Add Your Fillings
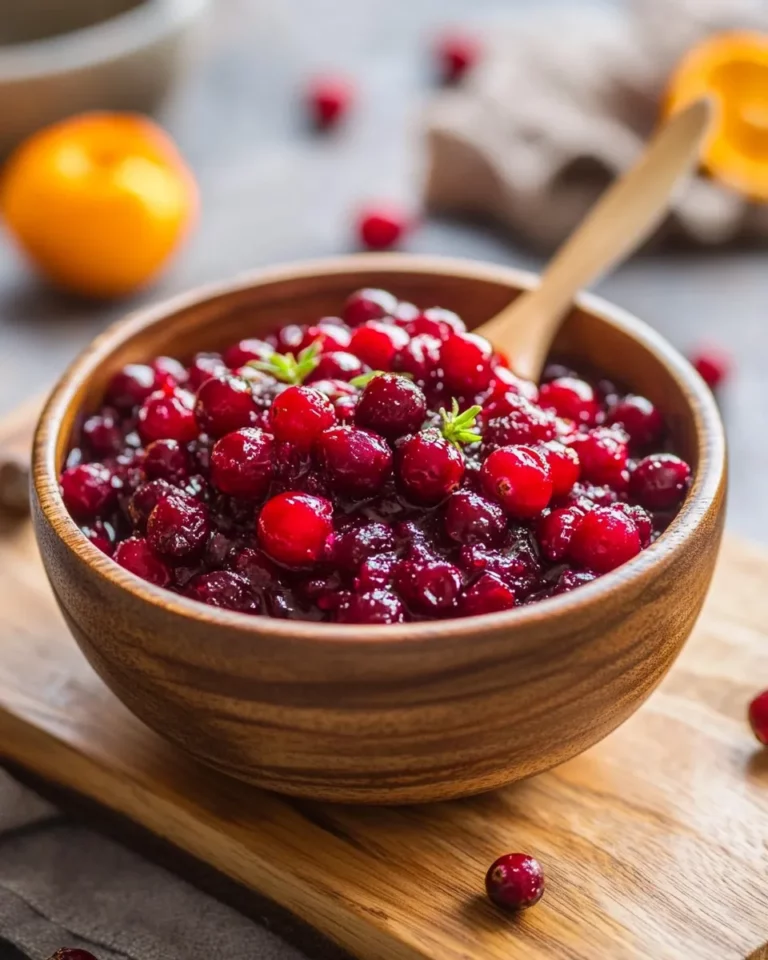
You can fill your Danish Puff Pastry with anything from sweet cream cheese, fruit preserves, or even savory ingredients like cheese and herbs.
Place a small amount of filling in the center of each piece of dough and fold them into your desired shape.
Step 10: Bake
Place your pastries on a baking sheet lined with parchment paper and bake for 15 to 20 minutes or until they are puffed and golden brown.
The aroma that fills your kitchen will be irresistible!
Expert Tips
- Use very cold ingredients: Cold butter and water are key to achieving a flaky texture.
- Don’t overmix: When combining the dough, handle it gently to keep the butter pieces intact.
- Rest your dough: Chilling the dough at intervals helps the gluten relax, making it easier to roll out.
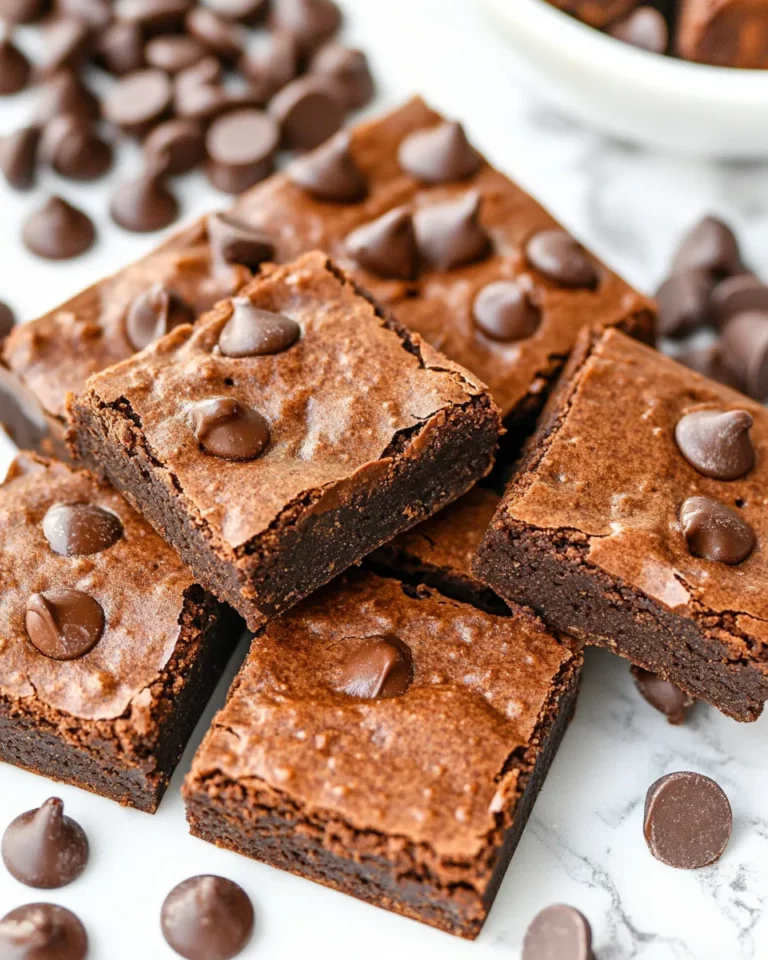
- Experiment with fillings: Be creative! Try chocolate, almond paste, or even savory mixtures.
Variations and Customizations
- Fruit Danish: Add fresh berries or fruit preserves for a sweet twist.
- Cream Cheese Filling: Mix cream cheese with a bit of sugar and vanilla for a rich filling.
- Savory Option: Add some herbs and cheese for a savory version perfect as an appetizer.
- Chocolate Swirls: Add chunks of chocolate and roll the dough into a log before slicing.
How to Store Leftovers
If you happen to have any leftovers (though that’s unlikely), you can store baked Danish Puff Pastries in an airtight container at room temperature for up to two days.
For longer storage, consider freezing them before baking.
Just make sure to wrap them tightly in plastic wrap and they can be frozen for up to a month.
To bake from frozen, simply place them directly into the preheated oven and add a few extra minutes to the baking time.
FAQ
Can I use whole wheat flour instead of all-purpose flour?
Yes, you can! However, keep in mind that whole wheat flour will create a denser pastry, and you may need to adjust the amount of liquid.
What if my dough is too sticky?
If your dough feels sticky, try adding a little more flour while rolling it out.
Be careful not to add too much, as it can change the texture.
How do I know when the pastries are done baking?
Your pastries are done when they are puffed up and have a nice golden color.
You can also tap the bottom; it should sound hollow.
Can I make this dough ahead of time?
Absolutely! You can make the dough a day ahead and keep it in the refrigerator.
You can also freeze it for longer storage if needed.
Conclusion
Now that you have your hands on this delightful Danish Puff Pastry recipe, it’s time to get baking! With just three simple ingredients and a bit of care, you can create a stunning pastry that will impress your family and friends.
Whether you choose to fill them with sweet jams, creamy fillings, or savory cheese, you’ll love the versatility and the yumminess of these pastries.
So, put on your apron and get ready for a baking adventure you won’t forget! Enjoy every flaky, buttery bite!
Danish Puff Pastry
Equipment
- Mixing Bowl
Ingredients
Ingredients
- 1 cup all-purpose flour (120 g)
- 0.5 cup unsalted butter, cold and cubed (113 g)
- 2 tablespoon cold water
Instructions
- Place cold, cubed butter in a mixing bowl.
- Add all-purpose flour and mix with a pastry cutter or fork until it resembles coarse crumbs.
- Gradually add cold water, one tablespoon at a time, until the dough comes together.
- Wrap dough in plastic wrap and refrigerate for at least 30 minutes.
- Lightly flour a surface and roll out the dough into a rectangle about 1/4 inch thick.
- Fold the dough into thirds like a letter and roll it out again. Repeat this process three times.
- Wrap dough and refrigerate for another 30 minutes.
- Preheat oven to 400°F (200°C).
- Roll out the dough and cut into desired shapes.
- Add fillings such as cream cheese, fruit preserves, or savory ingredients.
- Bake for 15-20 minutes until puffed and golden brown.