I use this fudge icing when I want a glossy, slightly snap-able top that still tastes rich and homemade. It sets up firm, so it’s perfect for sheet cakes, bars, and any time you want that old-fashioned candy-like finish. The method is straightforward, and the payoff is reliably decadent.
This post walks you through the actual steps, why the method works, common mistakes to avoid, and practical options to adjust texture and flavor without reinventing the recipe. I keep things direct: measurements, timing cues, and tips that save you from a scorched pan or a runny finish.
Read straight through for the recipe and step-by-step, or jump to the sections that matter most: ingredients, the exact process, storage, or troubleshooting. You’ll be able to make this one with confidence the first time.
Ingredient Rundown
Ingredients
- 2 cups (396 g) granulated sugar — provides structure and the glossy finish when boiled to the correct stage.
- 3 heaping tablespoons (16 g) unsweetened cocoa powder — gives chocolate flavor; sift or whisk in to avoid lumps.
- 2/3 cup (151 g) whole milk — solvent for the sugar and cocoa; fat helps the icing set with a smooth sheen.
- 1/2 cup (113 g) butter, (1 stick) salted, cubed — enriches the icing and contributes to the final texture; cubed for quick melting and even incorporation.
- 1 1/2 teaspoons (7 g) vanilla extract — rounds and brightens the chocolate flavor; add at the end to preserve aroma.
Fudge Icing in Steps
- In a large saucepan, combine 2 cups (396 g) granulated sugar, 3 heaping tablespoons (16 g) unsweetened cocoa powder, and 2/3 cup (151 g) whole milk; whisk or stir until the cocoa is evenly incorporated and the mixture is smooth.
- Place the saucepan over medium-high heat and stir constantly until the mixture comes to a full, rolling (hard) boil with large bubbles.
- Once at a hard boil, continue boiling for 1 minute, stirring constantly to prevent scorching.
- Remove the pan from the heat and immediately add 1/2 cup (113 g) cubed salted butter and 1 1/2 teaspoons (7 g) vanilla extract.
- Beat the mixture with a wooden spoon until the butter is fully incorporated and the icing is thick and smooth.
- Pour the hot icing over the cake and spread as needed; the icing will harden as it cools.
Why It Works Every Time
This icing relies on a simple science: dissolve sugar in milk, add cocoa for flavor, bring the mixture to the hard boil stage, then emulsify in butter and vanilla off the heat. The hard boil concentrates and heats the sugar enough that, once cooled, the mixture will set with a firm, slightly crisp surface rather than a soft, spreadable glaze.
Boiling to a full rolling boil with large bubbles is the critical step. That boiling drives off a bit of water and brings the solution to the correct temperature range without needing a thermometer. When you stop at a hard boil for precisely one minute, the sugar concentration is right to form a stable set. Removing the pan from the heat before adding butter prevents the fats from separating and helps you create a smooth, homogeneous icing.
Flavor-Forward Alternatives
You can nudge the profile of this basic icing using only the ingredients already in the recipe and by adjusting technique rather than adding new elements.
- Richer chocolate: Increase the cocoa powder slightly (use the same cocoa from the list) and whisk thoroughly to dissolve — results in a deeper chocolate tone without changing other components.
- Smoother mouthfeel: Use fully cubed, room-temperature butter so it incorporates more quickly and yields a silkier finish.
- Brighter vanilla: Add the vanilla exactly at the end, off heat, to keep its aroma vivid against the chocolate.
- Thicker vs. thinner finish: If you prefer a thicker top, reduce the amount you spread across the cake so the layer is concentrated; for a thinner sheen, spread more thinly and immediately.
Tools & Equipment Needed
- Large saucepan — wide-bottomed is better to promote even boiling.
- Heat-proof spatula or wooden spoon — for stirring and beating in the butter.
- Whisk — to pre-combine cocoa and smooth the sugar-milk mix.
- Measuring cups and spoons or scale — for accurate proportions (sugar especially).
- Offset spatula or metal spoon — for spreading the hot icing on the cake.
- Protective mitts — you’ll be working with a hot, sugary mixture.
Mistakes Even Pros Make
Even experienced bakers slip on a few points with this icing. Watch for these common issues so you don’t lose time or texture:
- Under-boiling: If you don’t reach a full rolling boil, the icing won’t set properly and will stay tacky. Look for large, vigorous bubbles that do not subside when stirred.
- Over-boiling: Boiling past the minute can make the mixture grainy or too firm when set. Time that one-minute window and stir constantly to prevent hot spots.
- Adding butter too early: If you add butter while the pot is still aggressively boiling, the fat can separate and the icing will appear oily instead of glossy.
- Not stirring constantly: Scorching at the bottom will give a burned taste. Constant stirring during the boil keeps things even.
- Spreading too slowly: The icing begins to set as it cools. Work efficiently once you pour it over the cake to get a smooth surface; have your spreading tool ready.
Make It Diet-Friendly
This recipe’s structure depends on sugar and butter, so transforming it dramatically will change texture. Instead, consider portion and application strategies that reduce per-serving calories without changing the recipe’s core ingredients:
- Apply a thinner layer of icing to the cake; the flavor impact remains but you use less volume.
- Cut smaller slices of the finished cake or serve smaller complementary portions to balance indulgence with moderation.
- Use the icing as a drizzle or to finish only the top center of a dessert rather than coating every surface.
Pro Tips & Notes
Small adjustments make a big difference with this classic icing. Keep these practical notes handy:
- Prep first: Have the cake surface clean, at room temperature, and your spreading tools within reach before you remove the pan from the heat.
- Consistent stirring: A steady, continuous stir during the boil prevents scorching. Use a heat-resistant spatula that reaches the pan edges.
- Timing the pour: Pour immediately after beating in butter and vanilla; that warm fluidity lets you smooth quickly. The longer you wait, the thicker it becomes and the harder it is to spread.
- Adjust surface sheen: If the icing looks dull after setting, gently warm a thin metal spatula and smooth over the surface to bring back shine. Do this briefly to avoid melting back into the icing.
- Wooden spoon method: Beating with a wooden spoon creates micro-texture that helps the icing hold; it’s how traditional recipes get that familiar finish.
Storage Pro Tips
Once set, this icing holds well. Follow these storage practices to keep texture and flavor in check:
- Whole iced cake: store at room temperature, covered with a cake dome or loose plastic wrap, for up to 2 days. The finish stays firm and pleasant at room temperature.
- Longer storage: for anything beyond 2 days, refrigerate in an airtight container. Chilling can slightly harden the icing; allow slices to come to room temperature for a few minutes before serving.
- Leftovers with a thicker set: if the icing has hardened significantly, let the cake sit at room temperature or briefly warm the serving plate to take the chill off the icing before slicing.
Ask the Chef
Q: My icing turned grainy. What happened?
A: Graininess usually means the sugar crystallized — common causes are under-stirring during the critical boil, or sugar recrystallizing as the mixture cools. Make sure the sugar is fully dissolved before heating, stir constantly while boiling, and avoid splashing unboiled sugar onto the sides of the pan.
Q: It won’t harden — still tacky after cooling.
A: That means it didn’t reach the concentration needed in the boil. Ensure you hit a full rolling boil with large bubbles and maintain it for the full minute. Also confirm you measured the sugar and milk accurately; a little extra liquid will keep it soft.
Q: How long can I keep the prepared icing itself (not on cake)?
A: Once cooled and stored in an airtight container, the icing will keep a few days in the refrigerator. Reheat gently over a double boiler or in short bursts in the microwave, then stir until smooth before reapplying.
Let’s Eat
Spread this icing over a warm or room-temperature cake, and you’ll get that beautiful, slightly crackly surface with deep chocolate flavor. It’s classic for a reason: simple ingredients, a clear technique, and reliably satisfying results. If it’s your first time, work cleanly and confidently — preparation and timing are everything.
When you’re ready to serve, slice with a sharp knife warmed under hot water and wiped dry between cuts for neat pieces. Share it with people who appreciate a vintage-style, slightly firm chocolate topping that snaps gently when you bite in. Enjoy — and let me know how your batch turns out.
Fudge Icing Recipe
Equipment
- Saucepan
- Whisk
- Wooden Spoon
Ingredients
Ingredients
- 2 cups 396 ggranulated sugar
- 3 heaping tablespoons 16 gunsweetened cocoa powder
- 2/3 cup 151 gwhole milk
- 1/2 cup 113 gbutter, (1 stick) salted, cubed
- 1 1/2 teaspoons 7 gvanilla extract
Instructions
Instructions
- In a large saucepan, combine 2 cups (396 g) granulated sugar, 3 heaping tablespoons (16 g) unsweetened cocoa powder, and 2/3 cup (151 g) whole milk; whisk or stir until the cocoa is evenly incorporated and the mixture is smooth.
- Place the saucepan over medium-high heat and stir constantly until the mixture comes to a full, rolling (hard) boil with large bubbles.
- Once at a hard boil, continue boiling for 1 minute, stirring constantly to prevent scorching.
- Remove the pan from the heat and immediately add 1/2 cup (113 g) cubed salted butter and 1 1/2 teaspoons (7 g) vanilla extract.
- Beat the mixture with a wooden spoon until the butter is fully incorporated and the icing is thick and smooth.
- Pour the hot icing over the cake and spread as needed; the icing will harden as it cools.
Notes
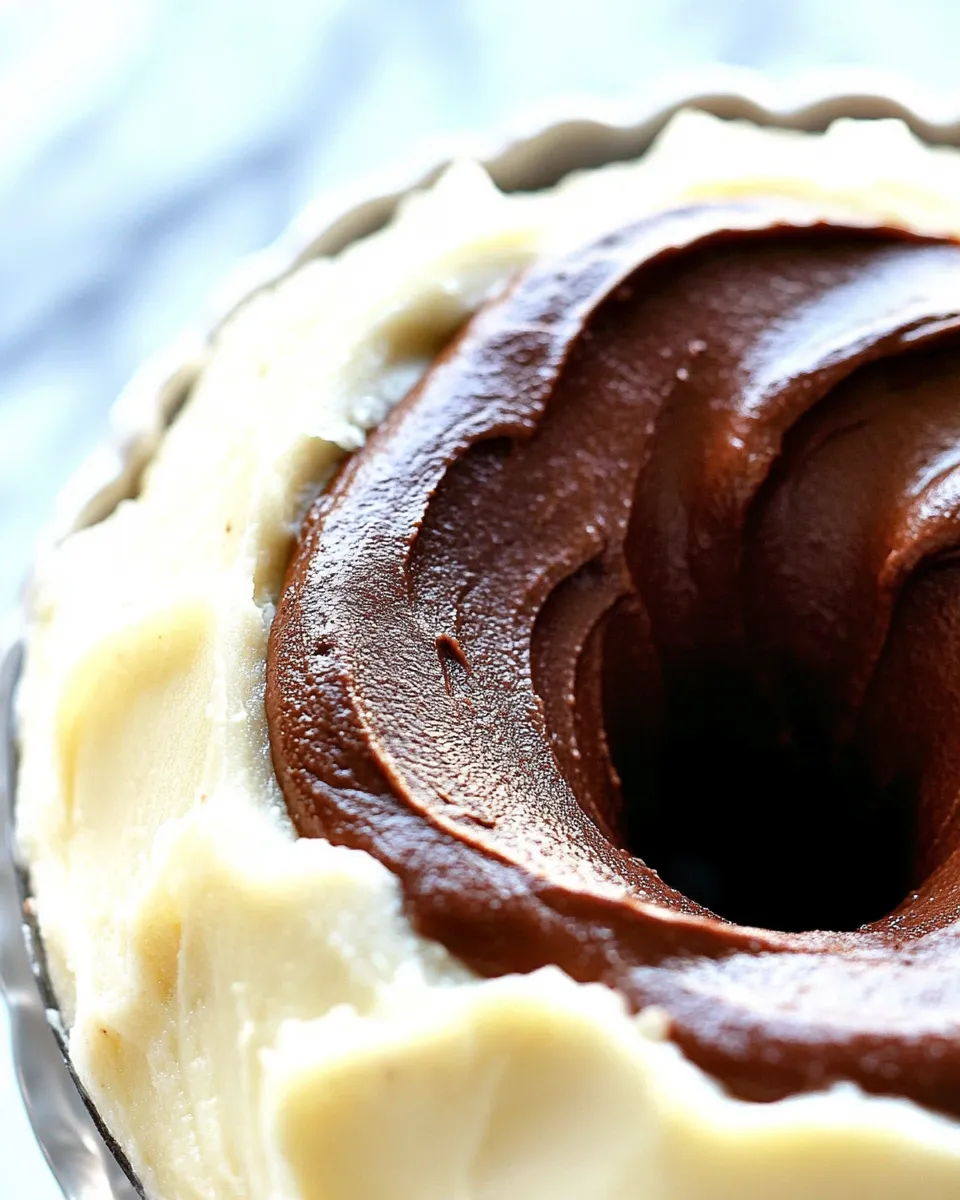
This icing hardens quickly. I prefer to use it as a poured icing as photographed or poured onto a sheet cake. I would not recommend using it as a spreadable frosting on a layered cake.