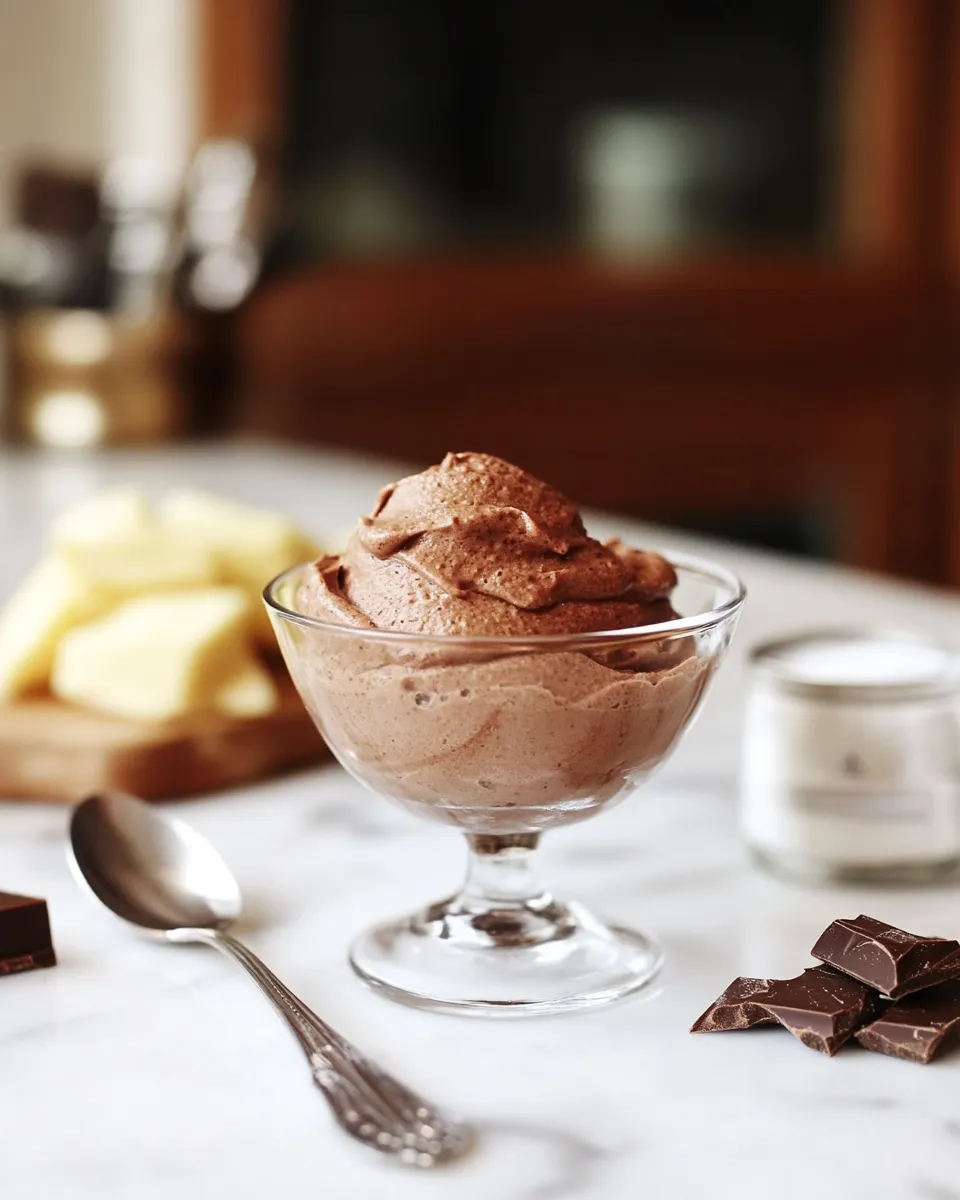
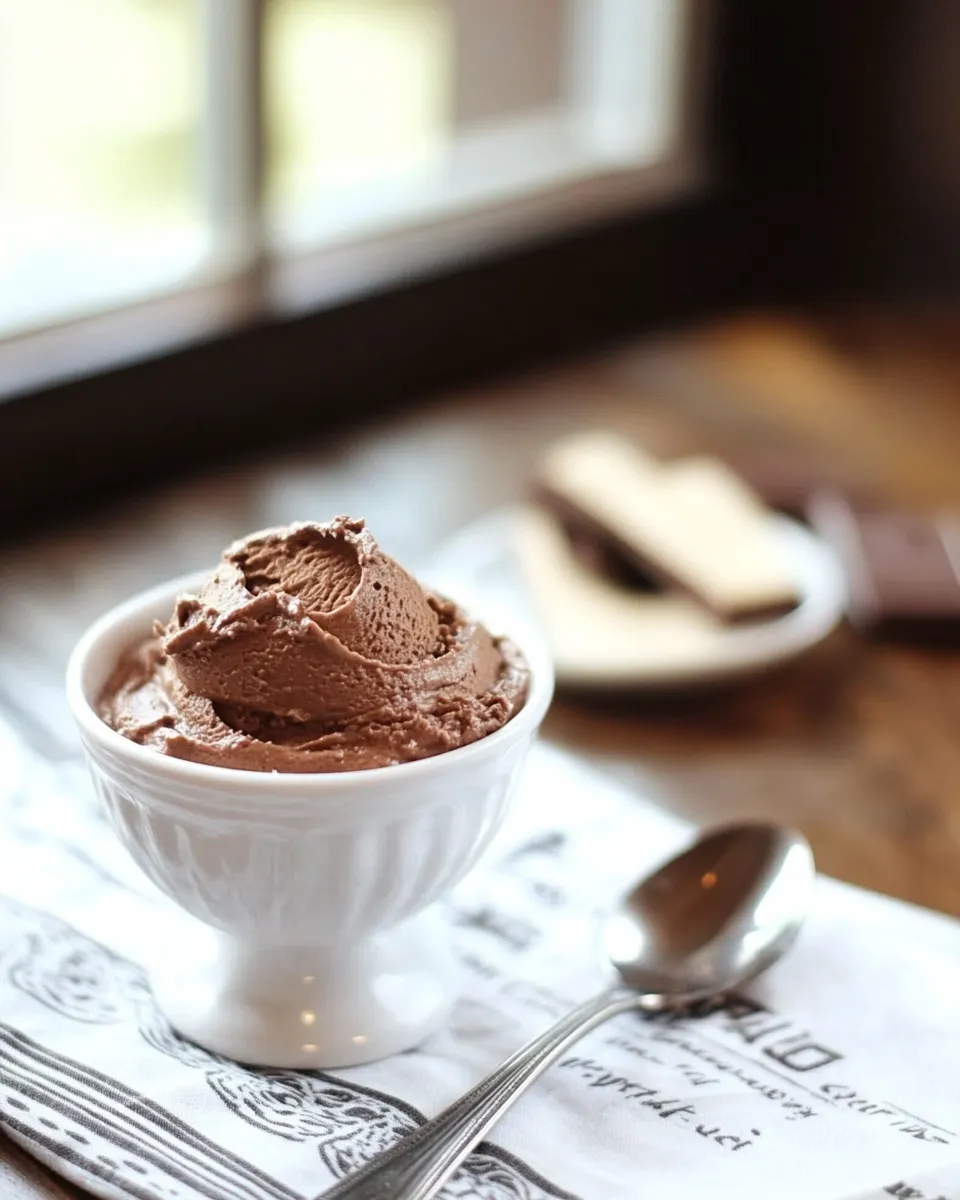
This Homemade Chocolate Frosty is the kind of small, dependable treat I reach for when I want rich chocolate without a fuss. It comes together quickly, uses pantry-stable components, and gives you that thick, slurpable texture you expect from a classic fast-food-style frosty — only fresher. I like it because it’s forgiving: the blender does the heavy lifting, and the optional churn step makes it even creamier.
I’ll walk you through the exact ingredients and the step-by-step method I use every time. There are a few simple tricks to getting the texture right and avoiding icy chunks, and I’ll highlight those where they matter. If you want to make this for a crowd, you’ll appreciate how simple the cleanup is.
Keep this recipe handy for afternoons when you want a cool chocolate pick-me-up, after-dinner treat, or a quick party dessert. You’ll find swap ideas, tool suggestions, troubleshooting tips, and storage notes below so you can make it on your schedule and with what you have on hand.
Gather These Ingredients
- 1 (8-ounce) container frozen whipped topping — the base for creaminess and body; working from frozen helps the frosty hit the right temperature and texture.
- ¼ cup instant chocolate pudding mix — gives concentrated chocolate flavor and thickening power without cooking.
- 1 teaspoon vanilla extract — brightens and rounds the chocolate.
- ½ cup whole milk — thins the mixture to blender-friendly consistency; whole milk keeps it richer.
- ½ cup ice cubes — chills and aerates the blend so the frosty comes out thick and frosty.
Directions: Homemade Chocolate Frosty
- Add 1 (8-ounce) container frozen whipped topping, 1/4 cup instant chocolate pudding mix, 1 teaspoon vanilla extract, 1/2 cup whole milk, and 1/2 cup ice cubes to a blender.
- Blend on high until the mixture is completely smooth, stopping once or twice to scrape down the sides and blending again as needed (about 30–60 seconds total).
- Pour the blended mixture into a prepared ice cream maker and churn according to the manufacturer’s instructions until thick and frosty.
- Alternatively, if you do not have an ice cream maker, pour the mixture into a shallow, freezer-safe container, cover, and freeze; stir vigorously every 30 minutes for the first 1–2 hours to reduce ice crystals and achieve a smoother texture.
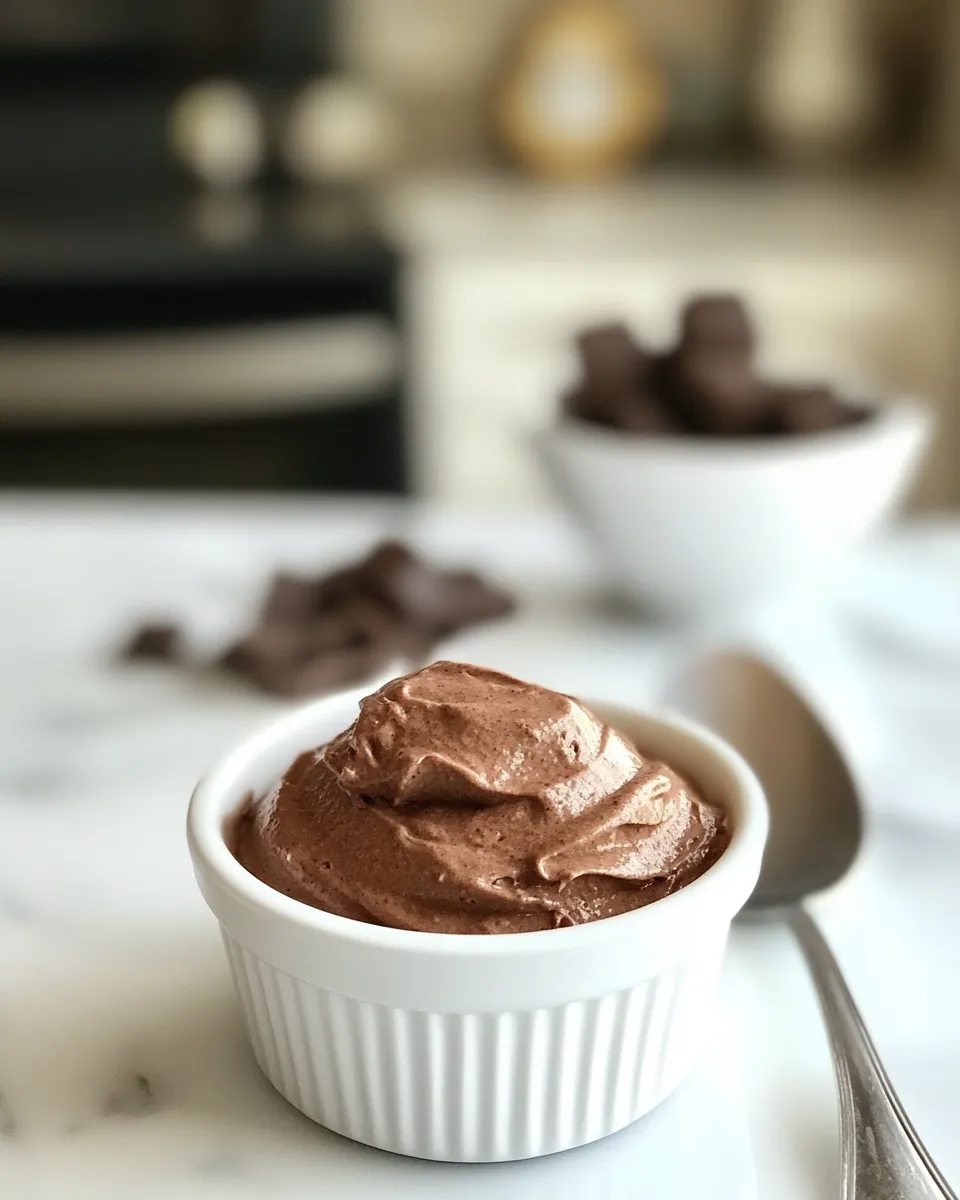
- Serve immediately for a soft Frosty, or transfer to the freezer to firm up further; if very firm, let sit a few minutes at room temperature before scooping.
What Makes This Recipe Special
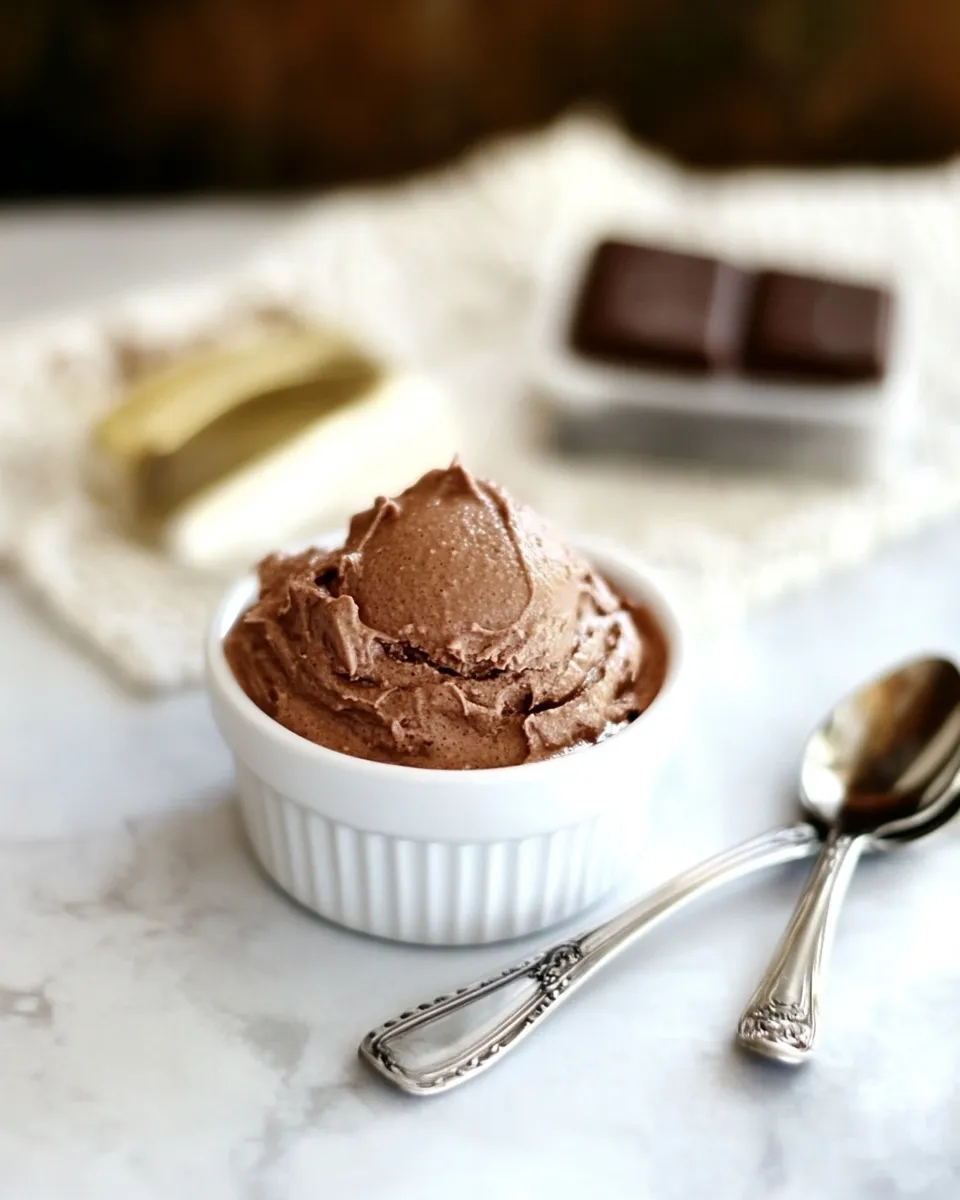
This version is built around convenience without sacrificing texture. The instant pudding mix is the secret: it supplies chocolate intensity and stabilizers that help the frosty hold up better than a simple milkshake. Using frozen whipped topping keeps the mixture cold and airy, so you get that signature thick, spoonable finish.
It’s also versatile. You can stop after the blender stage for a quick, soft serve–style treat, or take the extra step to churn or hand-stir while freezing to approach an ice-cream-like density. Both paths work; which one you choose depends on how much time and equipment you have.
If You’re Out Of…
If you’re missing one of the listed items, here are practical alternatives that won’t derail the recipe:
- Frozen whipped topping — you can use thawed whipped topping if that’s what you have; it won’t be as icy but will still give creaminess. Stabilized or canned whipped cream can work in a pinch, but expect a thinner result.
- Instant chocolate pudding mix — if you don’t have the instant mix, look for a chocolate dessert powder that’s meant to thicken without cooking; otherwise a small spoonful of cocoa plus a touch of sugar will add chocolate flavor but won’t provide the same thickening/stabilizing effect.
- Whole milk — any milk will work; reduced-fat milks produce a lighter texture and non-dairy milks thin the blend more, so reduce pour speed and monitor consistency.
- Ice cubes — if you don’t have ice, use a chilled metal can or bottle to keep the blender cold between pulses, or chill your milk and whipped topping thoroughly before blending.
Tools of the Trade
- Blender — a high-speed blender will get the smoothest result in the shortest time; a standard blender works fine if you stop and scrape down the sides.
- Ice cream maker (optional) — for churning to increase creaminess and reduce ice crystal formation; follow your machine’s capacity and cooling requirements.
- Shallow, freezer-safe container — for the no-machine method; choose one with a lid for easy storage.
- Spoon or spatula — for scraping the blender and stirring during manual freezing.
- Measuring spoons and cups — to keep the proportions consistent and predictable.
Learn from These Mistakes
Pay attention to temperature and timing. If the whipped topping is too thawed, the final texture will be overly loose. If it’s too rock-solid and you try to force the blender, you risk uneven blending and larger ice fragments. Aim for the whipped topping straight from the freezer or just slightly softened at the edges.
Overblending can be an issue. You want smoothness, but blending for much longer than 60 seconds can melt the mixture and thin it out. Work in short bursts and check the texture. If it looks too thin, a few minutes in the freezer will help it set up.
When using the manual freeze method, don’t skip the stirring intervals. Those vigorous stirs break up forming ice crystals; skip them and you’ll end up with a grainy texture instead of a silky frosty.
Seasonal Ingredient Swaps
Seasonal swaps let you keep the formula but change the flavor profile without altering quantities. Try them as small add-ins or toppings rather than measured replacements to avoid changing the core texture.
- Fall: stir in a small splash of pumpkin spice extract or cinnamon in the blender; garnish with a pinch of nutmeg.
- Winter: add a drop or two of peppermint extract for a peppermint-chocolate version; top with crushed candy cane if desired.
- Spring: a tiny bit of orange zest or orange extract brings a bright contrast to the chocolate.
- Summer: fold in a few fresh raspberries after blending for a quick ripple of fruit without thinning the base too much.
Behind the Recipe
I developed this recipe when I wanted the fast-food nostalgia of a thick chocolate frosty but with fresher ingredients and none of the drive-through waits. The goal was a balance: as little fuss as possible, and a finish that’s thick enough to sit on a spoon yet still drinkable through a wide straw.
The combination of frozen whipped topping and instant pudding came from experimenting with stabilizers and textures. The pudding adds a concentrated chocolate punch and helps prevent separation. Frozen whipped topping keeps the blend cold and light. Together they create that classic contrast of dense chocolate and airy cream.
I also designed the method to be flexible: blender-only for speed, or churn/freeze-and-stir for a more ice-cream-like result. Both are perfectly valid depending on what you need in the moment.
Freezer-Friendly Notes
Store leftovers in an airtight container in the freezer for up to two weeks. Over time, the texture will stiffen and ice crystals can form; stir the frosty before serving to break them up. For a scoopable consistency after full freezing, transfer the container to the refrigerator for 10–20 minutes or let it sit at room temperature for a few minutes before scooping.
If you know you’ll be freezing a batch for longer than a few days, press a piece of parchment or plastic wrap directly onto the surface before sealing to reduce ice crystal formation. This simple step keeps the top from developing a crust and preserves a smoother scoop.
Helpful Q&A
Q: Can I make this dairy-free?
A: Yes. Swap the whole milk for an unsweetened, full-fat plant milk and use a non-dairy frozen whipped topping. Be aware that the mouthfeel will be slightly different; plant milks tend to yield a lighter finish.
Q: How can I make this less sweet?
A: Use a reduced-sugar chocolate pudding mix if available, or reduce the amount of instant chocolate mix slightly. You can also balance sweetness with a small pinch of fine sea salt to enhance the chocolate without adding sugar.
Q: My blender left small ice bits. How do I fix it?
A: Stop blending and scrape down the sides, then pulse in short bursts. If bits persist, allow the mixture to sit for a minute to soften slightly, then blend again. For an immediate fix, pass the blended mixture through the ice cream maker to smooth it out.
Q: Can I double the recipe?
A: Yes, provided your blender and churn (if using) can handle the increased volume. Work in batches if necessary to maintain smooth blending and avoid overheating your blender motor.
Q: Is this safe for kids?
A: Absolutely. The ingredients are common household staples. Keep an eye on portion sizes for very young children, since the pudding mix contains sugar.
Before You Go
If you try this Homemade Chocolate Frosty, start by making one batch exactly as written the first time. That gives you a reliable baseline so you can tweak texture and flavor in subsequent attempts. Leave a note for yourself about any small changes you make — a quick log helps refine the frosty on your second run.
I love seeing how readers adapt recipes, so if you give this one a spin, take a mental note of what you liked and what you changed. The best part of home cooking is making a recipe your own while keeping the steps simple and dependable. Enjoy your chocolate moment — thick, cold, and exactly what you needed.
Homemade Chocolate Frosty
Equipment
- Blender
- Ice cream maker (optional)
- Freezer-safe container
Ingredients
Ingredients
- 1 8-ouncecontainer frozen whipped topping
- 1/4 cupinstant chocolate pudding mix
- 1 teaspoonvanilla extract
- 1/2 cupwhole milk
- 1/2 cupice cubes
Instructions
Instructions
- Add 1 (8-ounce) container frozen whipped topping, 1/4 cup instant chocolate pudding mix, 1 teaspoon vanilla extract, 1/2 cup whole milk, and 1/2 cup ice cubes to a blender.
- Blend on high until the mixture is completely smooth, stopping once or twice to scrape down the sides and blending again as needed (about 30–60 seconds total).
- Pour the blended mixture into a prepared ice cream maker and churn according to the manufacturer's instructions until thick and frosty.
- Alternatively, if you do not have an ice cream maker, pour the mixture into a shallow, freezer-safe container, cover, and freeze; stir vigorously every 30 minutes for the first 1–2 hours to reduce ice crystals and achieve a smoother texture.
- Serve immediately for a soft Frosty, or transfer to the freezer to firm up further; if very firm, let sit a few minutes at room temperature before scooping.