I’ve cooked a lot of chicken in the Instant Pot, and this particular method is one I go back to when I want something reliable, quick, and versatile. It gives tender, juicy chicken with a simple savory-sweet sauce that plays well with rice, noodles, salads, or tacos. No complicated prep. No long marinating. Just a straightforward set-and-forget pressure cook routine.
In this post I’ll walk you through exactly what I use, the step-by-step method, why it consistently works, and practical tips for substitutions, troubleshooting, and storage. My goal is a recipe you can memorize and rely on any weeknight.
Keep reading for the ingredient list, the pressure-cook steps (followed exactly), and sensible variations so you can make this your own. I tested this several times to be confident about timing and results.
What We’re Using
At its core this recipe relies on a few pantry staples and your Instant Pot. The sauce is simple: low-sodium soy sauce for umami, brown sugar to balance, chicken stock for gentle braising, and a pinch of pepper. Thawed chicken breasts cook quickly under pressure and come out moist if handled correctly.
Below you’ll find the exact ingredients I used in my tests plus quick notes on equipment and small extras that make the process smoother.
Ingredients
- ¼ cup (59 ml) low-sodium soy sauce — provides the salty, savory base; low-sodium keeps the final dish from being overpowering.
- 1 tablespoon (13 g) brown sugar — adds balance and depth; softens the soy sauce edge and helps with color.
- 1 cup (237 ml) low-sodium chicken stock — the cooking liquid; adds gentle chicken flavor and keeps breasts moist under pressure.
- ¼ teaspoon pepper — a light background spice; adjust to taste after cooking if you like more heat.
- 1 pound chicken breasts, thawed — the main protein; breasts cook quickly and shred or slice easily after pressure cooking.
Instant Pot Chicken: How It’s Done
- Add 1/4 cup (59 ml) low-sodium soy sauce, 1 tablespoon (13 g) brown sugar, 1 cup (237 ml) low-sodium chicken stock, and 1/4 teaspoon pepper to the insert of the Instant Pot. Stir until the brown sugar is mostly dissolved.
- Place 1 pound thawed chicken breasts in a single layer into the liquid, pressing them down so they are at least partially submerged.
- Close the lid and turn the pressure valve to SEALING. Select the “Poultry” setting on high pressure for 10 minutes. (If your cooker has no Poultry button, use Manual/Pressure Cook on HIGH for 10 minutes.)
- When the cook time finishes, allow the pressure to release naturally for 5 minutes, then carefully move the valve to VENTING to quick-release any remaining pressure. Wait until the float valve drops and the lid can be opened safely.
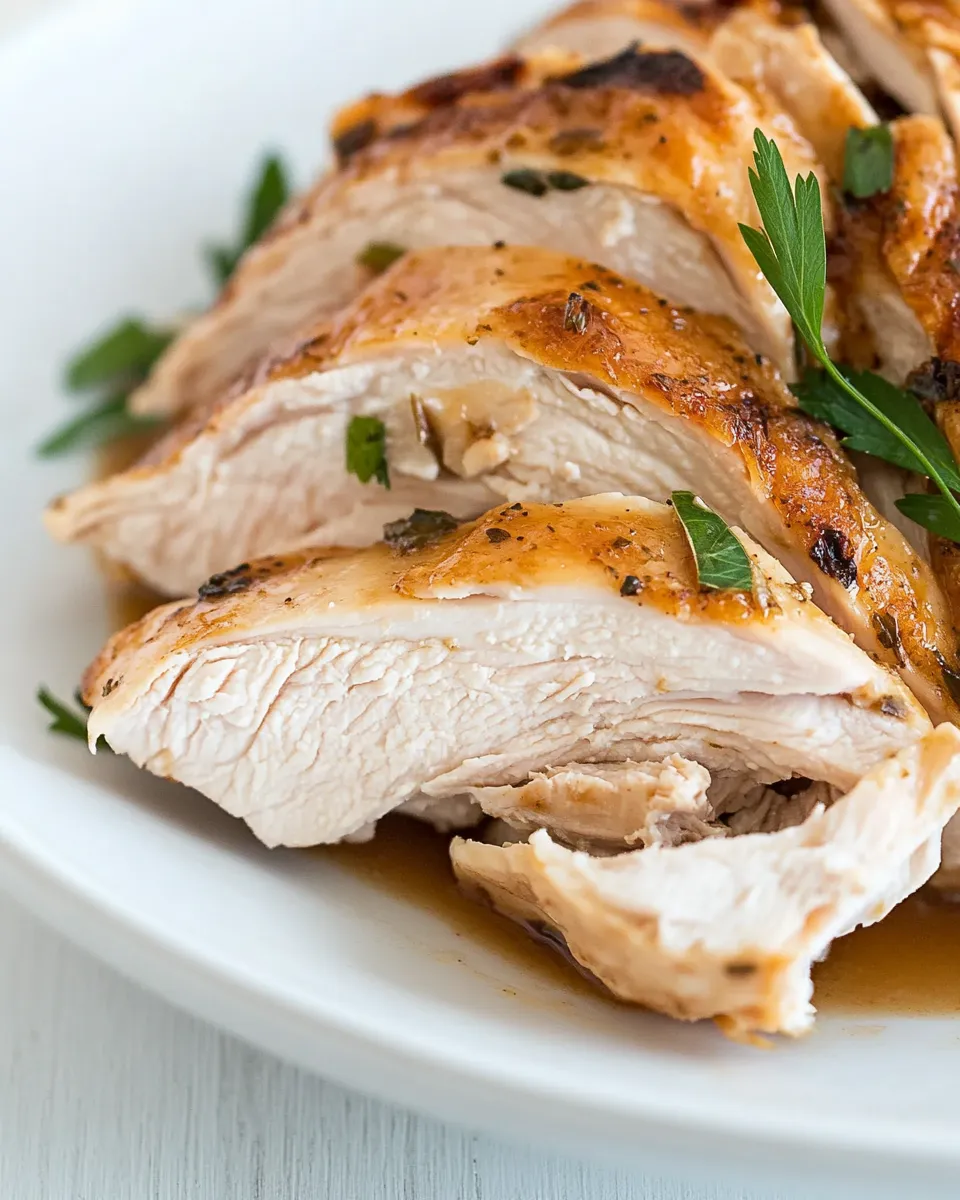
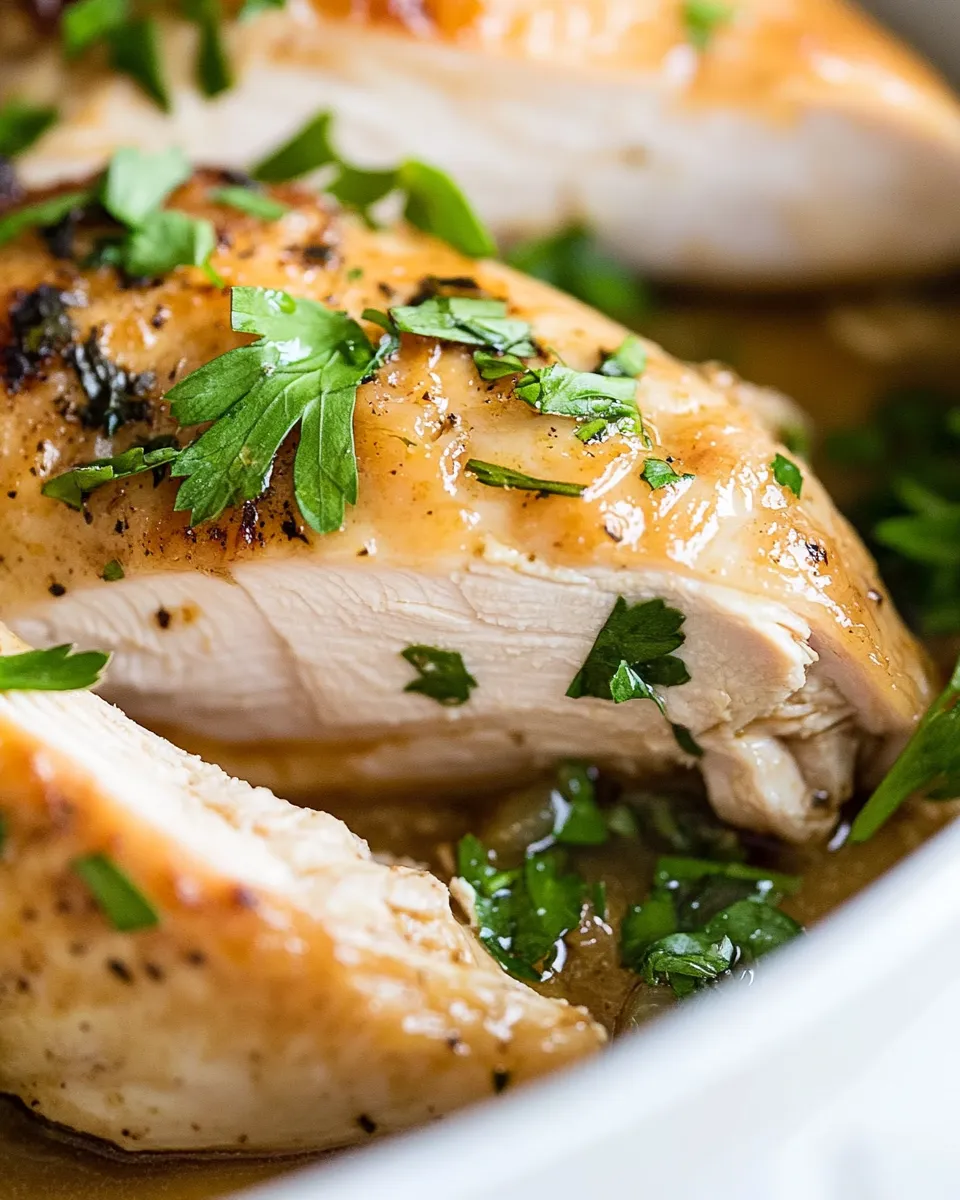
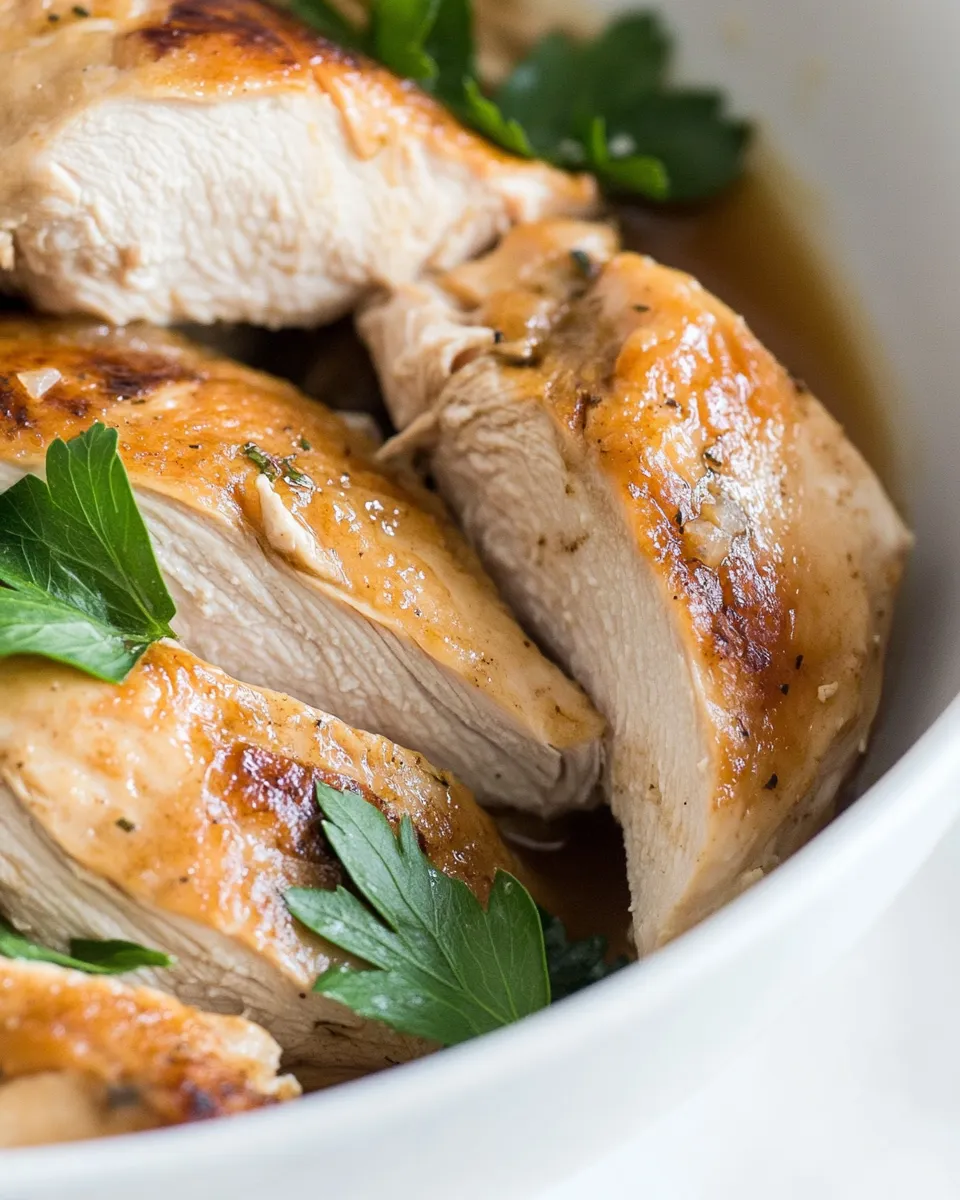
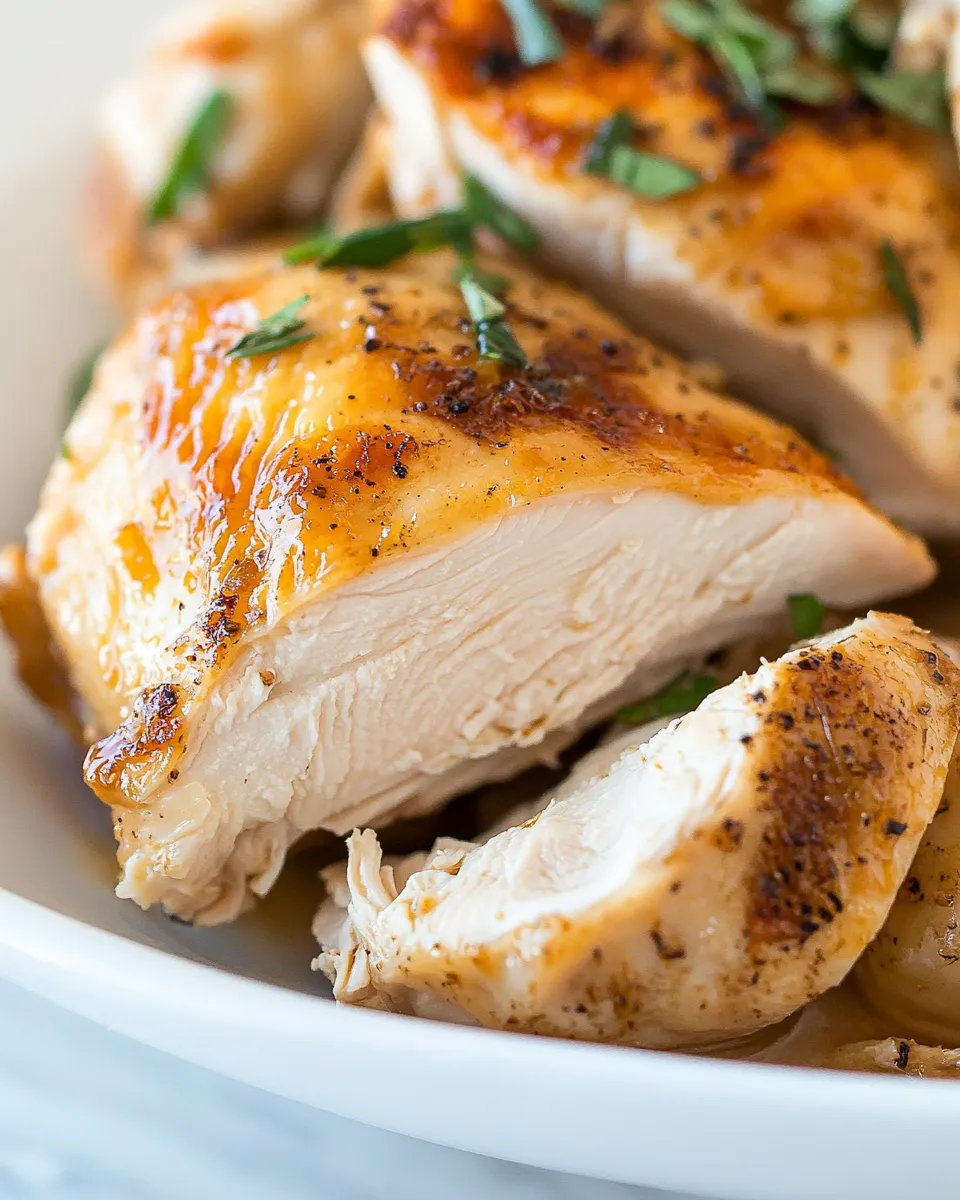
- Remove the chicken from the pot to a cutting board, slice or shred as desired, spoon some of the cooking sauce over the chicken, and serve.
Why It Works Every Time
Pressure cooking is about trapped steam and heat. The Instant Pot forces moisture into the meat, which breaks down connective tissue and keeps chicken breast from drying out. Ten minutes at high pressure followed by a brief natural release gives the chicken time to relax and reabsorb juices instead of spitting them out when cut.
Using a flavorful liquid matters. The soy sauce and chicken stock combine to season the meat from the inside out during cooking. Brown sugar softens the savory edge and helps create a glossy sauce to spoon over the finished chicken. Low-sodium choices give you control—it’s easier to add salt later than to fix an over-salted dish.
Finally, pressing the chicken down so it’s partially submerged ensures even heat transfer and consistent doneness across the breasts. Crowding can change timing; a single layer yields repeatable results.
Smart Substitutions
- Soy sauce: Use tamari or coconut aminos for gluten-free options. Both will alter flavor slightly—tamari is closer to soy, coconut aminos are sweeter and lighter.
- Brown sugar: Replace with coconut sugar or omit entirely for a less-sweet profile. If omitting, add a splash of mirin or a teaspoon of honey after cooking for balance.
- Chicken stock: Vegetable stock works if you prefer a lighter flavor or need a pantry swap. Water plus a teaspoon of bouillon is an easy fallback.
- Chicken breasts: Boneless skinless thighs can be used; they’ll handle pressure well and stay extra tender. Reduce resting time slightly if pieces are much smaller.
Appliances & Accessories
Minimal gear is required, but a few small items make the process cleaner and the results more consistent.
- Electric pressure cooker (Instant Pot or similar) with a sealing valve.
- Kitchen tongs or a slotted spoon to remove hot chicken safely.
- Sharp knife and cutting board for slicing, or two forks for shredding.
- Measuring cups and spoons for the sauce—accurate liquid ratios matter under pressure.
Common Errors (and Fixes)
- Chicken is dry: Often due to using fresh-from-frozen breasts or overcooking. Fix: Use thawed breasts as directed and allow the 5-minute natural release. If breasts are small, reduce total cook time by 1–2 minutes next time.
- Too salty: Caused by regular soy sauce or too little liquid. Fix: Use low-sodium soy sauce as written, or dilute the sauce with an extra 1/4 cup chicken stock before serving and adjust seasoning.
- Sauce tastes flat: After pressure release, simmer the sauce on Sauté for 2–3 minutes to concentrate flavor, or stir in a splash of vinegar or lemon to brighten.
- Instant Pot displays burn error: Make sure there’s enough liquid in the insert and that the bottom is free of stuck bits. Stir sugar until mostly dissolved and scrape any brown sugar off the base before closing.
Adaptations for Special Diets
This recipe adapts well to common dietary needs with small swaps.
- Gluten-free: Use tamari or gluten-free soy sauce. Confirm chicken stock is gluten-free.
- Low-sodium: Use low-sodium or half the soy sauce and add salt at the table if needed. Low-sodium stock is already specified for this reason.
- Keto / Low-carb: Brown sugar can be replaced with a low-carb sweetener like erythritol or omitted—flavor will be slightly different but still pleasant.
- Paleo: Use coconut aminos in place of soy sauce and a paleo-friendly sweetener such as maple or coconut sugar.
Notes from the Test Kitchen
I ran this exact recipe three times with supermarket boneless chicken breasts between 1 to 1.25 pounds total. Consistently, breasts reached perfect, shreddable doneness without any dryness when they were fully thawed and placed in a single layer. When I tried a crowded pot or frozen breasts, texture became inconsistent and I got mixed doneness—so thawing and single-layer placement are non-negotiable for me.
Texture & Sauce
The sauce reduces slightly when you remove the chicken and spoon it over the meat. If you prefer a thicker glaze, remove the chicken and switch the Instant Pot to Sauté, simmering the sauce for a few minutes until it reduces to your preferred consistency. Taste and adjust: a squeeze of lemon or a dash of chili flakes can lift the final dish.
Serving ideas I liked
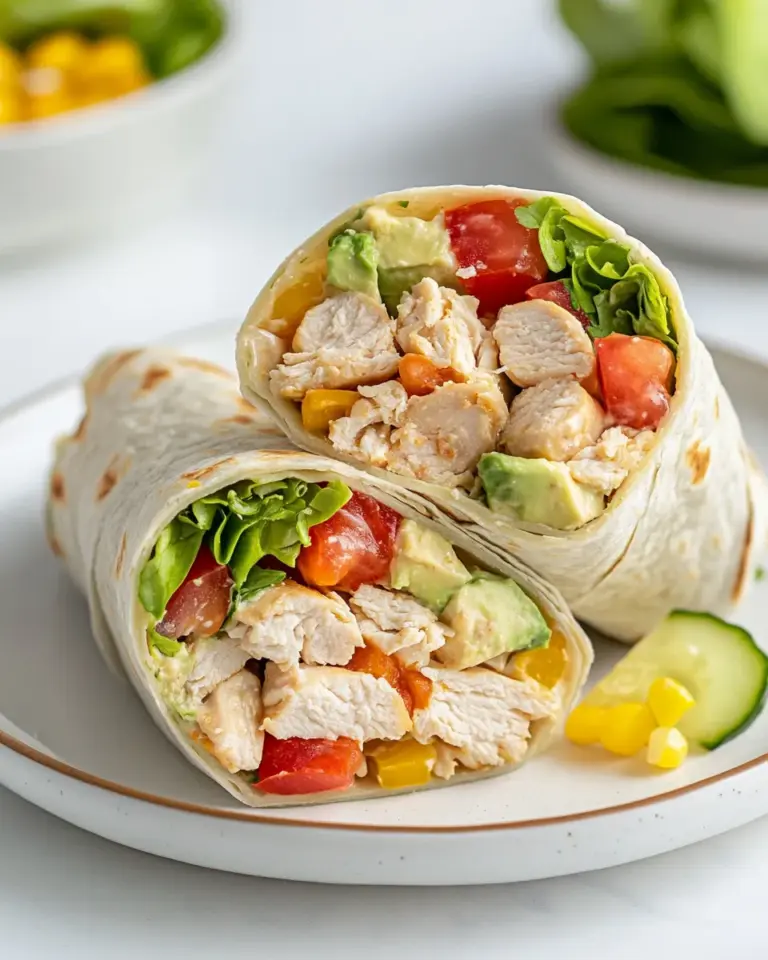
I served this over steamed jasmine rice with scallions and a quick cucumber salad. It was also excellent shredded into tacos with avocado and cabbage slaw. Leftovers turned into quick fried rice and a warm grain bowl with roasted vegetables.
Storing Tips & Timelines
Store cooled chicken and sauce together in an airtight container in the refrigerator for up to 4 days. For longer storage, freeze in a freezer-safe container for up to 3 months. Thaw overnight in the fridge before reheating.
To reheat, gently warm in a skillet with a splash of water or stock over low heat, or microwave in short bursts, stirring occasionally. If the sauce reduced or thickened too much in the fridge, stir in a tablespoon of stock or water while reheating.
Handy Q&A
- Can I double the recipe? Yes. Make sure the chicken is still in a single layer if possible; increase liquid proportionally and avoid exceeding the recommended fill line of your Instant Pot. Cook time remains the same for thickness—pressure builds and cooks by thickness rather than total weight.
- Can I use frozen chicken breasts? You can, but I don’t recommend it for this exact timing. Frozen chicken will need more time and may cook unevenly; it’s better to thaw first for consistent results.
- Can I shred the chicken in the pot? You can, but the pot will be hot and the sauce will be thin. I prefer removing the breasts to a cutting board to slice or shred and then spooning sauce over them to preserve texture and control liquid.
- Is the sauce safe to reduce after pressure cooking? Yes. Once you remove the chicken, use the Sauté function to thicken the sauce, stirring constantly to avoid sticking.
Next Steps
Try this base as your go-to weeknight chicken. Once you’re comfortable with the timing, experiment: add minced garlic and ginger to the sauce for an Asian twist, or stir in a teaspoon of smoked paprika and a splash of lemon for a different profile. Keep track of any small adjustments you like—this recipe is forgiving and meant to be a starting point.
If you make it, please leave a note in the comments about what you served it with and any swaps that worked well for you. I love hearing how readers adapt a simple recipe to their pantry and tastes.
Instant Pot Chicken Recipe
Equipment
- Instant Pot
- Pressure Cooker
- Cutting Board
Ingredients
Ingredients
- 1/4 cup 59 ml low-sodium soy sauce
- 1 tablespoon 13 g brown sugar
- 1 cup 237 ml low-sodium chicken stock
- 1/4 teaspoonpepper
- 1 poundchicken breasts thawed
Instructions
Instructions
- Add 1/4 cup (59 ml) low-sodium soy sauce, 1 tablespoon (13 g) brown sugar, 1 cup (237 ml) low-sodium chicken stock, and 1/4 teaspoon pepper to the insert of the Instant Pot. Stir until the brown sugar is mostly dissolved.
- Place 1 pound thawed chicken breasts in a single layer into the liquid, pressing them down so they are at least partially submerged.
- Close the lid and turn the pressure valve to SEALING. Select the "Poultry" setting on high pressure for 10 minutes. (If your cooker has no Poultry button, use Manual/Pressure Cook on HIGH for 10 minutes.)
- When the cook time finishes, allow the pressure to release naturally for 5 minutes, then carefully move the valve to VENTING to quick-release any remaining pressure. Wait until the float valve drops and the lid can be opened safely.
- Remove the chicken from the pot to a cutting board, slice or shred as desired, spoon some of the cooking sauce over the chicken, and serve.
Notes
Make sauce for the chicken: remove the chicken from the sauce. Mix 1 tablespoon cornstarch with 1 teaspoon water. Turn the instant pot to sauté and add the cornstarch mixture. Cook, stirring, until it boils and thickens.