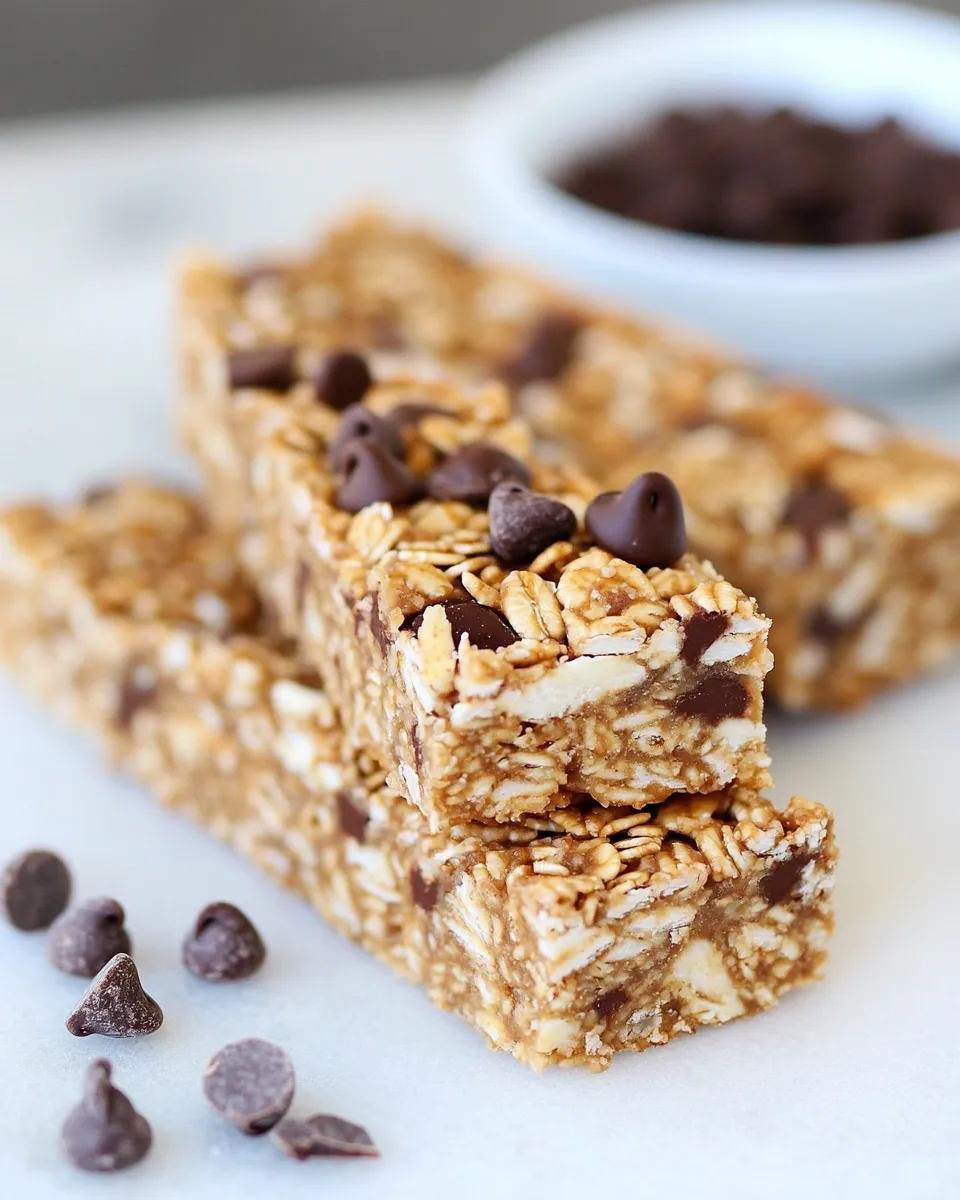
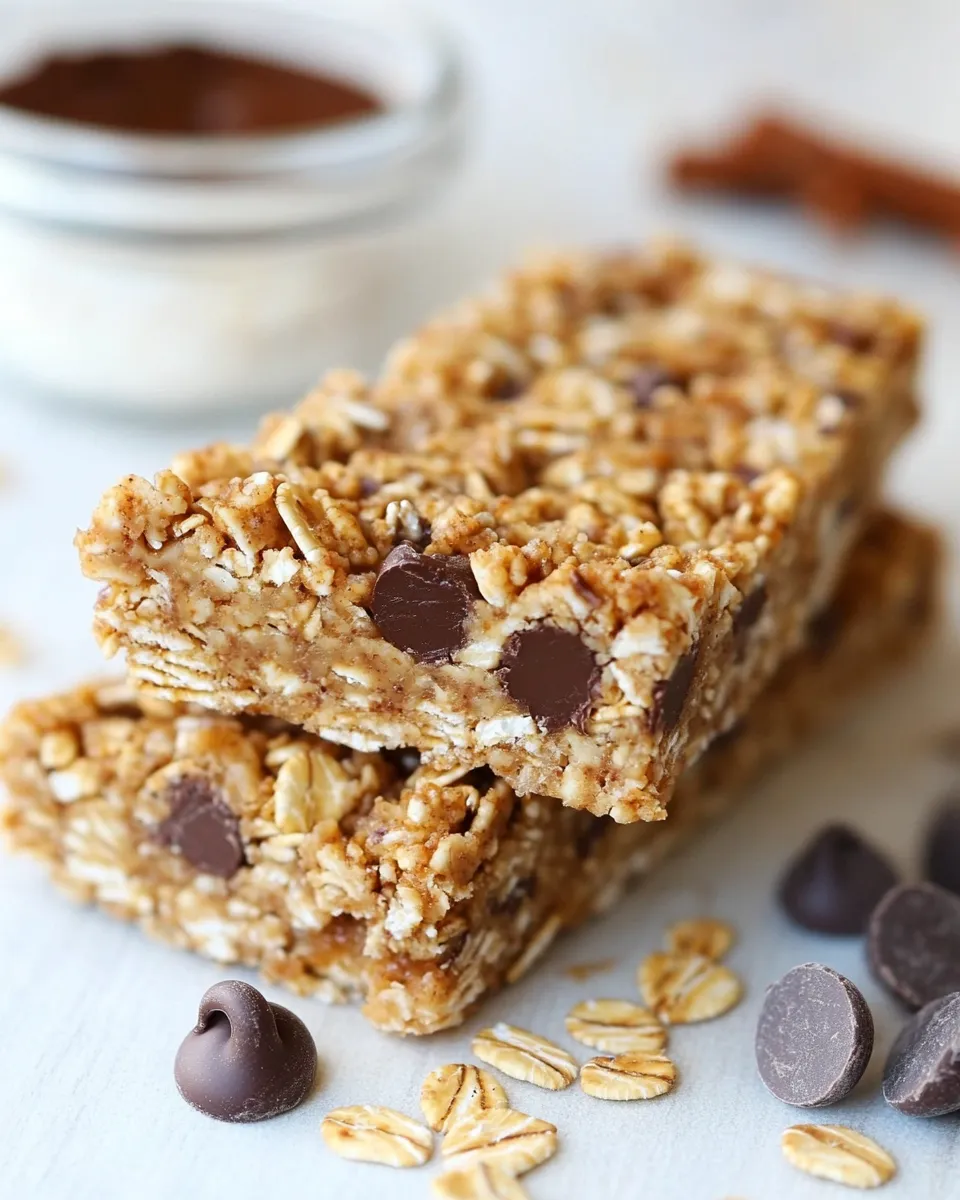
These bars are exactly what they say on the tin: no oven, only a short stovetop step, and a snack that balances salty pretzels, creamy peanut butter, and a little chocolate. I make them when I want something grab-and-go for busy mornings, a lunchbox treat, or a simple dessert for a potluck. They come together quickly and keep well in the fridge.
I write recipes that I actually cook, test, and pack into bags for the day. This one is forgiving—press firmly, chill, and slice. The texture is crunchy and a touch chewy, and the mini chips add little pockets of cocoa without making the bars too sweet or floppy.
Ingredient Notes
Before you assemble, a few notes that will save time and improve texture. Use quick oats (they bind better here than old-fashioned oats because the mixture needs to stick without baking). The creamy peanut butter melts smoothly into the butter, sugar, and honey syrup; natural separated peanut butters can be used but expect a looser texture and to press more firmly.
Crispy rice cereal adds air and lift so the bars aren’t dense. Pretzels provide the salt and crunch—chop them so you get bites through each bar. Mini chocolate chips are small enough to press into the top without melting away; if your chips are large, they won’t distribute as evenly.
Ingredients
- 1/4 cup unsalted butter — provides fat for richness and helps the mixture set when chilled.
- 1/4 cup brown sugar — adds depth and a little chewiness; melts into the syrup.
- 1/4 cup honey — the liquid sweetener and binder; keeps the bars chewy rather than dry.
- 1/4 cup creamy peanut butter — the primary flavor and binding agent; creamy ensures even coating.
- 1 teaspoon vanilla extract — flavor lift; stir in off the heat so it stays aromatic.
- 2 cups quick oats — structure and body; quick oats absorb the syrup evenly.
- 1/2 cup crispy rice cereal — adds light crunch and prevents heaviness.
- 3/4 cup chopped pretzels — salty crunch; chop so the bars hold together and distribute flavor.
- 1/4 cup mini chocolate chips — small chocolate pockets on top; press in so they stick without melting.
Directions: No-Bake Peanut Butter Pretzel Chocolate Chip Granola Bars
- Cut an 8 x 8 inch square of parchment paper and place it in the bottom of an 8 x 8 inch baking pan (leave some overhang on two sides if possible to lift the bars out later).
- In a large saucepan, combine 1/4 cup unsalted butter, 1/4 cup brown sugar, 1/4 cup honey, and 1/4 cup creamy peanut butter. Heat over medium-low, stirring occasionally until the mixture melts and begins to bubble around the edges.
- Once bubbling, continue to cook while stirring constantly for 2 minutes. Remove the pan from heat and stir in 1 teaspoon vanilla extract.
- Add 2 cups quick oats, 1/2 cup crispy rice cereal, and 3/4 cup chopped pretzels to the hot mixture. Stir until all dry ingredients are fully coated and evenly combined.
- Pour the mixture into the prepared pan and press it down evenly into a compact layer using a spatula or clean hands. Press firmly so the bars will hold together.
- Evenly sprinkle 1/4 cup mini chocolate chips over the top, then gently press them into the surface so they adhere without melting.
- Refrigerate the pan for at least 30 minutes, or until the mixture is firm.
- Use the parchment overhang to lift the set mixture from the pan, place on a cutting board, and cut into bars. Store the bars in the refrigerator.
Why This Recipe Works
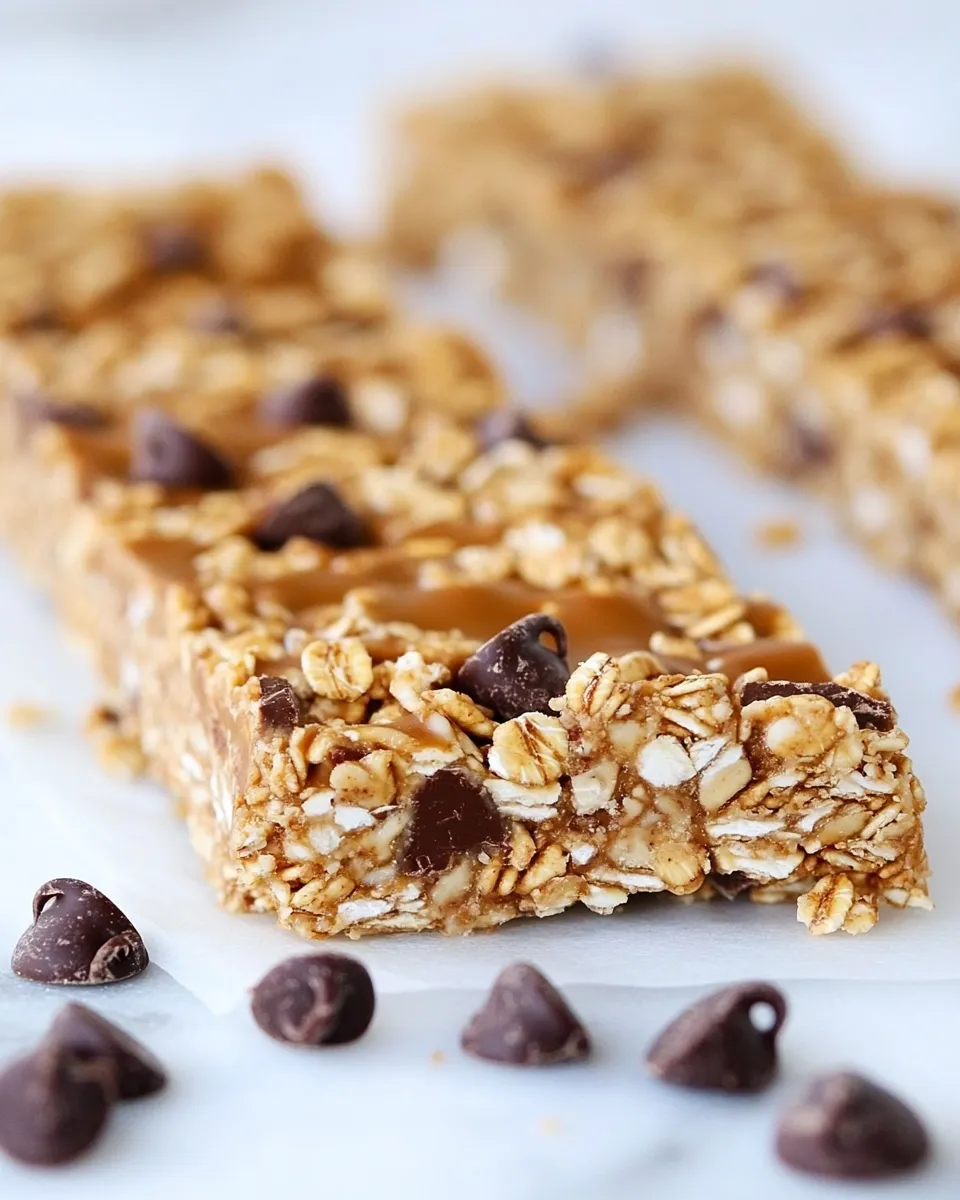
The chemistry is simple and reliable. A small amount of fat (butter) combined with a sticky sweetener (honey and brown sugar) creates a syrup that coats the oats, cereal, and pretzels. As the mixture cools in the refrigerator the fat firms up and the syrup tightens, holding everything together without baking. Quick oats absorb the syrup just enough to get chewy, while crispy rice cereal keeps the texture light and prevents a dense chew.
Texture contrast is the secret: salty pretzels cut through the sweetness, mini chips add chocolate notes without dominating, and honey gives flexibility so the bars won’t crumble when you slice them. Because there’s no baking, you preserve the crispness of the cereal and pretzels—baked bars often soften these components over time.
Ingredient Flex Options
If you need to swap one element, here are practical options that don’t require changing quantities:
– Peanut butter: Substitute a different nut or seed butter (same volume) if you prefer; keep in mind flavor and salt differences.
– Oats: Quick oats are recommended. If you only have old-fashioned rolled oats, pulse them briefly in a food processor to mimic the texture of quick oats so they bind more effectively.
– Cereal: If you don’t have crispy rice cereal, a similar puffed cereal works; expect a slight change in mouthfeel.
– Pretzels: Use crushed pretzel sticks or small twists—just chop them to similar size so the distribution remains even.
Before You Start: Equipment
Gather these tools to streamline the process: an 8 x 8 inch baking pan, a sheet of parchment paper with some overhang, a large saucepan, a sturdy spatula, and a cutting board. A bench scraper or a heavy spoon is useful when pressing and leveling the mixture. If you’re cutting neat bars, chill completely before slicing and use a sharp knife.
Avoid These Mistakes
– Pressing too lightly: If you don’t compact the mixture firmly, bars will crumble. Use the flat bottom of a measuring cup or your hands (slightly damp or greased) to compress evenly.
– Overheating the syrup: Cook just until the mixture bubbles and then for the two additional minutes as directed. Overcooking makes the syrup too hard once chilled and results in brittle bars.
– Adding chocolate too hot: If the top is still very warm when you add the chips, they’ll melt and smear. Let the pan sit for a minute after pressing if you notice residual heat, then press in the chips.
Seasonal Flavor Boosts
Small additions can make these taste like a seasonal treat. For fall, a pinch of ground cinnamon or a drop of maple extract layers warm flavors with the peanut butter. In winter, fold in a tablespoon of finely chopped toasted nuts for extra crunch, or press a few festive-colored chocolate chips on top for gatherings. In summer, keep them cool and refreshing; a sprinkle of flaky sea salt on the chocolate before chilling brightens the flavors.
Cook’s Notes
Timing matters more than temperature. The stovetop step only needs to get the ingredients fluid and bubbling around the edges; constant stirring for the two minutes after bubbling prevents scorching and ensures even distribution. When pressing into the pan, aim for an even thickness so bars set uniformly. If they’re too thick in some areas, the center may remain softer after 30 minutes.
For cleaner cuts, chill the whole block until firm, then slice with a sharp knife warmed briefly under hot water and wiped dry between cuts. That heat helps the knife glide through without dragging crumbs.
Leftovers & Meal Prep
Store bars in an airtight container in the refrigerator. They keep well for up to two weeks chilled. Layer parchment or wax paper between bars to prevent sticking. For longer storage, wrap individual bars tightly and freeze for up to two months. Thaw in the fridge or at room temperature for 30–60 minutes before serving.
These bars are a handy make-ahead snack for busy weeks. Double the recipe and use a 9 x 13 inch pan—just watch the thickness and adjust pressing time so everything compacts evenly.
Popular Questions
Can I make these without peanut butter? Yes—use another creamy nut or seed butter in the same amount. Expect a different flavor profile and slightly different texture depending on oil separation.
Will they hold at room temperature? They firm up best when refrigerated. If you need to pack them for an outing, keep them in a cooler or insulated bag—warm conditions will soften the butter and honey and make the bars sticky.
Can I use regular chocolate chips? You can, but mini chips give better distribution and adhere to the surface more cleanly. Larger chips may not press in as well and can create uneven slices.
How do I make the bars chewier or firmer? More honey or peanut butter will generally produce chewier bars; more crispy rice cereal or a little extra pressing will make them firmer. Make changes in small increments and test one batch first.
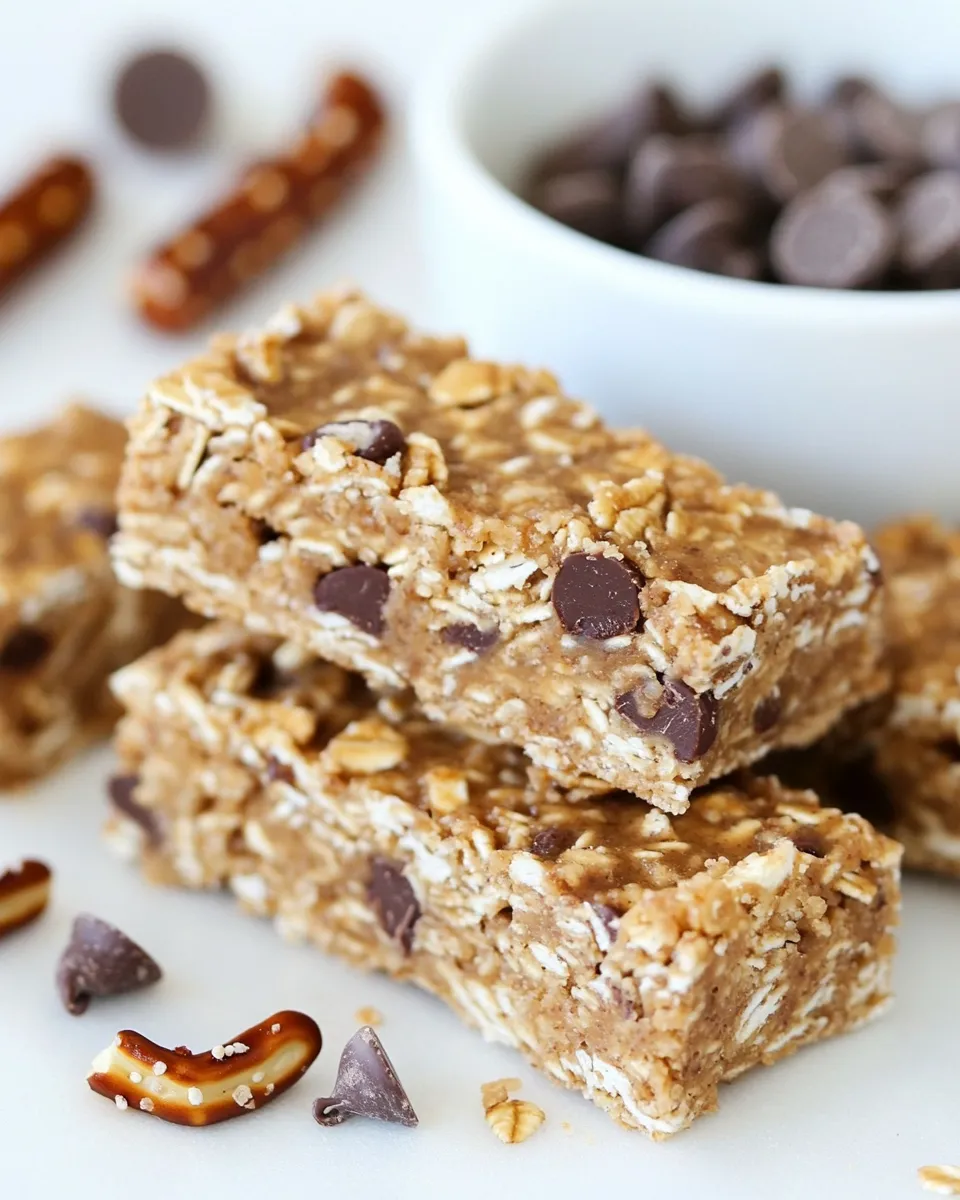
Final Bite
These No-Bake Peanut Butter Pretzel Chocolate Chip Granola Bars are a workhorse snack—fast to assemble, reliably tasty, and easy to scale. They’re great for lunchboxes, after-school cravings, or a quick energy boost. Press them firmly, chill them well, and you’ll have a sturdy, satisfying bar ready whenever you need it.
No-Bake Peanut Butter Pretzel Chocolate Chip Granola Bars
Equipment
- 8 x 8 inch baking pan
- Parchment Paper
- Large saucepan
- Spatula
- Cutting Board
- Refrigerator
Ingredients
Ingredients
- 1/4 cupunsalted butter
- 1/4 cupbrown sugar
- 1/4 cuphoney
- 1/4 cupcreamy peanut butter
- 1 teaspoonvanilla extract
- 2 cupsquick oats
- 1/2 cupcrispy rice cereal
- 3/4 cupchopped pretzels
- 1/4 cupmini chocolate chips
Instructions
Instructions
- Cut an 8 x 8 inch square of parchment paper and place it in the bottom of an 8 x 8 inch baking pan (leave some overhang on two sides if possible to lift the bars out later).
- In a large saucepan, combine 1/4 cup unsalted butter, 1/4 cup brown sugar, 1/4 cup honey, and 1/4 cup creamy peanut butter. Heat over medium-low, stirring occasionally until the mixture melts and begins to bubble around the edges.
- Once bubbling, continue to cook while stirring constantly for 2 minutes. Remove the pan from heat and stir in 1 teaspoon vanilla extract.
- Add 2 cups quick oats, 1/2 cup crispy rice cereal, and 3/4 cup chopped pretzels to the hot mixture. Stir until all dry ingredients are fully coated and evenly combined.
- Pour the mixture into the prepared pan and press it down evenly into a compact layer using a spatula or clean hands. Press firmly so the bars will hold together.
- Evenly sprinkle 1/4 cup mini chocolate chips over the top, then gently press them into the surface so they adhere without melting.
- Refrigerate the pan for at least 30 minutes, or until the mixture is firm.
- Use the parchment overhang to lift the set mixture from the pan, place on a cutting board, and cut into bars. Store the bars in the refrigerator.