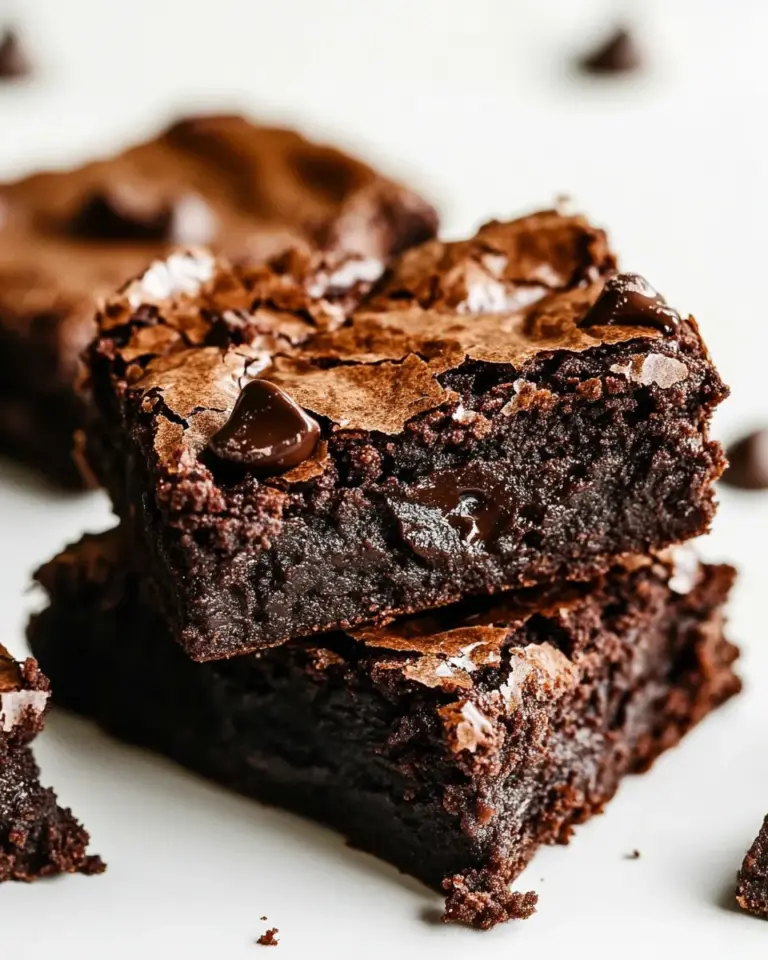
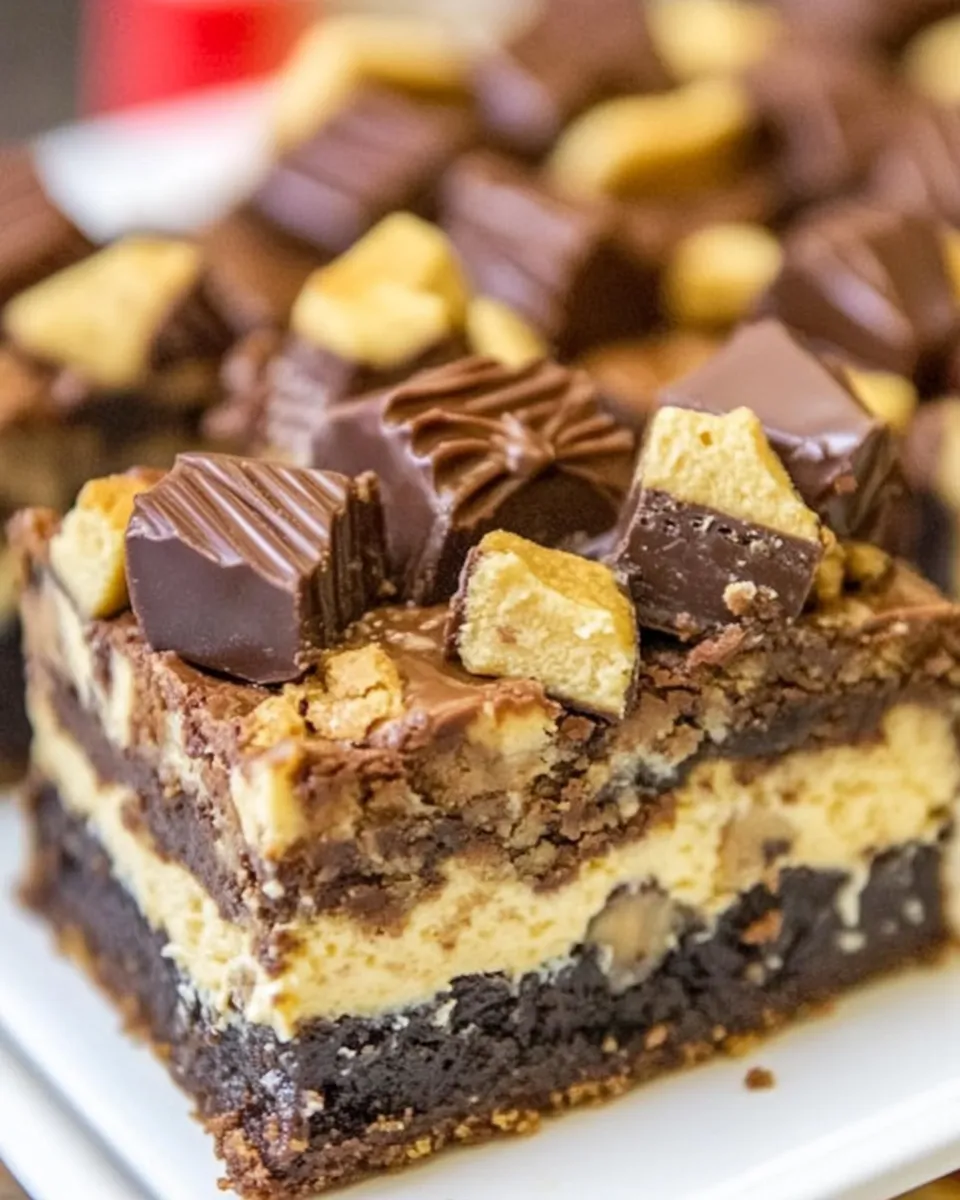
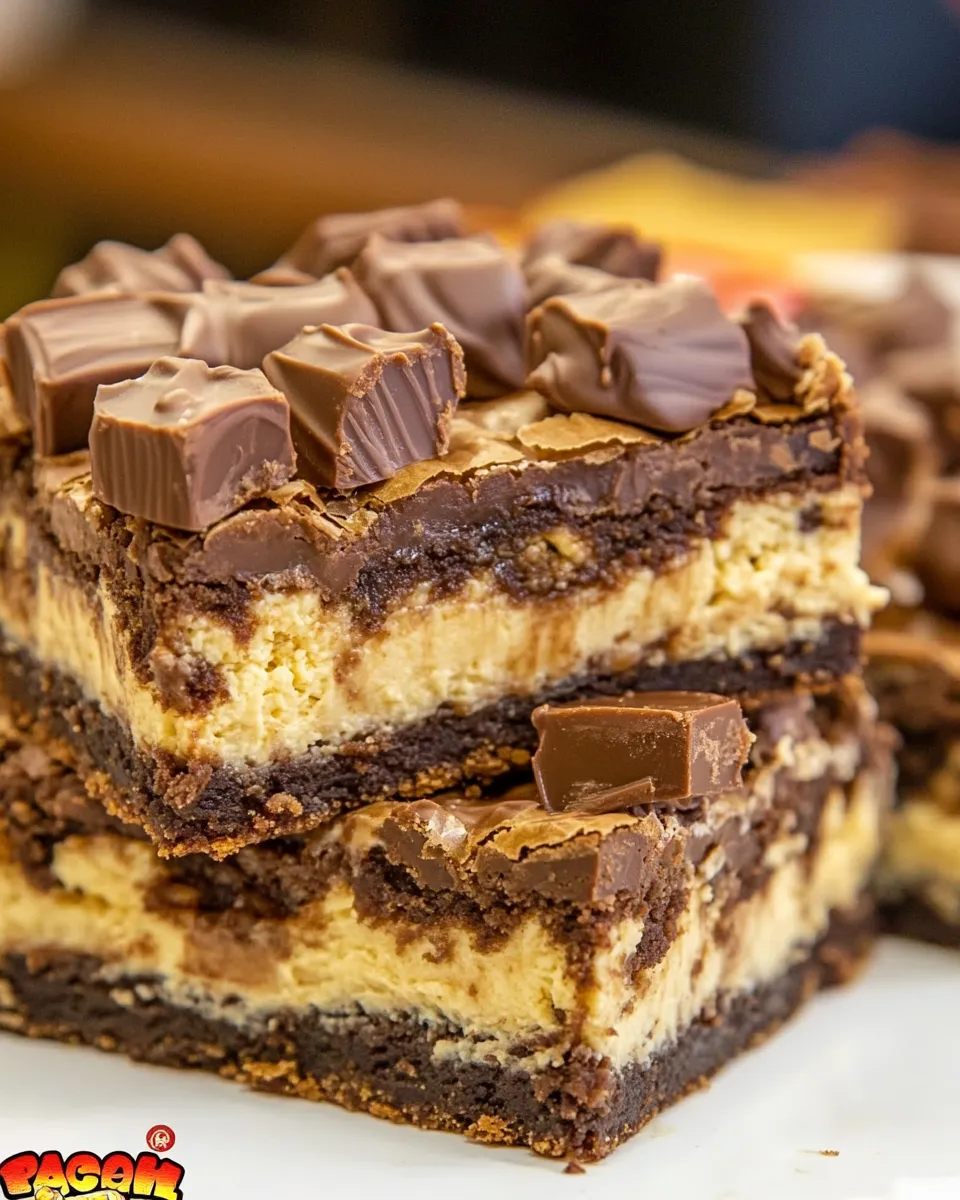
These Peanut Butter Cup Cheesecake Brownies are one of those desserts that balances indulgence with simplicity. Fudgy brownie base, a creamy peanut butter–cream cheese layer, and a scatter of chopped peanuts and mini peanut butter cups on top — it’s built from familiar components so the result is reliably delicious every time. No elaborate tempering or obscure ingredients, just a plan and good timing.
I make these when I want a dessert that feels special but doesn’t require a full day in the kitchen. The cheesecake layer is quick to mix, the brownie batter comes from a box for convenience, and finishing with halved mini Reese’s gives you little pockets of melty peanut butter cups on top. It’s a crowd-pleaser and holds up well for a bake sale or a relaxed weekend bake for family.
If you’re comfortable with basic baking steps, you’ll have these on the table in under two hours from start to finish, with much of that time being hands-off baking and cooling. Below I walk through everything you need: the ingredients (with quick notes), step-by-step instructions straight from the recipe, equipment, troubleshooting, storage, and serving ideas.
Gather These Ingredients
Ingredients
- 6 ounces brick-style cream cheese, softened (I used lite) — This makes the cheesecake layer rich and smooth; room temperature softening helps it beat smooth without lumps.
- 1 large egg — Binds the cream cheese mixture and adds structure to the filling.
- ½ cup creamy peanut butter — For flavor and creaminess in the cheesecake layer; creamy spreads easiest and gives a uniform texture.
- ⅓ cup graunlated sugar — Sweetens the filling; it blends in as you beat the mixture.
- 1 box, 1 pound 2.4 ounces Betty Crocker™ Original Supreme Premium Brownie Mix — The fudgy brownie base; follow the package directions for the water, oil, and egg.
- Water, vegetable oil, and egg called for on brownie mix box — These are the wet ingredients to prepare the boxed brownie batter; use the amounts on the box for best texture.
- ⅓ cup salted peanuts, coarsely chopped — Adds crunch and a salty contrast on top; coarsely chopping keeps the texture noticeable.
- 1 heaping cup Reese’s™ Peanut Butter Cups Miniatures — Halved and added warm so they soften and stick to the brownies while adding those signature peanut butter pockets.
Peanut Butter Cup Cheesecake Brownies: From Prep to Plate
- Preheat oven to 350°F. Spray a 9-inch square baking pan with cooking spray and set aside.
- In a medium bowl, add 6 ounces softened cream cheese, 1 large egg, 1/2 cup creamy peanut butter, and 1/3 cup granulated sugar. Beat with an electric handheld mixer on medium-low until smooth, scraping down the sides as needed. Set the filling aside.
- Prepare the Betty Crocker Original Supreme Premium Brownie Mix in a large bowl using the water, vegetable oil, and egg(s) called for on the brownie mix box. Mix until combined according to the package directions.
- Divide the prepared brownie batter into two equal portions. Spread one half into the bottom of the prepared 9-inch pan in an even layer.
- If the 1/3 cup salted peanuts are not already chopped, coarsely chop them now.
- Drop the cream cheese–peanut butter filling over the brownie layer in rounded tablespoons, spacing them evenly across the surface.
- Using a spatula and working gently, spread the filling into an even, smooth layer over the brownie batter. Take your time so the filling does not mix heavily with the bottom brownie layer.
- Spread the remaining half of the brownie batter over the filling in an even, smooth layer.
- Evenly sprinkle the coarsely chopped salted peanuts over the top brownie layer.
- Bake for about 40 to 45 minutes, or until a toothpick inserted about 1 inch from the side of the pan comes out mostly clean or with a few moist crumbs but no wet batter.
- Remove from the oven and place the pan on a wire rack. Allow the brownies to cool in the pan for about 1 hour (they will still be warm).
- While the brownies cool slightly, halve the heaping cup of Reese’s Peanut Butter Cups Miniatures. After about 1 hour, when the brownies are warm (not hot), evenly sprinkle the halved mini peanut butter cups over the top so they melt slightly and adhere.
- Slice and serve. Store any leftovers airtight in the refrigerator for up to 5 days.
What Sets This Recipe Apart
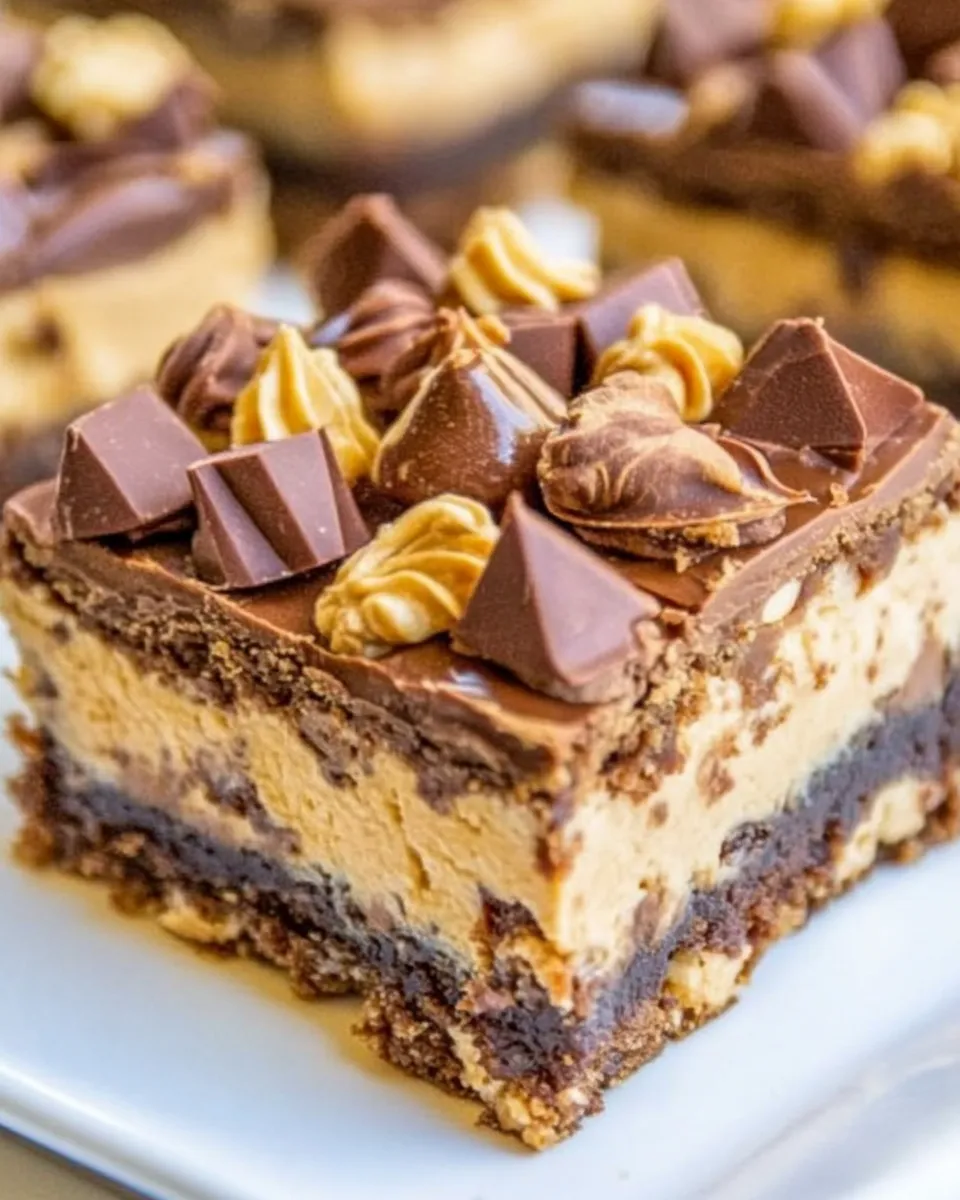
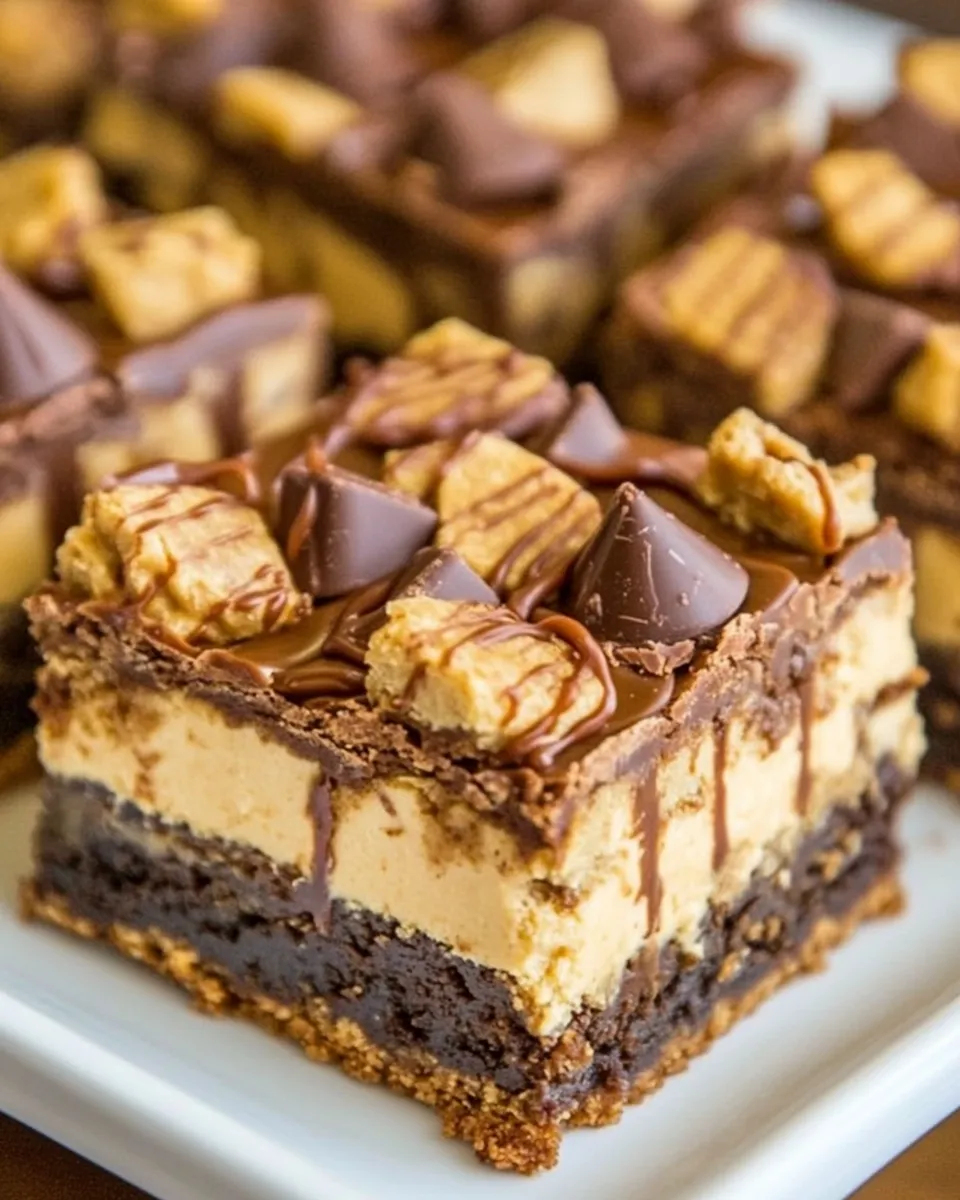
This recipe combines three straightforward elements into a layered dessert that feels more complex than it is. The cream cheese–peanut butter filling provides a silky contrast to the fudgy brownie layers. Using a premade brownie mix is a deliberate choice: it keeps the texture reliably dense and fudgy while saving time. The finishing touch—halved mini peanut butter cups added while the brownies are warm—gives a glossy, slightly-melted crown that stays in place once cooled.
One more thing: the chopped salted peanuts are a small but crucial contrast. That hit of salt and crunch balances the sweetness and keeps each bite from feeling one-note. In short: texture contrasts, layered flavors, and smart timing make these brownies stand out.
Flavor-Forward Alternatives
If you want to tweak flavors without changing structure, try these options:
- Use crunchy peanut butter instead of creamy for extra texture in the filling.
- Stir a teaspoon of instant espresso powder into the brownie batter to deepen the chocolate flavor.
- Swap the salted peanuts for chopped roasted peanuts with a light sprinkle of flaky sea salt after baking for a more pronounced crunch.
- Top with a drizzle of warmed chocolate or caramel after the peanut butter cups set for a glossy finish.
Equipment & Tools
- 9-inch square baking pan — the recipe size is built for this pan; it controls layer thickness and bake time.
- Electric handheld mixer — speeds up and smooths the cream cheese filling; you can use a stand mixer or a whisk if needed, but expect more elbow grease.
- Spatula — for spreading layers evenly without tearing the filling.
- Wire rack — for cooling the pan properly so the top peanut butter cups set correctly.
- Measuring cups and spoons — make sure your measurements match the package directions for the brownie mix.
Slip-Ups to Skip
These are the mistakes I see most often, and how to avoid them:
- Don’t skip softening the cream cheese — lumps in the filling are hard to smooth out once you’ve added the egg and peanut butter.
- Don’t try to spread a hot filling — spread gently and keep the filling cool enough that it doesn’t melt into the brownie layer below.
- Don’t overbake — the brownie layer should be mostly set with a few moist crumbs on a toothpick; overbaking makes the center dry instead of fudgy.
- Don’t add the mini peanut butter cups while the pan is piping hot — they’ll melt into a mess. Warm (about 1 hour of cooling) is the sweet spot so they soften and adhere without flattening.
In-Season Flavor Ideas
These brownies are peanut-forward, which pairs nicely with seasonal twists:
- Fall: fold a few tablespoons of pumpkin puree into the cream cheese layer and a pinch of cinnamon for a gentle seasonal change (keep filling texture in mind).
- Winter: add a sprinkle of crushed peppermint or a few drops of peppermint extract to a portion of the top chocolate drizzle to create a seasonal finish.
- Summer: serve slightly chilled with a scoop of vanilla ice cream to cut the richness and make each square feel lighter.
Behind-the-Scenes Notes
I test desserts to balance convenience with texture. Boxed brownie mixes are consistent in moisture and chocolate distribution, which lets the peanut butter–cream cheese layer shine. The technique of layering batter, filling, then batter again makes for an even triple-layer bar without complicated assembly.
Timing matters: the top brownie layer needs to set enough to support the peanut butter cups when you place them, yet be warm enough that the mini cups soften and bond. Cooling about an hour in the pan hits that balance. If you try to add the candies too soon, they’ll sink; too late, and they won’t adhere.
Cooling, Storing & Rewarming
Cooling: Let the pan cool on a wire rack for about an hour as the recipe instructs. The center continues to set during this time and the mini peanut butter cups will slightly soften and adhere if added during the warm window. After adding the candies, let the pan cool completely before slicing for cleaner edges.
Storing: Store leftovers airtight in the refrigerator for up to 5 days. The cream cheese layer means refrigeration is safest. Bring squares to room temperature for 20–30 minutes before serving if you prefer a softer texture.
Rewarming: If you like the top candies slightly melty, warm a single serving briefly in the microwave — 8–12 seconds is usually plenty. Avoid reheating the whole pan in the oven as that can dry the brownie base; instead, warm individual slices.
Common Qs About Peanut Butter Cup Cheesecake Brownies
- Can I make this ahead? Yes. Bake and cool fully, then refrigerate the whole pan covered. Add halved peanut butter cups when you’re ready to serve, about 30–60 minutes before slicing, if you want them softer; otherwise add them right after cooling and store.
- Can I freeze these? You can freeze individual squares wrapped tightly in plastic and then foil for up to 1 month. Thaw in the refrigerator overnight and bring to room temperature before serving.
- What if my cream cheese filling is grainy? That usually means the cream cheese wasn’t fully softened. Next time, let it come to room temperature longer or briefly microwave (5–8 seconds) to soften, then beat smooth before adding other ingredients.
- Can I use another brownie mix? Yes, but bake times may vary. Use the package directions for oven temperature and wet ingredients, and check doneness with a toothpick as directed in the recipe.
- Can I make this in a metal pan instead of glass? Yes. Metal pans usually conduct heat faster than glass; start checking for doneness a few minutes earlier if using metal.
Bring It to the Table
These brownies are best served slightly warmed or at room temperature. For a casual gathering, arrange squares on a simple platter so the glossy tops and halved peanut butter cups are visible — people eat with their eyes first. For a dessert plate, serve one square with a scoop of vanilla ice cream and a light drizzle of chocolate or caramel sauce. A few extra chopped salted peanuts and a pinch of flaky sea salt on top give a professional finishing touch.
Pair them with cold milk, strong coffee, or a scoop of plain or peanut-butter-infused ice cream. They’re rich, so small squares go a long way. If bringing to a potluck, bring a small note mentioning they should be refrigerated due to the cream cheese layer; otherwise they’ll hold up at room temperature for short service windows but refrigerating for storage is best.
If you make them, take a photo and note what tweaks you tried — I love seeing how home bakers adapt this template. These brownies are forgiving, crowd-friendly, and a dependable way to turn familiar flavors into a standout treat.
Peanut Butter Cup Cheesecake Brownies
Equipment
- 9-inch square baking pan
- Cooking spray
- Mixing Bowl
- electric handheld mixer
- Spatula
- Wire Rack
- Knife
Ingredients
Ingredients
- 6 ouncesbrick-style cream cheese softened (I used lite)
- 1 large egg
- 1/2 cupcreamy peanut butter
- 1/3 cupgraunlated sugar
- 1 box 1 pound 2.4 ouncesBetty Crocker™ Original Supreme Premium Brownie Mix
- Water vegetable oil, and egg called for on brownie mix box
- 1/3 cupsalted peanuts coarsely chopped
- 1 heaping cup Reese’s™ Peanut Butter Cups Miniatures
Instructions
Instructions
- Preheat oven to 350°F. Spray a 9-inch square baking pan with cooking spray and set aside.
- In a medium bowl, add 6 ounces softened cream cheese, 1 large egg, 1/2 cup creamy peanut butter, and 1/3 cup granulated sugar. Beat with an electric handheld mixer on medium-low until smooth, scraping down the sides as needed. Set the filling aside.
- Prepare the Betty Crocker Original Supreme Premium Brownie Mix in a large bowl using the water, vegetable oil, and egg(s) called for on the brownie mix box. Mix until combined according to the package directions.
- Divide the prepared brownie batter into two equal portions. Spread one half into the bottom of the prepared 9-inch pan in an even layer.
- If the 1/3 cup salted peanuts are not already chopped, coarsely chop them now.
- Drop the cream cheese–peanut butter filling over the brownie layer in rounded tablespoons, spacing them evenly across the surface.
- Using a spatula and working gently, spread the filling into an even, smooth layer over the brownie batter. Take your time so the filling does not mix heavily with the bottom brownie layer.
- Spread the remaining half of the brownie batter over the filling in an even, smooth layer.
- Evenly sprinkle the coarsely chopped salted peanuts over the top brownie layer.
- Bake for about 40 to 45 minutes, or until a toothpick inserted about 1 inch from the side of the pan comes out mostly clean or with a few moist crumbs but no wet batter.
- Remove from the oven and place the pan on a wire rack. Allow the brownies to cool in the pan for about 1 hour (they will still be warm).
- While the brownies cool slightly, halve the heaping cup of Reese’s Peanut Butter Cups Miniatures. After about 1 hour, when the brownies are warm (not hot), evenly sprinkle the halved mini peanut butter cups over the top so they melt slightly and adhere.
- Slice and serve. Store any leftovers airtight in the refrigerator for up to 5 days.