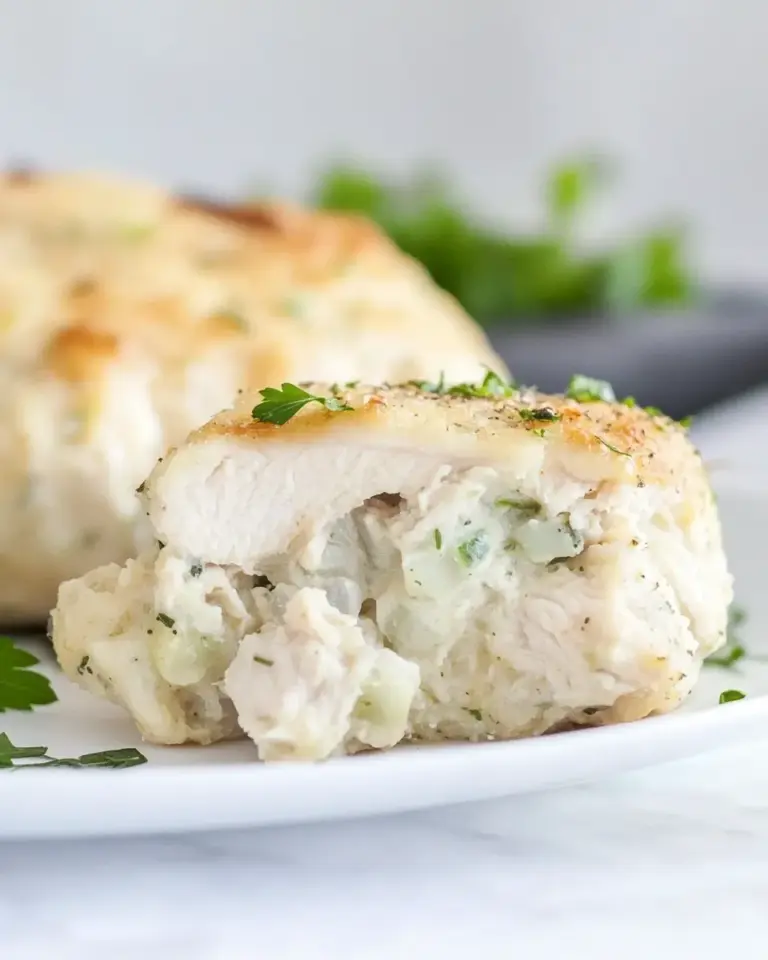
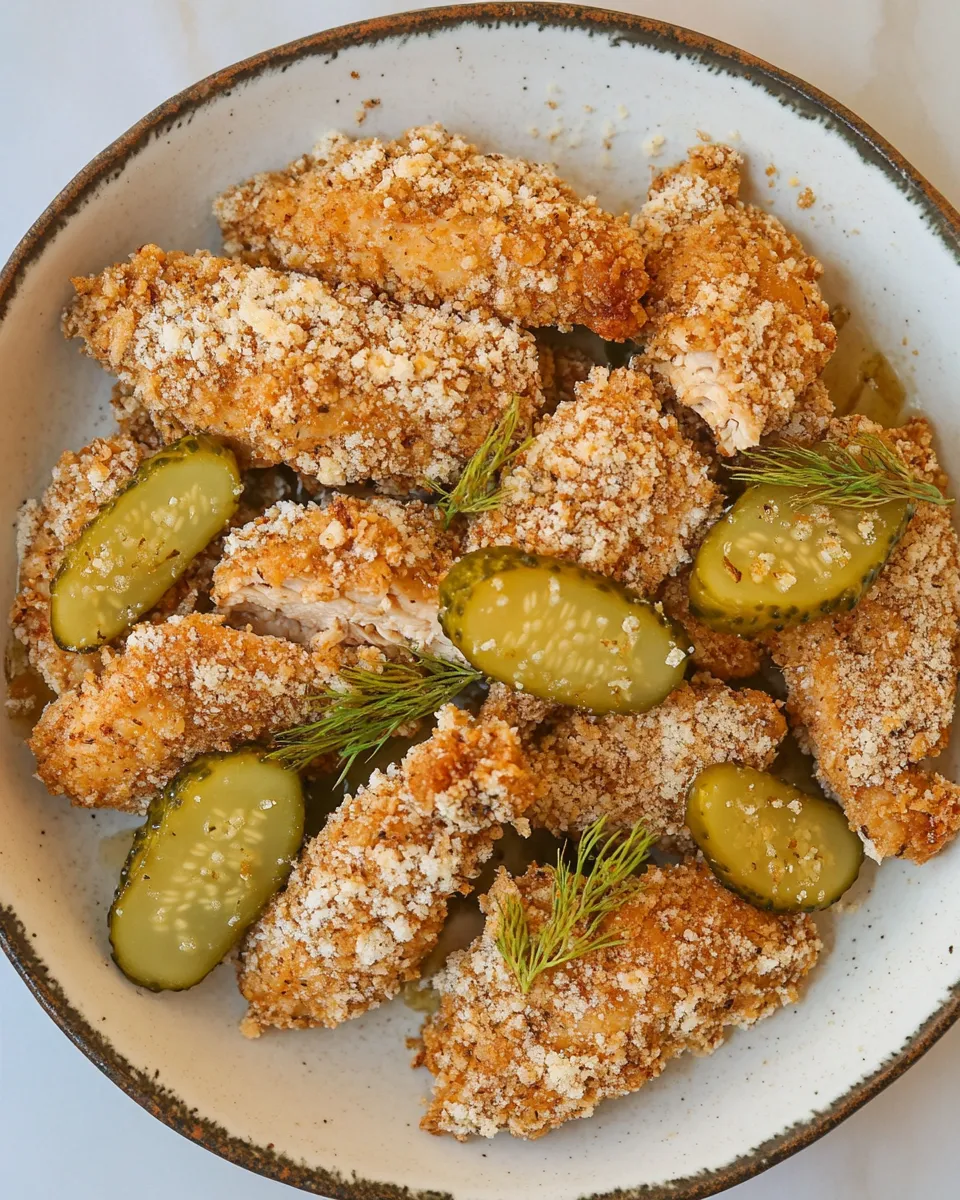
I fell for this recipe the first time I tried it because it does something simple and very satisfying: it takes ordinary chicken tenderloins, brines them in pickle juice, then crisps them until golden. The tang from the pickle juice brightens the meat, and the toasted Panko gives a crackly exterior that holds up to a squeeze of lemon or a swipe of mayo. It’s a weekday win and it shows up at my weekend table when friends drop by.
This is practical cooking. You can marinate for just an hour if you’re rushed or let the chicken sit overnight for extra flavor. The steps are straightforward. The technique leans on timing and clear steps rather than complicated tricks.
I’ll walk you through what to gather, how to execute each step, and the small tune-ups that lift the dish. You’ll get storage notes, substitutions if you’re missing a pantry staple, and the common mistakes I see so you can skip them. Let’s get into it.
What You’ll Gather
Think of this as a short shopping checklist and a quick sanity check before you start. You need the chicken and pickles first; everything else is pantry-friendly. If you like extra crunch or a little heat, plan to have extra pickles and a smoky sauce ready.
Ingredients
- 2 lbs boneless skinless chicken tenderloins — main protein; trim any loose bits so pieces cook evenly.
- 1½ cups dill pickle juice from a pickle jar (extra pickles for serving) — the brine that flavors and tenderizes the chicken.
- 1 tablespoon brown sugar — balances the acidity in the pickle juice.
- 2 teaspoons kosher salt — for the brine; helps season the meat through and speeds tenderizing.
- 1½ cups Panko bread crumbs — toasted for crunch and a light coating.
- 1 cup all-purpose flour — creates the first dry layer so the egg and crumbs adhere.
- 1 teaspoon salt — seasoned into the flour for depth; don’t skip.
- 1 teaspoon garlic powder — background savory note in the flour mix.
- 1 teaspoon chili powder — adds mild warmth; adjust or omit if you prefer no heat.
- 2 large eggs — beaten to bind the crumbs to the chicken.
Pickle Chicken Cooking Guide
- In a large bowl or resealable plastic bag combine the chicken, pickle juice, brown sugar, and 2 teaspoons kosher salt. Seal and refrigerate 1 to 24 hours to marinate.
- When ready to cook, preheat the oven to 425°F.
- Spread the 1½ cups Panko bread crumbs in an even layer on a baking sheet. Toast in the preheated oven 5–7 minutes, stirring once halfway through, until golden brown. Remove from oven and transfer the toasted Panko to a shallow bowl. Line the baking sheet with parchment paper.
- In a shallow bowl mix the 1 cup all-purpose flour, 1 teaspoon salt, 1 teaspoon garlic powder, and 1 teaspoon chili powder.
- In another shallow bowl whisk the 2 large eggs until smooth.
- Remove the chicken from the marinade and discard the marinade. Pat the chicken pieces dry with paper towels.
- Working one piece at a time, coat each chicken tenderloin in the flour mixture (shake off excess), dip into the beaten eggs, then press into the toasted Panko to adhere the crumbs. Place the coated pieces on the prepared baking sheet in a single layer without touching.
- Bake the chicken 18–25 minutes, until the thickest piece reaches 165°F and the coating is golden brown.
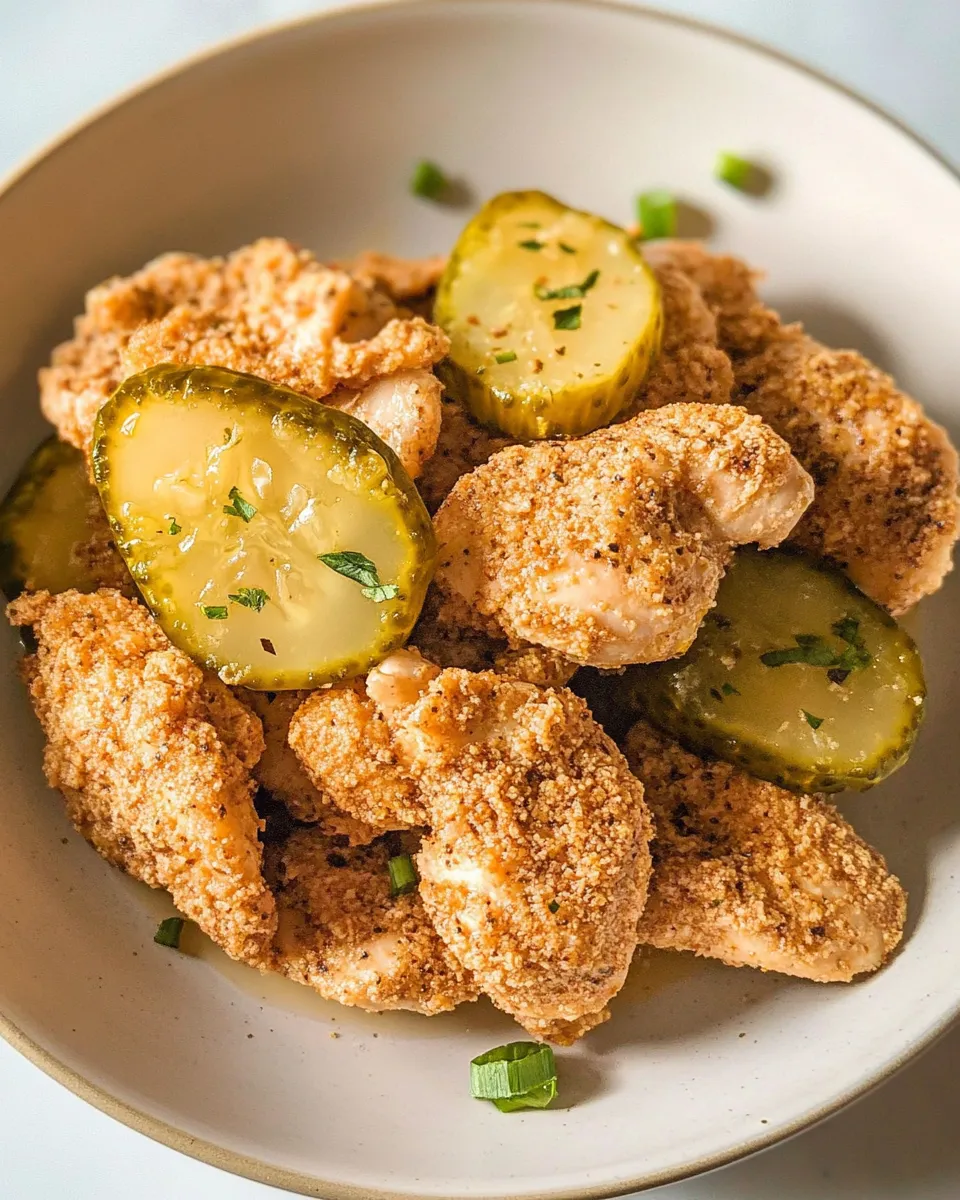
- Remove from the oven and serve immediately with extra pickles.
Why This Recipe Is Reliable

This method uses two simple, dependable tricks: an acidic brine and a drier, toasted crumb. The pickle juice tenderizes the meat and transfers flavor without adding heaviness. Toasting the Panko first ensures it stays crisp instead of turning soggy under the egg wash.
The timing window is forgiving. Marinate between 1 and 24 hours; shorter for a hint of flavor, longer for a deeper pickle note. Baking at 425°F crisps the crumb quickly while keeping the chicken moist. The internal temperature target—165°F—is the reliable doneness marker, not the clock alone.
If You’re Out Of…
- Dill pickle juice — don’t substitute with plain vinegar. If you must, mix 1 cup water, 1 tablespoon vinegar, and 1 teaspoon sugar and a pinch of salt to mimic some acidity, but expect a different flavor.
- Panko — use plain breadcrumbs for a denser crust, but reduce toasting time; they brown faster.
- All-purpose flour — a light rice flour can work for a slightly crisper finish; the dredge’s purpose is adhesion, so quantity should stay the same.
- Kosher salt — use table salt at half the amount (1 teaspoon instead of 2 teaspoons) because it’s denser.
Gear Up: What to Grab
Gather these tools before starting. They keep the process smooth and minimize last-minute scrambles.
- Baking sheet (rimmed) — for toasting Panko and baking the chicken.
- Parchment paper — prevents sticking and makes cleanup easy.
- Shallow bowls — one for flour mix, one for eggs, one for Panko.
- Instant-read thermometer — the simplest way to confirm your chicken is safe and perfectly done.
- Paper towels — to pat the chicken dry after marinating; dry surface helps crumbs stick.
- Resealable plastic bag or large bowl with lid — for marinating in the fridge.
Don’t Do This
Don’t skip patting the chicken dry. Excess liquid prevents the flour and crumbs from clinging, and you’ll lose the crisp. Also, don’t crowd the baking sheet. Overlapping pieces steam and the crust won’t brown properly.
Avoid skipping the Panko toasting. Raw Panko will cook, but it won’t develop the same nutty flavor or sustained crunch. And don’t rely on cook time alone—use an instant-read thermometer. Ovens vary and chicken thickness varies more.
Make It Fit Your Plan
Need this for meal prep? Bake the chicken and cool completely, then store in an airtight container in the fridge for up to 3 days. Reheat in a 375°F oven on a sheet pan for 8–10 minutes to revive the crust. For a faster weeknight, halve the marinating time to one hour; you’ll still get noticeable pickle flavor.
For a lighter option, serve thinly sliced over a salad of baby greens and halved cherry tomatoes with a mustard vinaigrette. For kid-friendly plates, slice the tenders and offer a milder dipping sauce like honey-mustard.
Behind the Recipe
This recipe pulls from classic pantry brining techniques and a modern obsession with texture. Pickle brines are acidic and salty; they break down proteins at the surface and pump in flavor quickly. Panko breadcrumbs were chosen for their larger, flakier structure — they create an airy crunch rather than a dense coating. Toasting them concentrates flavor and reduces moisture, which keeps the coating crisp after baking.
The brown sugar in the brine isn’t there to make the chicken sweet so much as to round and soften the sharpness of the pickle juice. The flour-egg-crumb sequence is classic breading logic: dry to accept egg, wet to bind, and dry to provide texture.
Storing, Freezing & Reheating
Store leftover cooked chicken in an airtight container in the refrigerator for up to 3 days. To reheat and keep the coating crisp, place the pieces on a wire rack set over a baking sheet and heat in a 375°F oven for 8–12 minutes until warmed through.
Freezing is possible but not ideal for maximum crunch. If you choose to freeze, flash-freeze the baked pieces on a tray until firm, then transfer to a freezer bag for up to 2 months. Reheat from frozen in a 375°F oven for 18–25 minutes, checking temperature. Expect slightly less crunch than fresh.
Reader Q&A
Q: Can I use chicken breasts instead of tenderloins?
A: Yes. Use thin-cut breast strips or pound steady pieces to even thickness. Thicker breasts will need more time; monitor with an instant-read thermometer.
Q: Is it safe to reuse the pickle brine?
A: No. Once raw chicken marinates in the brine, discard it. It contains raw juices and can harbor bacteria.
Q: Can I pan-fry instead of baking?
A: You can. Use a shallow layer of oil and fry until golden, turning carefully. Keep an eye on heat so the crumbs don’t burn before the chicken reaches 165°F.
See You at the Table
This Pickle Chicken hits a nice balance: tang from the brine, sweet-salty notes, and a crisp crust. It’s straightforward to pull together and easy to adapt to the week ahead. Make it for a casual dinner, add a crisp side salad, and invite people over — or plate it up for a busy night when you want comfort without fuss.
If you try it, tell me how long you marinated the chicken and what dipping sauce you paired with it. Those small details are how we make great recipes even better next time.
Pickle Chicken
Equipment
- large bowl or resealable plastic bag
- Baking Sheet
- Shallow Bowls
- Whisk
- Parchment Paper
- Oven
- Meat Thermometer
Ingredients
Ingredients
- 2 lbsboneless skinless chicken tenderloins
- 1 1/2 cupsdill pickle juice from a pickle jar (extra pickles for serving)
- 1 tablespoonbrown sugar
- 2 teaspoonskosher salt
- 1 1/2 cupsPanko bread crumbs
- 1 cupall-purpose flour
- 1 teaspoonsalt
- 1 teaspoongarlic powder
- 1 teaspoonchili powder
- 2 largeeggs
Instructions
Instructions
- In a large bowl or resealable plastic bag combine the chicken, pickle juice, brown sugar, and 2 teaspoons kosher salt. Seal and refrigerate 1 to 24 hours to marinate.
- When ready to cook, preheat the oven to 425°F.
- Spread the 1½ cups Panko bread crumbs in an even layer on a baking sheet. Toast in the preheated oven 5–7 minutes, stirring once halfway through, until golden brown. Remove from oven and transfer the toasted Panko to a shallow bowl. Line the baking sheet with parchment paper.
- In a shallow bowl mix the 1 cup all-purpose flour, 1 teaspoon salt, 1 teaspoon garlic powder, and 1 teaspoon chili powder.
- In another shallow bowl whisk the 2 large eggs until smooth.
- Remove the chicken from the marinade and discard the marinade. Pat the chicken pieces dry with paper towels.
- Working one piece at a time, coat each chicken tenderloin in the flour mixture (shake off excess), dip into the beaten eggs, then press into the toasted Panko to adhere the crumbs. Place the coated pieces on the prepared baking sheet in a single layer without touching.
- Bake the chicken 18–25 minutes, until the thickest piece reaches 165°F and the coating is golden brown.
- Remove from the oven and serve immediately with extra pickles.
Notes
We love serving this with a knock-off Raising Cane's sauce. It's 3/4 cup mayo, 1/4 cup ketchup, 1 teaspoon garlic powder, 1 teaspoon Worcestershire sauce, and 1/2 teaspoon black pepper.