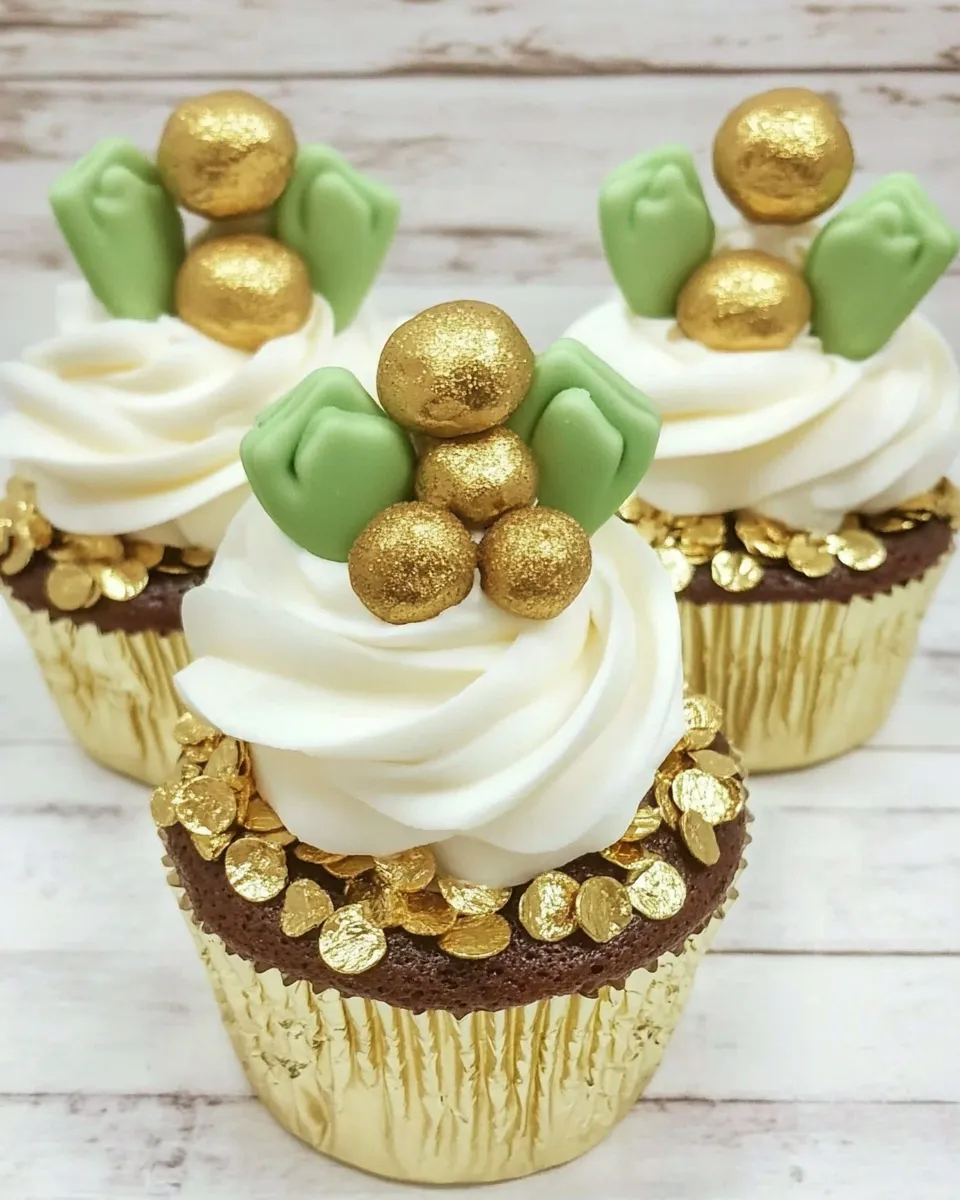
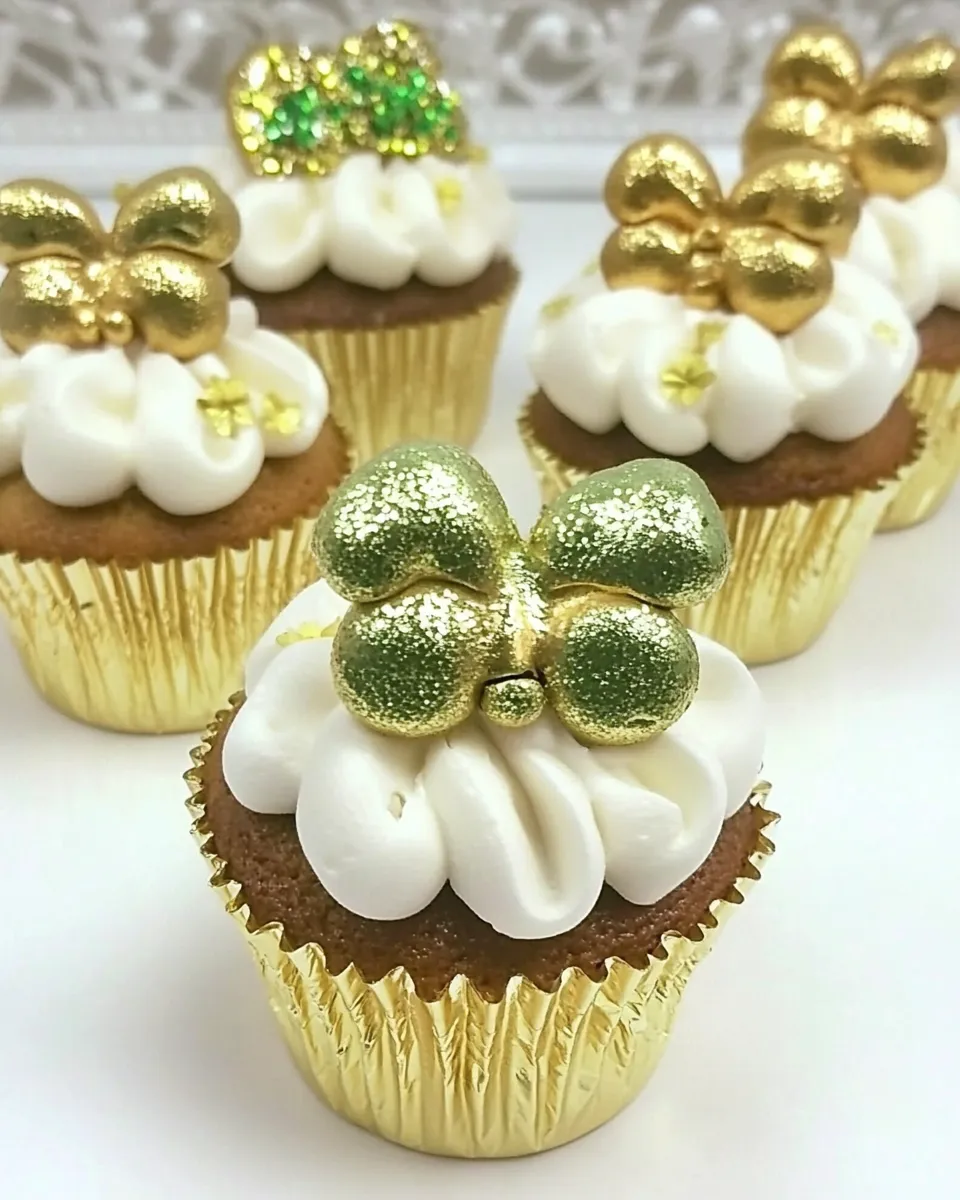
Who doesn’t love a sweet treat that brings a little magic to the day? Pot o Gold Cupcakes are a whimsical delight that not only look stunning but taste incredible too. Topped with shimmering gold and filled with chocolatey goodness, these cupcakes are perfect for celebrations, parties, or simply to brighten up a dull day. With a little creativity and some fun ingredients, you can whip up these show-stopping cupcakes that are sure to impress anyone who lays eyes on them.
Why This Recipe Belongs in Your Rotation
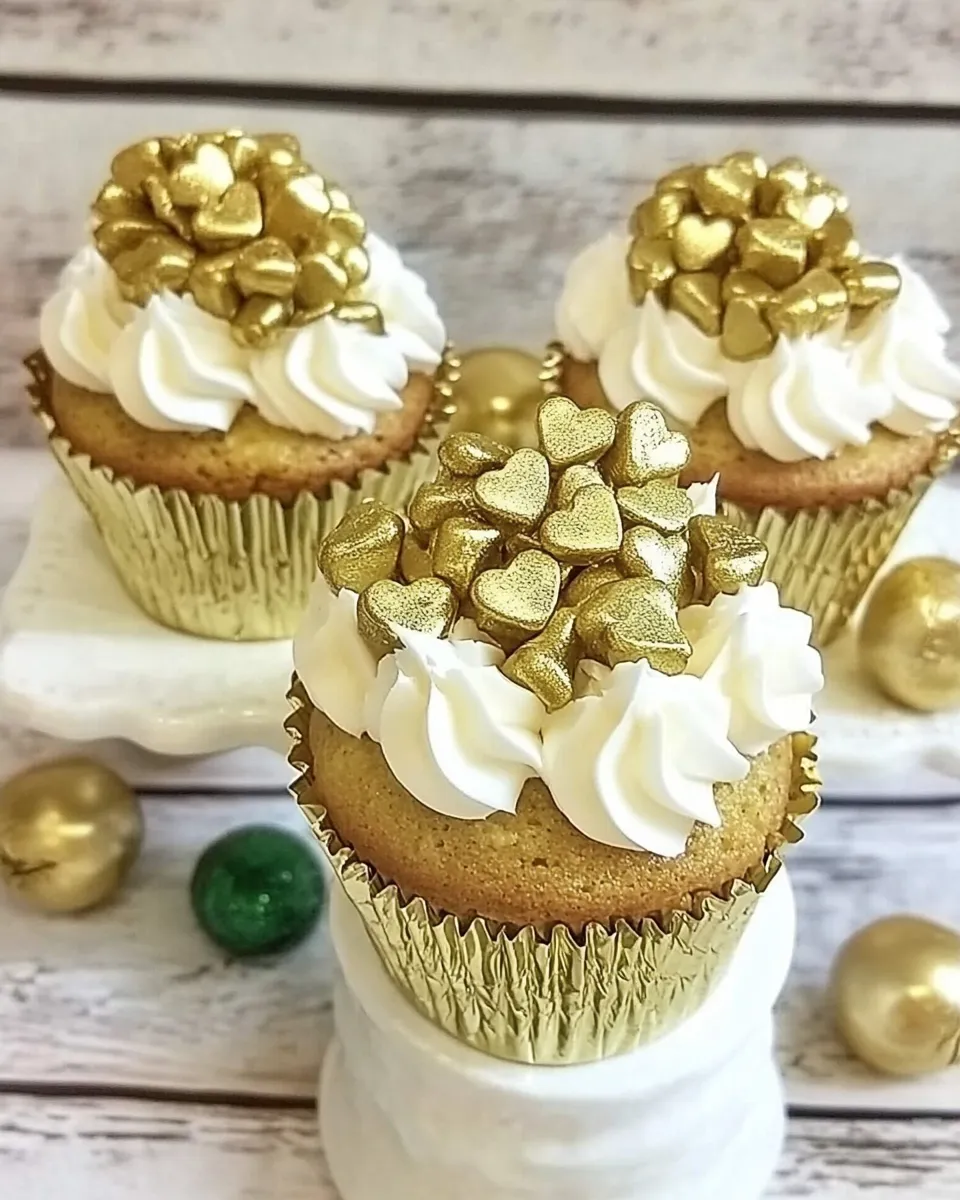
Pot o Gold Cupcakes are not just visually appealing; they are a delicious combination of flavors and textures that make them a fantastic addition to any dessert table. The rich chocolate from the candy melts pairs beautifully with the creamy buttercream frosting, while the gold mist adds a touch of elegance. Whether you’re celebrating a special occasion, a birthday, or simply looking to indulge, this recipe is versatile enough to suit any event. Additionally, they are easy to make and fun to decorate, making them a great choice for baking with kids or impressing your guests.
Ingredient List
- Cupcakes, baked and cooled – Use your favorite recipe or a box mix, ensuring they are completely cooled and the liners removed.
- Chocolate candy melts or almond bark – These will create a delightful coating for your cupcakes.
- Hershey’s Cookies ‘n Creme Drops or similar white round candy – These will serve as the “gold” for your cupcakes.
- Wilton Color Mist in Gold – This will give your cupcakes a beautiful shimmering finish.
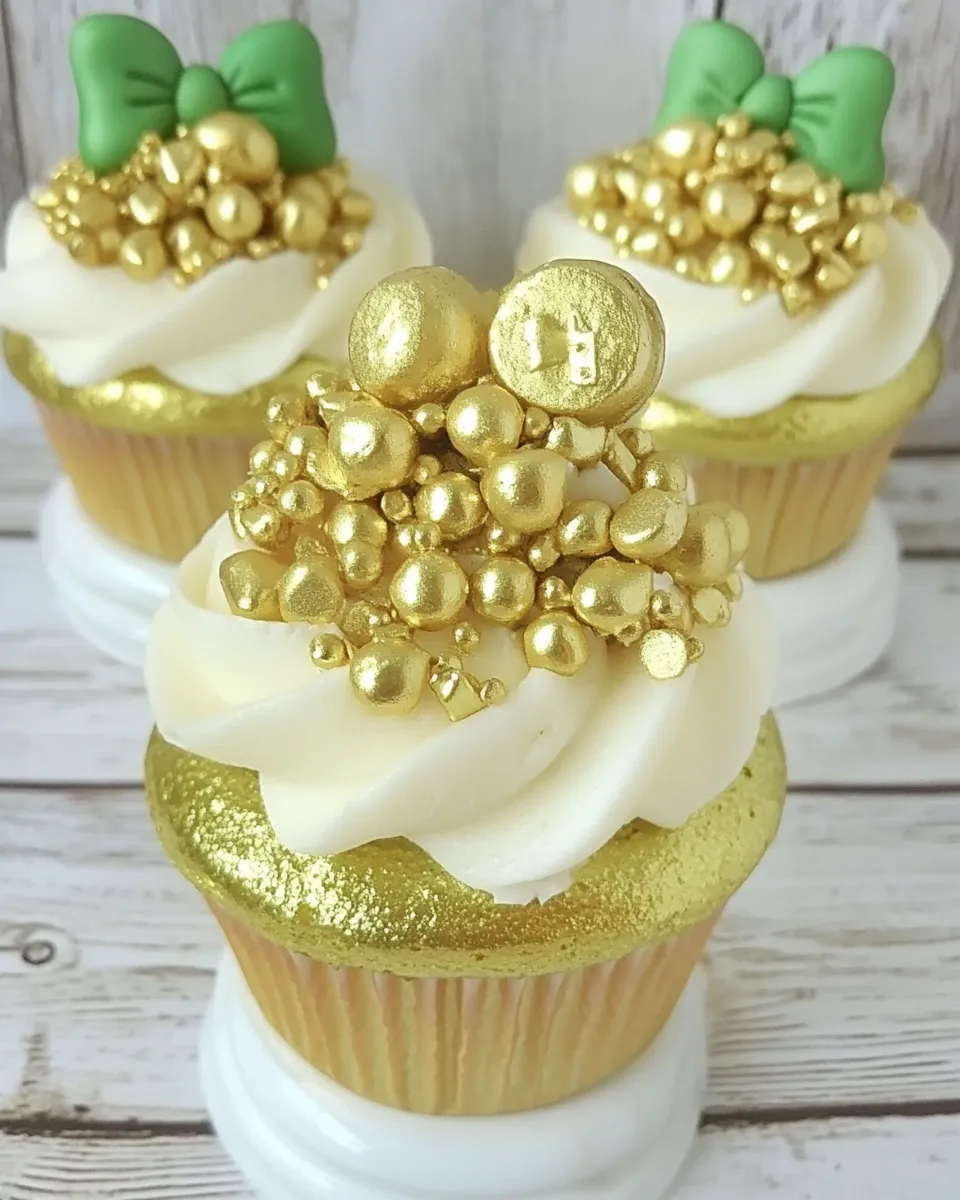
- Buttercream frosting – Use your favorite recipe or store-bought. I tinted mine a light green for a festive touch!
Gear Checklist
- Mixing bowls – For mixing your frosting and any additional ingredients.
- Whisk or electric mixer – To ensure your frosting is light and fluffy.
- Spatula – For spreading frosting on the cupcakes.
- Decorating bags and tips – If you want to pipe your frosting elegantly.
- Oven – To bake your cupcakes to perfection.
- Baking sheets – For melting the chocolate candy melts.
From Start to Finish: Pot o Gold Cupcakes
Step 1: Bake Your Cupcakes
Start by baking your cupcakes according to your chosen recipe. Once baked, let them cool completely on a wire rack. This is crucial, as warm cupcakes can melt your frosting.
Step 2: Prepare Your Chocolate Coating
Melt your chocolate candy melts or almond bark in a microwave-safe bowl in 30-second intervals, stirring in between until smooth. This will create a luscious coating for your cupcakes.
Step 3: Dip Your Cupcakes
Once your cupcakes are completely cooled, carefully dip the tops into the melted chocolate. Allow any excess to drip off before placing them back on the wire rack.
Step 4: Add Your Gold Mist
Once the chocolate has set slightly, spray the tops of each cupcake with the Wilton Color Mist in Gold. This will create an eye-catching shimmer that elevates the appearance of your treats.
Step 5: Decorate with Buttercream
Using your buttercream frosting, either spread it generously on top of the cupcakes or pipe it on for a decorative touch. Feel free to use a star tip for a fun swirl!
Step 6: Place Your “Gold”
Finally, gently press a Hershey’s Cookies ‘n Creme Drop into the center of each frosted cupcake to represent the pot of gold at the end of the rainbow.
Spring–Summer–Fall–Winter Ideas
- Spring: Add pastel-colored sprinkles on top of the frosting for a cheerful spring theme.
- Summer: Incorporate fruit toppings like strawberries or blueberries for a fresh twist.
- Fall: Use cinnamon or pumpkin spice in your cupcake batter for a seasonal flavor.
- Winter: Top with crushed peppermint candies for a festive holiday treat.
Chef’s Notes
If you want to get creative, feel free to experiment with different flavors of frosting or cupcake bases. A chocolate cupcake base with vanilla frosting or vice versa can create a delicious combination. Don’t hesitate to use food coloring to tint your frosting to match your party theme or celebration.
Shelf Life & Storage
Pot o Gold Cupcakes can be stored in an airtight container at room temperature for up to three days. If you want them to last longer, you can refrigerate them, which will keep them fresh for about a week. Just ensure you bring them to room temperature before serving for the best flavor and texture.
Quick Questions
Can I use a different type of frosting?
Absolutely! Feel free to use cream cheese frosting, whipped cream, or even a ganache if you’re looking for something different.
How do I ensure my cupcakes are moist?
Be sure not to overmix your batter, and avoid opening the oven door too frequently while baking, as this can cause the cupcakes to dry out.
Can I freeze these cupcakes?
Yes, you can freeze the baked and cooled cupcakes without frosting for up to three months. Thaw them in the refrigerator before decorating.
What can I substitute for chocolate candy melts?
You can use melted chocolate chips or a chocolate ganache as an alternative. Just ensure it’s at a dipping consistency for best results.
Next Steps
With all the steps laid out, it’s time to roll up your sleeves and get baking! Gather your ingredients, invite some friends or family to join you, and let the fun begin. Whether you’re crafting these Pot o Gold Cupcakes for a special occasion or just for a sweet treat, they are sure to bring smiles and joy to everyone who gets to enjoy them. Happy baking!
Pot o Gold Cupcakes
Equipment
- Mixing Bowls
- Whisk or electric mixer
- Spatula
- Decorating bags and tips
- Oven
- Baking Sheets
Ingredients
Cupcakes
- Cupcakes, baked and cooled Use your favorite recipe or a box mix, liners removed
Chocolate Coating
- Chocolate candy melts or almond bark for coating cupcakes
Decoration
- Hershey's Cookies 'n Creme Drops or similar white round candy for the "gold" decoration
- Wilton Color Mist in Gold for shimmering finish
- Buttercream frosting store-bought or homemade, tinted light green optional
Instructions
Baking Cupcakes
- Start by baking your cupcakes according to your chosen recipe. Once baked, let them cool completely on a wire rack, removing liners.
Preparing Chocolate Coating
- Melt your chocolate candy melts or almond bark in a microwave-safe bowl in 30-second intervals, stirring between until smooth.
Coating Cupcakes
- Carefully dip the tops of completely cooled cupcakes into the melted chocolate. Allow excess to drip off, then place back on the wire rack.
Adding Gold Mist
- Once the chocolate has set slightly, spray the tops of each cupcake with Wilton Color Mist in Gold to create a shimmering finish.
Decorating with Frosting
- Spread or pipe buttercream frosting on top of the cupcakes. Use a star tip for decorative swirls if desired.
Final Decoration
- Gently press a Hershey's Cookies 'n Creme Drop into the center of each frosted cupcake to represent the pot of gold.
Notes
- Store cupcakes in an airtight container at room temperature for up to three days or refrigerate for up to a week.
- Freeze baked, unfrosted cupcakes for up to three months; thaw before decorating.
- Try different frosting flavors or colors to match your party theme.