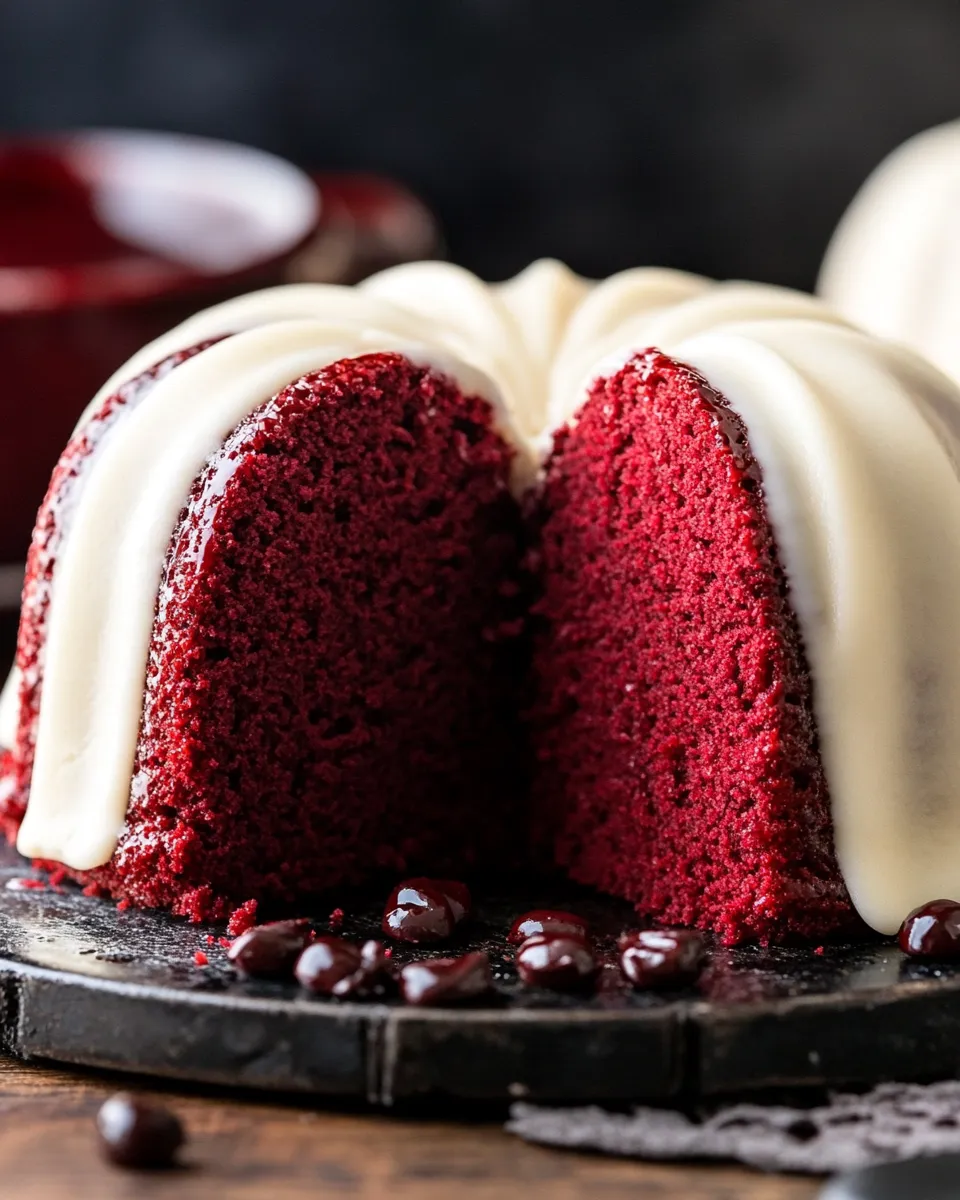
There’s something incredibly special about the rich, velvety texture of a red velvet pound cake.
It’s the perfect blend of a classic chocolatey flavor with a twist of vibrant red color, making it a showstopper for any occasion.
Whether you’re celebrating a birthday, an anniversary, or simply want to indulge in something delicious, this cake is bound to impress.
Plus, it’s surprisingly easy to make, and with each slice, you’ll be delighting in the moist crumb and subtle sweetness.
So grab your mixing bowl, and let’s dive into this delightful recipe!
Why This Recipe Is a Must-Try
You might be wondering what sets this red velvet pound cake apart from the typical red velvet cake.
Well, it combines the comforting and dense texture of a pound cake with the classic flavors we love from red velvet desserts.
The butter provides richness, while the cocoa powder adds depth without overpowering that signature red color.
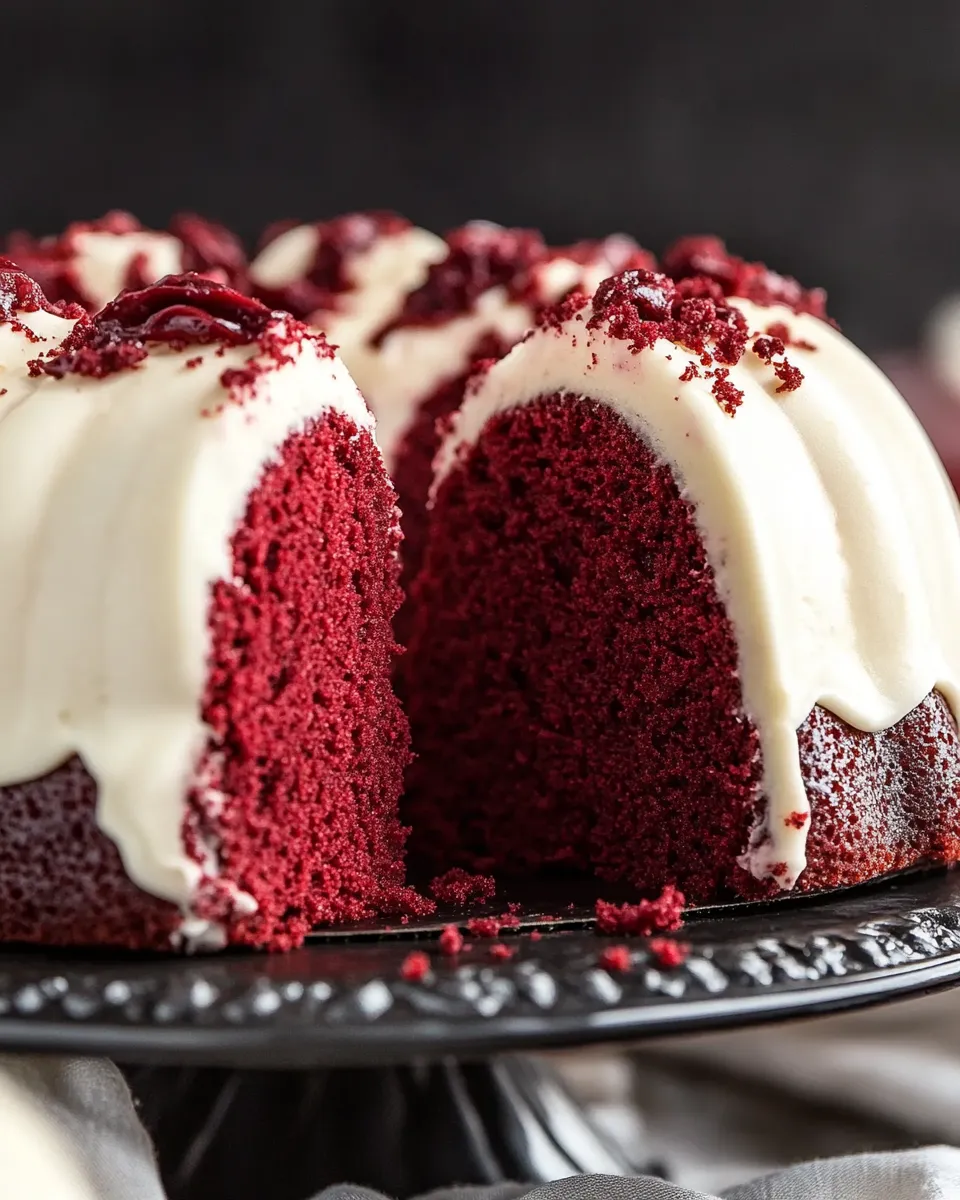
This cake is not only stunning but also incredibly delicious.
Top it off with your favorite cream cheese frosting, or simply enjoy it on its own.
Trust me, it’s a treat you don’t want to miss!
Ingredients
To create this beautiful red velvet pound cake, you’ll need the following ingredients:
- 2 ¾ cups (330 g) all-purpose flour
- 3 tablespoons unsweetened cocoa powder
- 1 teaspoon baking soda
- 1 teaspoon salt
- 1 ¾ cups (350 g) granulated sugar
- ½ cup (120 ml) canola or vegetable oil
- ½ cup (113 g) unsalted butter, softened
- 3 large eggs, at room temperature
- 1-2 tablespoons red food coloring
- 1 tablespoon (15 ml) pure vanilla extract
- 1 teaspoon (5 ml) distilled vinegar
- 1 cup (240 ml) buttermilk
- 1 cup (224 g) mini chocolate chips (optional)
How To Make Red Velvet Pound Cake
Now let’s break down how to create this delectable cake step by step.
Step 1: Preheat Your Oven
Start by preheating your oven to 350°F (175°C).
This way, your cake will bake evenly.
Step 2: Prepare Your Pan
Grease a 9×5 inch loaf pan with non-stick spray or butter and flour it lightly to ensure easy removal later on.
Step 3: Mix Dry Ingredients
In a large bowl, whisk together the all-purpose flour, cocoa powder, baking soda, and salt.
Set this mixture aside.
Step 4: Cream the Butter and Sugar
In another large mixing bowl, combine the softened butter and granulated sugar.
Using a hand mixer or stand mixer, cream them together until light and fluffy—this should take about 4-5 minutes.
Step 5: Add the Eggs and Coloring
Add the eggs one at a time to the butter and sugar mixture, mixing well after each addition.
Then, stir in the red food coloring, vanilla extract, and vinegar until everything is well blended.
Step 6: Alternate the Dry Ingredients and Buttermilk
Gradually add the dry mixture and buttermilk to the wet mixture, starting and ending with the dry ingredients.
Mix just until combined; overmixing can make the cake dense.
Step 7: Add Chocolate Chips
If you’re using mini chocolate chips, fold them into the batter gently.
Step 8: Pour and Bake
Pour the batter into your prepared loaf pan, smoothing the top with a spatula.
Bake in your preheated oven for about 60-70 minutes, or until a toothpick inserted in the center comes out clean.
Step 9: Cool the Cake
Once baked, remove the cake from the oven and let it cool in the pan for about 10 minutes.
Then, turn it out onto a wire rack to cool completely.
Expert Tips
For the best results, keep these tips in mind:
- Make sure your butter is softened, not melted, to cream perfectly with the sugar.
- Room temperature eggs blend better with other ingredients, ensuring a smooth batter.
- Don’t skip the vinegar; it reacts with the baking soda to give the cake that perfect rise.
- Use gel food coloring for a more vibrant color if desired; it won’t affect the cake’s consistency.
Variations and Customizations
Feel free to get creative with your red velvet pound cake! Here are some ideas to customize your cake:
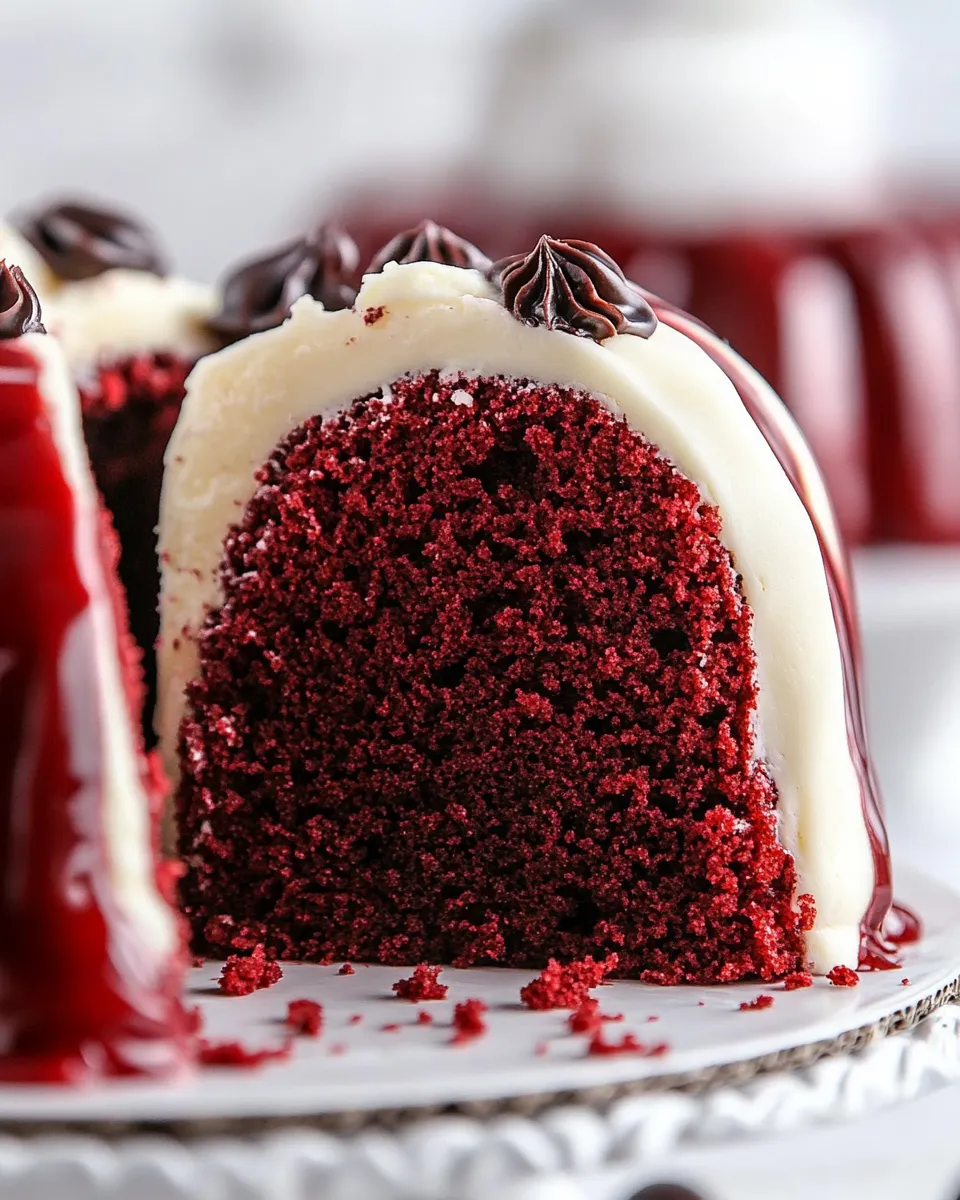
- Add a cream cheese swirl to the batter for a delicious twist.
- Top with your favorite frosting, like cream cheese frosting or chocolate ganache.
- Incorporate crushed nuts or dried fruits to add texture if you like.
- For a more chocolatey flavor, increase the cocoa powder to ¼ cup.
How to Store Leftovers
If you have any leftover cake (which is unlikely!), you can store it in an airtight container at room temperature for up to 3 days.
For longer storage, wrap the cake tightly in plastic wrap and place it in the fridge for up to a week.
You can also freeze slices for up to 3 months.
Just make sure to thaw them in the fridge when you’re ready to enjoy!
FAQ
Can I use whole wheat flour instead of all-purpose flour?
You can, but it may alter the texture and density of the cake.
A mix of whole wheat and all-purpose flour may yield better results.
Is there a way to make this cake gluten-free?
Yes! You can substitute an equal amount of gluten-free all-purpose flour for the regular flour to make it gluten-free.
Can I omit the food coloring for a different look?
Absolutely! The cake will still be delicious without the food coloring; it will just be a chocolate cake instead of red velvet.
How can I make this cake more chocolatey?
You can increase the amount of cocoa powder or add chocolate chips to the batter, as those mini chocolate chips are completely optional.
Conclusion
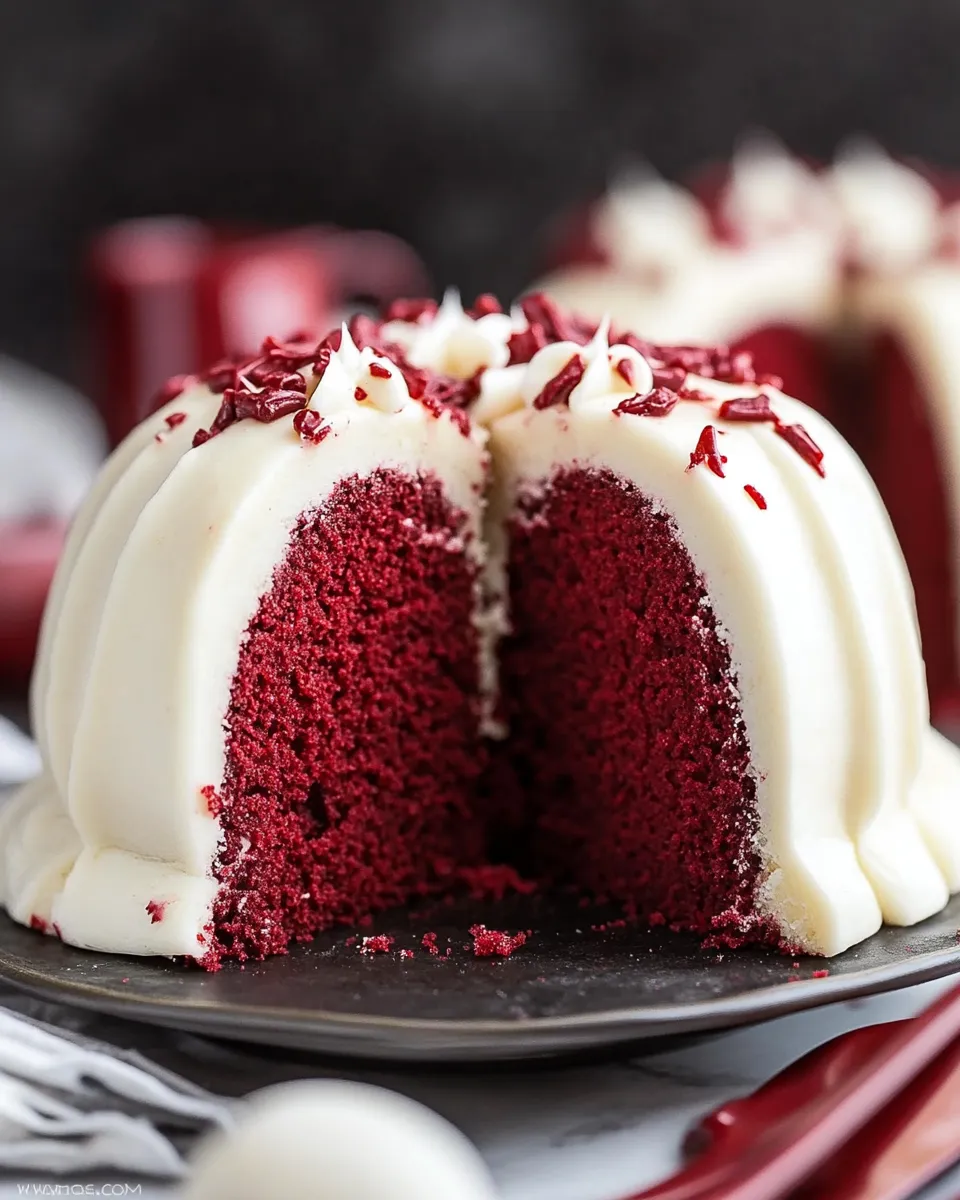
Red velvet pound cake is not just a treat for the eyes; it’s a delight to the taste buds as well.
Its luxurious texture and the perfect balance of sweetness make it an irresistible dessert.
Whether enjoyed as an everyday treat or as the centerpiece for a special occasion, this recipe is sure to elicit smiles and requests for seconds.
So, gather your ingredients and whip up this fabulous cake—you won’t regret it!
Red Velvet Pound Cake
Equipment
- Mixing Bowl
- Loaf Pan
- Hand Mixer
Ingredients
Dry Ingredients
- 2.75 cups All-purpose flour
- 3 tablespoons Unsweetened cocoa powder
- 1 teaspoon Baking soda
- 1 teaspoon Salt
Wet Ingredients
- 1.75 cups Granulated sugar
- 0.5 cup Canola or vegetable oil
- 0.5 cup Unsalted butter, softened
- 3 large Eggs, at room temperature
- 1-2 tablespoons Red food coloring
- 1 tablespoon Pure vanilla extract
- 1 teaspoon Distilled vinegar
- 1 cup Buttermilk
- 1 cup Mini chocolate chips (optional)
Instructions
- Step 1: Preheat your oven to 350°F (175°C).
- Step 2: Grease a 9×5 inch loaf pan with non-stick spray or butter and flour it lightly.
- Step 3: In a large bowl, whisk together the all-purpose flour, cocoa powder, baking soda, and salt. Set aside.
- Step 4: In another bowl, cream the softened butter and granulated sugar until light and fluffy, about 4-5 minutes.
- Step 5: Add the eggs one at a time, mixing well after each addition. Stir in the red food coloring, vanilla extract, and vinegar.
- Step 6: Gradually add the dry mixture and buttermilk to the wet mixture, starting and ending with the dry ingredients. Mix just until combined.
- Step 7: If using, gently fold in the mini chocolate chips.
- Step 8: Pour the batter into the prepared loaf pan and smooth the top. Bake for 60-70 minutes or until a toothpick comes out clean.
- Step 9: Let the cake cool in the pan for 10 minutes, then turn it out onto a wire rack to cool completely.