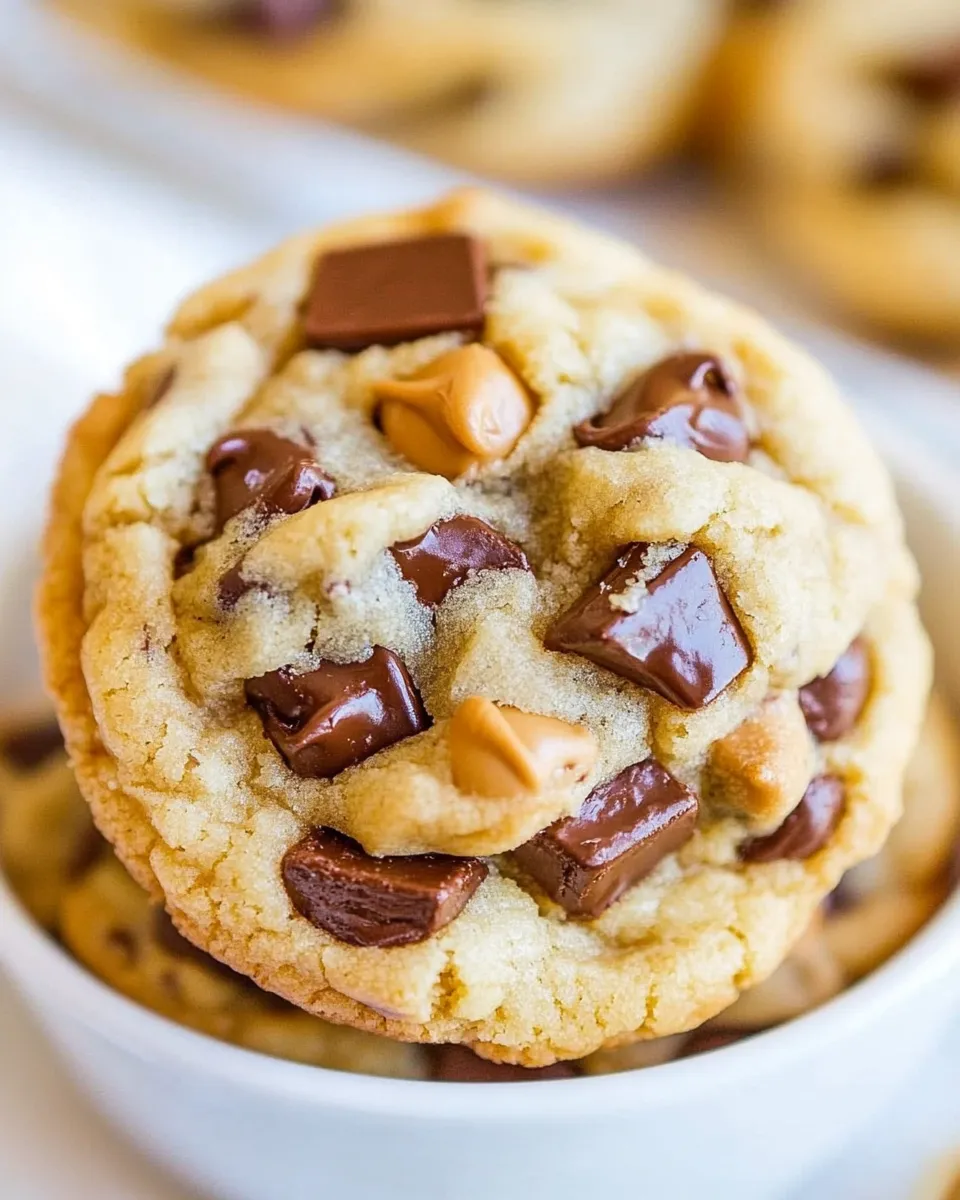
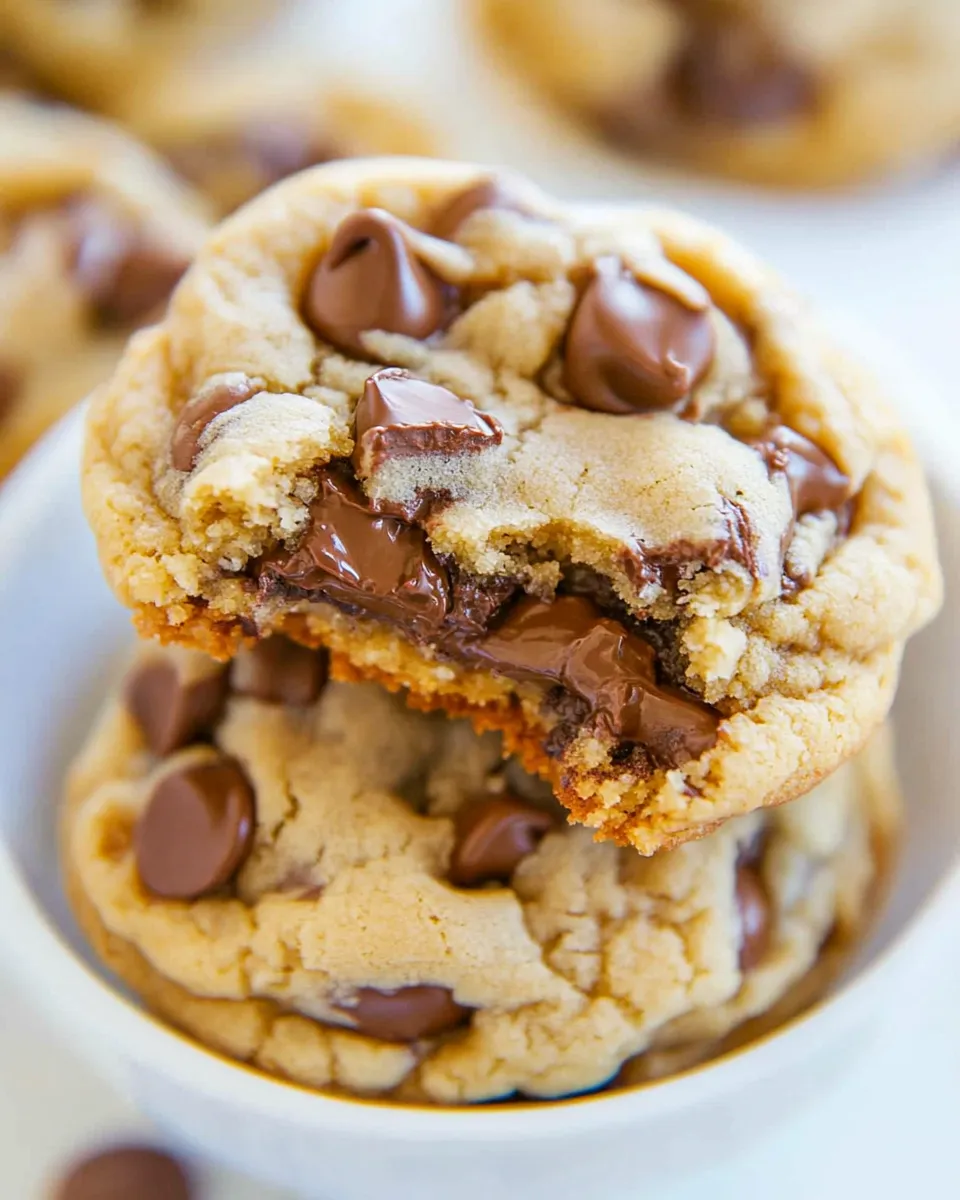
These cookies are exactly what they promise: soft, chewy, and studded with chopped Snickers and melty semi-sweet chocolate. I test recipes until they behave predictably, and this one gave me the texture I want every time — a tender center, slightly set edges, and candy pieces that keep each bite interesting.
There’s practical technique behind the texture: creaming the butter and sugars until light, folding in the candy gently, and most importantly, chilling the scooped dough. Chilling stops the cookies from over-spreading and concentrates flavor. Follow the steps and you’ll get consistent results, whether you bake a tray for the family or parcel them up for a neighbor.
Below you’ll find a shopping list, a clear ingredients section pulled directly from the recipe, step‑by‑step instructions (kept in the same order as tested), troubleshooting notes, and ideas for small seasonal tweaks. Read through once, then gather your tools and ingredients — these cookies are worth the effort.
Shopping List
Grab the essentials first: fats, sugars, flour, a single egg, and the candy and chips that make these cookies special. Quantities are repeated later in the Ingredients section, which you should consult at the workbench.
- Unsalted butter (softened)
- Light brown sugar (packed) and granulated sugar
- One large egg and vanilla extract
- All-purpose flour and cornstarch
- Baking soda and a pinch of salt (optional)
- Snickers bars (for dicing) and semi-sweet chocolate chips
- Optional: parchment, Silpat, or cooking spray for baking sheets
Ingredients
- ¾ cup unsalted butter, softened — provides fat for tenderness and flavor; soften to room temperature for proper creaming.
- ¾ cup light brown sugar, packed — adds moisture, chew, and a hint of molasses flavor.
- ¼ cup granulated sugar — helps with spread and gives a lighter texture when combined with brown sugar.
- 1 large egg — binds the dough and contributes to structure and chew.
- 2 teaspoons vanilla extract — rounds out flavors and enhances the candy and chocolate.
- 2 cups all-purpose flour — the base of the dough; measure carefully for consistent texture.
- 2 teaspoons cornstarch — key to a soft, tender center; helps reduce toughness.
- 1 teaspoon baking soda — the leavening that gives lift and slight browning.
- pinch salt, optional and to taste — balances sweetness and brings out chocolate and peanut flavors.
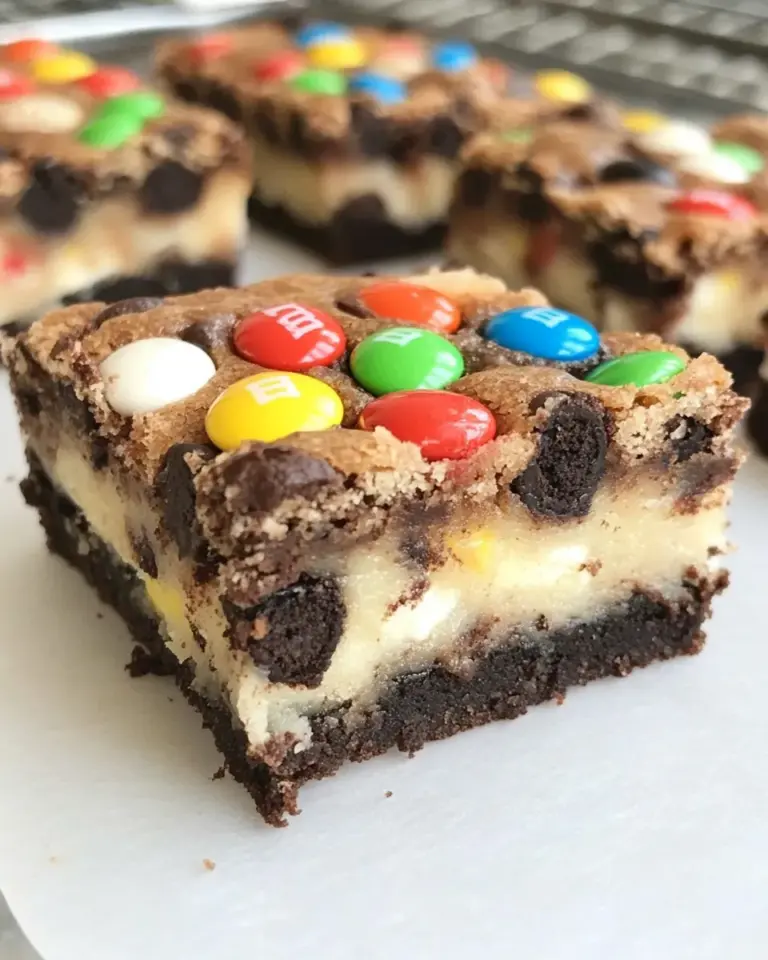
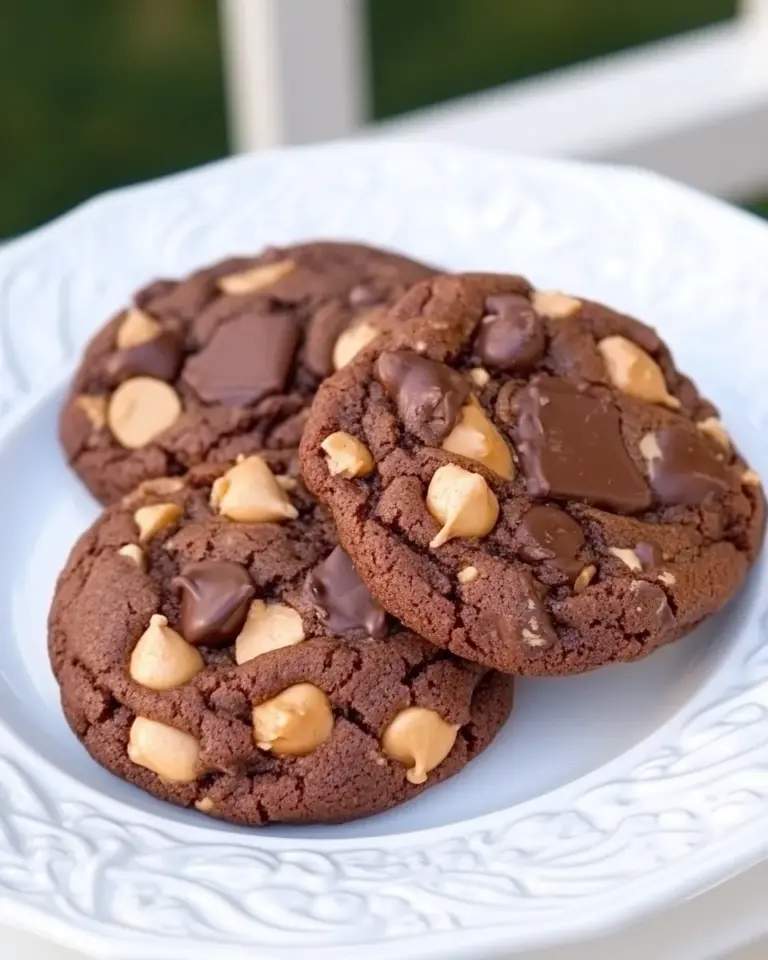
- 1 heaping cup Snickers, diced small and loosely piled in measuring cup (or another variety of candy including M&Ms, Milky Way, Peanut Butter Cups, Rolo, etc.) — the candy adds texture and salted-sweet pockets; dice small so pieces distribute evenly.
- 1 cup semi-sweet chocolate chips — for melty chocolate pockets; semi-sweet balances the candy’s sugar.
Soft and Chewy Snickers Chocolate Chip Cookies, Made Easy
- In the bowl of a stand mixer fitted with the paddle attachment (or in a large bowl with a hand mixer), combine ¾ cup softened unsalted butter, ¾ cup packed light brown sugar, ¼ cup granulated sugar, 1 large egg, and 2 teaspoons vanilla extract. Beat on medium-high speed until the mixture is well-creamed, light and fluffy—about 5 minutes with a stand mixer or about 7 minutes with a hand mixer.
- Stop the mixer and scrape down the sides and bottom of the bowl with a spatula.
- Add 2 cups all-purpose flour, 2 teaspoons cornstarch, 1 teaspoon baking soda, and a pinch of salt (optional and to taste). Mix on low speed (or stir by hand) until just combined, about 1 minute. Do not overmix.
- Add 1 heaping cup diced Snickers (diced small and loosely piled in the measuring cup) and 1 cup semi-sweet chocolate chips. Fold in by hand with a spatula or beat momentarily on low speed until evenly distributed.
- Use a medium 2-inch cookie scoop to portion the dough into heaping mounds (about 26 total). Place the mounds on a large plate or tray. Flatten each mound slightly with your palm, cover the tray tightly with plastic wrap, and refrigerate for at least 2 hours or up to 5 days. (Do not bake warm dough—cookies will spread too much if baked without chilling.)
- When you are ready to bake, preheat the oven to 350°F. Line a baking sheet with a Silpat, parchment paper, or spray it lightly with cooking spray.
- Place chilled dough mounds on the prepared baking sheet spaced at least 2 inches apart (about 8 cookies per sheet). If your dough was chilled overnight and you prefer, let the mounds sit at room temperature for about 15 minutes before baking. (Optional: rotate the baking sheet halfway through baking for more even browning.)
- Bake for 8 to 9 minutes, or until the cookie edges have set and the tops are just beginning to set (they may still look slightly pale and glossy in the center). Do not bake longer than 10 minutes; cookies will firm as they cool.
- Remove the baking sheet from the oven and let cookies cool on the baking sheet for 5 minutes. Then transfer the cookies to a wire rack to finish cooling.
Why Cooks Rave About It
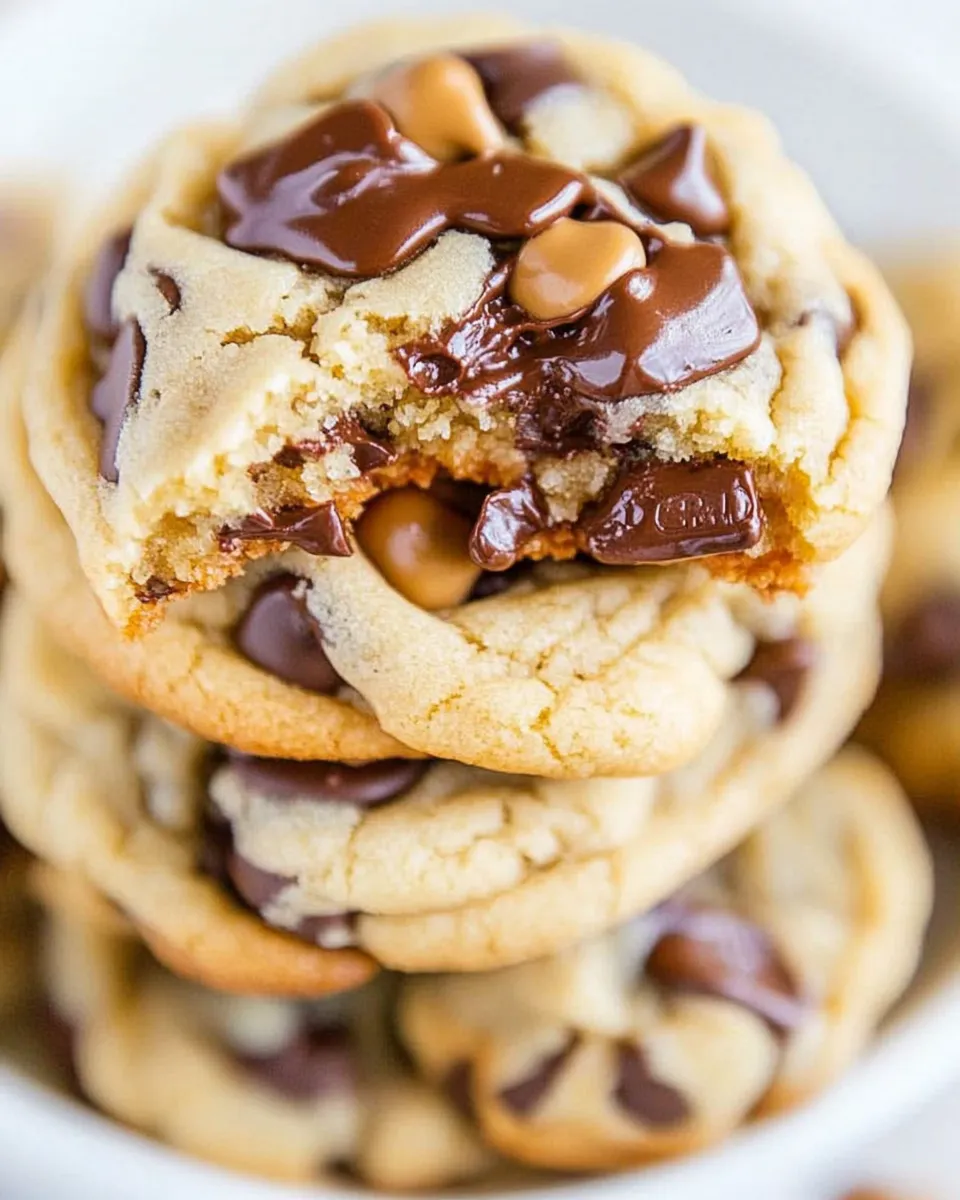
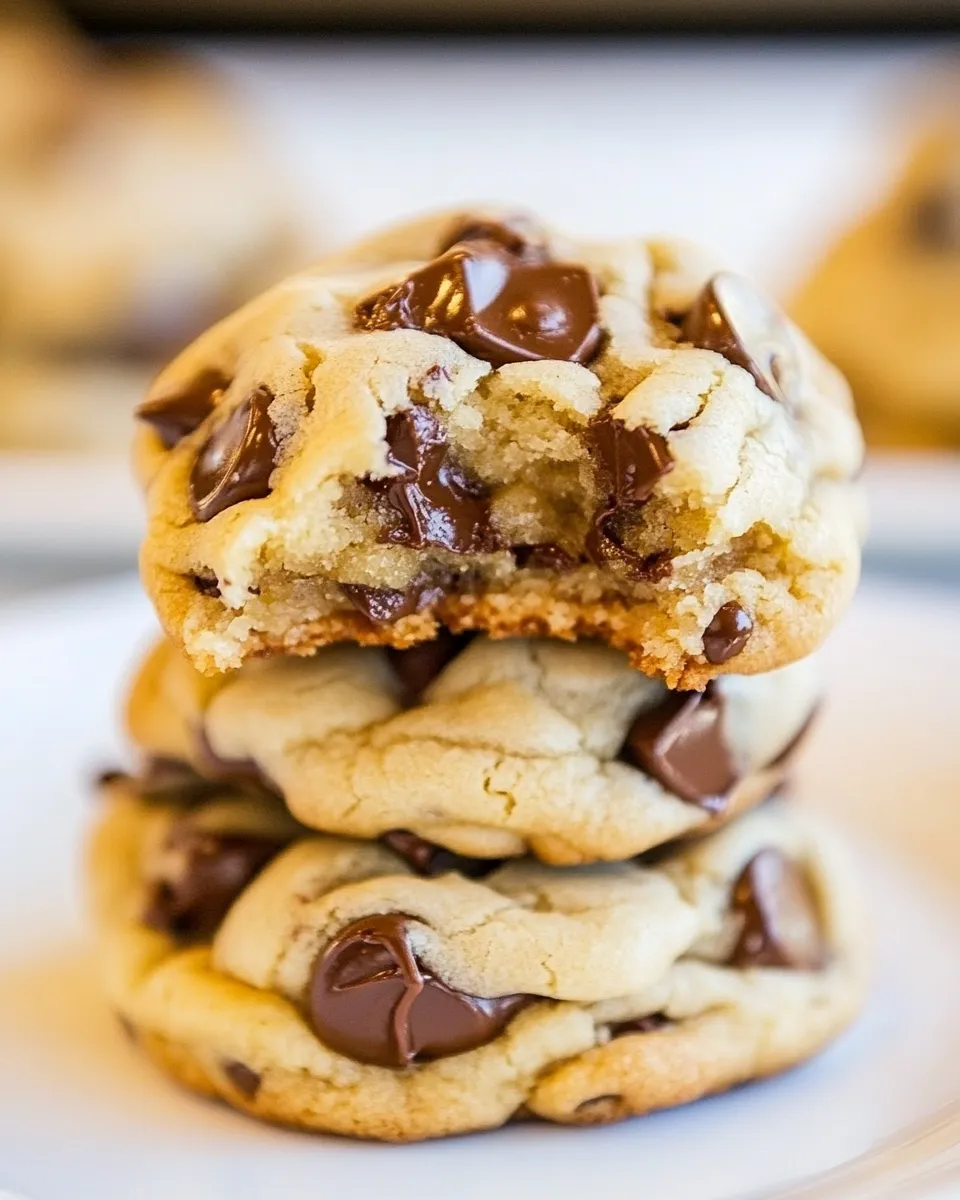
First, the texture. The combination of creamed butter and a small amount of cornstarch produces cookies that stay soft through cooling. The dough is intentionally dense with candy and chips, which helps limit excessive spread and keeps centers chewy.
Second, the contrast of flavors. Salted peanuts in the Snickers, the caramel chew, and semi-sweet chocolate create layers in each bite. Those pockets of candy mean you get different notes — sweet caramel, roasted peanut, and bittersweet chocolate — instead of a uniformly sweet cookie.
Finally, the method is forgiving. Chilling the dough is a simple step with a big payoff: improved texture, less spread, and better flavor development. Even bakers who don’t make cookies often find success with this recipe once they follow the timing and bake window.
Low-Carb/Keto Alternatives
If you’re aiming for a lower-carb version, the key changes are flour, sweetener, and candy. Use nut- or seed-based flours with a tested conversion ratio instead of all-purpose flour and replace brown and granulated sugars with erythritol or monk fruit blends formulated for baking. Swap in sugar-free chocolate chips and omit or replace the candy with chopped sugar-free candy or firm, low-carb nut butter cups.
Note: these swaps affect texture and spread. Expect a different crumb and shorter chill time for doughs with alternative flours. I recommend testing a small batch before committing to a full batch for a gathering.
Recommended Tools
- Stand mixer with paddle attachment (or a hand mixer) — for reliable creaming and an even dough texture.
- Medium 2-inch cookie scoop — ensures uniform cookie size and bake times (about 26 cookies per batch).
- Baking sheets — two at minimum so you can rotate and bake successive trays quickly.
- Parchment paper or a Silpat — for easy release and even browning; you can also use cooking spray if needed.
- Wire cooling rack — lets cookies firm without getting soggy underneath.
- Plastic wrap and a plate or tray — for flattening and covering dough mounds before chilling.
Pitfalls & How to Prevent Them
1. Over-spread cookies
Cause: warm dough, too much butter, or under-chilled dough. Prevention: scoop and slightly flatten mounds, then refrigerate at least 2 hours. If dough feels too soft after chilling, refrigerate longer or place tray in freezer for 10–15 minutes before baking.
2. Dry, cakey cookies
Cause: overmixing after adding dry ingredients, too much flour, or overbaking. Prevention: mix the flour in on low and stop as soon as it’s incorporated. Measure flour by spooning into the cup and leveling rather than scooping directly from the bag.
3. Too-soft cookies that won’t set
Cause: underbaking or very high humidity. Prevention: bake 8–9 minutes and remove when edges are set and centers look slightly glossy. Let cookies cool on the sheet for 5 minutes to finish setting.
Seasonal Twists
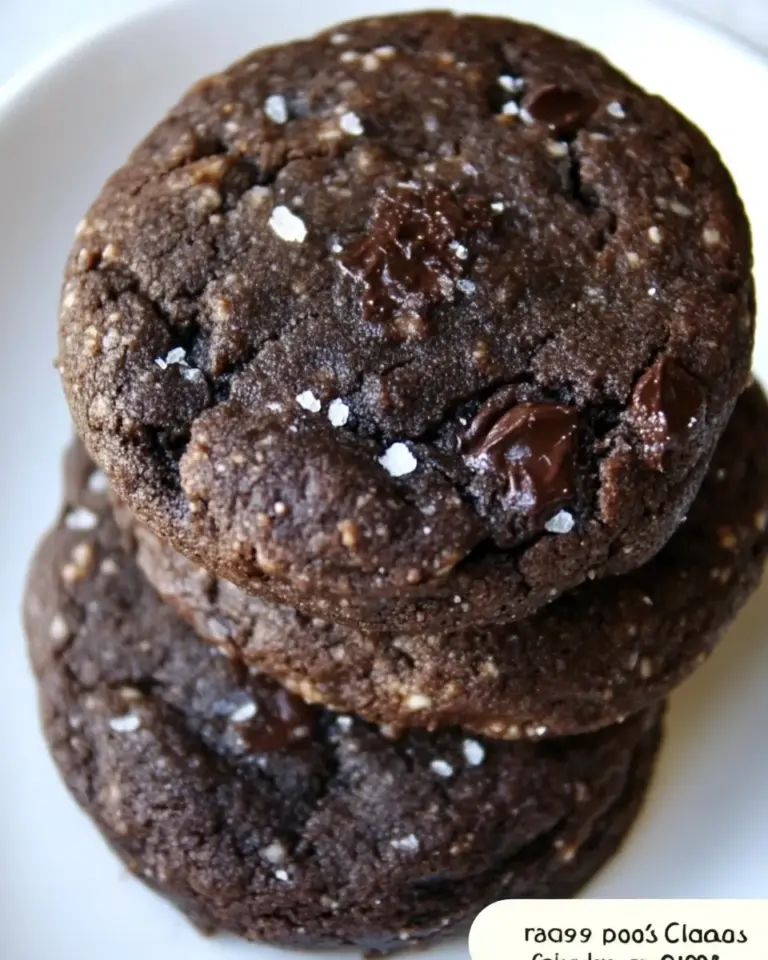
Small swaps make these cookies feel seasonal without changing the technique. In fall, add a pinch of cinnamon and use Snickers with salted caramel notes. Around the holidays, swap semi-sweet chips for dark chocolate and fold in a handful of chopped festive candy or chopped roasted pecans. For summer, add a sprinkle of flaky sea salt right after they come out of the oven to play up contrast against melting chocolate.
Keep the dough chill time and bake window the same; the tweaks are about flavor, not structure.
Notes from the Test Kitchen
I tested several variables: scoop size, chill time, and mix-in size. The medium 2-inch scoop gave reliably sized cookies that bake in that 8–9 minute window. Smaller scoops yield thinner cookies; larger scoops take longer and can be underbaked in the center if you don’t adjust bake time. Dice the Snickers small so the candy distributes; larger chunks tend to cause uneven spread and pockets that sink the cookie.
Creme-style mixing time mattered. The stand mixer on medium-high for about 5 minutes produced a lighter, aerated dough that baked up with slight lift. If you’re using a hand mixer, increase that to about 7 minutes as called for to reach the same texture.
Freezer-Friendly Notes
These cookies freeze very well. You can freeze the scooped, chilled dough mounds on a tray, then transfer them to a sealed container or freezer bag for up to 3 months. Bake from frozen — add 1–2 minutes to the bake time and watch for the same visual cues: edges set and centers just beginning to lose shine.
Baked cookies also freeze nicely. Layer them between sheets of parchment in an airtight container and freeze up to 3 months. Thaw at room temperature for 30–60 minutes before serving so the chocolate softens.
Your Questions, Answered
Q: Can I use salted butter? A: Yes. If you use salted butter, omit or reduce the added pinch of salt. Taste preferences vary; salted butter will add a subtle savory lift.
Q: Can I make the dough a day ahead? A: Yes. The recipe allows refrigerating the dough mounds up to 5 days. Let them sit at room temperature for about 15 minutes before baking if they feel rock-hard.
Q: What if my Snickers are too sticky to dice cleanly? A: Pop the candy in the freezer for 10–15 minutes to firm it up slightly; it’ll dice cleaner and distribute more easily in the dough.
In Closing
These Soft and Chewy Snickers Chocolate Chip Cookies are straightforward to make and reward patience in the chilling stage. The method yields predictable texture: tender centers with set edges and candy-studded bites. Follow the ingredient list and instructions as written, respect the chill time, and you’ll have cookies that travel, gift, and vanish from the cookie plate for all the right reasons.
Make a batch this weekend. Scoop, chill, and bake — and keep an eye out for those pockets of caramel and chocolate. They’re the reason we come back for seconds.
Soft and Chewy Snickers Chocolate Chip Cookies
Equipment
- Stand mixer
- paddle attachment
- Hand Mixer
- Spatula
- medium 2-inch cookie scoop
- Baking Sheet
- Silpat
- Parchment Paper
- Cooking spray
- Plastic Wrap
- Wire Rack
Ingredients
Ingredients
- 3/4 cupunsalted butter softened
- 3/4 cuplight brown sugar packed
- 1/4 cupgranulated sugar
- 1 large egg
- 2 teaspoonsvanilla extract
- 2 cupsall-purpose flour
- 2 teaspoonscornstarch
- 1 teaspoonbaking soda
- pinchsalt optional and to taste
- 1 heaping cup Snickers diced small and loosely piled in measuring cup (or another variety of candy including M&Ms, Milky Way, Peanut Butter Cups, Rolo, etc.)
- 1 cupsemi-sweet chocolate chips
Instructions
Instructions
- In the bowl of a stand mixer fitted with the paddle attachment (or in a large bowl with a hand mixer), combine ¾ cup softened unsalted butter, ¾ cup packed light brown sugar, ¼ cup granulated sugar, 1 large egg, and 2 teaspoons vanilla extract. Beat on medium-high speed until the mixture is well-creamed, light and fluffy—about 5 minutes with a stand mixer or about 7 minutes with a hand mixer.
- Stop the mixer and scrape down the sides and bottom of the bowl with a spatula.
- Add 2 cups all-purpose flour, 2 teaspoons cornstarch, 1 teaspoon baking soda, and a pinch of salt (optional and to taste). Mix on low speed (or stir by hand) until just combined, about 1 minute. Do not overmix.
- Add 1 heaping cup diced Snickers (diced small and loosely piled in the measuring cup) and 1 cup semi-sweet chocolate chips. Fold in by hand with a spatula or beat momentarily on low speed until evenly distributed.
- Use a medium 2-inch cookie scoop to portion the dough into heaping mounds (about 26 total). Place the mounds on a large plate or tray. Flatten each mound slightly with your palm, cover the tray tightly with plastic wrap, and refrigerate for at least 2 hours or up to 5 days. (Do not bake warm dough—cookies will spread too much if baked without chilling.)
- When you are ready to bake, preheat the oven to 350°F. Line a baking sheet with a Silpat, parchment paper, or spray it lightly with cooking spray.
- Place chilled dough mounds on the prepared baking sheet spaced at least 2 inches apart (about 8 cookies per sheet). If your dough was chilled overnight and you prefer, let the mounds sit at room temperature for about 15 minutes before baking. (Optional: rotate the baking sheet halfway through baking for more even browning.)
- Bake for 8 to 9 minutes, or until the cookie edges have set and the tops are just beginning to set (they may still look slightly pale and glossy in the center). Do not bake longer than 10 minutes; cookies will firm as they cool.
- Remove the baking sheet from the oven and let cookies cool on the baking sheet for 5 minutes. Then transfer the cookies to a wire rack to finish cooling.
Notes
Storage:
Store cookies airtight container at room temperature for up to 1 week, or in the freezer for up to 3 months. Alternatively, unbaked cookie dough can be stored airtight in the refrigerator for up to 5 days, so consider baking only as many cookies as desired and save the remaining dough to be baked in the future when desired.