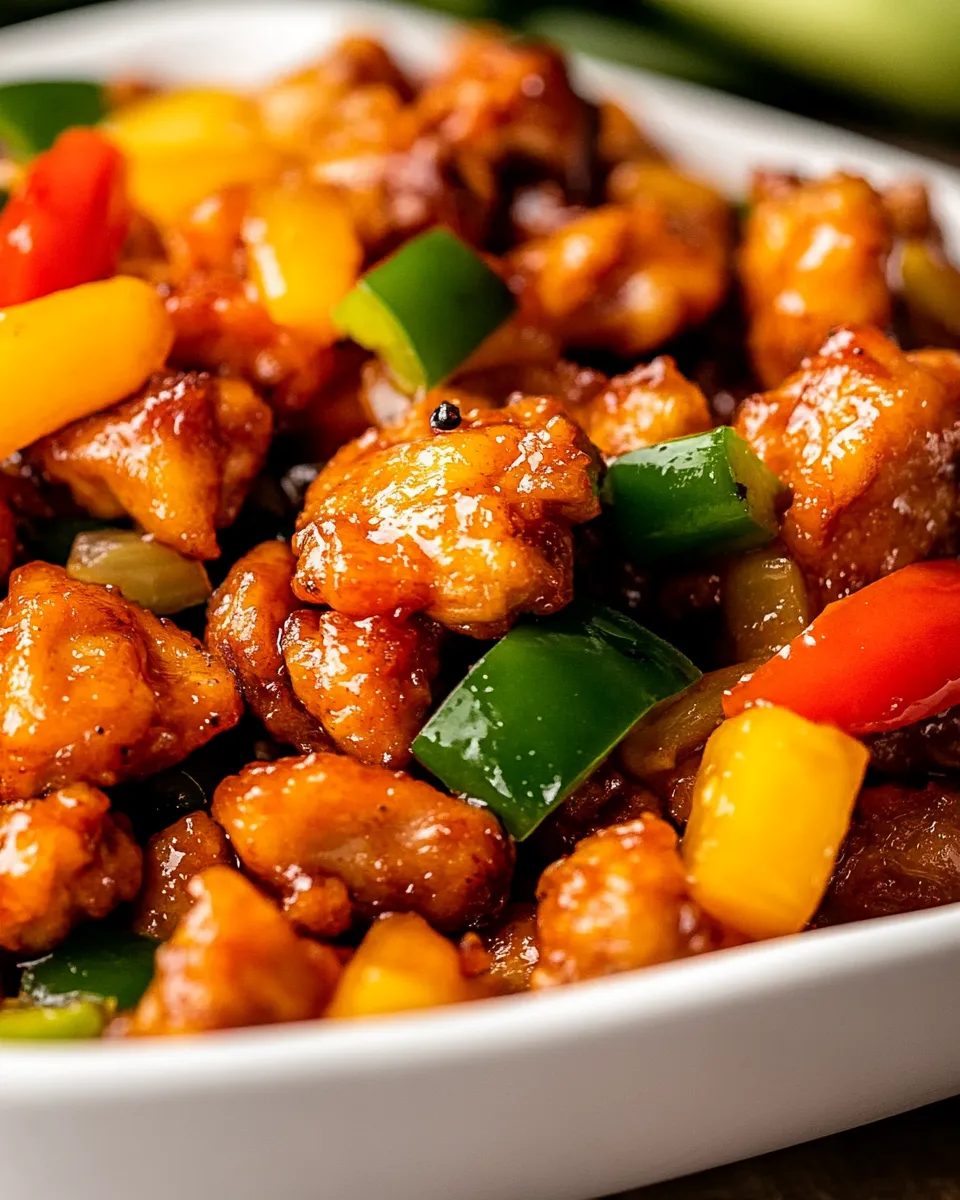
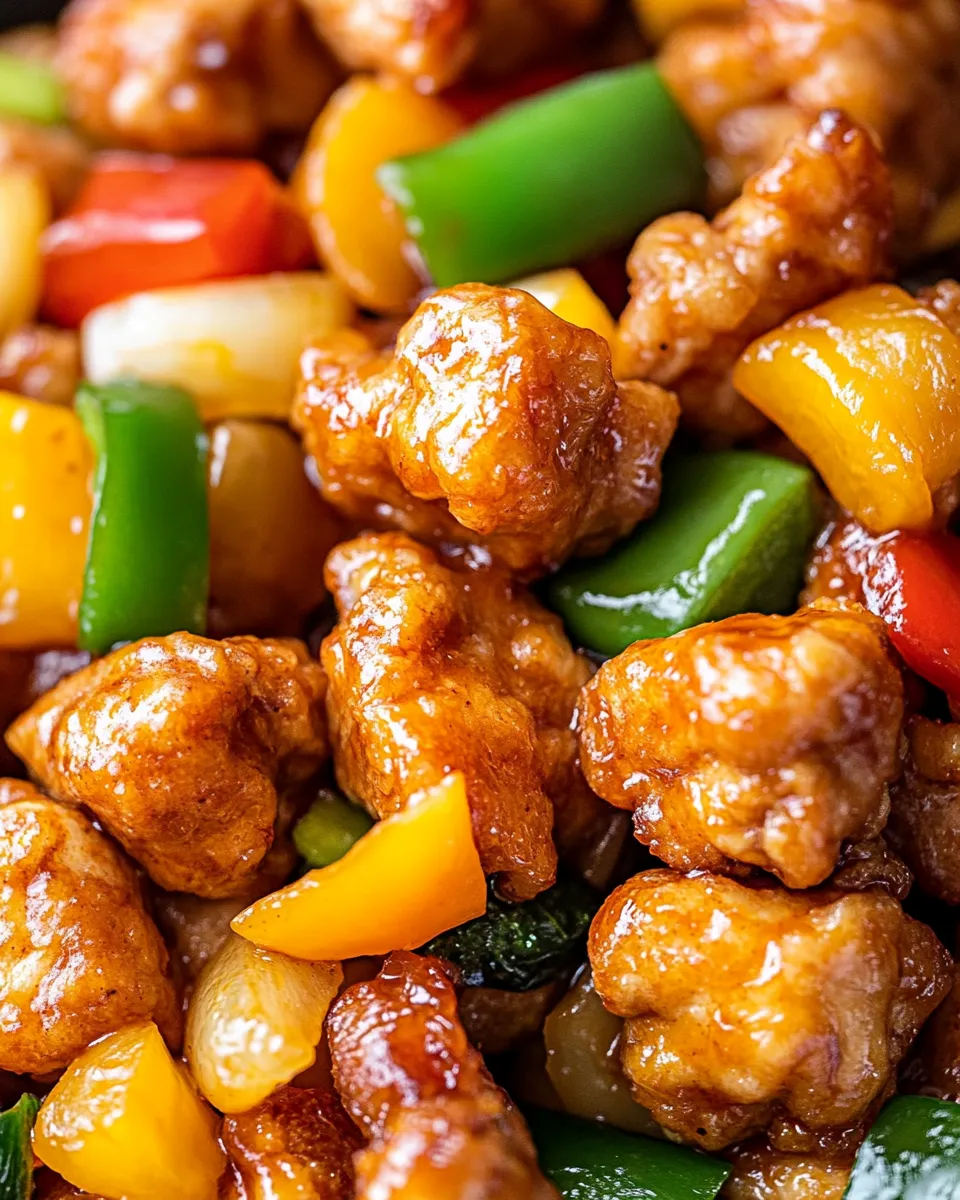
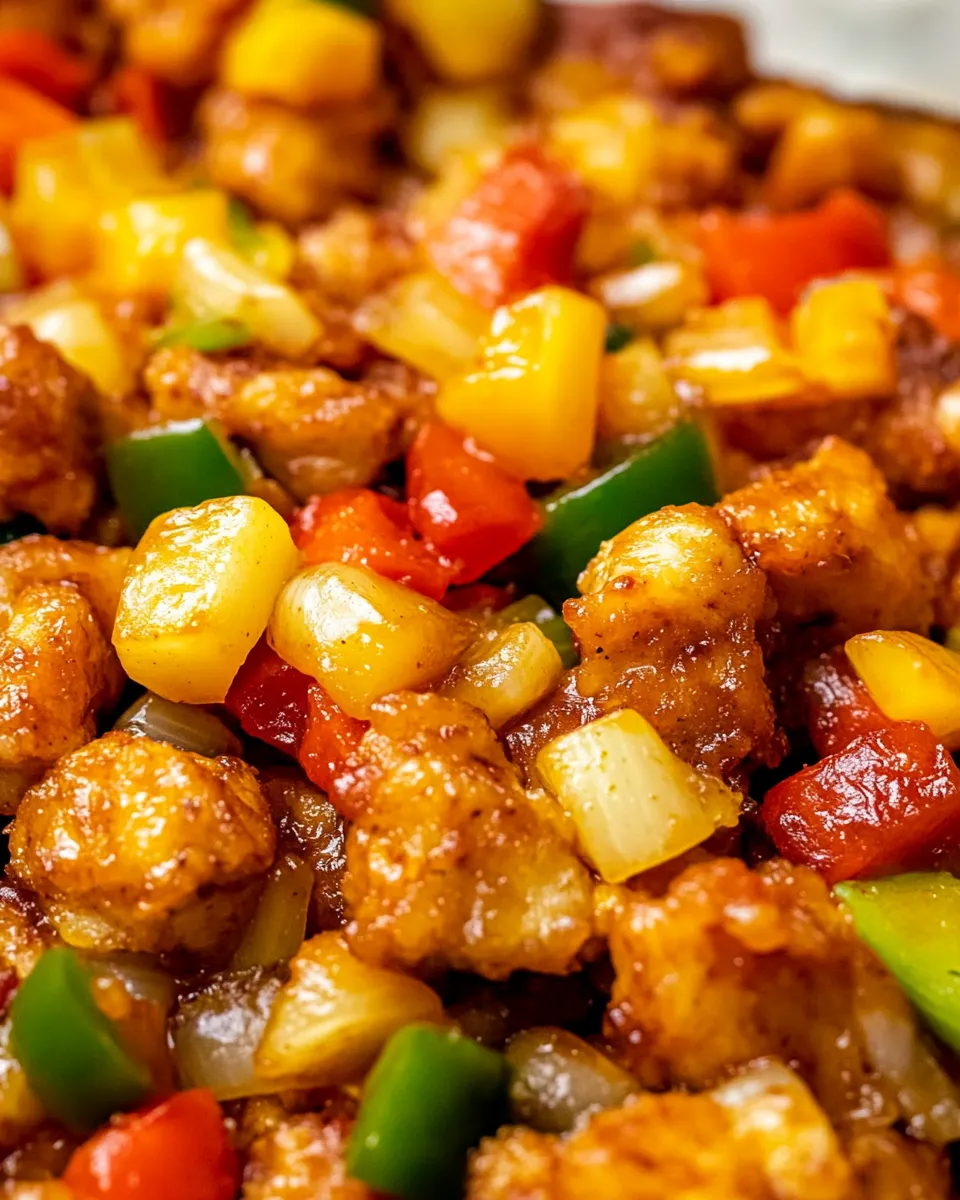
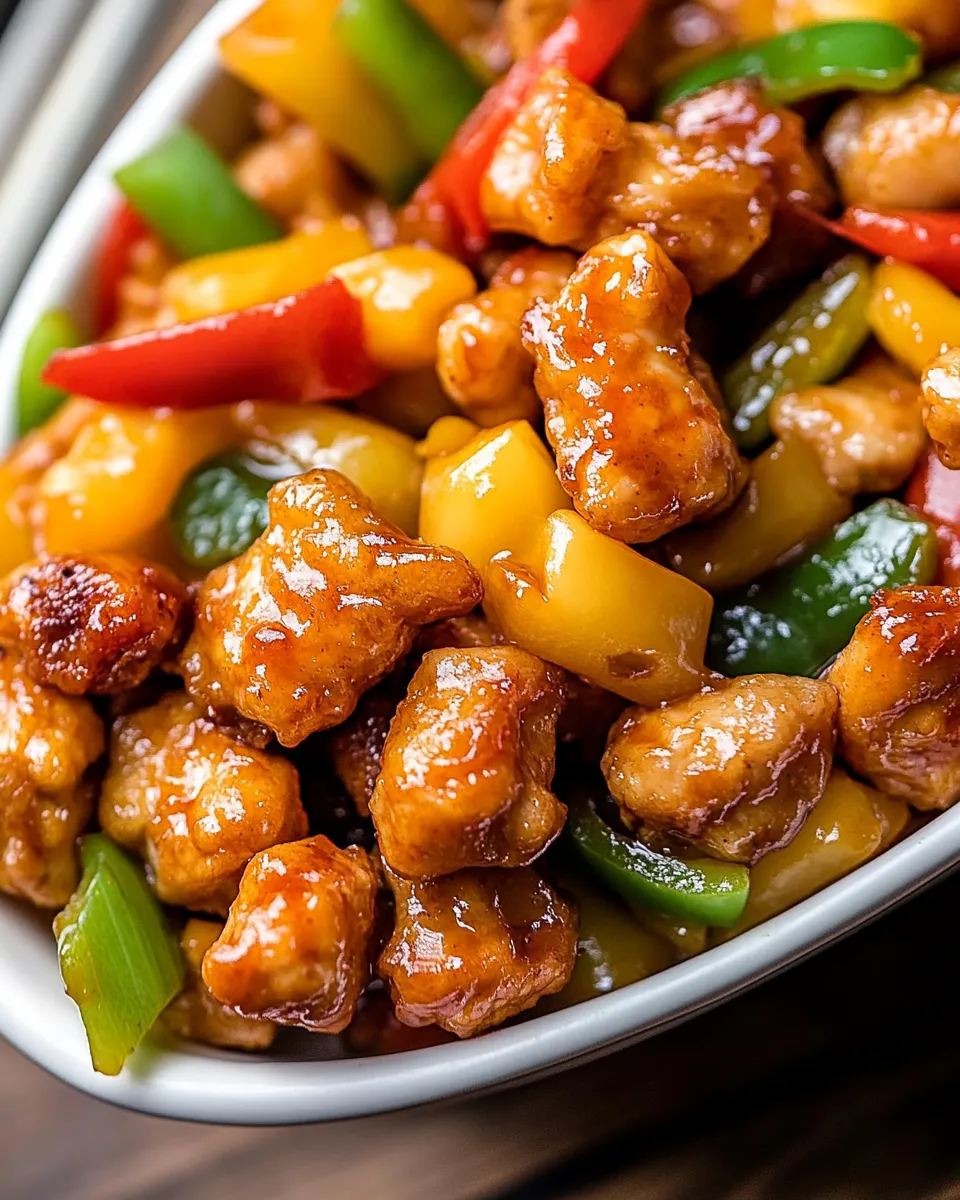
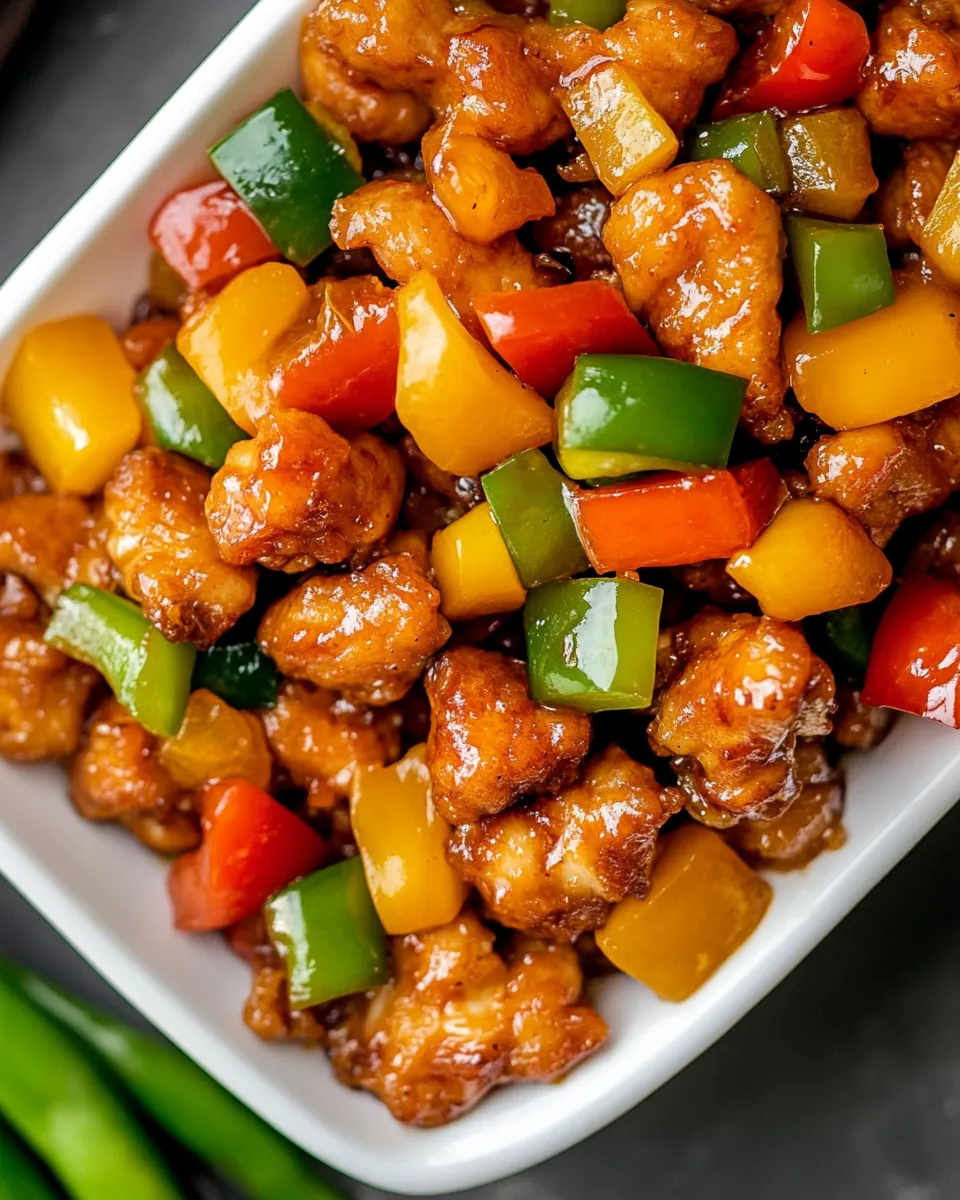
Sweet and Sour Chicken is one of those classic dishes that brightens up any meal.
It has everything you want in a dinner: tender chicken, vibrant veggies, and a sauce that dances between sweet and tangy.
This dish is a favorite for a reason, and the best part? It’s easier to make than you might think! Perfect for a cozy family dinner or a fun night with friends, this recipe will have everyone coming back for seconds.
Why This Recipe Is a Must-Try
If you’re looking for a simple yet delicious dinner option, Sweet and Sour Chicken checks all the boxes.
The chicken is coated in a light, crispy batter, while the combination of peppers, onion, and pineapple gives a burst of flavor and color.
Plus, the sweet and tangy sauce brings everything together beautifully.
This dish is not only satisfying but also quite adaptable, allowing you to personalize it with your favorite ingredients.
Trust me, once you try this recipe, it will become a go-to in your kitchen rotation!
Ingredients
- 1 pound (450 g) chicken breasts, boneless and skinless, cut into ½ -inch chunks (thighs can be used as well)
- ½ teaspoon kosher salt
- Oil for frying (I use canola or vegetable oil)
- ⅓ cup cornstarch (cornflour in the UK)
- 2 large eggs, lightly beaten
- ¼ cup (30 g) all-purpose flour
- 1 medium yellow onion, diced into bite-size pieces (about 1 inch)
- 1 medium red bell pepper, diced into bite-size pieces (about 1 inch)
- 1 medium green bell pepper, diced into bite-size pieces (about 1 inch)
- 1 cup pineapple chunks, fresh or canned (if using canned, save the juice for the sauce)
- 3 cloves garlic, minced
How To Make Sweet and Sour Chicken
Step 1: Prepare the Chicken
Start by cutting your chicken into bite-sized chunks—no chunks larger than ½ inch! This ensures that they cook evenly and easily.
Once that’s done, sprinkle the chicken with the kosher salt and give it a gentle toss to coat.
Step 2: Set Up the Breading Station
In one bowl, place the cornstarch, and in another bowl, add the beaten eggs.
In a third bowl, combine the all-purpose flour with a bit of additional salt if desired.
You’ll create a crispy coating for the chicken with these three elements.
Step 3: Coat the Chicken
First, take a piece of chicken and dip it in the cornstarch, making sure it gets coated evenly.
Next, dip it into the beaten egg, letting any excess drip off, and finally, roll it in the flour mixture.
This three-step process ensures a super crispy texture!
Step 4: Fry the Chicken
Heat about an inch of oil in a large skillet over medium-high heat.
When the oil is hot, but not smoking, carefully add the coated chicken in batches.
Fry them for about 3–4 minutes, or until they’re golden brown and cooked through.
Use a slotted spoon to transfer the chicken to a paper towel-lined plate to drain excess oil.
Step 5: Stir-Fry the Veggies
In the same skillet, add a little more oil if needed, and toss in the onion and bell peppers.
Stir-fry them for about 4–5 minutes until they’re tender but still crisp.
Add the minced garlic and fry for an extra minute until it’s fragrant.
Step 6: Make the Sauce
If you used canned pineapple, mix the reserved juice with a few tablespoons of vinegar, soy sauce, and a little sugar or honey in a bowl.
Pour the sauce over the sautéed vegetables and let it simmer for a minute to combine the flavors.
Step 7: Combine Everything
Add the fried chicken and pineapple chunks to the skillet and stir everything together so that the chicken is well coated in the sweet and sour sauce.
Cook for another 2 minutes until everything is heated through.
Step 8: Serve and Enjoy
This dish is best served hot with fluffy rice or noodles.
Enjoy the tantalizing sweet and sour flavors that will surely impress your family and friends!
Expert Tips
- Let the chicken sit in the salt for about 15 minutes before frying to enhance the flavor.
- Make sure the oil is hot enough before adding the chicken to ensure a crispy coating.
- If you like extra sauce, you can double the sauce ingredients for an even more decadent dish.
- For more texture, feel free to add other vegetables like snap peas or carrots!
Variations and Customizations
- Swap the pineapple for mango or add a splash of orange juice for a citrusy twist.
- If you prefer a bit of heat, throw in some sliced jalapeños or red pepper flakes.
- Use diced tofu instead of chicken for a vegetarian version.
- Add some crushed peanuts or sesame seeds on top for an extra crunch!
How to Store Leftovers
If you have any leftovers (which might be hard to believe!), store them in an airtight container in the refrigerator for up to three days.
To reheat, simply warm it up in a skillet over medium heat until everything is heated through.
You can add a splash of water or extra pineapple juice to keep it saucy!
FAQ
Can I use frozen chicken for this recipe?
Yes, you can use frozen chicken! Just make sure to fully thaw it first and pat it dry to ensure the coating sticks well.
What can I serve with Sweet and Sour Chicken?
This dish pairs wonderfully with steamed rice, fried rice, or even noodles.
You can also serve it with a side of crispy egg rolls or spring rolls!
How do I make it gluten-free?
To make Sweet and Sour Chicken gluten-free, simply substitute the all-purpose flour with a gluten-free flour blend and use a gluten-free soy sauce.
Can I make Sweet and Sour Chicken ahead of time?
While the dish is best served fresh, you can prepare the chicken and vegetables in advance.
Just bread and fry the chicken before serving to maintain that crispy texture.
The sauce can also be made a day ahead and reheated when ready to combine!
Conclusion
Sweet and Sour Chicken is a satisfying and easy dish that’s perfect for any occasion.
With its crispy texture and balanced flavor, it’s sure to be a hit at your dining table.
You’ll love how customizable it is, allowing you to experiment with different ingredients until it’s just the way you like it.
So gather your ingredients and give this recipe a try.
Your taste buds will thank you!
Sweet and Sour Chicken
Equipment
- Large Skillet
- Mixing Bowls
- Slotted Spoon
Ingredients
Chicken
- 1 pound boneless, skinless chicken breasts cut into ½-inch chunks
Seasoning
- ½ teaspoon kosher salt
Breading
- ⅓ cup cornstarch
- 2 large eggs lightly beaten
- ¼ cup all-purpose flour
Vegetables
- 1 medium yellow onion diced into bite-size pieces
- 1 medium red bell pepper diced into bite-size pieces
- 1 medium green bell pepper diced into bite-size pieces
- 1 cup pineapple chunks fresh or canned
- 3 cloves garlic minced
Oil
- as needed oil for frying canola or vegetable oil
Instructions
- Step 1: Prepare the Chicken - Cut chicken into bite-sized chunks and sprinkle with kosher salt.
- Step 2: Set Up the Breading Station - Place cornstarch in one bowl, beaten eggs in another, and combine flour with salt in a third bowl.
- Step 3: Coat the Chicken - Dip chicken in cornstarch, then in eggs, and finally roll in flour mixture.
- Step 4: Fry the Chicken - Heat oil in a skillet and fry chicken in batches until golden brown.
- Step 5: Stir-Fry the Veggies - In the same skillet, stir-fry onion and bell peppers until tender, then add garlic.
- Step 6: Make the Sauce - Mix reserved pineapple juice with vinegar, soy sauce, and sugar/honey, then pour over veggies.
- Step 7: Combine Everything - Add fried chicken and pineapple to the skillet, stir to coat in sauce, and heat through.
- Step 8: Serve and Enjoy - Serve hot with rice or noodles.