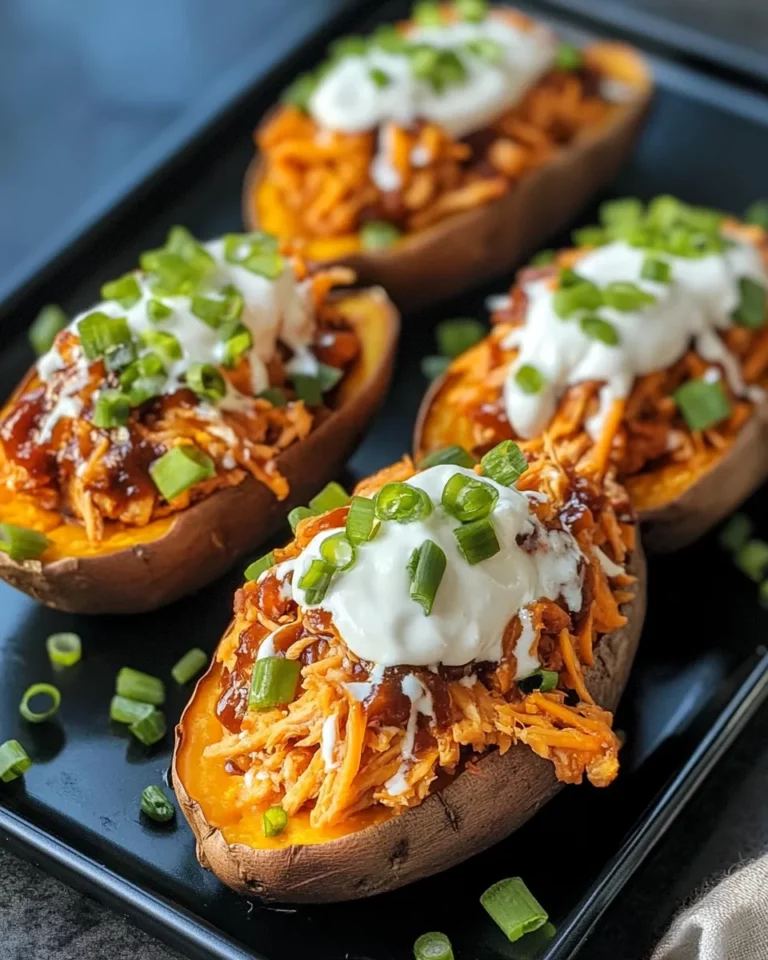
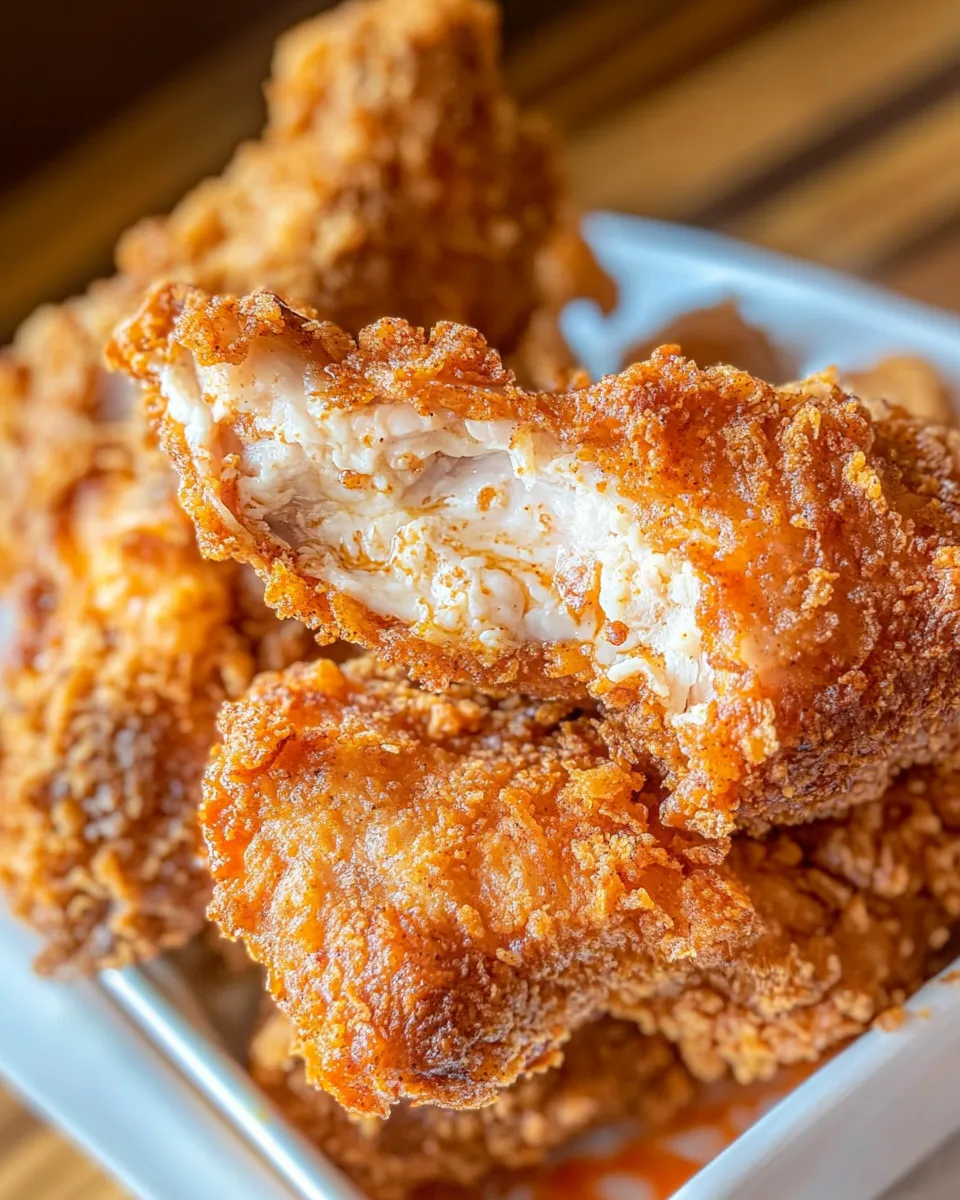
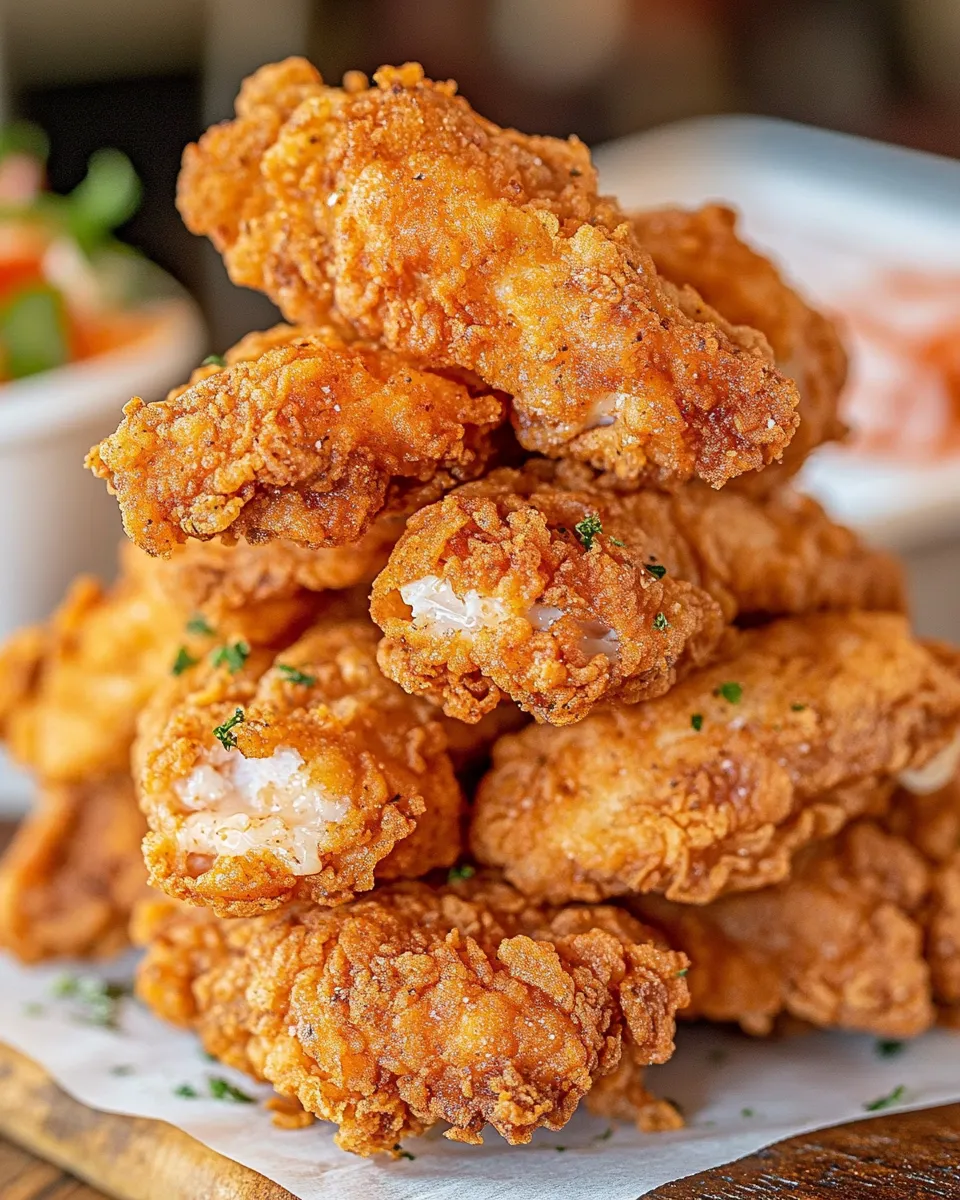
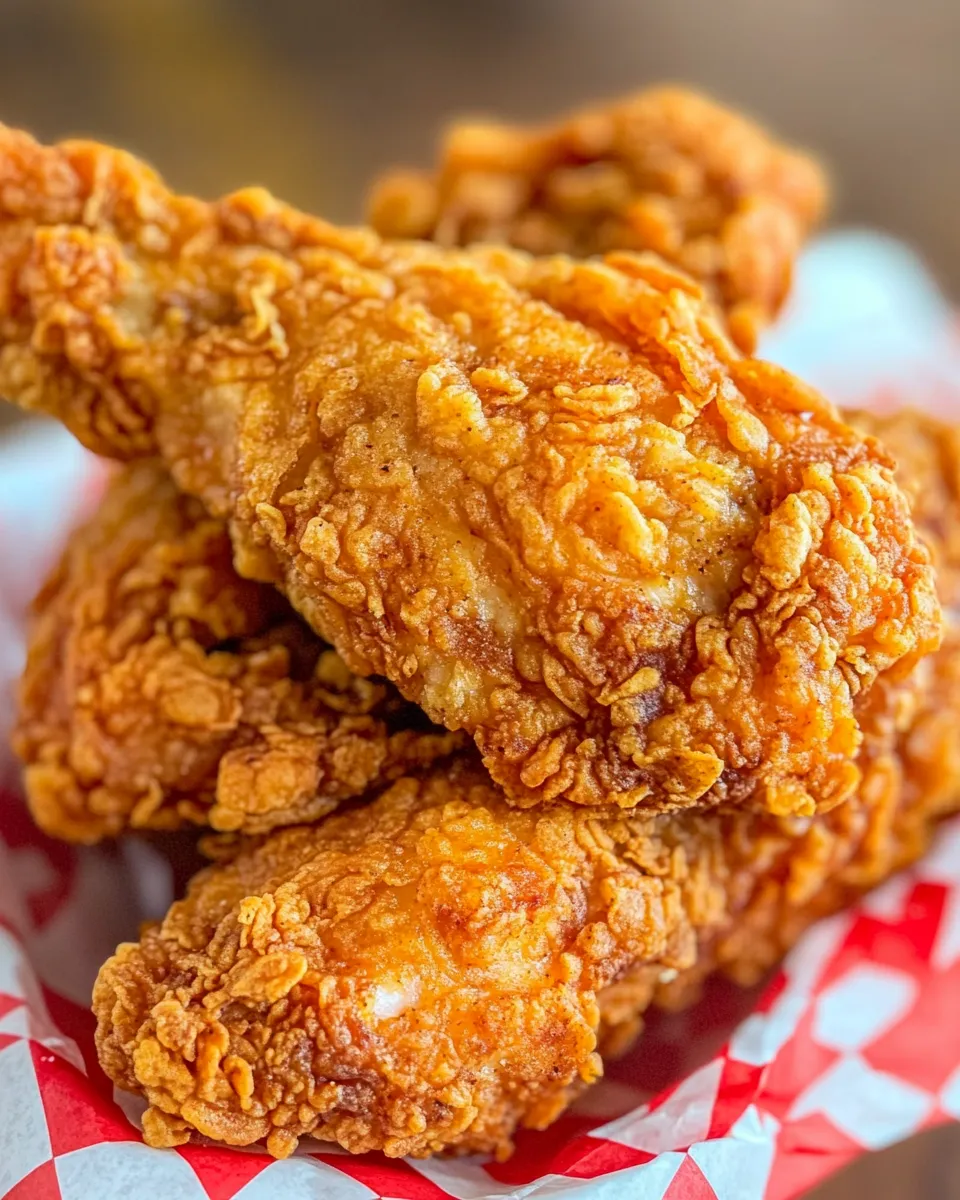
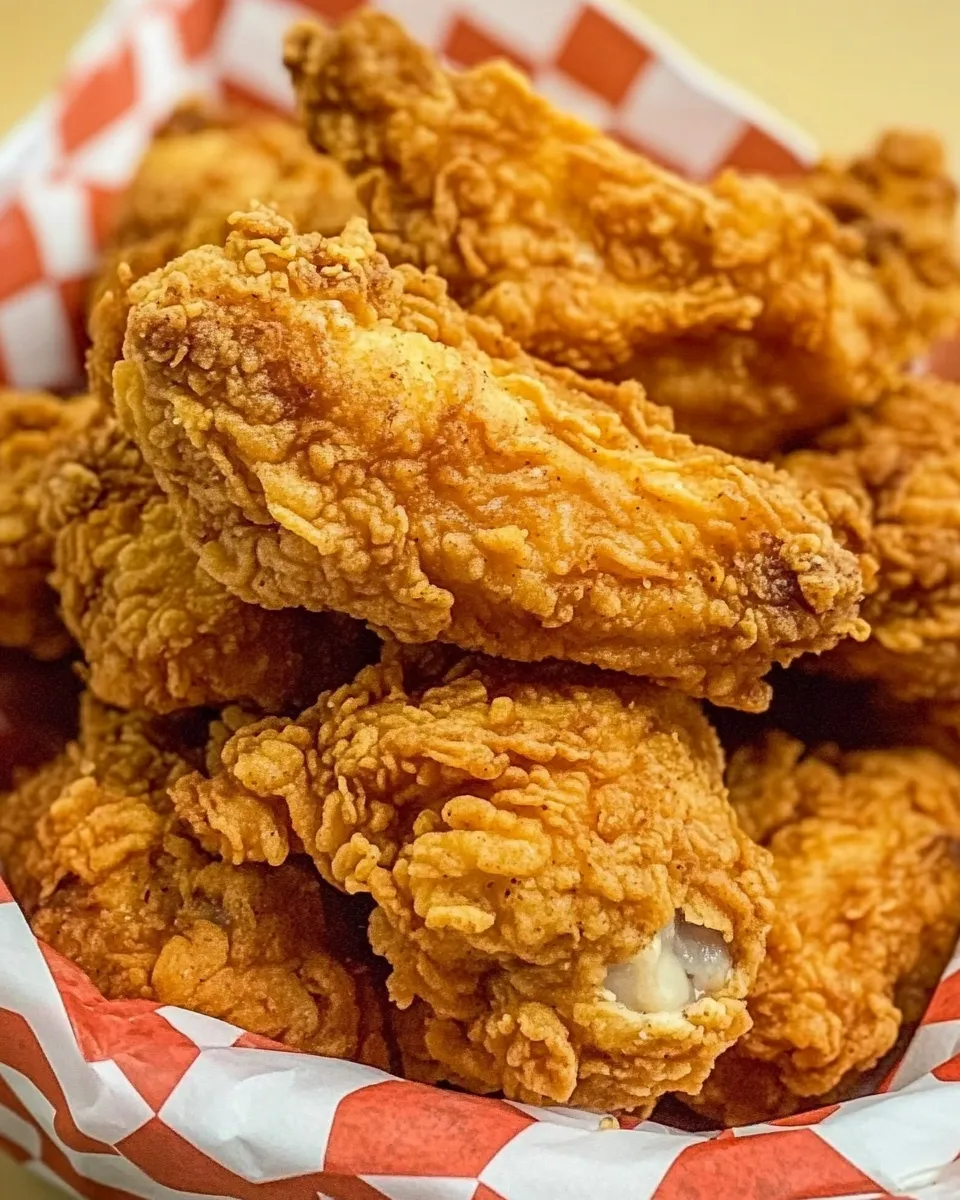
There’s nothing quite like biting into a piece of perfectly fried chicken.
It’s juicy on the inside, crispy on the outside, and bursting with flavor.
This buttermilk fried chicken recipe is simple yet oh-so-delicious, making it the perfect dish for family gatherings, picnics, or just a comforting dinner at home.
With just a few ingredients, including a whole chicken and some buttermilk, you can create a meal that everyone will rave about.
Let’s dive into the deliciousness!
Why This Recipe Is a Must-Try
If you’ve ever had a craving for fried chicken, this recipe is exactly what you need.
The use of buttermilk adds a tangy flavor and tenderizes the chicken, resulting in moist, flavorful meat.
The frying process gives that golden, crunchy coating that we all love.
Plus, it’s easy to make, and you probably have most of the ingredients at home already.
With this buttermilk fried chicken recipe, you’ll impress your family and friends with your cooking skills!
Ingredients
- 1 3.5-4lb whole chicken, cut into 8 pieces
- 2 cups buttermilk
- ½ teaspoon salt
- Oil for frying (vegetable or canola oil works best)
These four ingredients are the stars of the show.
It’s amazing how simple it is to create something so tasty.
How To Make The Best Buttermilk Fried Chicken Recipe
Step 1: Marinate the Chicken
Start by washing your chicken pieces under cold running water.
Pat them dry with paper towels.
In a large bowl, mix the buttermilk and salt together until combined.
Add the chicken pieces to the bowl, making sure each piece is submerged in the buttermilk.
Cover the bowl with plastic wrap and refrigerate for at least 4 hours, or overnight if you can.
Step 2: Prepare for Frying
Once your chicken has marinated, it’s time to get ready to fry! Remove the chicken from the fridge and let it sit at room temperature for about 30 minutes.
This helps the chicken cook more evenly.
In a large, heavy-duty pot or deep fryer, heat your oil.
You’ll need enough oil to cover the chicken pieces completely.
Heat it to about 350°F (175°C).
Step 3: Coat the Chicken
While the oil is heating, remove the chicken from the buttermilk, allowing the excess buttermilk to drip off.
You can use a paper towel if needed.
For extra crunch, you can lightly dust the chicken with flour or your favorite seasoning mix, but keeping it simple with just salt allows the flavor of the chicken to shine through.
Step 4: Fry the Chicken
Once the oil is hot, carefully lower each piece of chicken into the pot, skin side down.
Make sure not to overcrowd the pan; you may need to fry the chicken in batches.
Fry the chicken for about 15-18 minutes on the first side, until it’s a beautiful golden brown.
Flip the chicken and let it cook for another 10-15 minutes on the other side.
Step 5: Drain and Cool
When the chicken is done, use tongs to remove it from the oil, and place it on a wire rack with paper towels underneath to drain excess oil.
The wire rack helps keep the chicken crisp instead of letting it steam.
Step 6: Serve and Enjoy!
Now it’s time to dig in! The aroma filling your kitchen is incredible.
Serve the chicken with your favorite sides like coleslaw, mashed potatoes, or cornbread.
Enjoy every crispy, juicy bite!
Expert Tips
- Always marinate the chicken for at least 4 hours, but overnight is best for maximum tenderness.
- Use a thermometer to check the oil temperature to ensure perfectly cooked chicken.
- If you’d like extra flavor, you can add spices like paprika, garlic powder, or cayenne pepper to the buttermilk marinade.
- Resting the chicken after frying helps keep it crispy and juicy.
Variations and Customizations
- Try adding some herbs like rosemary or thyme to the buttermilk for a unique flavor.
- If you love spicy food, add some hot sauce to the marinade for a kick.
- For an Asian twist, marinate in buttermilk mixed with soy sauce and ginger.
- Experiment with different coatings such as panko breadcrumbs or crushed cornflakes for extra crunch.
How to Store Leftovers
If you happen to have any leftovers (which is rare when it comes to fried chicken!), store them in an airtight container in the refrigerator.
They’ll last about 3 to 4 days.
To reheat, preheat your oven to 375°F (190°C) and place the chicken on a baking sheet.
Heat for about 10-15 minutes until they’re warmed through and crispy again.
FAQ
Can I use chicken pieces instead of a whole chicken?
Absolutely! Using pieces like breasts, thighs, or drumsticks will work just fine.
Adjust the cooking time based on the size of your chicken pieces.
Can I make this recipe gluten-free?
Yes! Simply use a gluten-free flour blend for dusting the chicken, and make sure your buttermilk is also gluten-free.
What oil should I use for frying?
Vegetable or canola oil works best for frying because of their high smoke point and neutral flavors.
Avoid using olive oil as it has a lower smoke point.
Can I bake this chicken instead of frying it?
While frying gives the best flavor and texture, you can bake the marinated chicken in a preheated oven at 400°F (200°C) for about 35-45 minutes.
It won’t be quite as crispy, but it will still be delicious!
Conclusion
This buttermilk fried chicken recipe is sure to become a favorite in your household.
With its crunchy exterior and juicy interior, it’s everything you want in a comforting meal.
The process may seem a little involved, but every bite is worth it.
So gather your ingredients, get your frying pan ready, and treat yourself to some homemade goodness.
You’ll be serving up smiles at the dinner table in no time! Happy cooking!
Buttermilk Fried Chicken
Equipment
- Mixing Bowl
- Heavy-duty Pot or Deep Fryer
- Wire Rack
Ingredients
Main Ingredients
- 1 whole Chicken (3.5-4 lbs), cut into 8 pieces
- 2 cups Buttermilk
- 0.5 teaspoon Salt
- as needed cups Oil for frying (vegetable or canola)
Instructions
- Step 1: Marinate the Chicken - Wash the chicken pieces under cold running water and pat them dry. In a large bowl, mix the buttermilk and salt together until combined. Add the chicken pieces to the bowl, ensuring each piece is submerged. Cover with plastic wrap and refrigerate for at least 4 hours, or overnight.
- Step 2: Prepare for Frying - Remove the chicken from the fridge and let it sit at room temperature for about 30 minutes. Heat enough oil in a large pot or deep fryer to cover the chicken pieces completely to about 350°F (175°C).
- Step 3: Coat the Chicken - Remove the chicken from the buttermilk, allowing excess to drip off. Optionally, dust with flour or seasoning mix for extra crunch.
- Step 4: Fry the Chicken - Carefully lower each piece of chicken into the hot oil, skin side down. Fry for about 15-18 minutes until golden brown, then flip and cook for another 10-15 minutes.
- Step 5: Drain and Cool - Remove the chicken from the oil and place it on a wire rack with paper towels underneath to drain excess oil.
- Step 6: Serve and Enjoy! - Serve the chicken with your favorite sides like coleslaw, mashed potatoes, or cornbread.