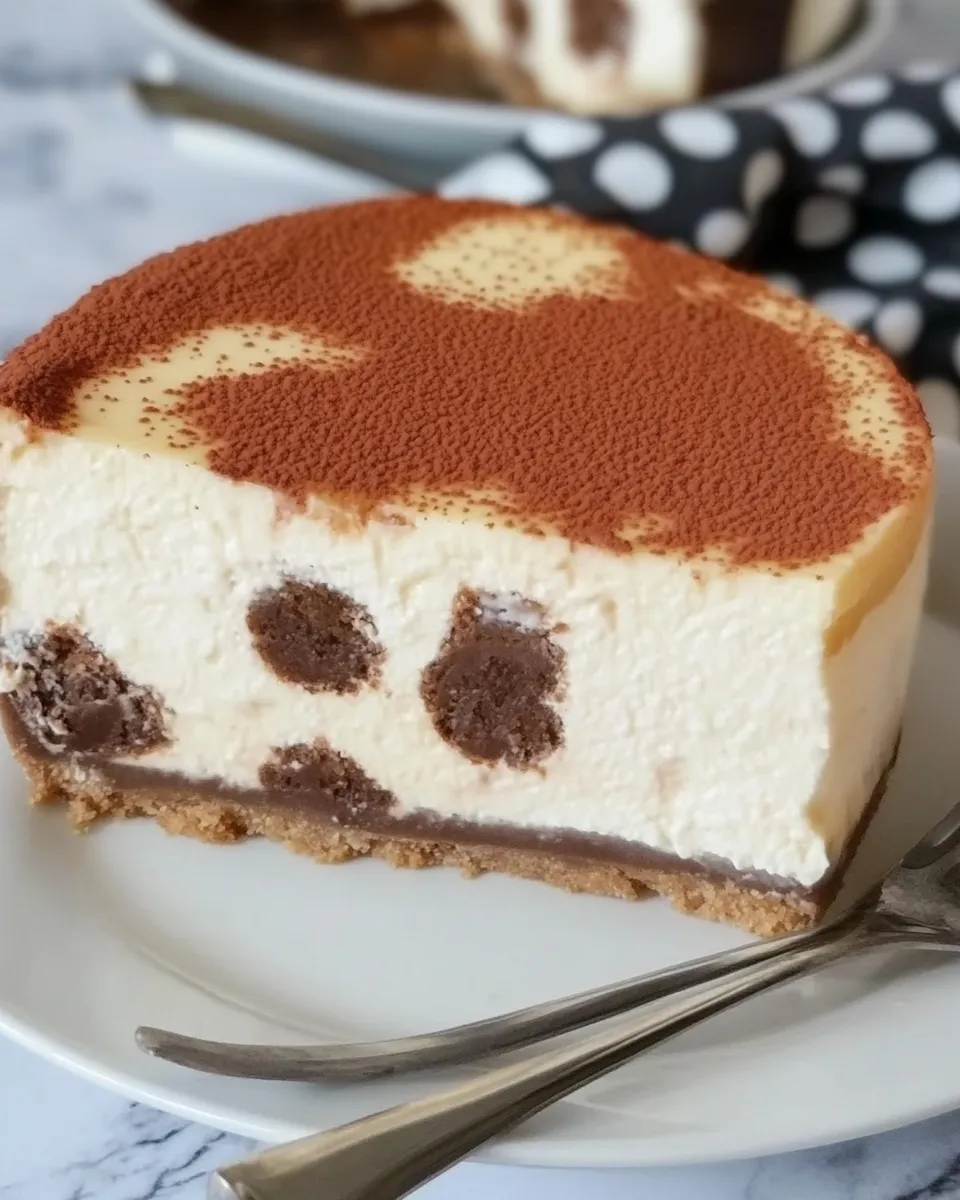
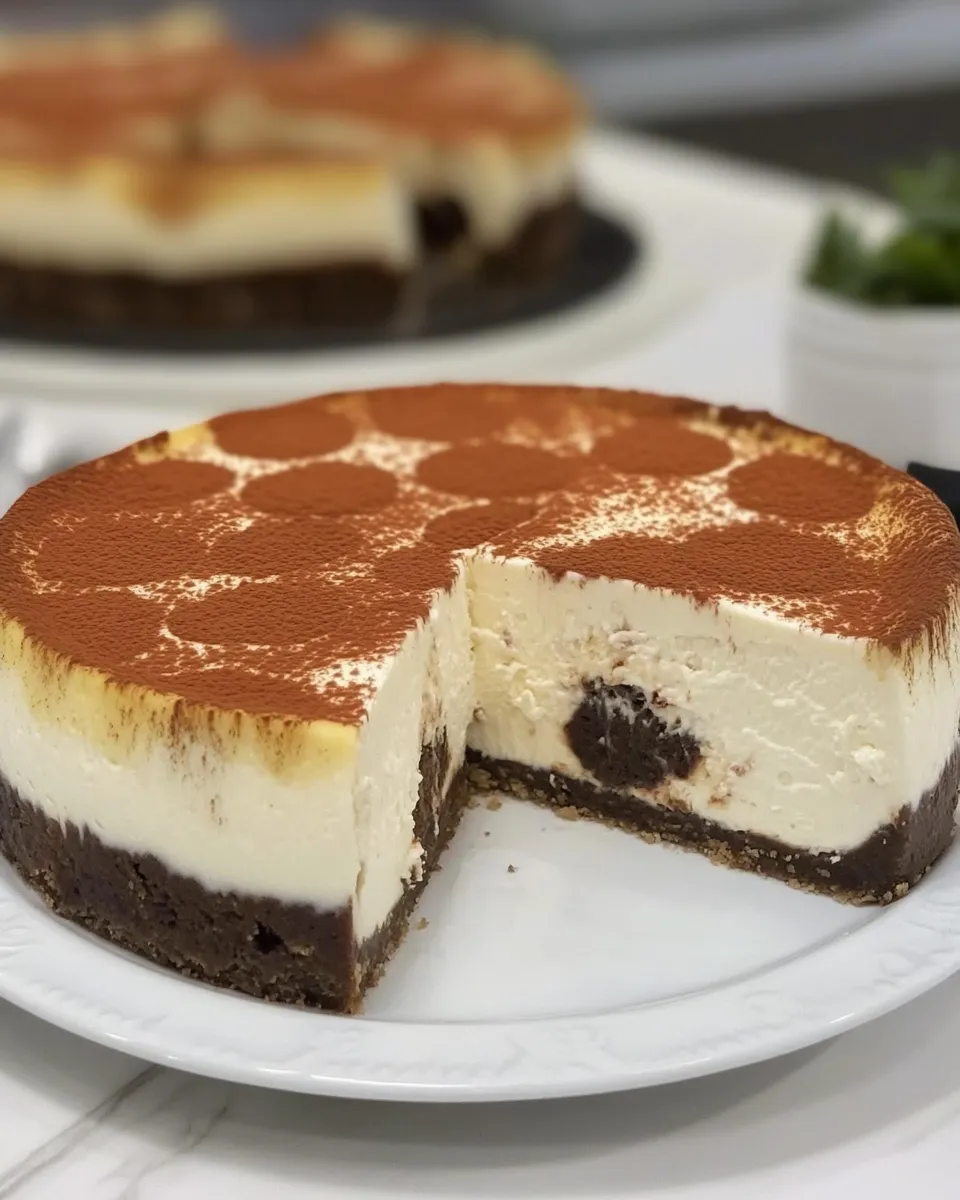
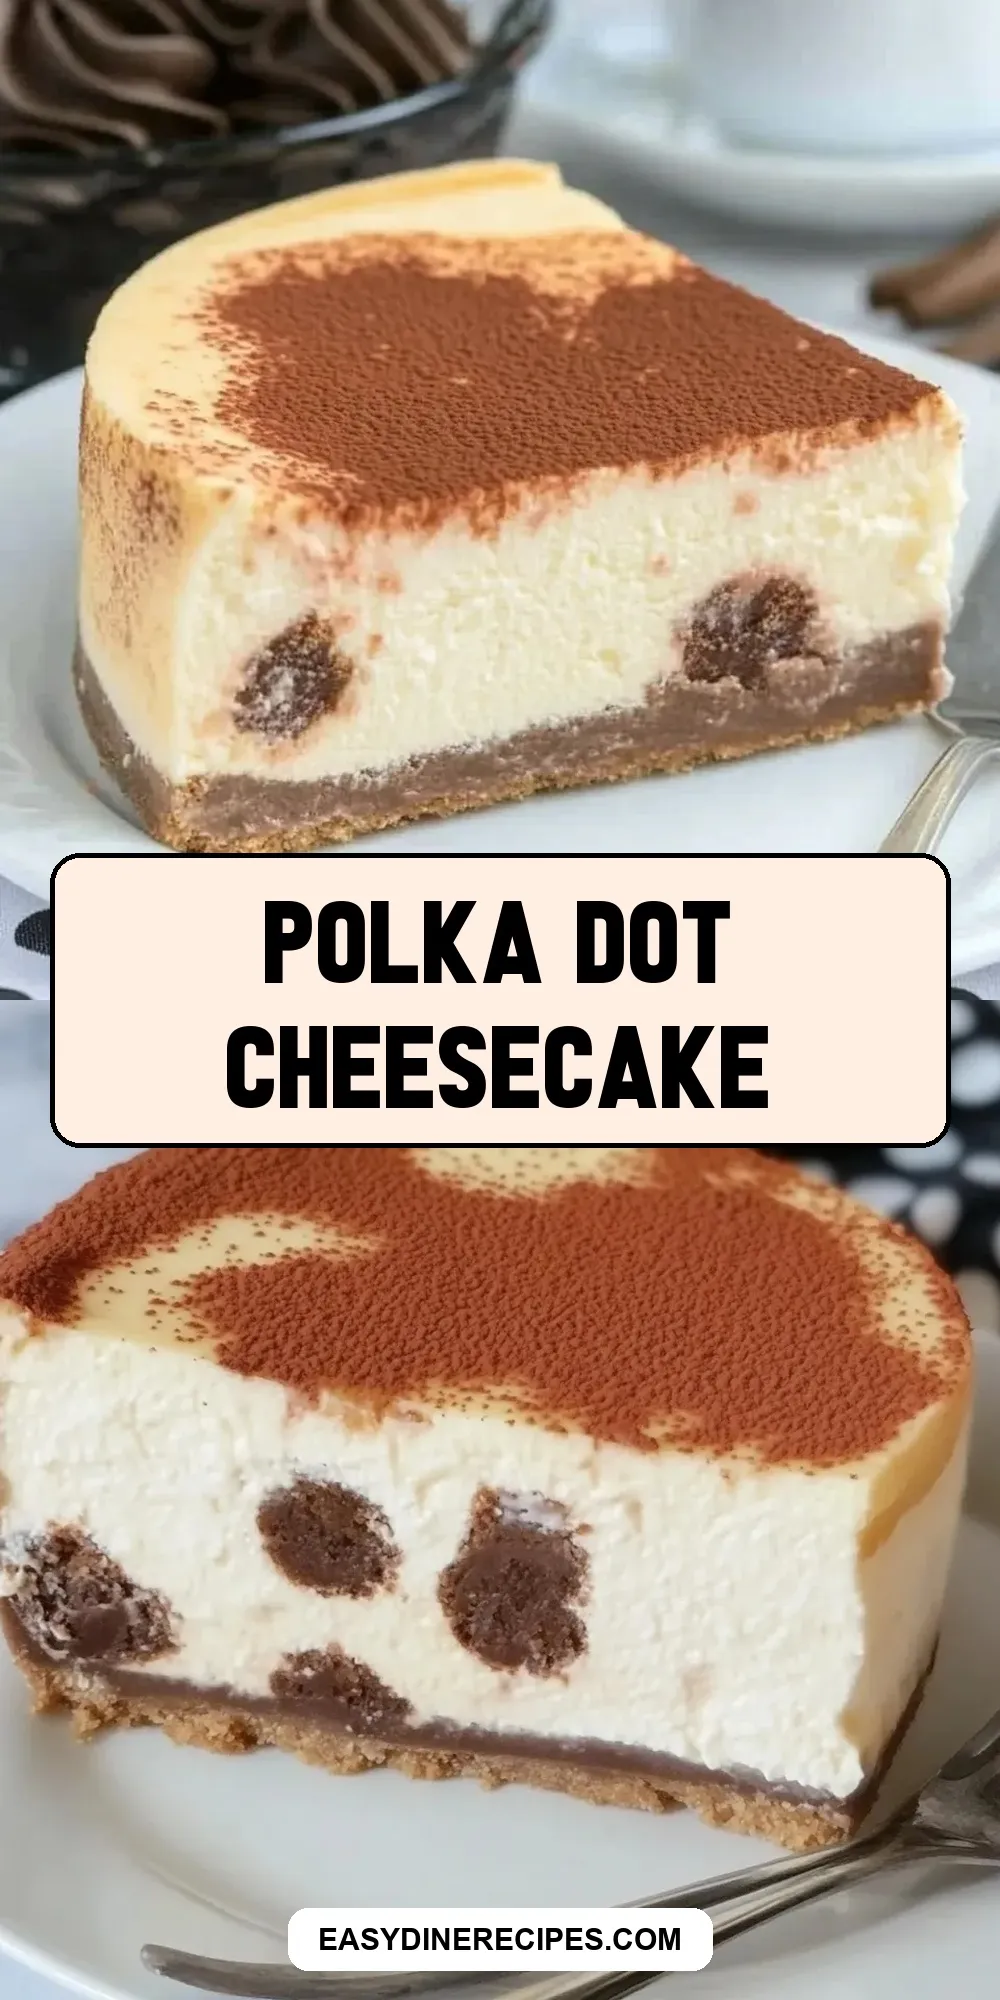
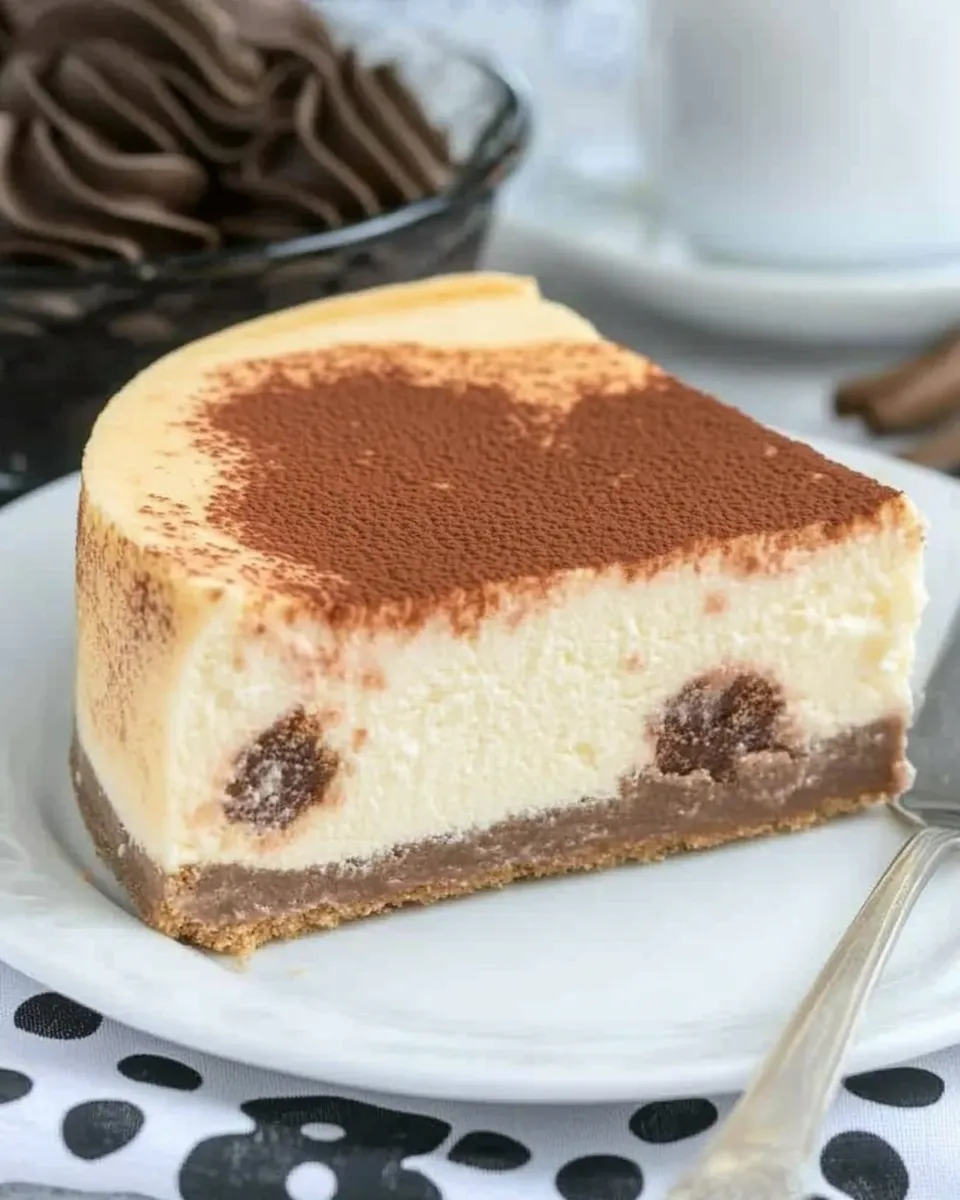
I love a good visual surprise in a dessert, and this polka dot cheesecake crust sets the stage perfectly. It’s the crisp, chocolatey base that gives the creamy filling something to lean on. The crust is simple and dependable—three ingredients that come together quickly and bake into a sturdy foundation for whatever filling you choose.
This post focuses on the crust and the water-bath setup because those steps determine the final texture and stability of your cheesecake. I’ll walk you through a clear shopping guide, the exact crust method, helpful tools, common mistakes, and ways to store and reheat the finished cake. Practical tips, no fluff—just what you need to get a clean, even crust and a worry-free water bath.
If you’re making a polka dot cheesecake for the first time, you don’t need to overthink it. Follow the crust steps precisely, protect your springform pan if it leaks, and use the water bath to keep the filling smooth and crack-free. Below you’ll find the exact ingredient notes, the step-by-step method, and troubleshooting that will help you get a beautiful cake every time.
Ingredients
- 1 ¾ cups chocolate cookie crumbs — provides the chocolate flavor and structure for the crust; finer crumbs press together more firmly.
- ½ stick butter, melted — binds the crumbs and adds richness; melt gently to avoid splattering and pour while warm.
- 3 tablespoons sugar — balances the bitterness of the cookies and helps the crust set and brown slightly during baking.
Your Shopping Guide
Buy one high-quality chocolate cookie you enjoy eating—this is the dominant flavor in the crust. If your budget allows, choose a cookie with a robust chocolate taste rather than a very sweet or overly spiced option. You’ll need enough to yield 1 ¾ cups of crumbs; a standard 8–10 ounce package usually works.
Get unsalted butter (the recipe calls for a half stick) so you can control salt in the rest of your cheesecake. If you only have salted butter, that will work—just be aware it may change the final flavor slightly.
Pick up a springform pan that fits your confidence level. An 8-inch pan is specified here and gives a taller, neater cake. If you already own a springform that tends to leak, get heavy-duty aluminum foil to seal it for a water bath. Also gather basic items: a medium mixing bowl, measuring tools, a spatula or flat-bottomed glass for pressing, and a roasting pan large enough to hold the springform with space for water.
Method: (Polka Dot Cheesecake)
- Preheat oven to 350°F (175°C).
- In a medium bowl, combine 1 ¾ cups chocolate cookie crumbs, ½ stick melted butter, and 3 tablespoons sugar. Stir until the crumbs are evenly moistened and hold together when pressed.
- Press the crumb mixture firmly and evenly onto the bottom of an 8-inch springform pan. Pack it down flat and compact so the crust is uniform.
- Bake the crust on the middle oven rack for 10 minutes. Remove from the oven and place the pan on a wire rack to cool to room temperature (about 20–30 minutes) while you prepare the cheesecake filling (filling ingredients are not included in the ingredient list).
- If your springform pan is not watertight and you will bake the filled cheesecake in a water bath, wrap the outside of the pan with heavy-duty aluminum foil before adding the filling. Wrap the bottom and sides at least twice and press the foil snugly so water cannot seep in.
- When the pan is filled (follow your cheesecake filling recipe for amounts and baking time), set the wrapped springform pan into a larger roasting pan. Pour hot water into the larger pan to reach about 1½ inches up the sides of the springform pan to create a water bath, then bake the filled cheesecake according to your filling recipe’s instructions.
- After baking the filled cheesecake, lift the springform pan out of the water bath and place it on a wire rack to cool. Remove the foil (if used) once the pan is cool enough to handle. Refrigerate the cheesecake as your filling recipe directs before slicing and serving.
Why This Recipe Works
The balance of dry crumbs, a small amount of sugar, and melted butter creates a crust that crisps at the edges yet remains cohesive. The crumb particle size matters: finely ground crumbs compress into a stable layer, while larger pieces can cause crumbling. The exact amount of butter—½ stick—is enough to bind 1 ¾ cups of crumbs without making the crust greasy.
Baking the crust briefly before adding the filling sets the structure. It dries the surface so the filling won’t seep down and soften the base. Cooling the crust before pouring in the filling helps maintain that separation and prevents the filling from becoming overly wet.
The water bath step is the other critical piece. It moderates oven temperature around the cheesecake and prevents the top from setting too quickly, which reduces cracking and helps the cake cook evenly. Wrapping a non-watertight springform pan with foil creates the waterproof barrier necessary for a successful bain-marie.
Smart Substitutions
If you need minor swaps, stick to equivalents that behave similarly in texture and moisture. For the chocolate cookie crumbs, another firm chocolate cookie or wafer will work—aim for a crumb that compacts well. For butter, any stick butter (salted or unsalted) works; if you use salted, taste the final cheesecake before adding extra salt elsewhere.
If you must skip sugar in the crust, reduce the amount but know the crust will be less sweet and slightly less likely to brown. Avoid substituting liquid fats for the melted butter unless you understand how that fat behaves when chilled; solid fats that melt and then reset give the best structure.
Prep & Cook Tools
Use an 8-inch springform pan for this crust. It yields a taller, more elegant cheesecake; it also concentrates the filling, which helps if you’re making visible polka dots in the batter. A springform with a snug latch prevents excessive seepage, but always be prepared to foil-wrap a leaky one.
Other helpful tools:
- Medium mixing bowl — to mix crumbs and melted butter evenly.
- Measuring cups and spoons — accurate measures make the difference in texture.
- Flat-bottomed measuring cup or the back of a spoon — for pressing crumbs evenly and compactly.
- Wire rack and roasting pan — for cooling the crust and creating the water bath, respectively.
Mistakes Even Pros Make
Under-pressing the crust is a common misstep. If the crumbs aren’t compacted, the crust will crumble when you slice. Press firmly and evenly; a flat-bottomed cup is a simple tool to get consistent pressure.
Skipping the brief bake for the crust is another. That 10-minute bake firms the base and prevents sogginess. Some bakers rush this step to save time and end up with a soft, fragile crust.
Finally, not sealing a leaky springform pan is a costly oversight. Water in the cake ruins the filling’s texture. Test your pan by filling it with a bit of water before starting; if any escapes, wrap it tightly in heavy-duty foil.
Seasonal Ingredient Swaps
Seasonality plays into the filling more than the crust, but you can adapt the crust subtly. In winter, use cookies with deeper chocolate notes to complement warm spices in a spiced filling. In summer, a lighter chocolate wafer pairs well with fruit-forward fillings.
For holidays, you might press crushed decorated cookies or add a thin layer of finely chopped nuts for texture contrast—keep the base quantity the same so the butter ratio stays correct. Small seasonal tweaks can change the overall profile without upsetting the crust’s structure.
Testing Timeline
Before Baking (10–30 minutes)
Preheat the oven and assemble your ingredients. Make the crust and bake for 10 minutes. While the crust cools (20–30 minutes), prepare your filling. This overlap keeps the workflow smooth and reduces time with an empty oven.
During Baking (as directed by your filling recipe)
If you use a water bath, prepare the pan and pour hot water into the roasting pan just before placing the filled springform into it. The hot water stabilizes oven temperature and minimizes disruptions in baking time.
After Baking (cooling and chilling)
Cool the cheesecake on a wire rack after it comes out of the water bath. Remove the foil once it’s cool enough to handle. Follow your filling recipe for refrigeration time—most cheesecakes need several hours, often overnight, to set properly before slicing.
Storing, Freezing & Reheating
Store a finished cheesecake covered in the refrigerator for up to 5 days. Wrap it tightly with plastic wrap or keep it in an airtight container to prevent it from absorbing other flavors and to keep the crust from softening.
To freeze, slice the cheesecake first for easy single-portion thawing. Place slices on a tray, flash-freeze until firm, then wrap each slice tightly in plastic and store in a freezer-safe container for up to 2 months. Thaw overnight in the refrigerator before serving.
Reheating isn’t usually necessary; serve chilled. If you prefer it slightly less cold, set it at room temperature for 20–30 minutes before serving. Avoid microwave reheating—it can change the texture of the filling and make the crust soggy.
Reader Q&A
Q: Can I use a different pan size?
A: The recipe specifies an 8-inch springform pan. Using a larger pan will produce a thinner cheesecake and may change baking time. Stick with 8-inch if you want the same proportions and texture.
Q: What’s the best way to get perfectly compact crumbs?
A: Pulse cookies in a food processor to a fine, even texture. If you don’t have one, place cookies in a sturdy bag and crush with a rolling pin until uniformly fine. Press with consistent, firm pressure using a flat-bottomed cup or the back of a measuring cup.
Q: How will I know if my springform is watertight?
A: Do a simple test: put a little water in the pan and watch for leaks. If any appear, wrap the outside with heavy-duty foil before adding filling. Even pans that seem fine can leak at seams when filled and heated.
Before You Go
This crust is straight-forward and forgiving when you follow the basic rules: measure, press, bake, cool, and protect the pan for a water bath if needed. Once you have a solid crust and a reliable water-bath routine, the rest of your cheesecake is mostly about flavor and presentation.
Make the crust the night before if you like—store it covered at room temperature and proceed with the filling when you’re ready. That small step reduces day-of stress and helps ensure even results. Happy baking—may your slices be clean and your polka dots perfect.
Polka Dot Cheesecake
Equipment
- 8-inch springform pan
- Oven
- Mixing Bowl
- Wire Rack
- Roasting Pan
- Aluminum Foil
Ingredients
Ingredients
- 1 3/4 cups chocolate cookie crumbs
- 1/2 stick butter melted
- 3 tablespoons sugar
Instructions
Instructions
- Preheat oven to 350°F (175°C).
- In a medium bowl, combine 1 ¾ cups chocolate cookie crumbs, ½ stick melted butter, and 3 tablespoons sugar. Stir until the crumbs are evenly moistened and hold together when pressed.
- Press the crumb mixture firmly and evenly onto the bottom of an 8-inch springform pan. Pack it down flat and compact so the crust is uniform.
- Bake the crust on the middle oven rack for 10 minutes. Remove from the oven and place the pan on a wire rack to cool to room temperature (about 20–30 minutes) while you prepare the cheesecake filling (filling ingredients are not included in the ingredient list).
- If your springform pan is not watertight and you will bake the filled cheesecake in a water bath, wrap the outside of the pan with heavy-duty aluminum foil before adding the filling. Wrap the bottom and sides at least twice and press the foil snugly so water cannot seep in.
- When the pan is filled (follow your cheesecake filling recipe for amounts and baking time), set the wrapped springform pan into a larger roasting pan. Pour hot water into the larger pan to reach about 1½ inches up the sides of the springform pan to create a water bath, then bake the filled cheesecake according to your filling recipe’s instructions.
- After baking the filled cheesecake, lift the springform pan out of the water bath and place it on a wire rack to cool. Remove the foil (if used) once the pan is cool enough to handle. Refrigerate the cheesecake as your filling recipe directs before slicing and serving.