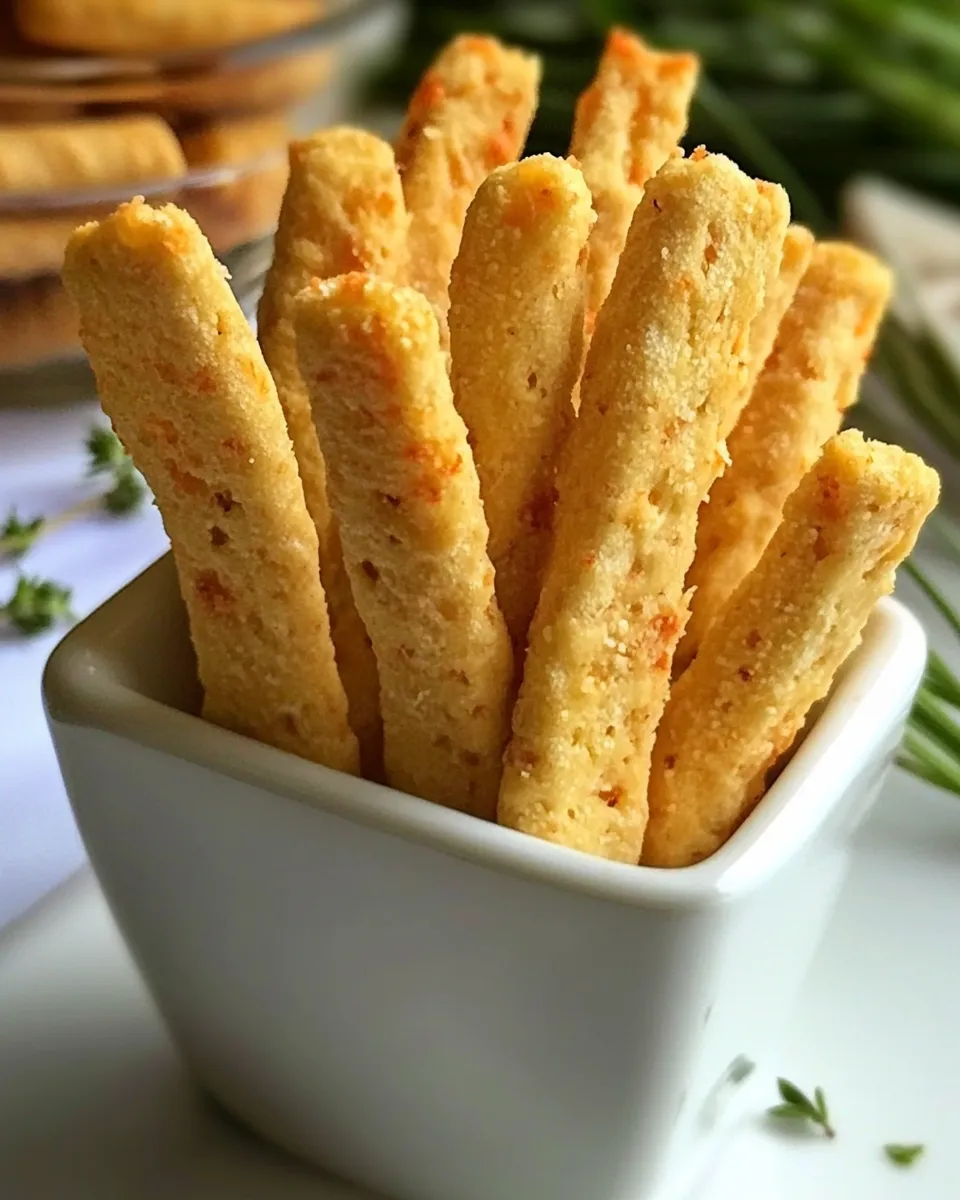
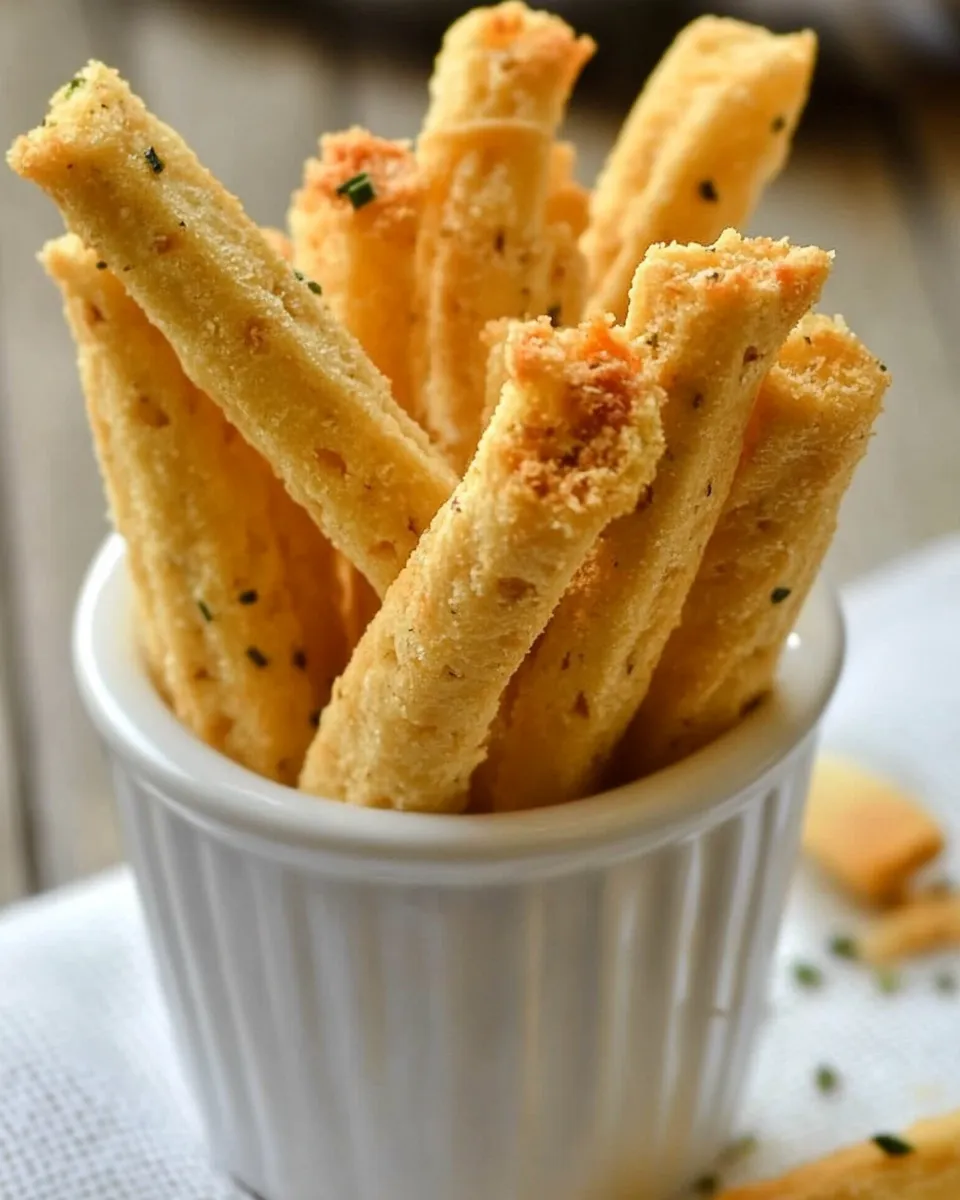
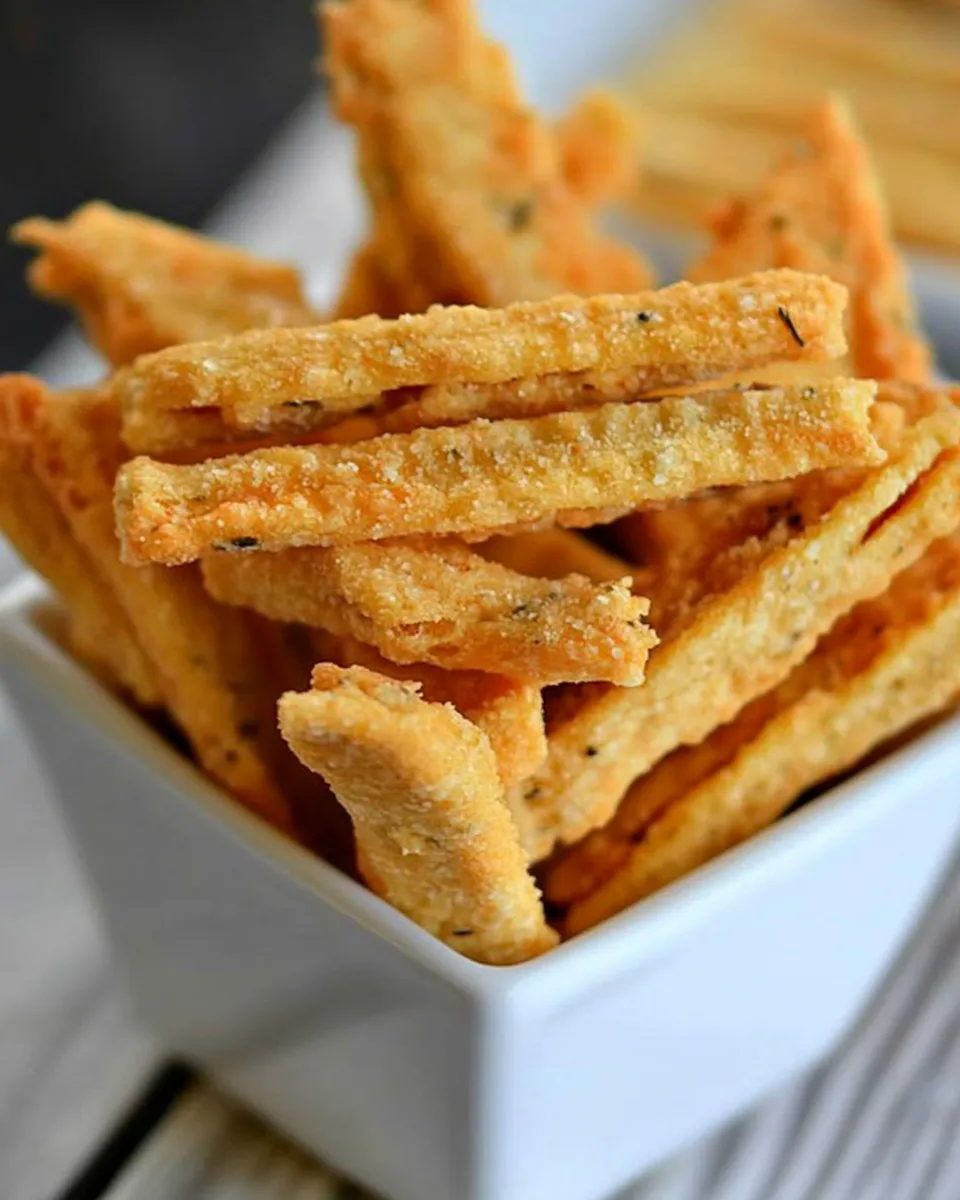
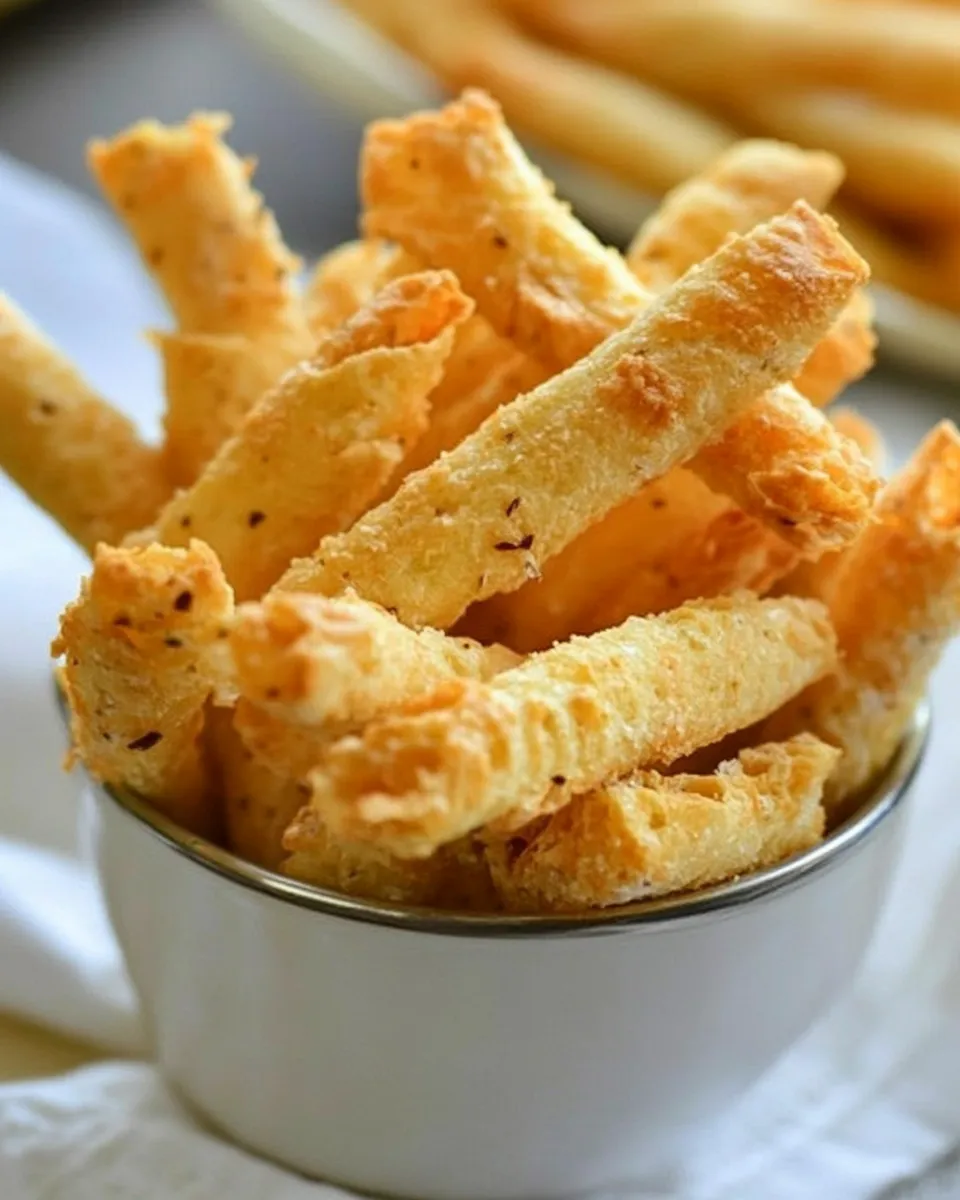
Crunchy, cheesy, and built for noshing — these Cheese Straws are the sort of thing I always keep on standby. They come together with very little fuss, and once you learn the rhythm of the dough, they practically bake themselves. They’re salty and fragrant, with rosemary lifting the cheddar and a faint hint of garlic in the background.
I use a stand mixer most days, but this recipe works fine with a sturdy bowl and an electric hand mixer. The dough is forgiving: don’t overwork it, roll it to about a half-inch thickness, and cut tidy strips. The bake time is short, so keep an eye on the edges; once they turn golden, you’ve hit peak crispness.
These are brilliant for parties, lunches, or just a snack when you need something with substance and snap. You’ll find notes on swaps, storage, and weather-friendly small variations below — practical tweaks that actually matter while you make them.
What’s in the Bowl
Ingredients
- ¾ cup unsalted butter, room temperature — provides richness, structure, and a tender bite.
- 3 ½ cups Sargento® Off The Block® Extra Sharp Cheddar Cheese – Traditional Cut, room temperature — the primary flavor; extra-sharp gives a pronounced cheddar punch.
- 1 heaping tablespoon finely chopped fresh rosemary — aromatic herb that brightens and balances the cheese.
- 2 cups all-purpose flour — the base of the dough; gives structure and crunch when baked.
- ¼ teaspoon cayenne pepper (optional) — a small kick if you like heat; omit for purely savory-cheesy straws.
- 2 ½ teaspoons granulated garlic — adds savory depth and that classic garlicky undertone.
- ¾ teaspoon fine sea salt — seasons the dough; adjust if your cheese is very salty.
How to Prepare (Cheese Straws)
- Preheat oven to 375°F. Line a baking sheet with parchment paper and position the oven rack in the center.
- In the bowl of a stand mixer fitted with the paddle attachment, or in a large bowl with an electric mixer, combine the ¾ cup room-temperature unsalted butter and 3½ cups room-temperature shredded cheddar cheese. Beat on medium speed about 2 minutes, until the mixture is evenly combined and slightly fluffy.
- Add the heaping tablespoon of finely chopped fresh rosemary and mix on low just until distributed.
- In a separate medium bowl, whisk together 2 cups all-purpose flour, ¼ teaspoon cayenne pepper (if using), 2½ teaspoons granulated garlic, and ¾ teaspoon fine sea salt.
- With the mixer on low, gradually add the flour mixture to the butter–cheese mixture. Mix just until a soft dough forms, stopping once or twice to scrape down the bowl sides with a spatula. Do not overmix.
- Lightly flour a work surface and turn the dough out onto it. Using a rolling pin, roll the dough into a rectangle about ½ inch thick. If the dough sticks, dust lightly with flour as needed.
- Use a pizza cutter or sharp knife to cut the dough into strips about ½ inch wide. Transfer the strips to the prepared baking sheet, spacing them about 1 inch apart.
- Bake in the preheated oven 12–14 minutes, or until the edges are golden and the straws are crisp. Remove from the oven and let cool on the baking sheet a few minutes, then transfer to a wire rack to cool completely before serving.
Why This Recipe is a Keeper
It’s easy to lose precision when a recipe leans on instinct, but these cheese straws hit a sweet spot: a short ingredient list, clear technique, and reliable results. The texture is crisp without being brittle, and the extra-sharp cheddar carries the flavor without needing any bells and whistles.
The formula is forgiving. The dough comes together quickly and tolerates gentle handling — you don’t need exacting temperature control beyond room-temperature butter and cheese. That makes it an excellent weeknight project or something you can knock out in an afternoon for a gathering.
Finally, the balance of rosemary and granulated garlic lifts the flavor from “good” to “memorable.” Those two small additions make a tangible difference without adding complexity to the process.
Dairy-Free/Gluten-Free Swaps
Cheese straws are inherently dairy- and gluten-forward, but here are practical swaps if you need to adapt. Note that flavor and texture will change, especially without the cheddar’s fat.
- Dairy-free option: Use a high-quality vegan butter and a dairy-free shredded cheddar alternative. Look for a product with higher fat content so the dough binds similarly. Expect a milder flavor and slightly different browning.
- Gluten-free option: Substitute a 1:1 gluten-free all-purpose flour blend that contains xanthan gum. Roll the dough carefully; it may be more fragile and require a lighter touch.
- Both swaps together: Combine both suggestions, but be patient: the dough may be softer and stickier. Chill briefly if it becomes unmanageable before cutting.
Equipment Breakdown
You don’t need much, but the right tools make a difference in speed and consistency.
- Stand mixer with paddle attachment — excellent for even mixing; switch to a hand mixer if that’s what you have.
- Mixing bowls — one for the butter-cheese base and one for dry ingredients.
- Rolling pin — for an even ½-inch thickness. A small silicone mat helps keep things tidy.
- Pizza cutter or sharp chef’s knife — cuts clean, straight strips quickly.
- Baking sheet and parchment paper — parchment prevents sticking and simplifies cleanup.
- Wire rack — cools the straws so they crisp up properly after baking.
Slip-Ups to Skip
A few common mistakes can change the final texture. Skip these and your straws will come out the way you want.
- Overmixing the dough. Mix just until combined. Overworking develops gluten and makes the straws tougher and less flaky.
- Rolling too thin. Less than ½ inch and the straws can overbrown and become too fragile. Keep the target thickness steady across the pan.
- Ignoring the cheese temperature. Room-temperature cheese blends more uniformly with the butter. If it’s too cold, lumps can form and texture will suffer.
- Skipping the parchment. Direct contact with the sheet can lead to uneven browning and difficulty removing the straws.
- Bumping the baking time. Don’t underbake. Edges need to be golden so the center dries and crisps on the rack.
Warm & Cool Weather Spins
Temperature affects dough handling. Here’s how to tweak your approach depending on the season.
- Warm weather: Dough can become soft quickly. Work in shorter bursts, dust with flour lightly, and if it becomes sticky, chill the rolled dough briefly for 10–15 minutes before cutting.
- Cool weather: Butter and cheese can be firmer. Let them sit a little longer at room temperature so they soften enough to cream smoothly without melting.
- Humidity note: High humidity can make the dough tackier. A light dusting of flour on the work surface and tools helps manage stickiness without altering the recipe balance.
Behind-the-Scenes Notes
I pay attention to the cheese type. The recipe calls for Sargento® Off The Block® Extra Sharp Cheddar — it’s bold and grates into tidy shreds that integrate well. If you switch brands, choose another extra-sharp cheddar to keep the flavor profile aligned.
Rosemary is chopped finely for even distribution; larger bits can distract from the texture and catch when rolling. If you prefer other herbs, thyme or finely chopped chives can work, but the aromatic profile will shift.
Granulated garlic is different from powdered garlic — it offers small granules that distribute without turning pasty. If you only have garlic powder, use a touch less, as the intensity differs.
Storing Tips & Timelines
Proper storage keeps the straws crisp and tasty.
- Room temperature: Store completely cooled straws in an airtight container at room temperature for up to 4 days. Use parchment between layers if stacking to avoid breakage.
- Longer storage: For up to 2 weeks, keep them in a tightly sealed container in a cool, dry place. Avoid the fridge — it introduces moisture and softens the crispness.
- Freezing: Freeze fully cooled straws in a single layer on a sheet, then transfer to a freezer-safe bag. Thaw at room temperature; they retain texture well for up to 1 month.
- Reviving: If they soften a bit, a 2–4 minute stint in a 325°F oven crisps them back up. Watch closely to prevent new browning.
Ask & Learn
If something went sideways, here are answers to the most common follow-ups I see from readers:
- My straws spread too much. Why? The dough may have been too warm or rolled too thin. Chill briefly before cutting, and keep strips about ½ inch wide.
- They’re chewy instead of crisp. Either underbaking or storing hot/covered while still warm can trap steam. Make sure they cool on a wire rack and bake until edges are headlined golden.
- Flavor too mild? Use an extra-sharp cheddar and ensure the cheese is room temperature so it blends properly. A touch more granulated garlic or an extra pinch of salt (if your cheese isn’t salty) can help.
- I want a more rustic look. Cut the strips unevenly and leave a few larger — they’re still delicious and make a visually interesting tray.
Ready, Set, Cook
Keep your mise en place: measure the flour, have the butter and cheese at room temperature, and preheat the oven. The assembly moves fast once the cheese and butter are creamed. Work confidently, don’t overmix, and use a steady rolling motion to get that even ½-inch thickness. Cut with a clean pizza cutter or sharp knife, space them out on the sheet, and watch the oven work its magic.
Once cooled, arrange on a platter, pair with a simple dip if you like, and watch them disappear. These Cheese Straws store well, travel well, and please almost everyone who tries them. Enjoy — and if you tweak the herbs or heat level, leave a note about what worked for you. I’m always curious how small changes improve a classic snack.
Cheese Straws
Equipment
- Stand mixer
- paddle attachment
- Electric Mixer
- Mixing Bowl
- Spatula
- Rolling Pin
- Pizza Cutter
- Sharp Knife
- Baking Sheet
- Parchment Paper
- Wire Rack
Ingredients
Ingredients
- 3/4 cupunsalted butterroom temperature
- 3 1/2 cupsSargento® Off The Block® Extra Sharp Cheddar Cheese – Traditional Cutroom temperature
- 1 heaping tablespoon finely chopped fresh rosemary
- 2 cupsall-purpose flour
- 1/4 teaspooncayenne pepperoptional
- 2 1/2 teaspoonsgranulated garlic
- 3/4 teaspoonfine sea salt
Instructions
Instructions
- Preheat oven to 375°F. Line a baking sheet with parchment paper and position the oven rack in the center.
- In the bowl of a stand mixer fitted with the paddle attachment, or in a large bowl with an electric mixer, combine the ¾ cup room-temperature unsalted butter and 3½ cups room-temperature shredded cheddar cheese. Beat on medium speed about 2 minutes, until the mixture is evenly combined and slightly fluffy.
- Add the heaping tablespoon of finely chopped fresh rosemary and mix on low just until distributed.
- In a separate medium bowl, whisk together 2 cups all-purpose flour, ¼ teaspoon cayenne pepper (if using), 2½ teaspoons granulated garlic, and ¾ teaspoon fine sea salt.
- With the mixer on low, gradually add the flour mixture to the butter–cheese mixture. Mix just until a soft dough forms, stopping once or twice to scrape down the bowl sides with a spatula. Do not overmix.
- Lightly flour a work surface and turn the dough out onto it. Using a rolling pin, roll the dough into a rectangle about ½ inch thick. If the dough sticks, dust lightly with flour as needed.
- Use a pizza cutter or sharp knife to cut the dough into strips about ½ inch wide. Transfer the strips to the prepared baking sheet, spacing them about 1 inch apart.
- Bake in the preheated oven 12–14 minutes, or until the edges are golden and the straws are crisp. Remove from the oven and let cool on the baking sheet a few minutes, then transfer to a wire rack to cool completely before serving.