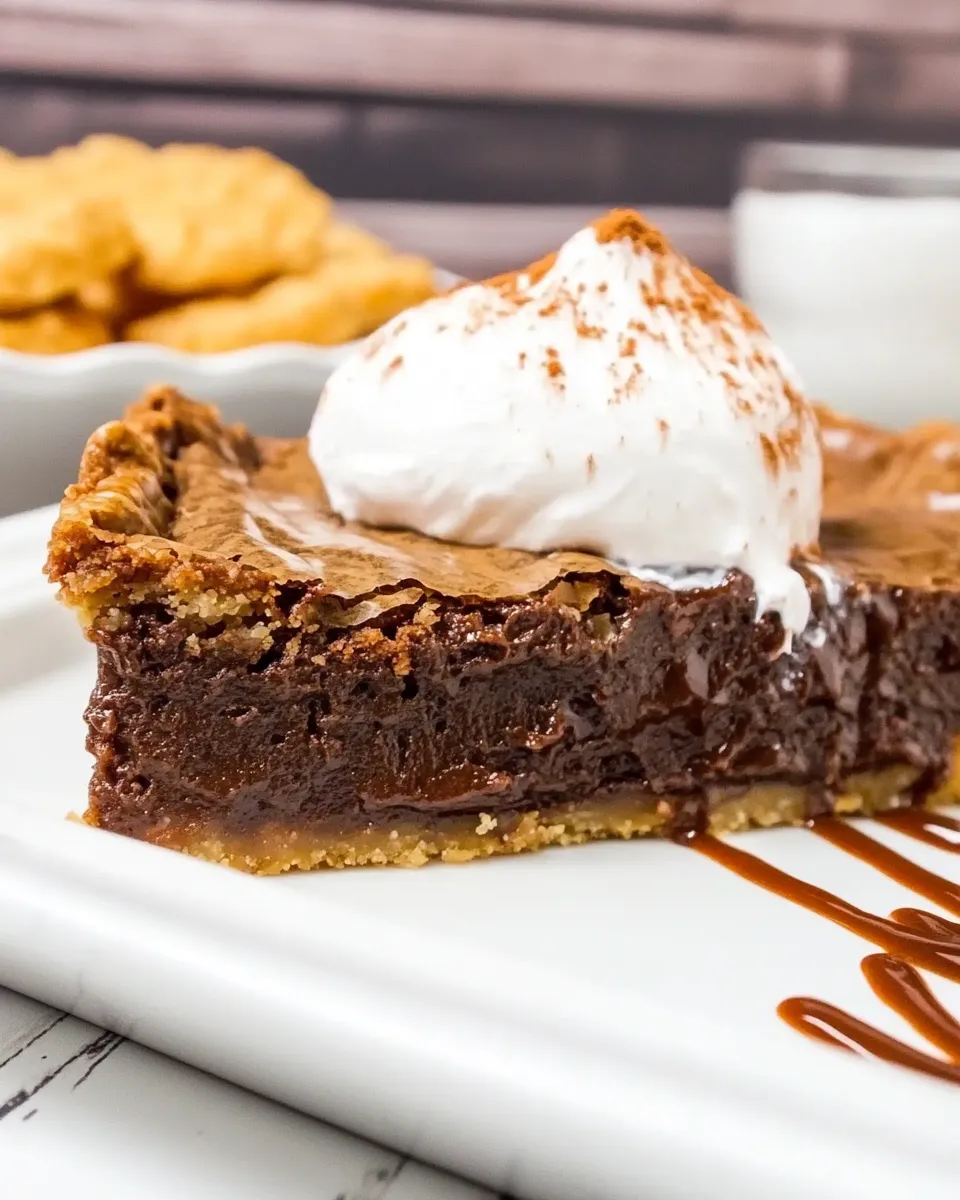
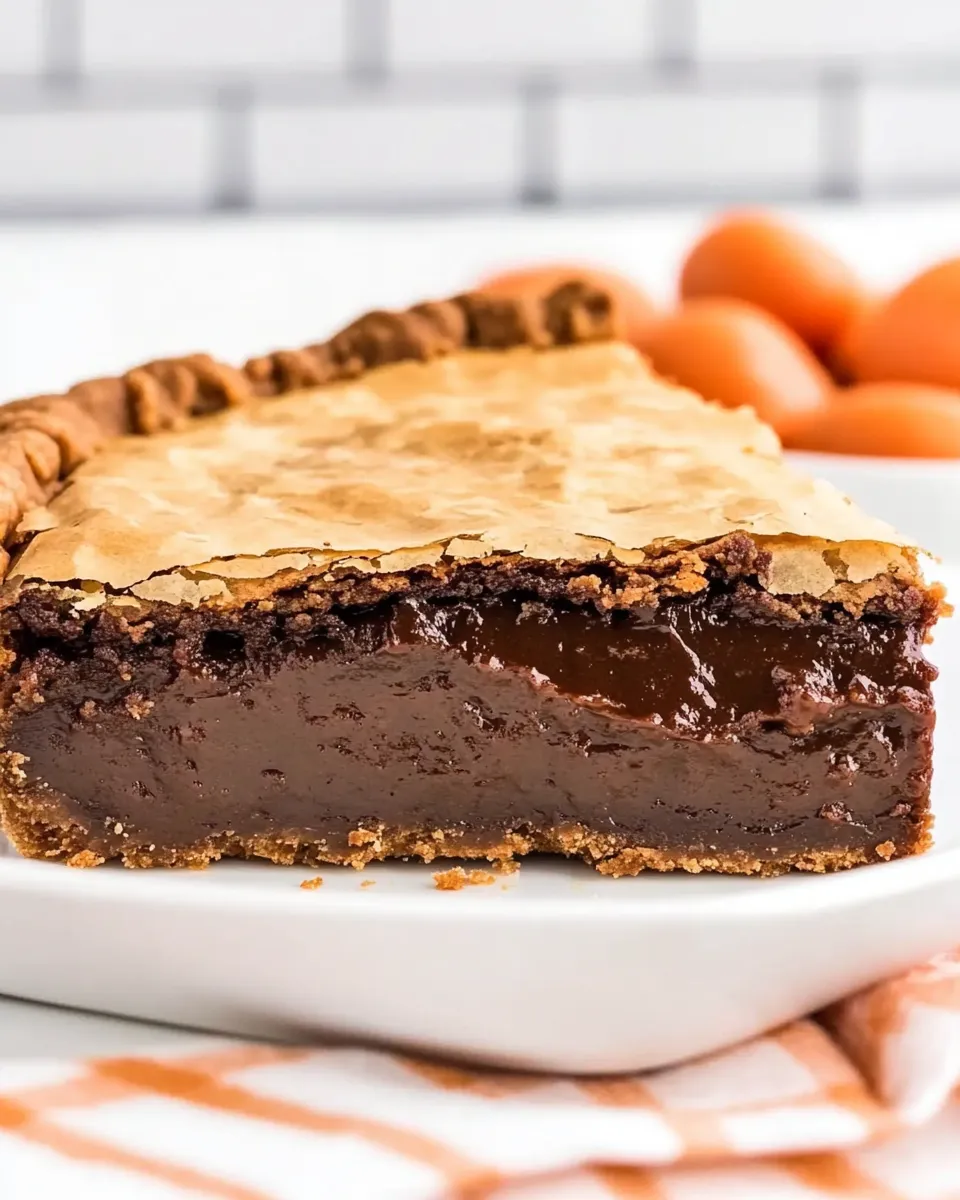
I test a lot of desserts, and this brownie pie keeps coming back into my rotation. It’s that perfect cross between a fudgy brownie and a tender pie — rich, crackly top, dense center, a buttery flaky edge. Make it for a dinner where you want something comforting but not fussy.
This recipe is straightforward and forgiving, which I love. You don’t need special chocolate bars, pastry chef skills, or an all-day timeline. Follow the steps, mind the temperatures, and you’ll have a pie that slices like a brownie but finishes like a classic pie.
Serve it warm with vanilla ice cream or cool it completely for cleaner slices. Either way, the contrast of a crisp crust and a gooey, chocolatey interior is what makes this one my go-to for company and weeknight treats alike.
What You’ll Need
Ingredients
- 1 recipe All Butter Pie Crust (or one refrigerated crust from a pack of 2) — press into a 9″ pie plate; chilling the crust helps prevent shrinking and keeps the edges neat.
- 2 ounces unsweetened baking chocolate — gives deep chocolate intensity and controls sweetness.
- 2 ounces semi-sweet baking chocolate — balances bitterness with classic chocolate sweetness.
- 3/4 cup unsalted butter — melts with the chocolate to create a glossy, rich base for the batter.
- 1 3/4 cups granulated sugar — sweetens and helps form the crackly top.
- 3 eggs — provide structure and fudgy texture when beaten into the chocolate.
- 1 tablespoon vanilla extract — adds aromatic depth and brightness to the chocolate.
- 1/2 teaspoon salt — enhances flavor and balances sweetness.
- 2 tablespoons unsweetened cocoa powder — intensifies chocolate flavor without extra sweetness.
- 1 cup all purpose flour — gives structure; fold just until incorporated to keep the filling fudgy.
Mastering Brownie Pie: How-To
- If using a homemade All Butter Pie Crust or a refrigerated crust, press the crust into a 9″ pie plate, crimp the edges, and chill in the refrigerator while you make the filling. Preheat the oven to 350°F for baking the filled pie.
- (Optional — for a crunchier bottom) If you want a crunchy bottom, first preheat the oven to 425°F. Line the chilled crust with parchment and fill with pie weights or dry beans. Bake 15–20 minutes, remove the parchment and weights, then reduce the oven temperature to 350°F before adding the filling.
- Place the 2 oz unsweetened baking chocolate, 2 oz semi‑sweet baking chocolate, and 3/4 cup unsalted butter in a large microwave‑safe bowl. Heat in 30‑second increments, stirring between each, until the chocolate and butter are completely melted and smooth (about 2 minutes, depending on your microwave).
- Stir 1 3/4 cups granulated sugar into the melted chocolate and butter until combined.
- Add the 3 eggs, one at a time, stirring well after each egg so the mixture is smooth and uniform.
- Stir in 1 tablespoon vanilla extract, 2 tablespoons unsweetened cocoa powder, and 1/2 teaspoon salt until smooth.
- Carefully fold in 1 cup all‑purpose flour just until no dry streaks remain; do not overmix.
- Pour the batter into the prepared pie crust and set the pie on a rimmed baking sheet to catch any drips. Cover the crust edges with a pie crust shield or strips of foil.
- Bake at 350°F for 38–48 minutes, until the top is cracked. Remove the foil strips or pie shield after about 20–25 minutes of baking so the edges can brown.
- Check doneness with a toothpick: a wet toothpick gives a very gooey center (about 38 minutes in the recipe photos); a toothpick with moist crumbs indicates a more set center. Bake longer within the 38–48 minute range if you prefer a less-wet center.
- Cool the pie completely on a wire rack before slicing and serving with ice cream or whipped cream. Store covered at room temperature up to 3 days, or freeze slices for up to one month.
Why This Brownie Pie Stands Out
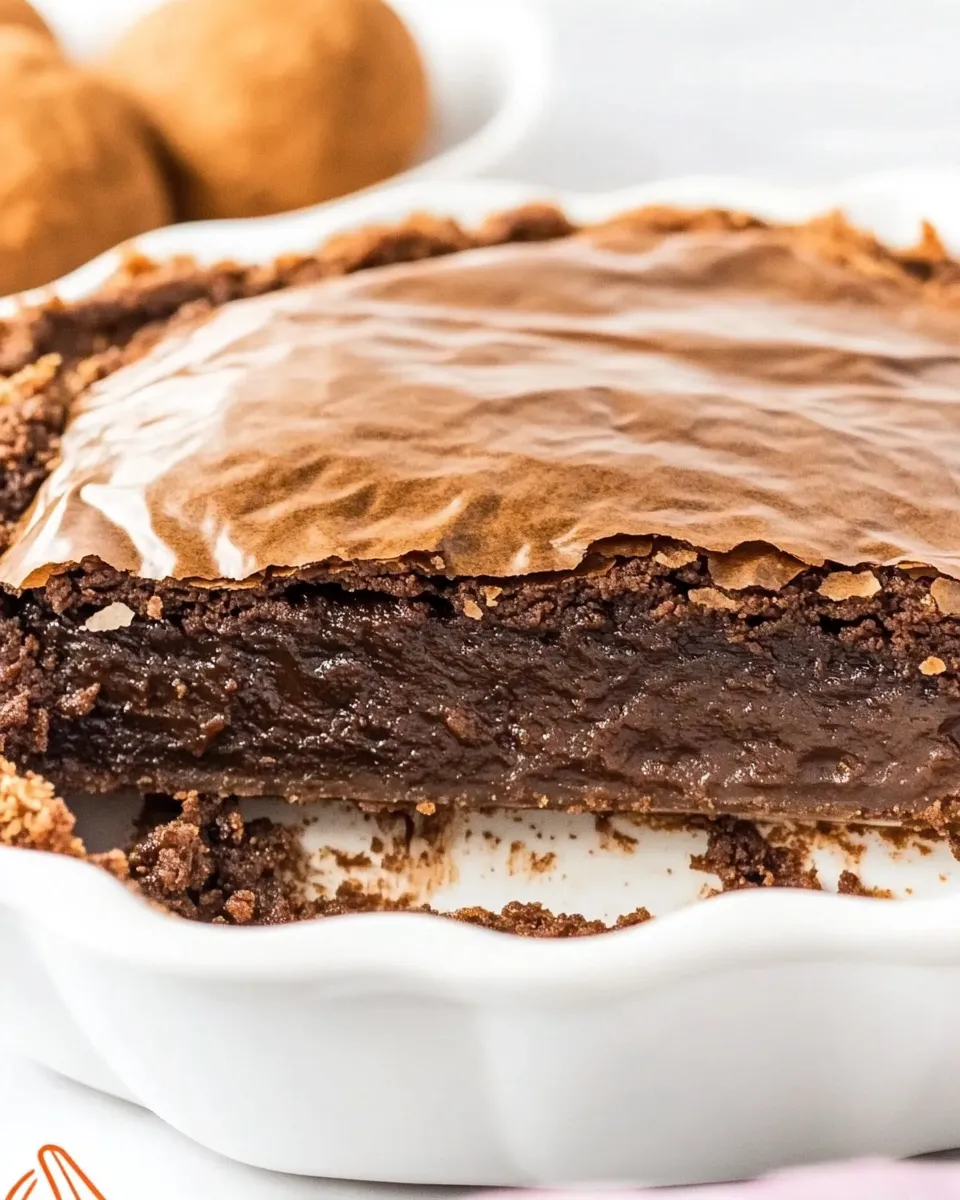
This pie nails the texture trifecta: a crisp, crackly top; an almost molten, fudgy middle; and a buttery, slightly flaky crust. The use of both unsweetened and semi‑sweet baking chocolate creates a true chocolate backbone — not overly sweet, but richly flavored.
Another reason it works so well is balance. The cocoa powder layers extra chocolatey notes without adding moisture; the eggs and sugar give that dense, brownie-like chew; and the crust frames the whole thing so every bite has contrast. You get the best qualities of two desserts in one pan.
Ingredient Swaps & Substitutions
- All Butter Pie Crust — use a refrigerated crust if you’re short on time. A store-bought crust will work and won’t harm texture or flavor much.
- Unsweetened baking chocolate — if you only have baking bars in other percentages, choose a chocolate with minimal added sugar; reduce semi-sweet slightly if using a sweeter bar.
- Semi‑sweet baking chocolate — swap for dark chocolate (60–70%) for less sweetness and deeper flavor; expect a slightly firmer set.
- Unsalted butter — do not use margarine. If your butter is salted, reduce overall added salt or omit the 1/2 teaspoon.
- Granulated sugar — can’t swap for liquid sweeteners without altering texture; if you must, use superfine sugar for smoother melting.
- All‑purpose flour — cake flour will make a softer, slightly less dense filling; avoid bread flour (too much protein).
Must-Have Equipment
- 9″ pie plate — provides the shallow shape this brownie pie needs to bake evenly.
- Rimmed baking sheet — catches drips and makes it easier to transfer in and out of the oven.
- Microwave‑safe bowl or double boiler — for gently melting chocolate and butter together.
- Pie weights or dry beans and parchment — only if you plan to blind-bake for a crunchier bottom.
- Wire rack — for proper cooling; this step matters for clean slices.
- Toothpick — to check doneness and get the center exactly how you like it.
Steer Clear of These
Don’t overmix the flour into the batter. Overworking develops gluten and will rob the filling of its fudgy texture. Fold just until no dry streaks remain.
Don’t skip chilling the crust. A chilled crust holds its shape and is less likely to slump when the warm batter goes in. If you skip chilling, the edges can shrink and the pie won’t look as neat.
Avoid baking it too long if you want a gooey center. Follow the toothpick guidance in the recipe and remove the pie when the center still shows a moist toothpick if you like it fudgy.
Fresh Seasonal Changes
Fall: Add a teaspoon of cinnamon to the batter for a warm, cozy note. A sprinkle of toasted pecans over the filling before baking adds autumnal texture.
Winter: Serve warm with a spoonful of salted caramel sauce and a scoop of slow-melting vanilla ice cream for a festive finish.
Summer: Top slices with fresh berries and a dusting of powdered sugar. The bright acidity of berries cuts through the richness nicely.
Insider Tips
Chocolate and Melting
Chop the baking chocolates into uniform pieces so they melt evenly in the microwave. Heat in 30‑second bursts and stir between bursts to avoid scorching. If you prefer stovetop, use a double boiler and low heat.
Crust Control
If you’re blind-baking the crust at 425°F for a crunchier bottom, make sure the crust is fully chilled and the parchment is tightly pressed to the edges with weights so it bakes flat and even.
Bake Timing
Oven temperatures vary. Start checking at 38 minutes but be prepared to go up to 48. The top should be cracked; the center will continue to set as it cools. I like removing the pie when the toothpick shows moist crumbs for a slice that holds shape but still keeps the fudgy, brownie soul.
Store, Freeze & Reheat
Store covered at room temperature up to 3 days, as the recipe’s instructions indicate. Keep it away from direct sunlight and don’t refrigerate unless you live in a very hot, humid climate — refrigeration can dry the crust.
Freeze slices for up to one month. Wrap each slice in plastic, then foil, and place in an airtight container or freezer bag. Thaw at room temperature or reheat gently in a low oven (300°F) for 8–12 minutes until warmed through.
If you prefer it warm, reheat single slices in a 350°F oven for 6–8 minutes or microwave for 15–25 seconds. Microwaving is fastest but can soften the crust; use the oven if you want to preserve edge crispness.
Brownie Pie FAQs
Q: Can I make this ahead?
A: Yes. Bake, cool completely, then cover and store at room temperature for up to 3 days. For longer storage, freeze slices for up to one month.
Q: My top cracked; is that ok?
A: Absolutely. A cracked, shiny top is charming and typical of brownie-like desserts. It signals a good sugar-to-fat ratio and a glossy finish.
Q: How do I get cleaner slices?
A: Cool the pie completely on a wire rack, then chill in the refrigerator for 30–60 minutes before slicing. Use a sharp knife dipped in hot water and wiped dry between cuts for the neatest pieces.
Q: Can I make this gluten-free?
A: You can try a 1:1 gluten-free flour blend that’s formulated for baking, but results vary. Expect a slightly different texture; don’t substitute with almond flour without testing, as it changes structure and absorbency.
Q: What if I don’t have a pie shield?
A: Use strips of foil to protect the edges. Remove them after 20–25 minutes so the edges can brown, just like the directions suggest.
Save & Share
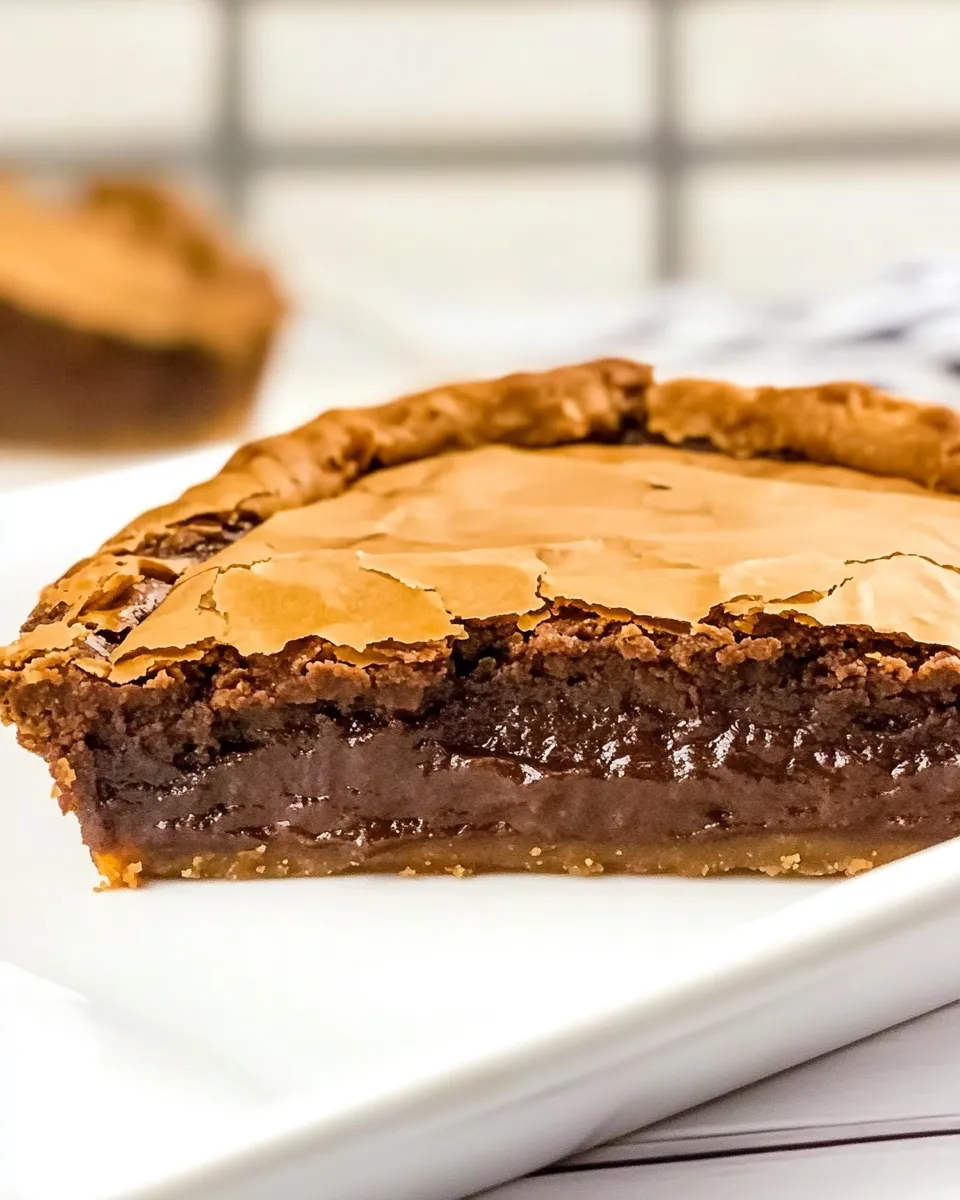
If you make this, take a picture of the cross-section — the gooey middle next to the browned crust is the proof. Share the photo with friends or on social and tag someone who loves brownies as much as pie. Keep this recipe bookmarked: it’s a simple, dependable dessert that delivers an impressive finish without drama.
Want variations or troubleshooting for your first bake? Drop a note below the post (or in the comments if you’ve pasted this into your file) with your oven type and how you like the center, and I’ll help you tweak timing and techniques. Happy baking.
The BEST Brownie Pie
Equipment
- 9-inch pie plate
- Oven
- Parchment Paper
- pie weights or dry beans
- Microwave-safe Bowl
- Rimmed Baking Sheet
- pie crust shield or foil
- Wire Rack
Ingredients
Ingredients
- 1 recipeAll Butter Pie Crust or one refrigerated crust from a pack of 2
- 2 ouncesunsweetened baking chocolate
- 2 ouncessemi-sweet baking chocolate
- 3/4 cupunsalted butter
- 1 3/4 cupsgranulated sugar
- 3 eggs
- 1 tablespoonvanilla extract
- 1/2 teaspoonsalt
- 2 tablespoonsunsweetened cocoa powder
- 1 cupall purpose flour
Instructions
Instructions
- If using a homemade All Butter Pie Crust or a refrigerated crust, press the crust into a 9" pie plate, crimp the edges, and chill in the refrigerator while you make the filling. Preheat the oven to 350°F for baking the filled pie.
- (Optional — for a crunchier bottom) If you want a crunchy bottom, first preheat the oven to 425°F. Line the chilled crust with parchment and fill with pie weights or dry beans. Bake 15–20 minutes, remove the parchment and weights, then reduce the oven temperature to 350°F before adding the filling.
- Place the 2 oz unsweetened baking chocolate, 2 oz semi‑sweet baking chocolate, and 3/4 cup unsalted butter in a large microwave‑safe bowl. Heat in 30‑second increments, stirring between each, until the chocolate and butter are completely melted and smooth (about 2 minutes, depending on your microwave).
- Stir 1 3/4 cups granulated sugar into the melted chocolate and butter until combined.
- Add the 3 eggs, one at a time, stirring well after each egg so the mixture is smooth and uniform.
- Stir in 1 tablespoon vanilla extract, 2 tablespoons unsweetened cocoa powder, and 1/2 teaspoon salt until smooth.
- Carefully fold in 1 cup all‑purpose flour just until no dry streaks remain; do not overmix.
- Pour the batter into the prepared pie crust and set the pie on a rimmed baking sheet to catch any drips. Cover the crust edges with a pie crust shield or strips of foil.
- Bake at 350°F for 38–48 minutes, until the top is cracked. Remove the foil strips or pie shield after about 20–25 minutes of baking so the edges can brown.
- Check doneness with a toothpick: a wet toothpick gives a very gooey center (about 38 minutes in the recipe photos); a toothpick with moist crumbs indicates a more set center. Bake longer within the 38–48 minute range if you prefer a less-wet center.
- Cool the pie completely on a wire rack before slicing and serving with ice cream or whipped cream. Store covered at room temperature up to 3 days, or freeze slices for up to one month.