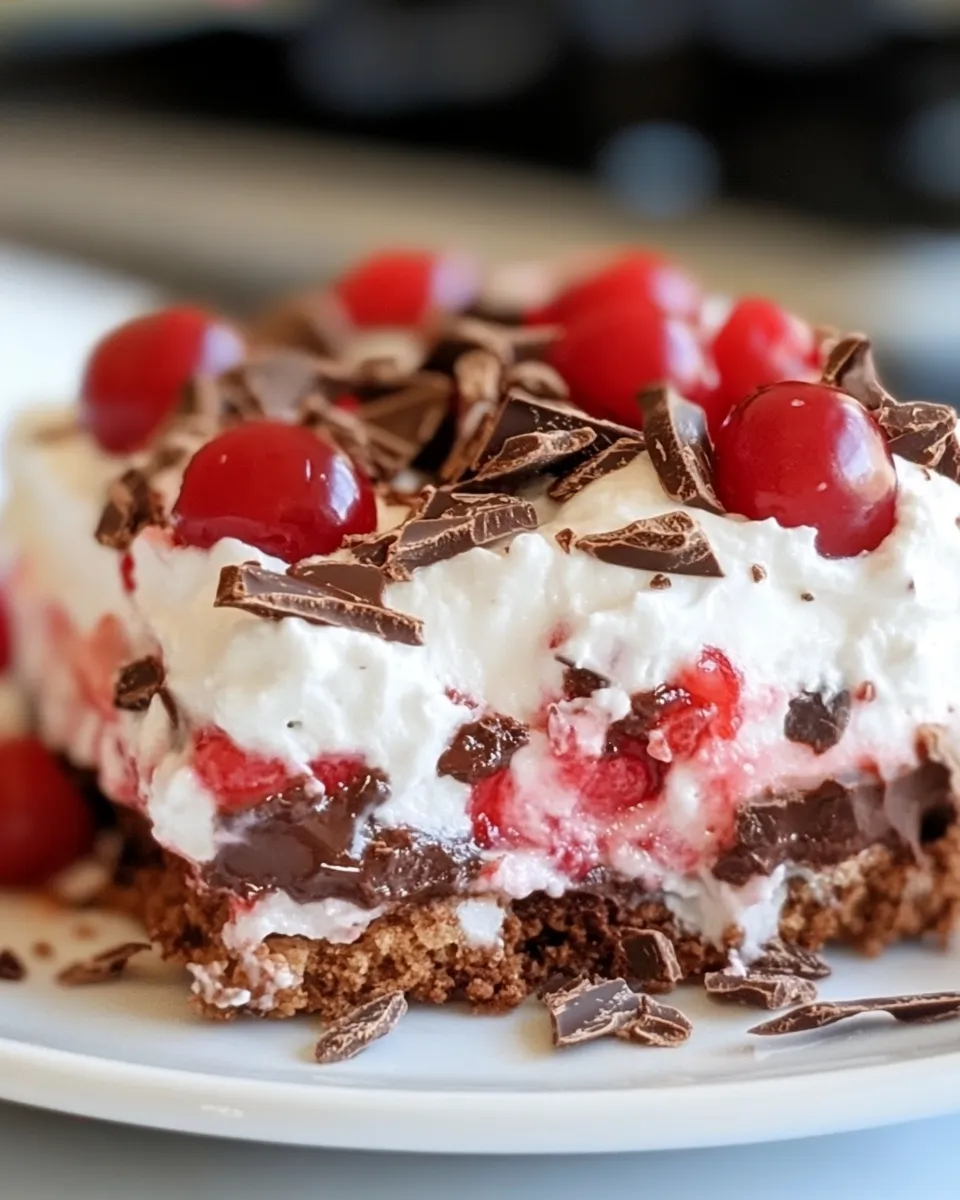
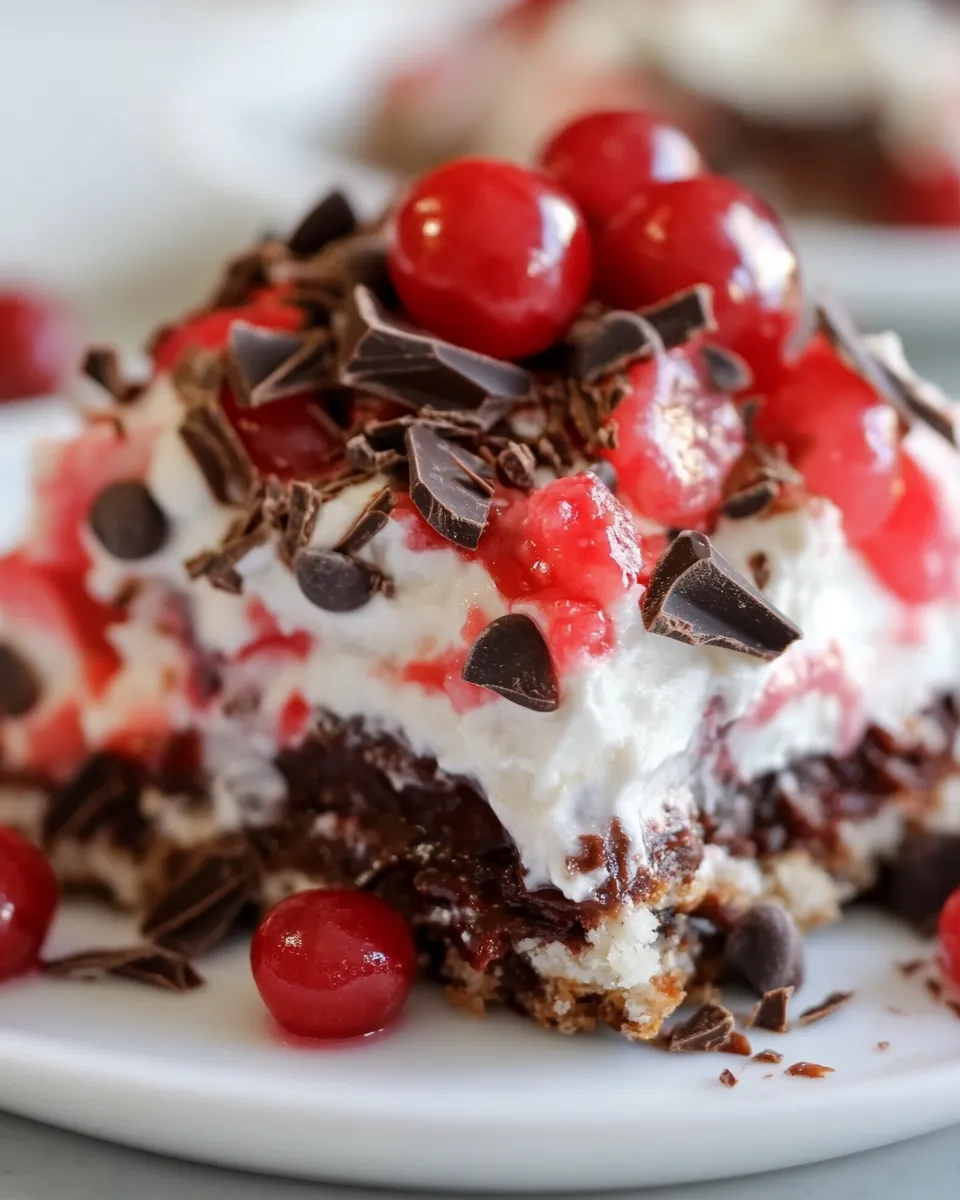
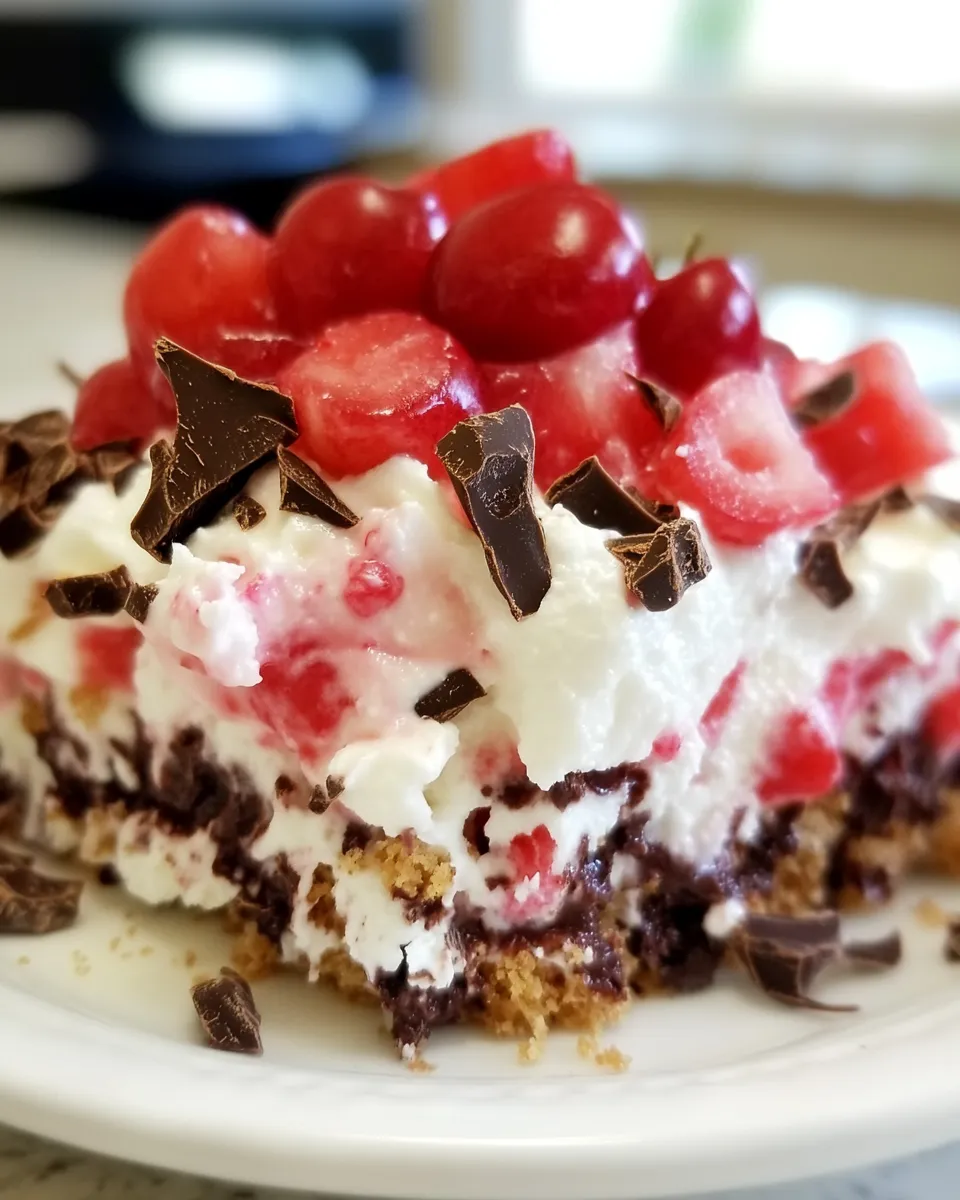
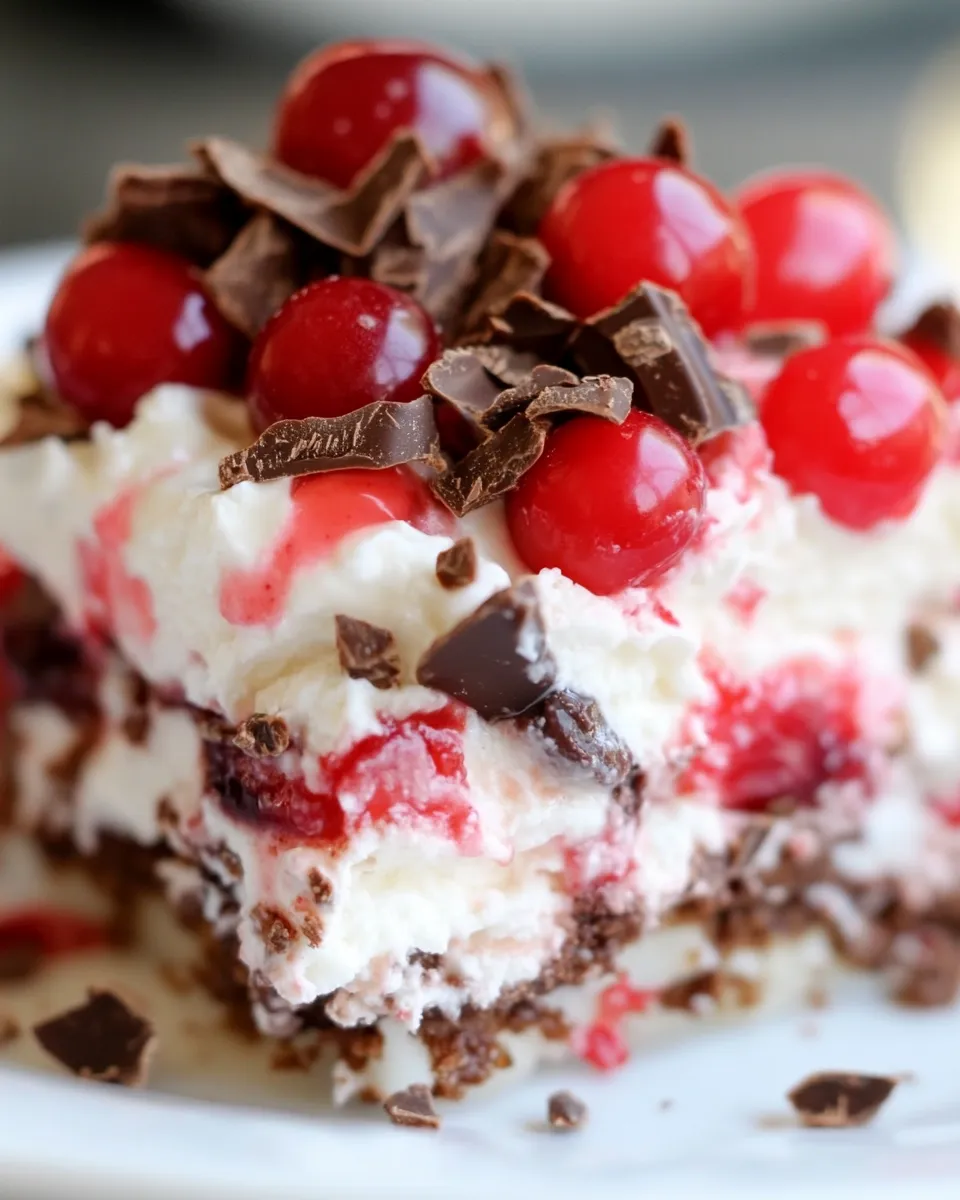
This is a dependable, fridge-ready layered dessert that always disappears fast. It brings together a crunchy, nutty shortbread-like crust; a bright, slightly tart cherry layer; a tangy, soft cream cheese middle; and a silky chocolate pudding capped with whipped topping. The result is rich without being fussy.
I make this for potlucks and weeknight dessert emergencies. It assembles quickly, doesn’t demand precise timing once the crust is baked and cooled, and keeps well for days in the fridge. If you want a showy dessert that’s also low-stress, this is it.
Below you’ll find the exact ingredient breakdown and the step-by-step method. I include practical tips for avoiding the common mistakes—like a soggy crust or weepy cream cheese layer—and options if you need to adjust for allergies or preferences.
Ingredient List
- 1 cup all-purpose flour — forms the base of the crust; measure by spooning into the cup and leveling for more consistent texture.
- ½ cup crushed nuts (I like pecans) — adds crunch and flavor to the crust; keep them coarsely crushed so the crust holds together.
- ¼ cup sugar — sweetens the crust and helps it brown.
- 8 tablespoons salted butter, melted — binds the crust and adds flavor; salted butter gives a nice balance to the sweet layers.
- 21 ounces cherry pie filling (1 can) — the bright fruit layer; spread evenly for consistent bites.
- 8 ounces cream cheese, softened — makes the creamy middle layer; room temperature prevents lumps when beating.
- 1 cup powdered sugar — sweetens and stabilizes the cream cheese layer; sift if it’s clumpy.
- 1 cup Cool Whip (8 oz container) — folded into the cream cheese for lightness; use as directed in the steps.
- 6.8 ounces chocolate instant pudding (2 packages) — the chocolate layer; use instant for a smooth, quick-set fill.
- 3 cups milk — required to prepare the pudding; cold milk yields a better set.
- Remaining Cool Whip from 8 oz container — spread on top for a clean, billowy finish.
- ½ cup chocolate shavings or chocolate jimmies (optional) — for garnish; adds texture and a final chocolate note.
Chocolate Cherry Lush: From Prep to Plate
- Preheat the oven to 375°F (190°C).
- In a medium bowl, combine 1 cup all-purpose flour, ½ cup crushed nuts, ¼ cup sugar, and 8 tablespoons salted butter (melted). Stir until the mixture is evenly moistened and holds together when pressed.
- Press the mixture firmly and evenly into the bottom of a 9×13-inch baking dish to form the crust.
- Bake the crust for 10 minutes. Remove from the oven and let the crust cool completely in the pan.
- Once the crust is cool, spread the 21 ounces cherry pie filling evenly over the crust.
- In a large bowl, beat 8 ounces softened cream cheese with a mixer until light and fluffy. Add 1 cup Cool Whip (from the 8 oz container) and beat until combined. Gradually add 1 cup powdered sugar and beat until the mixture is smooth.
- Spread the cream cheese mixture evenly over the cherry layer.
- In a separate bowl, whisk together the 6.8 ounces (2 packages) chocolate instant pudding mix and 3 cups milk according to the package instructions until the pudding thickens. (If the package gives a recommended whisking time, follow that.)
- Spread the prepared chocolate pudding evenly over the cream cheese layer.
- Spread the remaining Cool Whip from the 8 oz container over the pudding layer.
- If desired, sprinkle ½ cup chocolate shavings or chocolate jimmies evenly over the top.
- Keep the assembled dessert refrigerated until serving.
Why This Recipe Works
Layered desserts succeed when each component contributes a distinct texture and complementary flavor. Here, the flour-nut-sugar-butter crust gives structure and crunch. The cherry pie filling adds acidity and fruit-forward brightness. The cream cheese layer brings tang and creaminess that balances the dessert. Chocolate pudding adds richness and a smooth, cool middle that contrasts well with the whipped topping. Each layer is straightforward but purposeful.
The technique is forgiving: once the crust is baked and cooled, the rest assembles cold and sets in the refrigerator. Using instant pudding keeps the timeline short and prevents a grainy texture that can appear when overcooking stovetop puddings. Finally, folding Cool Whip into the cream cheese keeps that layer lighter than a pure cream cheese frosting would be, so the whole dish feels balanced rather than dense.
Healthier Substitutions
- Flour — swap half the all-purpose flour for whole wheat pastry flour for a bit more fiber, but expect a slightly denser crust.
- Butter — use unsalted butter and add a pinch of salt if you prefer to control sodium; or substitute with a plant-based margarine in equal measure for a dairy-free crust (texture will vary).
- Sugar — reduce the crust sugar to 3 tablespoons if you want less sweetness; the pie filling and pudding still contribute sugar.
- Pie filling — use a reduced-sugar cherry filling or a homemade cherry compote with less sugar, but check thickness—looser fillings can make the dessert wetter.
- Cool Whip & pudding — choose lower-fat or sugar-free instant pudding and a light whipped topping, keeping in mind these will alter richness and set.
Prep & Cook Tools
- 9×13-inch baking dish
- Medium mixing bowl for crust
- Large mixing bowl for cream cheese layer
- Electric mixer or hand mixer (for cream cheese)
- Spatula for spreading layers
- Whisk for pudding
- Measuring cups and spoons
- Can opener (for the cherry pie filling)
Watch Outs & How to Fix
Crust too crumbly or greasy
If the crust falls apart when pressed, the butter may not have been fully incorporated or the flour measurement was off. Press it firmly into the pan; if it still breaks after baking, press leftover crumbs over the top as a garnish on serving. If it’s greasy, use a bit less melted butter next time—7 tablespoons instead of 8 will still bind.
Soggy crust
Make sure the crust cools completely before adding the cherry layer. Warm crust plus moist filling equals sogginess. If you must assemble while the crust is warm, chill the pan briefly in the fridge to bring it down before spreading the filling.
Lumpy cream cheese layer
Softened cream cheese is essential. If lumps appear, beat longer at medium speed and scrape the bowl frequently. Passing the cream cheese through a fine mesh or mashing with a fork before beating helps if it was only slightly softened.
Pudding won’t set
Instant pudding relies on the right milk-to-pudding ratio and the chilling time. Follow the package instructions for whisking time exactly and give it a few minutes to thicken before spreading. If it seems thin after setting in the fridge, a longer chill will help. Avoid substituting with warm milk.
Adaptations for Special Diets
- Gluten-free — use a gluten-free 1:1 all-purpose flour blend in place of the flour. Confirm your instant pudding is gluten-free and use GF crushed nuts.
- Dairy-free / vegan — replace butter with a solid plant-based spread, swap cream cheese for a vegan cream cheese alternative, use vegan whipped topping, and choose dairy-free instant chocolate pudding and plant-based milk. Texture will differ but the layer structure stays the same.
- Nut allergies — omit the crushed nuts in the crust and increase the flour by a couple of tablespoons or add 2–3 tablespoons of fine cookie crumbs to help texture.
- Lower sugar — choose reduced-sugar cherry filling and sugar-free instant pudding, and reduce powdered sugar slightly in the cream cheese layer, tasting as you go.
Cook’s Notes
Use room-temperature cream cheese. It whips up light and avoids lumps. Prep the pudding with cold milk and follow the package directions for whisking time so it sets properly. If you want cleaner slices, chill the assembled dish several hours or overnight, then run a sharp knife under hot water, dry it, and slice.
For a sturdier, transportable dessert, line the baking dish with parchment overhanging the sides. Once set, use the parchment to lift the whole slab out for easier slicing and plating. If you skip the optional chocolate topping, the dessert still benefits from a finely grated dark chocolate for aroma.
Storing, Freezing & Reheating
Store Chocolate Cherry Lush covered in the refrigerator for up to 4–5 days. The textures mellow as it sits; some people prefer it on day two when the flavors have married.
Freezing is possible but changes texture. To freeze, cover the assembled dish tightly in plastic wrap and then foil to prevent freezer burn. Freeze up to 1 month. Thaw overnight in the fridge before serving. Expect the whipped layers to be slightly weepier and the texture softer once frozen and thawed.
Reheating is not recommended—this is a cold dessert. If you prefer a warmer fruit topping for serving, spoon warmed cherry pie filling beside each slice rather than reheating the whole dessert.
FAQ
Can I make this ahead? Yes. Assemble the dessert and refrigerate for several hours or overnight. It actually slices cleaner after chilling.
Can I use fresh cherries instead of pie filling? Yes, but cook them down with a little sugar and cornstarch to thicken into a compote before using. A very loose fresh cherry topping can make the dessert runny.
Do I have to use Cool Whip? You need a stabilized whipped topping to keep the layers light; homemade whipped cream will work if you add a stabilizer like mascarpone or gelatin, but Cool Whip keeps the method simple and reliable.
Why two puddings? The recipe calls for two packages because the total weight (6.8 ounces) and three cups of milk produce a firm, chocolate layer that spreads well over the cream cheese layer without being runny.
Final Bite
Chocolate Cherry Lush is exactly the kind of dessert you can make when you want impact with minimal fuss. The assembly is straightforward, and the payoff—crisp crust, bright cherries, tangy cream, and silky chocolate—is worth the few steps. Make it a day ahead when you can; the flavors meld and the slices improve. Serve chilled, cut with a hot, dry knife, and watch people reach for seconds.
Chocolate Cherry Lush
Equipment
- Oven
- 9x13 inch Baking Dish
- Mixer
- Mixing Bowls
- Whisk
- Spatula
Ingredients
Ingredients
- 1 cupall-purpose flour
- 1/2 cupcrushed nutsI like pecans
- 1/4 cupsugar
- 8 tablespoonssalted buttermelted
- 21 ouncescherry pie filling1 can
- 8 ouncescream cheesesoftened
- 1 cuppowdered sugar
- 1 cupCool Whip8 oz container
- 6.8 ounceschocolate instant pudding2 packages
- 3 cupsmilk
- Remaining Cool Whip from 8 oz container
- 1/2 cupchocolate shavings or chocolate jimmiesoptional
Instructions
Instructions
- Preheat the oven to 375°F (190°C).
- In a medium bowl, combine 1 cup all-purpose flour, ½ cup crushed nuts, ¼ cup sugar, and 8 tablespoons salted butter (melted). Stir until the mixture is evenly moistened and holds together when pressed.
- Press the mixture firmly and evenly into the bottom of a 9×13-inch baking dish to form the crust.
- Bake the crust for 10 minutes. Remove from the oven and let the crust cool completely in the pan.
- Once the crust is cool, spread the 21 ounces cherry pie filling evenly over the crust.
- In a large bowl, beat 8 ounces softened cream cheese with a mixer until light and fluffy. Add 1 cup Cool Whip (from the 8 oz container) and beat until combined. Gradually add 1 cup powdered sugar and beat until the mixture is smooth.
- Spread the cream cheese mixture evenly over the cherry layer.
- In a separate bowl, whisk together the 6.8 ounces (2 packages) chocolate instant pudding mix and 3 cups milk according to the package instructions until the pudding thickens. (If the package gives a recommended whisking time, follow that.)
- Spread the prepared chocolate pudding evenly over the cream cheese layer.
- Spread the remaining Cool Whip from the 8 oz container over the pudding layer.
- If desired, sprinkle ½ cup chocolate shavings or chocolate jimmies evenly over the top.
- Keep the assembled dessert refrigerated until serving.