This is the tart crust I reach for when I want a dependable, buttery base that holds fillings without collapsing or turning soggy. It’s straightforward, forgiving, and pleasantly crisp once baked. If you bake it once, you’ll see how small adjustments—cold butter, minimal handling, a short chill—change everything.
I’ll walk you through each ingredient and every step, sticking to the exact measurements you need. No fussy techniques. No mystery steps. You’ll understand why each action matters so you can troubleshoot and adapt with confidence.
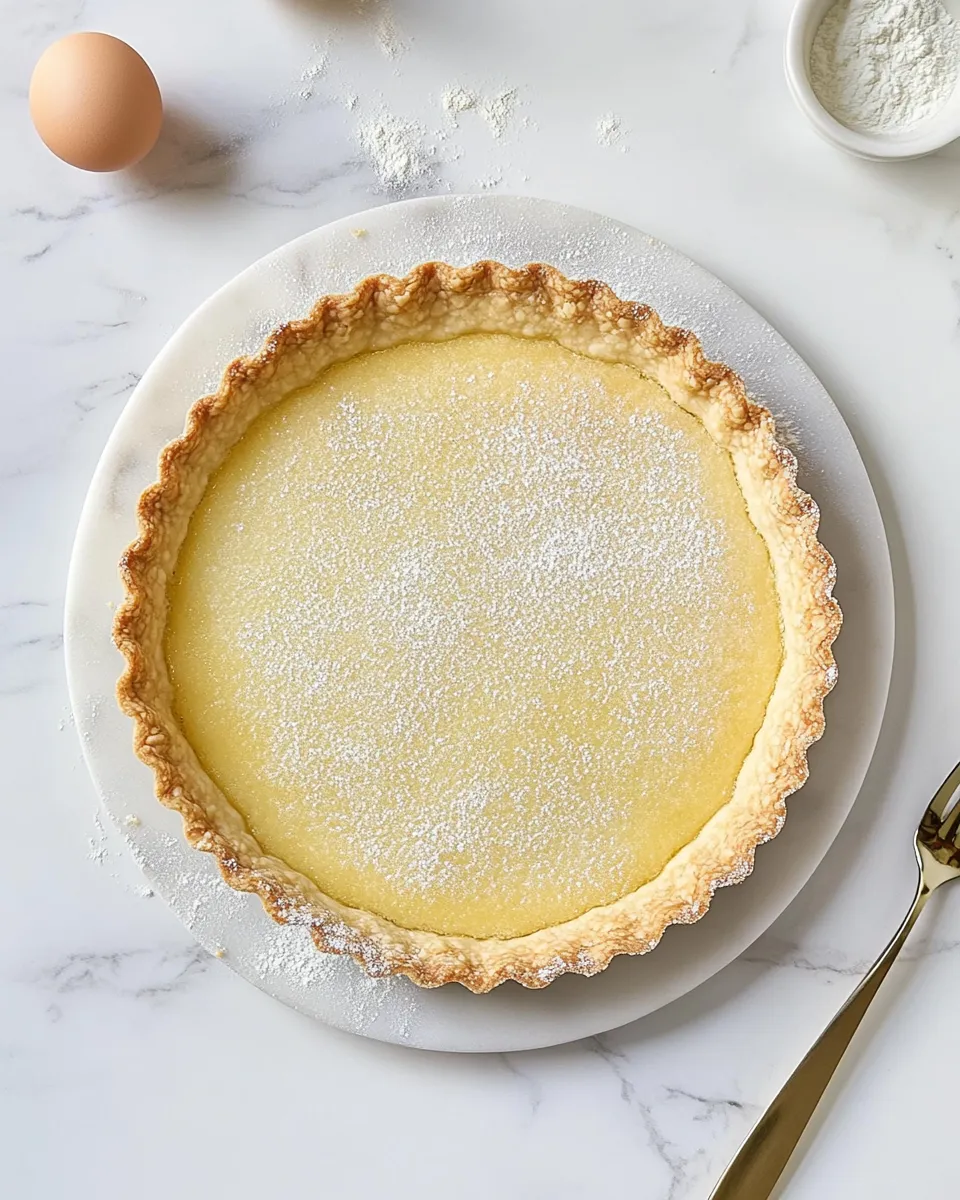
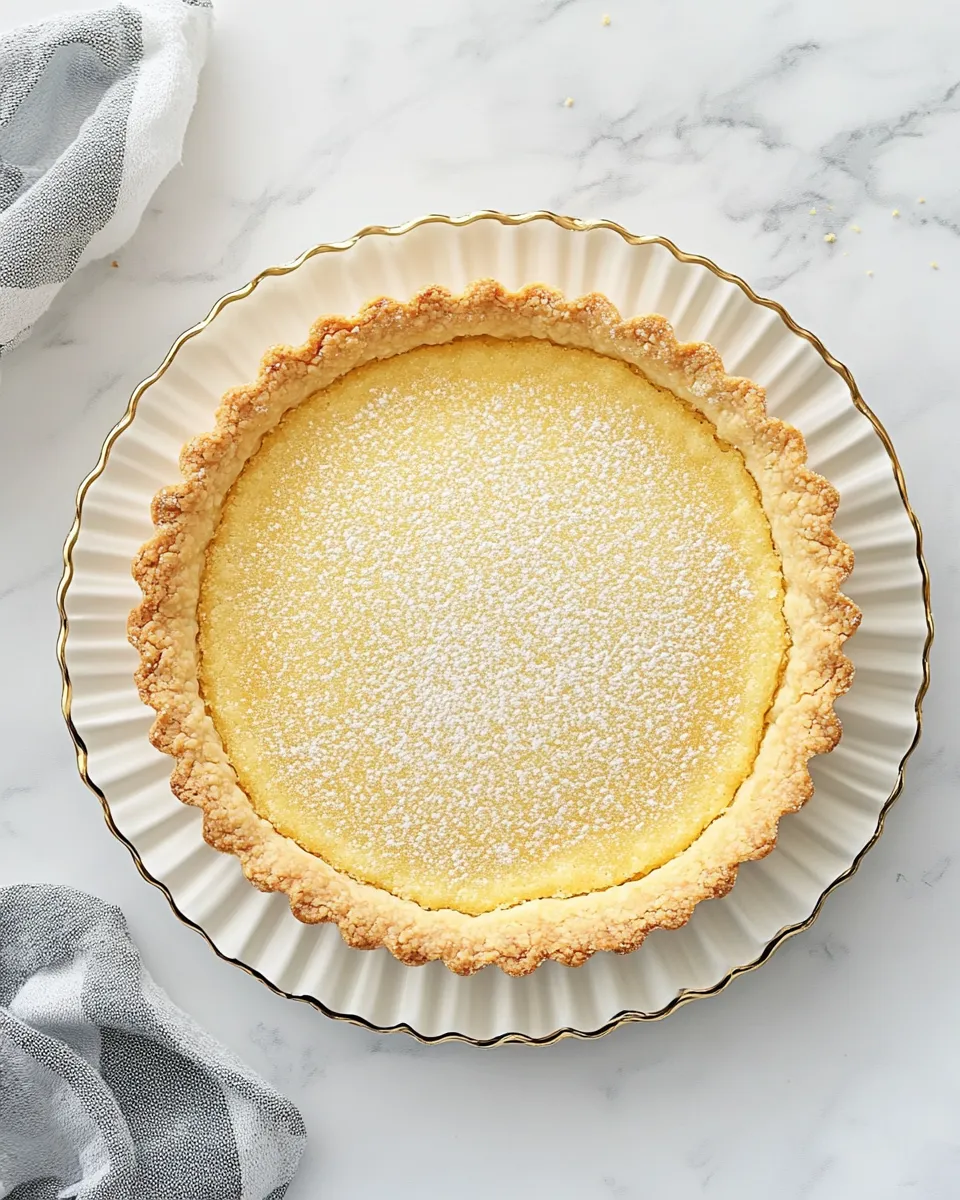
Use this crust for fruit tarts, custard fillings, or a savory switch if you skip powdered sugar. It bakes up golden, flaky, and sturdy enough to hold a dense filling without breaking. Let’s get into the details so your next tart looks and tastes like it came from a favorite bakery.
Ingredient Rundown
Ingredients
- 1 1/2 cups all-purpose flour — the structure of the crust; measure with the spoon-and-level method for accuracy.
- 1/2 cup powdered sugar — adds a fine sweetness and a tender crumb; sift if lumpy.
- 2 pinches salt — balances sweetness and enhances flavor; don’t skip it.
- 1-2 teaspoons milk — binds the dough just enough; add only as needed to bring the dough together.
- 1/2 cup unsalted butter, cold and cubed — provides flakiness and flavor; keep it cold for the best texture.
- 1 large egg — adds richness and helps the dough hold together; use a room-temperature egg for even mixing.
Cook Tart Crust Like This
- In a large bowl, whisk together 1 1/2 cups all-purpose flour, 1/2 cup powdered sugar, and 2 pinches salt until evenly combined.
- Add 1 teaspoon milk and 1/2 cup cold, cubed unsalted butter to the dry ingredients. Using a pastry cutter, two knives, or your fingertips, cut or rub the butter into the flour mixture until it resembles coarse breadcrumbs.
- Add 1 large egg and mix just until the dough begins to clump together. If the mixture still has dry crumbs and will not come together, add up to 1 additional teaspoon milk, a little at a time (use no more than 1–2 teaspoons total), and mix until the dough holds.
- Gather the dough into a flat disk, wrap it tightly in plastic wrap, and refrigerate for at least 1 hour.
- On a lightly floured surface, roll the chilled dough to about 1/4 inch thickness. Carefully transfer the dough to a 9-inch tart pan and fit it into the pan, pressing into the edges. Trim any excess dough flush with the pan rim.
- Prick the bottom of the dough all over with a fork to prevent large bubbles, then cover and freeze the prepared tart shell for 45 minutes.
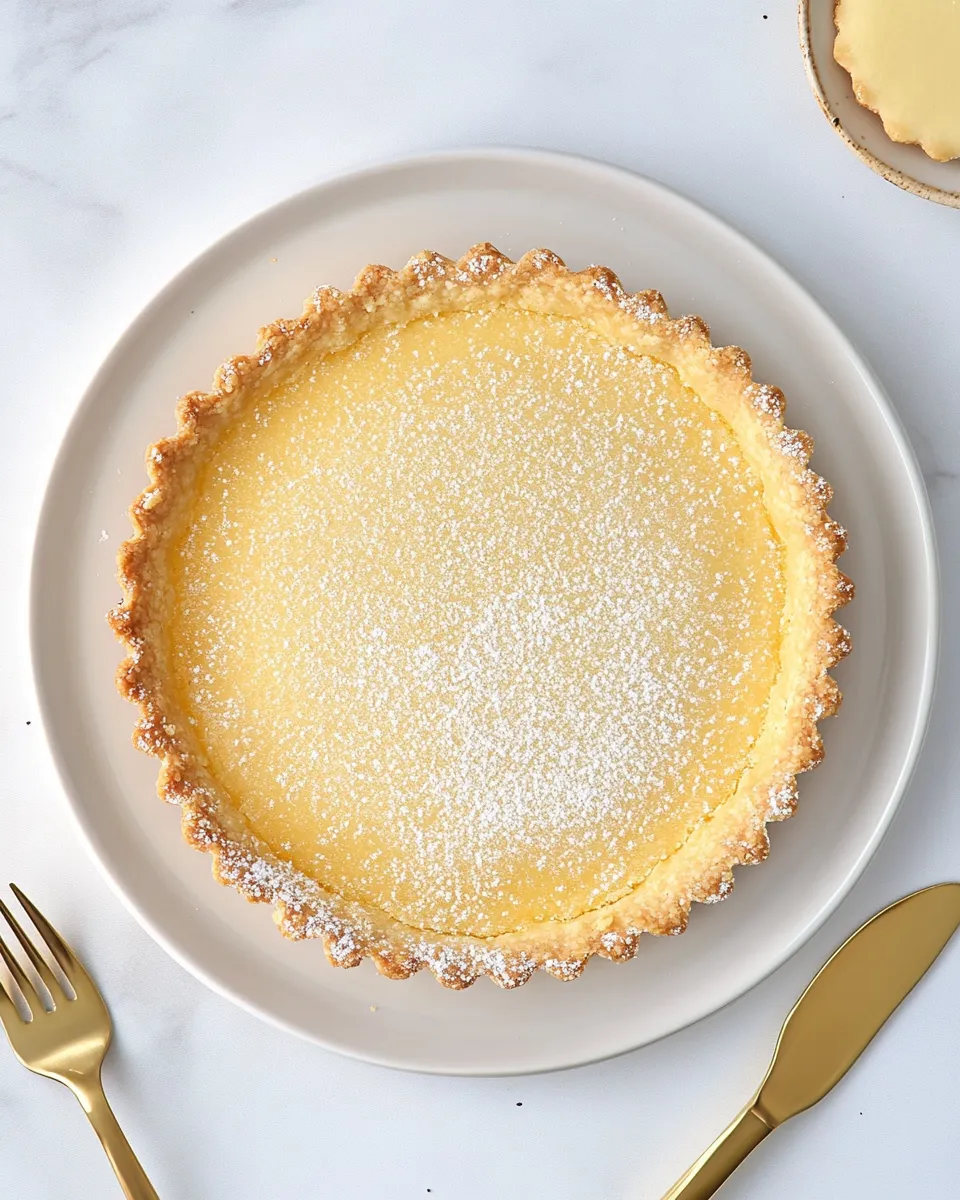
- When the shell has finished freezing, preheat the oven to 375°F (190°C). Bake the frozen tart shell for 20–25 minutes, or until the crust is golden brown.
- Remove the tart from the oven and let it cool in the pan until cool enough to handle (about 10 minutes), then transfer to a wire rack to cool completely before filling or serving.
Why You’ll Love This Recipe
This crust balances crispness and tenderness. The powdered sugar creates a finer crumb than granulated sugar would, and the cold butter yields pockets of flaky texture. The short chilling and freezing steps make the shell easy to roll and less prone to shrinking or warping during baking.
It’s forgiving. You can handle the dough a little more than with ultra-delicate recipes and still end up with a reliable crust. The method uses familiar techniques—cutting in butter, chilling, blind-freezing—that are accessible to confident beginners and useful to experienced bakers who want predictable results.
Finally, it’s versatile. Sweet enough for fruit and chocolate fillings, structural enough for custards, and adaptable to small ingredient swaps when required.
Texture-Safe Substitutions

Here are substitutions that preserve texture without breaking the method:
- Cold vegan butter block — use a solid plant-based butter chilled and cubed; keep it as cold as possible to maintain flakiness.
- Melted butter is not recommended — it changes the dough’s behavior and will yield a denser, less flaky crust.
- Milk alternatives (almond, oat) — use them sparingly for the small binding amount called for; add dropwise to avoid a sticky dough.
- For an egg-free version — try a commercial egg replacer or a flax egg, but expect a slight change in texture; the crust may be slightly more crumbly.
Gear Up: What to Grab
Essential tools
- Large mixing bowl — roomy enough for cutting in the butter without spilling.
- Pastry cutter or two knives — to cut butter into the flour; fingertips work in a pinch.
- 9-inch tart pan — with a removable bottom if you want neat unmolding.
- Rolling pin — a lightly floured surface and even pressure keep thickness consistent.
- Plastic wrap and a baking sheet — to chill the disk and freeze the fitted shell.
- Fork and wire rack — for docking the shell and cooling after baking.
Don’t Do This
Don’t warm the butter. Warm butter absorbs more, producing a greasy, flat crust. Keep it cold until the moment it enters the dough, and chill the dough before rolling.
Don’t overwork the dough. Mixing or kneading beyond “just until it clumps” develops gluten and makes the crust tough. Stop as soon as the pieces hold together when pressed.
Don’t skip freezing the fitted shell. That 45 minutes in the freezer firms the butter back up, helping the shell keep its shape and preventing large air pockets during baking.
Customize for Your Needs
Want a sweeter base? Sprinkle a little extra powdered sugar into the dough, but do so cautiously—too much sugar can make the crust brown faster. Prefer a nuttier flavor? Fold a few tablespoons of finely ground nuts into the flour, which adds depth and a tender crumb.
If your tart pan is smaller or larger than 9 inches, make adjustments: a slightly thicker crust will work in a larger pan; in a smaller pan, the crust will be thinner and will bake a bit faster—watch closely in the oven.
For a savory application, omit the powdered sugar entirely and increase the salt slightly (don’t exceed a pinch or two more). The method stays the same; the result will be a flaky, neutral shell for savory fillings.
Pro Tips & Notes
Before you start
Measure flour correctly. Spoon it into the measuring cup and level it off; packed flour will make a dense dough. Keep room temperature in mind: the colder your kitchen, the firmer the butter remains, and the flakier the final crust will be.
Handling the dough
Work quickly when rolling. If the dough warms and becomes sticky, set it back in the fridge for 10–15 minutes. When transferring the rolled dough to the tart pan, roll it loosely around the pin then unroll over the pan to avoid stretching.
Baking
Docking the base (pricking with a fork) prevents large bubbles but won’t stop tiny air pockets entirely. Freezing the fitted shell minimizes rise and preserves edges. Bake until golden brown; color is a better indicator than time alone because ovens vary.
Common fixes
If the crust cracks while fitting, press the cracks together gently and patch with a small piece of leftover dough. If it shrinks slightly after baking, avoid overworking dough next time and ensure the tart pan isn’t too warm before you press the dough in.
Storing, Freezing & Reheating
Store a fully cooled, baked tart shell at room temperature, wrapped loosely in plastic, for up to 2 days. For longer life, freeze the cooled shell in an airtight container for up to 2 months. Thaw at room temperature before filling.
If you freeze the unbaked, fitted shell (after the 45-minute freeze), you can bake from frozen: add a few extra minutes to the bake time and watch for golden color. To re-crisp a filled tart, warm it briefly in a 325°F (160°C) oven for 8–10 minutes—this revives the crust without overcooking most fillings.
Ask & Learn
If your crust is greasy, that means the butter melted into the flour before baking; next time, chill the dough longer and work more quickly. If it’s crumbly and falls apart when you try to lift slices, you likely need a touch more binder—make sure the egg was fully incorporated and consider the suggested 1–2 teaspoons additional milk only to bring the dough together.
Have other questions? Ask about pan types, blind-baking weights, or specific fillings. Tell me what went wrong or what you’d like to pair with the crust, and I’ll suggest focused tweaks based on your kitchen and ingredients.
Wrap-Up
This Tart Crust is straightforward and reliable. Keep your butter cold, resist overworking the dough, and respect the chilling and freezing steps. Done that way, you’ll get a golden, flaky shell every time—ready for fruit, chocolate, or a silky custard. Happy baking, and enjoy the crisp first bite.
Tart Crust Recipe
Equipment
- Large Bowl
- Whisk
- Pastry Cutter
- Knife
- Fork
- Plastic Wrap
- Rolling Pin
- 9-inch Tart Pan
- Oven
- Wire Rack
Ingredients
Ingredients
- 1 1/2 cupsall-purpose flour
- 1/2 cuppowdered sugar
- 2 pinchessalt
- 1-2 teaspoonsmilk
- 1/2 cupunsalted buttercold and cubed
- 1 large egg
Instructions
Instructions
- In a large bowl, whisk together 1 1/2 cups all-purpose flour, 1/2 cup powdered sugar, and 2 pinches salt until evenly combined.
- Add 1 teaspoon milk and 1/2 cup cold, cubed unsalted butter to the dry ingredients. Using a pastry cutter, two knives, or your fingertips, cut or rub the butter into the flour mixture until it resembles coarse breadcrumbs.
- Add 1 large egg and mix just until the dough begins to clump together. If the mixture still has dry crumbs and will not come together, add up to 1 additional teaspoon milk, a little at a time (use no more than 1–2 teaspoons total), and mix until the dough holds.
- Gather the dough into a flat disk, wrap it tightly in plastic wrap, and refrigerate for at least 1 hour.
- On a lightly floured surface, roll the chilled dough to about 1/4 inch thickness. Carefully transfer the dough to a 9-inch tart pan and fit it into the pan, pressing into the edges. Trim any excess dough flush with the pan rim.
- Prick the bottom of the dough all over with a fork to prevent large bubbles, then cover and freeze the prepared tart shell for 45 minutes.
- When the shell has finished freezing, preheat the oven to 375°F (190°C). Bake the frozen tart shell for 20–25 minutes, or until the crust is golden brown.
- Remove the tart from the oven and let it cool in the pan until cool enough to handle (about 10 minutes), then transfer to a wire rack to cool completely before filling or serving.
Notes
7. When the shell has finished freezing, preheat the oven to 375°F (190°C). Bake the frozen tart shell for 20–25 minutes, or until the crust is golden brown.