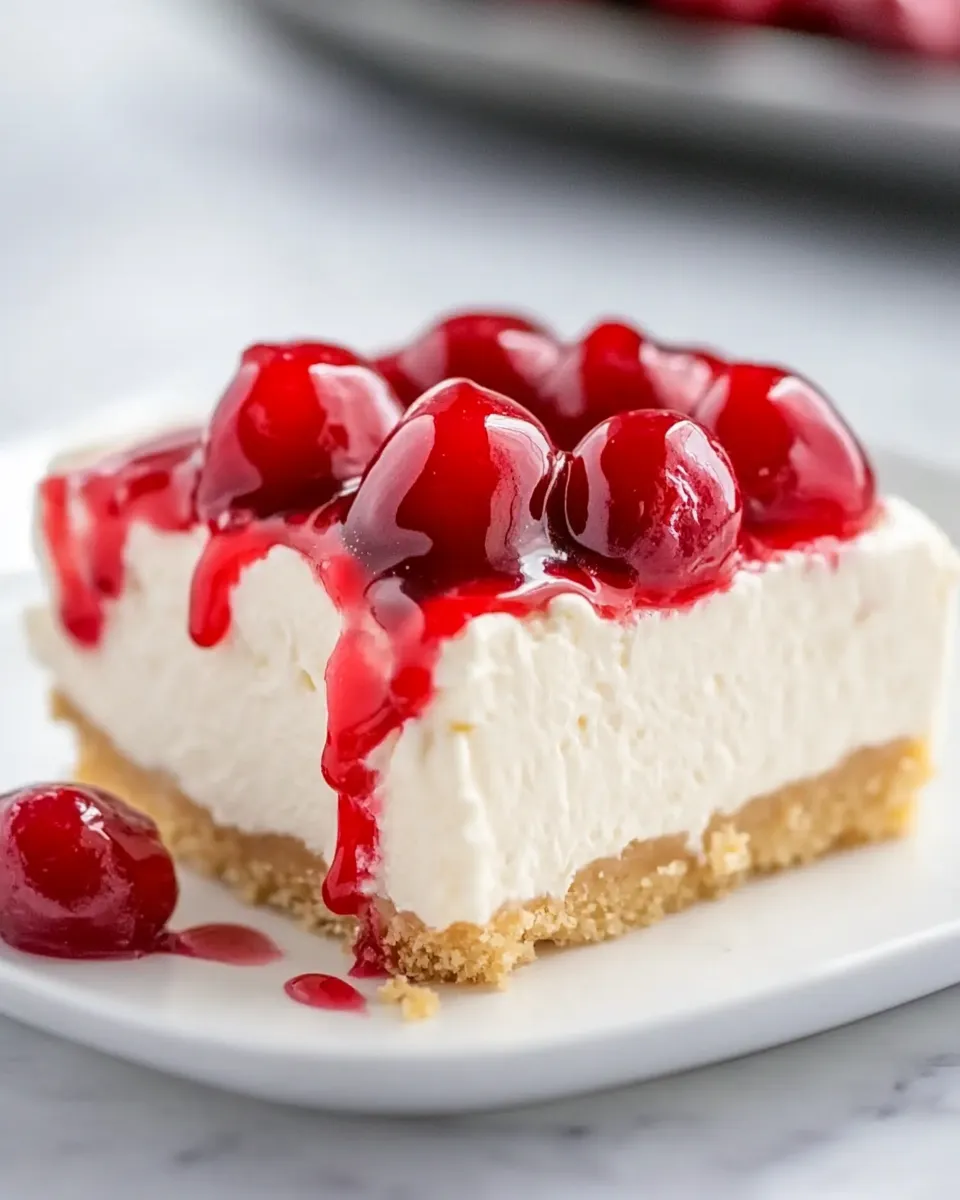
This no-bake cherry cheesecake is my go-to when I want something that looks special but doesn’t monopolize the oven or my evening. It’s straightforward, requires minimal hands-on time, and the cherry topping makes every slice bright and familiar. I keep the technique simple so you can make it reliably any time you need an easy dessert that still feels homemade.
I like to make it the day before a gathering so the flavors settle and the texture firms up perfectly. The steps are short and repeatable: a pressed graham crust, a whipped cream cheese filling, and a full can of cherry pie filling spread on top. No fancy folding, no tempering — just assemble, chill, and slice.
If you’re new to no-bake cheesecakes, this one teaches the basics: pack the crust well, chill between stages, and use the parchment overhang to remove the bars cleanly. I’ll walk through ingredients, exact steps, gear, common mistakes, storage, and a few sensible swaps so you can make it often and confidently.
Shopping List
- Graham crackers — one sleeve (9 sheets).
- Butter — enough to melt ½ cup.
- Sugar — you’ll need 1 tablespoon for the crust and powdered sugar for the filling.
- Cream cheese — one 16-ounce package, softened.
- Cool Whip — one 8-ounce container (or equivalent whipped topping).
- Powdered sugar — 1 cup for the filling.
- Lemon juice — at least 1 teaspoon.
- Cherry pie filling — one 21-ounce can for the topping.
- Basic pantry items: parchment paper and an 8×8-inch pan (or the correct pan size if you don’t have one).
Ingredients
- 9 graham cracker sheets (one sleeve) — The base for the crust. Gives structure and that classic flavor.
- ½ cup melted butter — Binds the crumbs so the crust holds when pressed.
- 1 tablespoon sugar — Adds a touch of sweetness and helps caramelize the crust slightly.
- 16 ounces cream cheese (softened) — The star of the filling; soften it to avoid lumps.
- 8 ounces Cool Whip — Lightens the filling and keeps it no-bake friendly.
- 1 cup powdered sugar — Sweetens and smooths the cream cheese filling.
- 1 teaspoon lemon juice — Brightens the filling and balances the sweetness.
- 21 ounces cherry pie filling — The topping. One full can covers the surface nicely.
How to Prepare No Bake Cherry Cheesecake
- Place all 9 graham cracker sheets (one sleeve) in a food processor and pulse until fine crumbs. If you don’t have a food processor, put the crackers in a heavy-duty zip-top bag and crush with a rolling pin until fine.
- In a medium bowl, combine the graham cracker crumbs, ½ cup melted butter, and 1 tablespoon sugar. Stir until the crumbs are evenly moistened and hold together when pressed.
- Line an 8×8-inch pan with parchment paper, leaving an overhang on two opposite sides for easy removal. Press the graham cracker mixture firmly and evenly into the bottom of the pan (use the bottom of a measuring cup or glass to pack it). Refrigerate for 10–15 minutes to set.
- In a large bowl, beat 16 ounces softened cream cheese until smooth. Add 8 ounces Cool Whip, 1 cup powdered sugar, and 1 teaspoon lemon juice; mix until the filling is smooth and uniform.
- Spread the cream cheese mixture into an even layer over the chilled graham cracker crust. Return to the refrigerator for 10–15 minutes to slightly firm the layer.
- Spoon the entire 21 ounces of cherry pie filling over the cream cheese layer and gently spread to cover the surface evenly.
- Chill the assembled cheesecake in the refrigerator for at least 4 hours (or overnight) until fully set. Use the parchment overhang to lift the cheesecake from the pan, slice, and serve.
What Sets This Recipe Apart
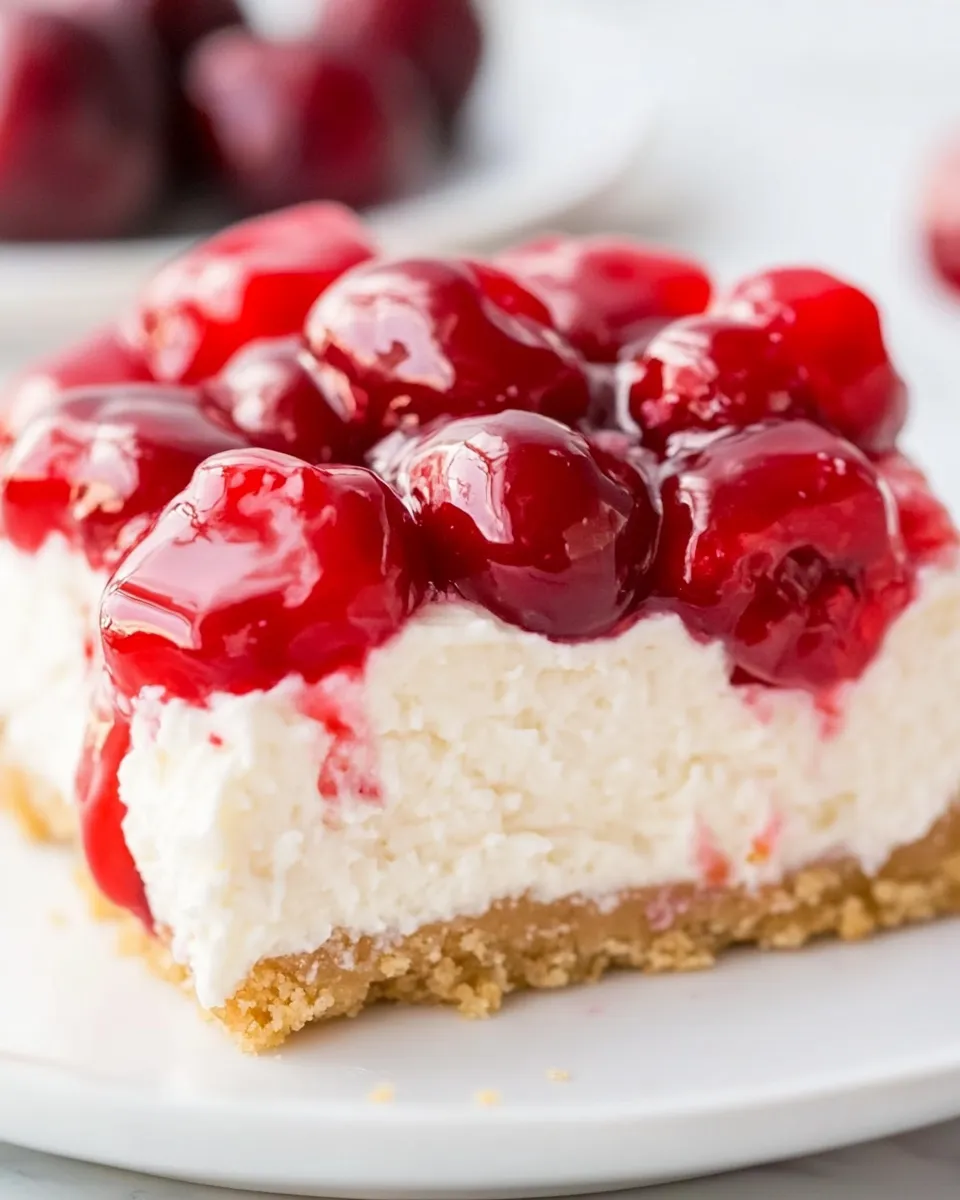
This cheesecake is intentionally simple. The texture is creamy but light thanks to the Cool Whip, and the single-can topping makes it visually striking with almost no effort. It’s quick to assemble and forgiving — there’s no baking step to worry about, and chilling stages keep everything stable while setting.
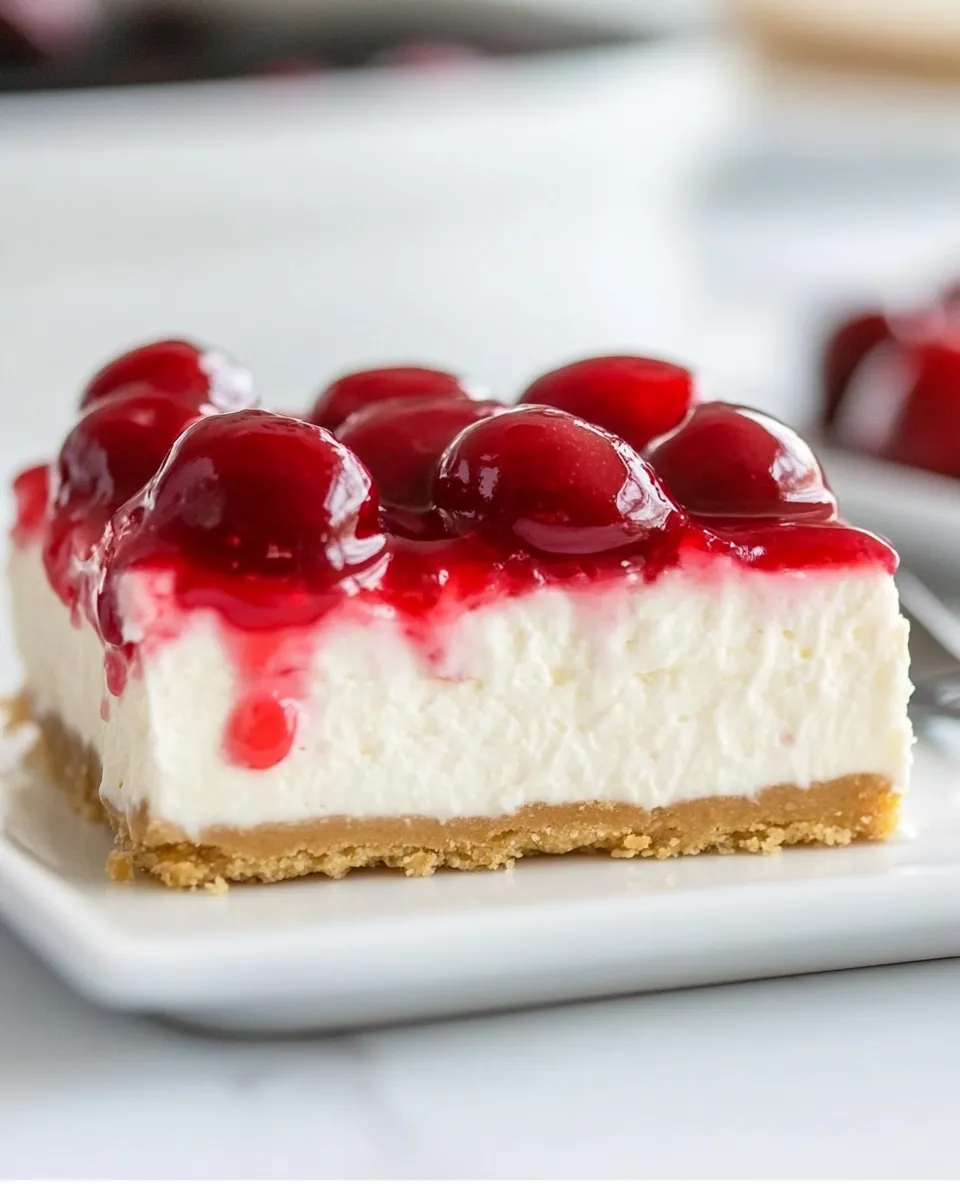
Two practical choices make it stand out: using a full sleeve of graham crackers keeps the crust thin and crisp, and the 8×8-inch pan yields neat, shareable squares. The lemon juice is subtle but important; it brightens the cream cheese so the dessert doesn’t taste cloying.
Quick Replacement Ideas
- Swap the 21 ounces cherry pie filling for another 21-ounce canned pie filling if you prefer a different fruit topping.
- If you don’t have Cool Whip, use an equal amount of whipped topping that you trust — the texture should stay light.
- For the crust, any similar amount of finely crushed, neutral cookies will work; press firmly for a stable base.
What You’ll Need (Gear)
- Food processor or a heavy-duty zip-top bag and rolling pin — for the crust crumbs.
- 8×8-inch pan — the recipe’s size is written for this pan for best thickness and chilling time.
- Parchment paper — leaves an overhang to lift the cheesecake cleanly from the pan.
- Mixing bowls — one medium for the crust mix and one large for the filling.
- Electric mixer or sturdy whisk — an electric mixer speeds up smoothing the cream cheese.
- Measuring cups and spoons — to be precise with butter and sugar.
Things That Go Wrong
Crust won’t hold together
Problem: If the crumbs are dry or not packed tightly, the crust crumbles when you try to slice. Fix: Make sure the crumbs are fine and evenly moistened with the full ½ cup melted butter, and press very firmly with the bottom of a measuring cup. Chill the crust before adding the filling so it firms up.
Filling is lumpy
Problem: Cold or partially softened cream cheese causes lumps. Fix: Bring the 16 ounces of cream cheese to room temperature before beating. Use an electric mixer and beat until completely smooth before adding the Cool Whip and powdered sugar.
Topping slides off when slicing
Problem: The filling wasn’t firm enough when you added the cherry topping. Fix: Follow the step that chills the filled layer for 10–15 minutes before spooning on the pie filling. This helps the topping sit neatly instead of sinking into a soft filling.
Make It Year-Round
This recipe adapts well across seasons because it relies on pantry-stable components. In summer, swap the canned topping for fresh fruit compote (chilled) if you want, but the canned cherry topping is unbeatable for quick prep and consistent results the rest of the year.
For holiday occasions, make it the day before and chill overnight so you can slice it cleanly the next day. Keep it covered in the refrigerator to prevent absorbing other aromas. When entertaining in warmer months, serve chilled straight from the refrigerator and avoid leaving it out more than 30–45 minutes.
If You’re Curious
Why does the Cool Whip work here? It lightens the dense cream cheese without the need for gelatin or whipping heavy cream. That means the filling stays airy and smooth while still setting well in the fridge. The lemon juice is a small acid addition that brightens the overall flavor and prevents the filling from tasting flat.
The chilling steps are more important than they seem: they let fat molecules in the butter and cream cheese stabilize, which creates a firmer slice. If you skip those fridge rests you’ll get a softer, messier result.
Best Ways to Store
- Refrigerator: Cover tightly and store in the fridge for up to 4 days. Keep it chilled until right before serving.
- Freezer: This cheesecake can be frozen for up to 1 month. Wrap the lifted block in plastic wrap and then foil, or freeze individual slices between parchment layers in an airtight container. Thaw in the refrigerator overnight before serving.
- Transporting: Keep it in a flat container and use ice packs underneath if you need to carry it for a picnic or potluck. Bring it out within 30–45 minutes of serving time if it’s warm outside.
Common Questions
- Can I halve the recipe? — Yes; use a smaller pan and adjust chilling time slightly. The ingredient ratios should stay the same.
- Can I use homemade whipped cream instead of Cool Whip? — You can. Whip heavy cream to soft peaks and fold it in, but the set may be slightly softer and the flavor richer.
- How long does it need to chill? — At least 4 hours, though overnight is best for the cleanest slices and most stable texture.
- Can I make it in a springform pan? — Yes, but line the pan with parchment as directed and use the overhang for easy removal.
- How do I get neat slices? — Use a sharp knife chilled in hot water, wipe between cuts, and slice in one steady motion.
Hungry for More?
If you enjoyed this straightforward no-bake treat, try swapping the topping to find a new favorite. Keep a few cans of different pie fillings on hand and you can turn this into multiple desserts with the same reliable base. For other quick, make-ahead desserts, look for recipes that use a pressed crust and a whipped filling — they’re my easiest weeknight winners.
Make this for a casual dinner, a potluck, or when you want dessert without turning on the oven. It’s simple, practical, and consistently crowd-pleasing — and I hope it becomes a staple in your rotation as it has in mine.
No Bake Cherry Cheesecake
Equipment
- food processor (or heavy-duty zip-top bag and rolling pin)
- 8x8-inch pan
- Parchment Paper
- Mixing Bowls
- measuring cup or glass
Ingredients
Ingredients
- 9 graham cracker sheets one sleeve
- 1/2 cupmelted butter
- 1 tablespoonsugar
- 16 ouncescream cheese softened
- 8 ouncesCool Whip
- 1 cuppowdered sugar
- 1 teaspoonlemon juice
- 21 ouncescherry pie filling
Instructions
Instructions
- Place all 9 graham cracker sheets (one sleeve) in a food processor and pulse until fine crumbs. If you don't have a food processor, put the crackers in a heavy-duty zip-top bag and crush with a rolling pin until fine.
- In a medium bowl, combine the graham cracker crumbs, ½ cup melted butter, and 1 tablespoon sugar. Stir until the crumbs are evenly moistened and hold together when pressed.
- Line an 8×8-inch pan with parchment paper, leaving an overhang on two opposite sides for easy removal. Press the graham cracker mixture firmly and evenly into the bottom of the pan (use the bottom of a measuring cup or glass to pack it). Refrigerate for 10–15 minutes to set.
- In a large bowl, beat 16 ounces softened cream cheese until smooth. Add 8 ounces Cool Whip, 1 cup powdered sugar, and 1 teaspoon lemon juice; mix until the filling is smooth and uniform.
- Spread the cream cheese mixture into an even layer over the chilled graham cracker crust. Return to the refrigerator for 10–15 minutes to slightly firm the layer.
- Spoon the entire 21 ounces of cherry pie filling over the cream cheese layer and gently spread to cover the surface evenly.
- Chill the assembled cheesecake in the refrigerator for at least 4 hours (or overnight) until fully set. Use the parchment overhang to lift the cheesecake from the pan, slice, and serve.
Notes
If your cream cheese is too hard it can result in lumps in your dessert. If you’re looking to feed a crowd, this is an easy recipe to make and double. Simply double the ingredients and use a 9 x 13-inch pan. Be sure to line the pan with parchment paper for less mess when removing the slices.
Cheesecake can stick to your knife when cutting it. If you’re having trouble, try coating your knife in nonstick cooking spray first.