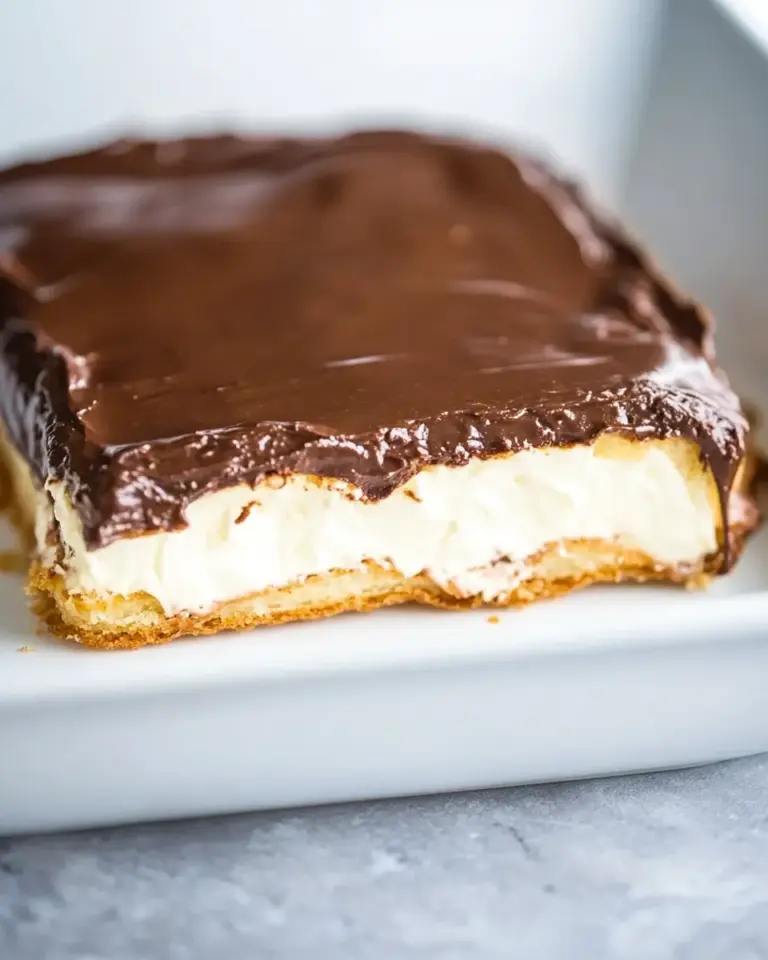
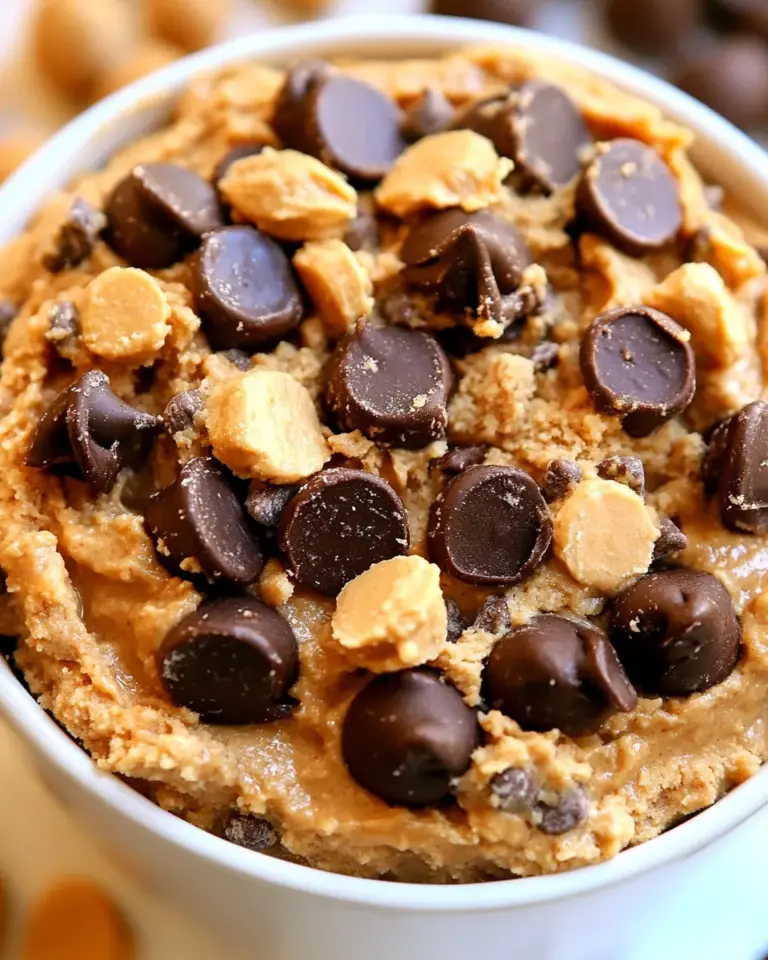
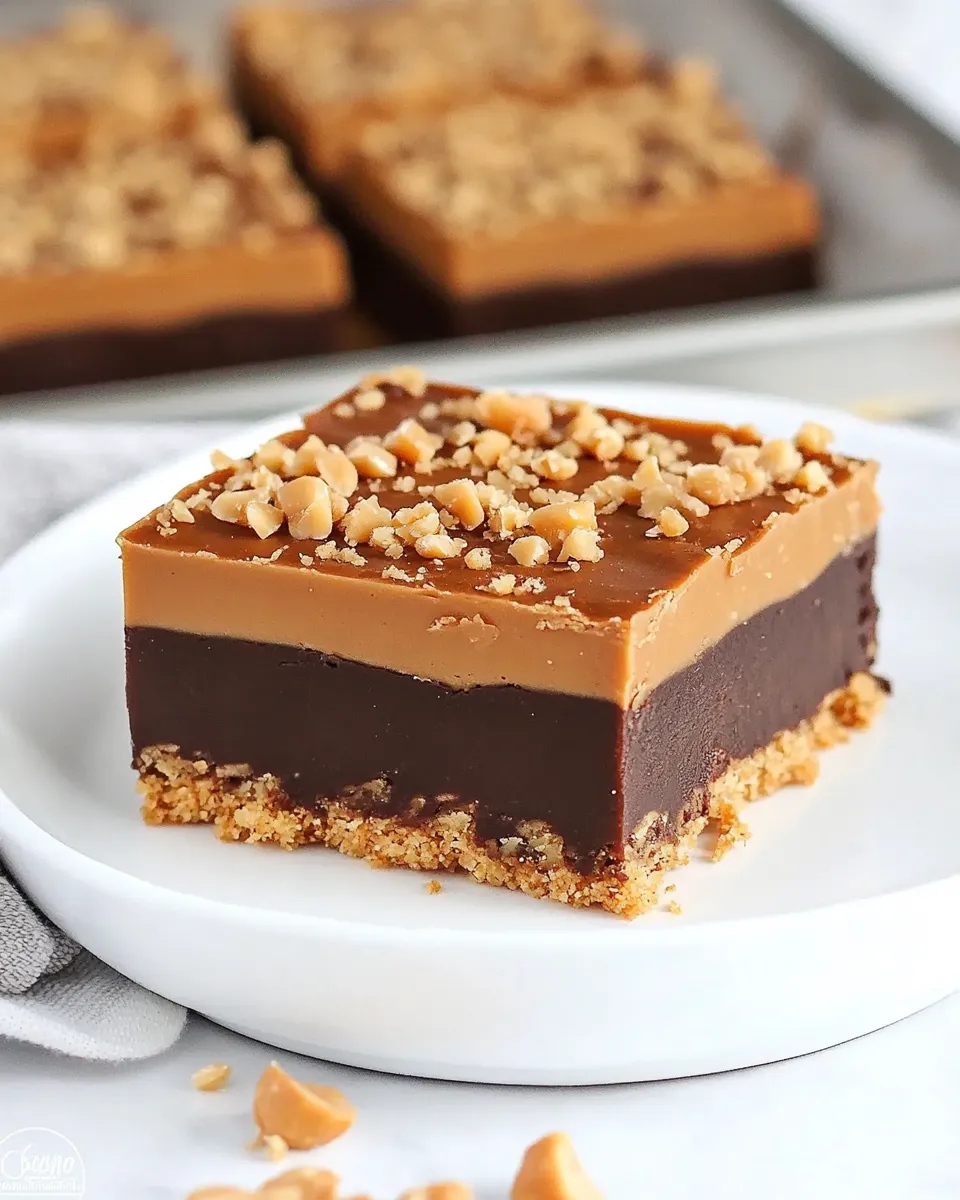
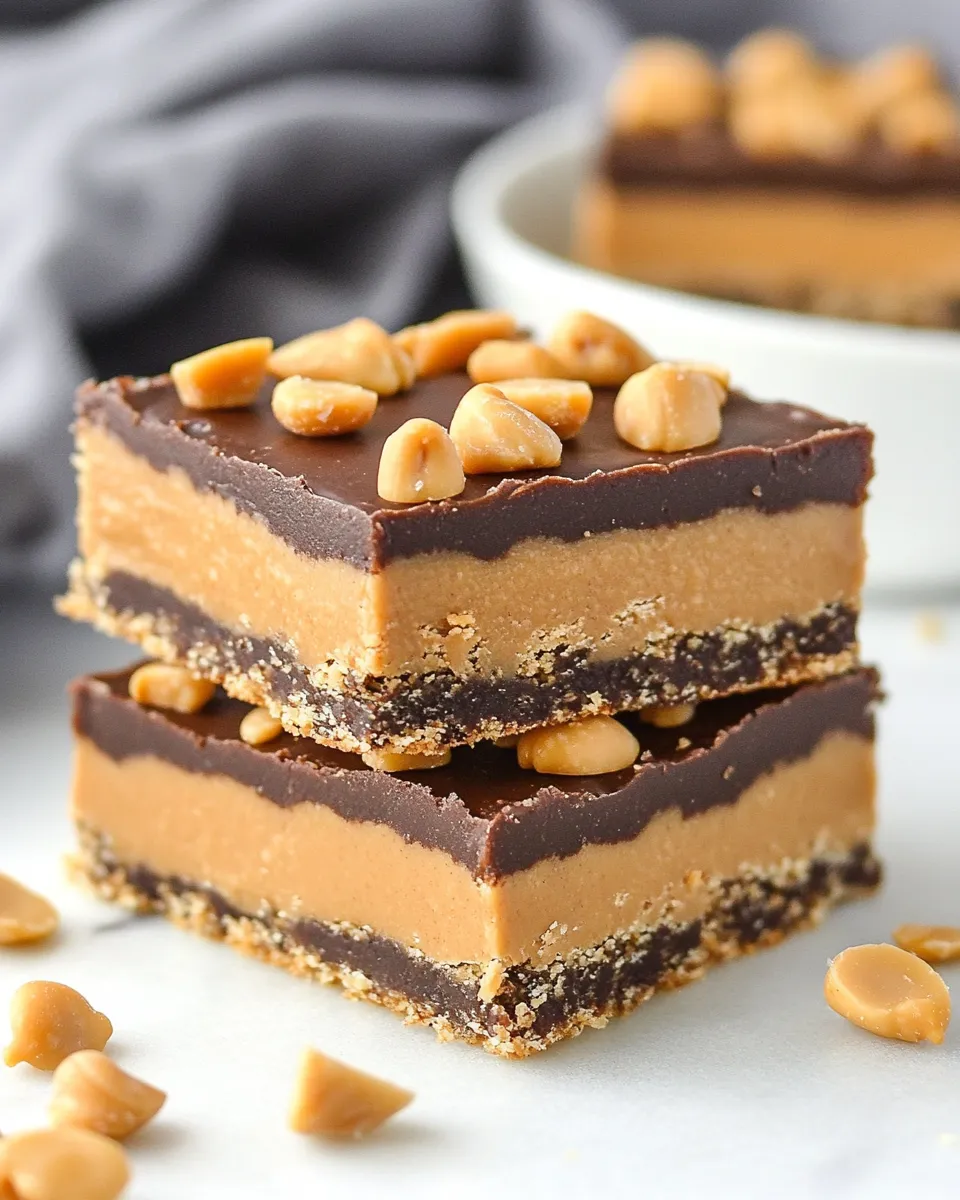
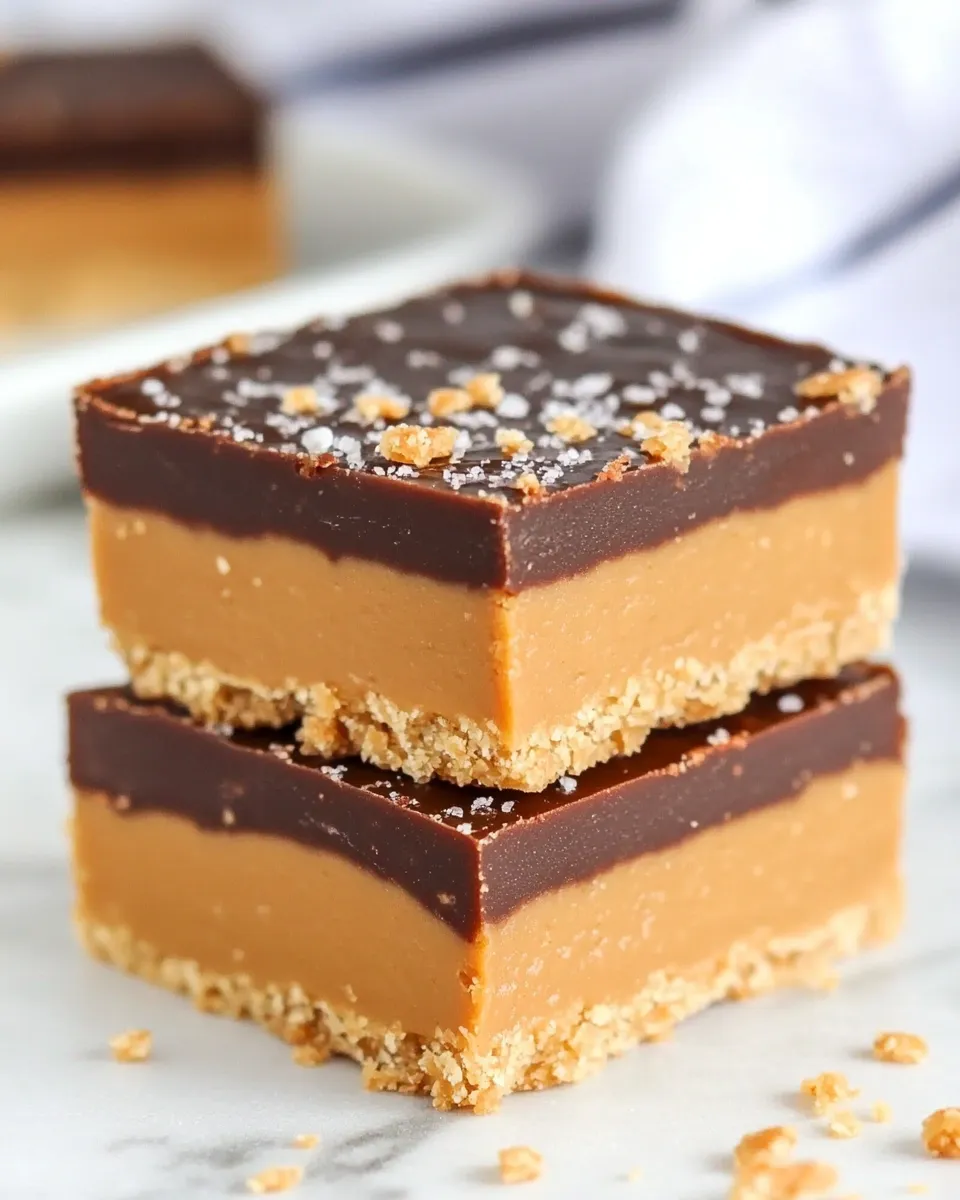
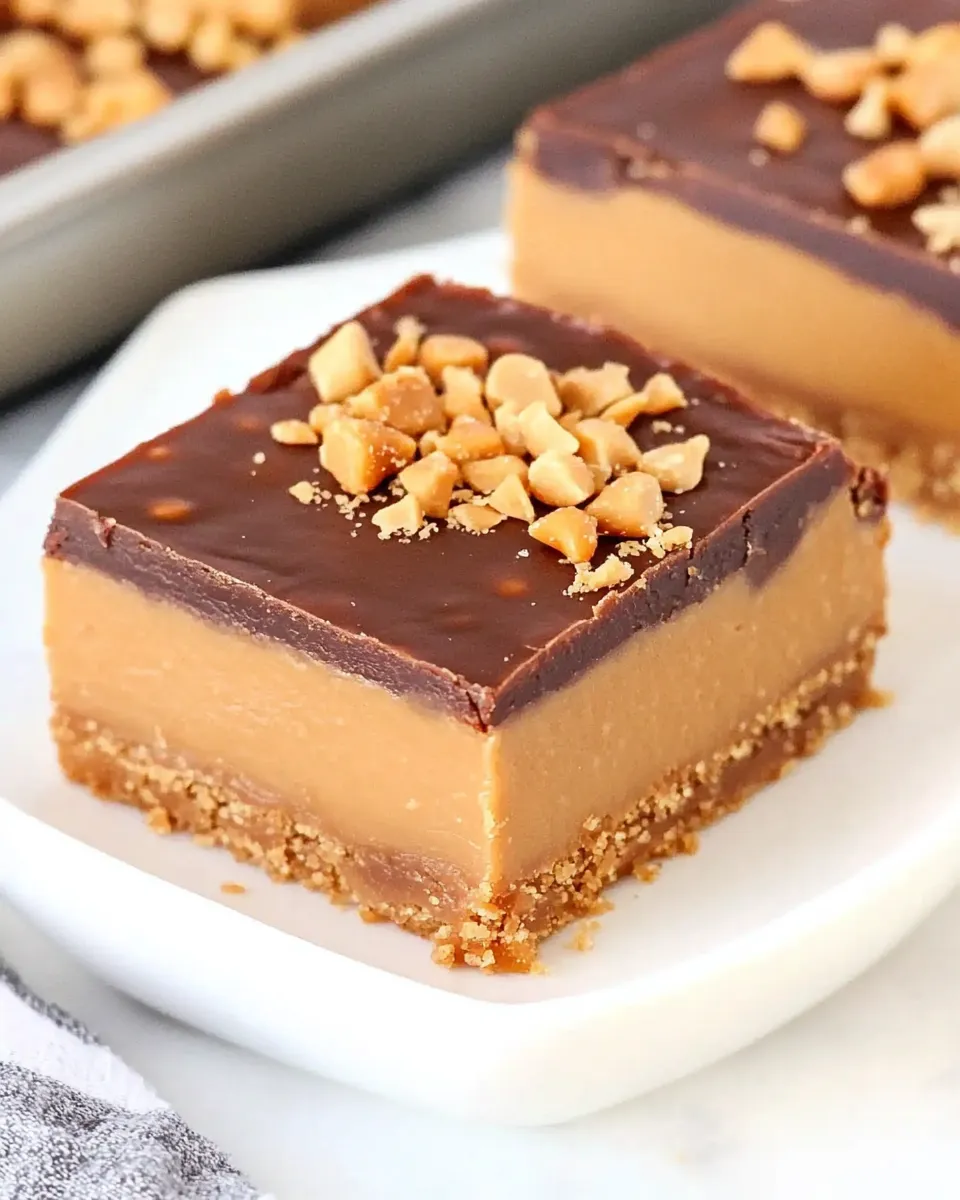
These peanut butter bars are a dependable, no-fuss dessert that feels like a treat but comes together quickly. They hit the sweet-salty spot: a dense, buttery peanut butter base, a glossy chocolate topping, and a sprinkle of roasted peanuts for crunch. I make them when I want something that will travel well, sit pretty on a bake sale table, or solve dessert for a week.
No complicated baking skills required. You’ll press the base, melt chocolate, pour, chill, and cut. The method is straightforward, and the results are consistent. I’ll walk you through the exact steps, share practical tips to avoid common setbacks, and offer sensible swaps if you need a dairy-free or vegan option.
Bring a few simple tools and about 20 minutes of active work. Then let the fridge do the rest. By the time the bars are firm, you’ll have a dessert that stores beautifully and pleases a crowd.
Ingredients at a Glance
- 1 cup unsalted butter (melted and slightly cooled) — provides richness and helps bind the base; cool it slightly so it doesn’t thin the peanut butter too much.
- 1 1/2 cups creamy peanut butter — the primary flavor and binder; creamy keeps the base smooth and easy to press.
- 1 1/2 cups powdered sugar — sweetens and firms the base; sift or whisk if it’s clumpy for a silkier texture.
- 2 cups graham cracker crumbs — gives structure and a toasty flavor; pulse crackers to uniform crumbs for an even base.
- 1 1/2 cups chopped chocolate — melts into the shiny topping; choose a chocolate you enjoy eating on its own.
- 1/4 cup creamy peanut butter — stirred into the chocolate to deepen the peanut presence and create a glossy finish.
- 1/4 cup roasted peanuts (chopped) — adds crunch and visual contrast; toast lightly if you want extra nuttiness.
Peanut Butter Bars in Steps
- Line an 8×8 or 9×9 baking dish with parchment paper so the paper overhangs on two opposite sides to create “handles” for easy removal.
- In a large bowl, combine 1cup unsalted butter (melted and slightly cooled) and 1 1/2cups creamy peanut butter. Stir or beat until smooth and uniform.
- Add 1 1/2cups powdered sugar to the butter–peanut butter mixture and mix until fully incorporated and smooth.
- Stir in 2cups graham cracker crumbs until the mixture is evenly combined and holds together when pressed.
- Transfer the peanut butter base to the prepared pan. Press the mixture firmly and evenly into the pan using the back of a spatula or the bottom of a measuring cup to create a smooth, compact layer.
- In a microwave-safe bowl, combine 1 1/2cups chopped chocolate and 1/4cup creamy peanut butter. Microwave in 20–30 second intervals, stirring between each interval, until the chocolate is melted and the mixture is smooth and glossy. (Alternatively, melt together in a heatproof bowl set over barely simmering water.)
- Pour the melted chocolate–peanut butter mixture over the pressed base and spread evenly with a spatula.
- Sprinkle 1/4cup roasted peanuts (chopped) evenly over the chocolate layer.
- Chill the pan in the refrigerator for at least 2 hours, until the bars are firm. Use the parchment “handles” to lift the slab from the pan, then cut into bars and serve.
What Makes This Recipe Special
What sets these bars apart is their simplicity combined with reliable texture. The base is dense and fudgy, not cakey. That happens because powdered sugar and graham cracker crumbs create a dry, compact structure while butter and peanut butter add enough moisture to bind everything without making it soft. The result is a sliceable bar that holds its shape whether you pack it for a picnic or set it out at a party.
The chocolate-peanut butter layer does more than look pretty. Swirled into the warm chocolate, the extra peanut butter keeps the top glossy and cut-friendly. A scatter of roasted peanuts adds the crunch that keeps each bite interesting. Because the recipe relies on cooling rather than baking to set the topping, you get glossy chocolate every time if you melt gently and chill properly.
Vegan & Vegetarian Swaps
Vegetarian? You’re already set — peanut butter and chocolate are inherently vegetarian. For vegan adaptations, focus on the butter and chocolate: swap melted butter for a solid, neutral-flavored vegan butter or coconut oil measured in the same volume. Pick dairy-free chocolate chips that list cocoa solids and cocoa butter as the primary ingredients. Use a vegan-friendly graham cracker or substitute with crushed digestive biscuits that are certified vegan.
Small note on texture: coconut oil can make the base slightly softer at room temperature, so keep the bars chilled until serving if you choose that route. Taste the chocolate before you buy it; some vegan chocolates are more bitter and may need a touch more sweetness if you want a sweeter finish.
Kitchen Gear Checklist
- 8×8 or 9×9 baking dish — for the correct thickness and neat slicing.
- Parchment paper — a must for easy removal and clean edges.
- Large mixing bowl — roomy enough to stir without spilling.
- Spatula and/or back of a measuring cup — for pressing the base firmly and spreading the chocolate.
- Microwave-safe bowl or double boiler — for gently melting chocolate with peanut butter.
- Measuring cups — accurate volumes matter more than you think for texture.
- Sharp knife — for clean cuts; chill the slab first and wipe the blade between slices.
Avoid These Mistakes
- Melting chocolate too aggressively. High heat scorches chocolate and makes it grainy. Use short microwave bursts or a gentle double boiler.
- Skipping the chill time. The bars need at least 2 hours to firm up. Cutting too early gives you a melty mess.
- Using runny peanut butter or very oily products. If your peanut butter separates or is unusually oily, the base may become greasy. Stir well before measuring.
- Not pressing the base firmly. Loose crumbs will make the bars crumble. Compact the base evenly with pressure.
- Adding warm chocolate to a warm base. If both layers are warm, they can merge and the texture suffers. Let the base cool slightly if needed before the chocolate pour.
Better Choices & Swaps
- Chocolate options. Semi-sweet gives a traditional balance; milk chocolate makes the bars sweeter and more tender. Dark chocolate offers a richer, less sweet edge.
- Crunch factor. Swap roasted peanuts for chopped salted almonds or walnuts if you prefer different textures. Keep the quantity the same.
- Crunchy vs. creamy peanut butter. Creamy produces a smoother base. If you use crunchy peanut butter, expect more texture and chew in the base.
- Graham cracker alternatives. Digestive biscuits, vanilla wafers, or even crushed pretzels can stand in — each will change the flavor profile, so pick one that complements peanut butter.
Author’s Commentary
I come back to this recipe again and again because it’s unglamorous and dependable. When life is busy and I want a homemade dessert without hovering over an oven, these bars fit the bill. They respond well to small tweaks: a pinch of flaky salt on top, a sprinkle of crushed pretzels for a salty surprise, or swapped chocolate for something more intense when hosting adults.
One practical piece of advice from many batches: line the pan generously and leave the overhang long enough to lift the slab in one piece. It saves time, keeps edges neat, and avoids wrestling with foil or the pan when cutting. I also like to make a double batch and freeze half; they thaw quickly and stay fresh.
Prep Ahead & Store
Make these bars up to 24 hours ahead for the best texture; they taste great the next day. After the initial 2-hour chill, store them in an airtight container in the refrigerator. They keep well for about one week when refrigerated.
For longer storage, cut the bars and wrap them individually in plastic wrap, then place them in a freezer-safe container. Frozen, they will keep for up to three months. Thaw in the fridge for a few hours or at room temperature for 20–30 minutes before serving.
Helpful Q&A
Q: Can I use chunky peanut butter?
A: Yes. Chunky peanut butter gives extra texture in the base. Expect a chewier mouthfeel and watch for slightly looser binding if your peanut butter is oil-separated.
Q: Can I skip the roasted peanuts on top?
A: Absolutely. They’re for texture and appearance. You can replace them with a sprinkle of flaky sea salt, toasted coconut, or crushed cookies.
Q: How do I get clean slices?
A: Chill the slab well and use a sharp knife. Wiping the blade between cuts helps. For very glossy top edges, warm the knife briefly under hot water, dry it, and make quick, decisive cuts.
Q: Can I bake this?
A: No need. The recipe sets in the fridge. Baking would dry it out and change the texture.
Before You Go
If you try these, I’d love to hear what tweak made them yours. Did you swap the chocolate, add sea salt, or use crunchy peanut butter? Small changes can make a recipe feel like your own. Share a note, a photo, or a question — and keep this one in your quick dessert rotation. It’s simple to make, reliable to transport, and universally loved.
Peanut Butter Bars Recipe
Equipment
- 8x8 or 9x9 baking dish
- Parchment Paper
- Large Bowl
- Spatula
- Microwave-safe Bowl
- Measuring cup
- heatproof bowl (optional)
Ingredients
Ingredients
- 1 cupunsalted buttermelted and slightly cooled
- 1 1/2 cupscreamy peanut butter
- 1 1/2 cupspowdered sugar
- 2 cupsgraham cracker crumbs
- 1 1/2 cupschopped chocolate
- 1/4 cupcreamy peanut butter
- 1/4 cuproasted peanutschopped
Instructions
Instructions
- Line an 8x8 or 9x9 baking dish with parchment paper so the paper overhangs on two opposite sides to create “handles” for easy removal.
- In a large bowl, combine 1cup unsalted butter (melted and slightly cooled) and 1 1/2cups creamy peanut butter. Stir or beat until smooth and uniform.
- Add 1 1/2cups powdered sugar to the butter–peanut butter mixture and mix until fully incorporated and smooth.
- Stir in 2cups graham cracker crumbs until the mixture is evenly combined and holds together when pressed.
- Transfer the peanut butter base to the prepared pan. Press the mixture firmly and evenly into the pan using the back of a spatula or the bottom of a measuring cup to create a smooth, compact layer.
- In a microwave-safe bowl, combine 1 1/2cups chopped chocolate and 1/4cup creamy peanut butter. Microwave in 20–30 second intervals, stirring between each interval, until the chocolate is melted and the mixture is smooth and glossy. (Alternatively, melt together in a heatproof bowl set over barely simmering water.)
- Pour the melted chocolate–peanut butter mixture over the pressed base and spread evenly with a spatula.
- Sprinkle 1/4cup roasted peanuts (chopped) evenly over the chocolate layer.
- Chill the pan in the refrigerator for at least 2 hours, until the bars are firm. Use the parchment “handles” to lift the slab from the pan, then cut into bars and serve.