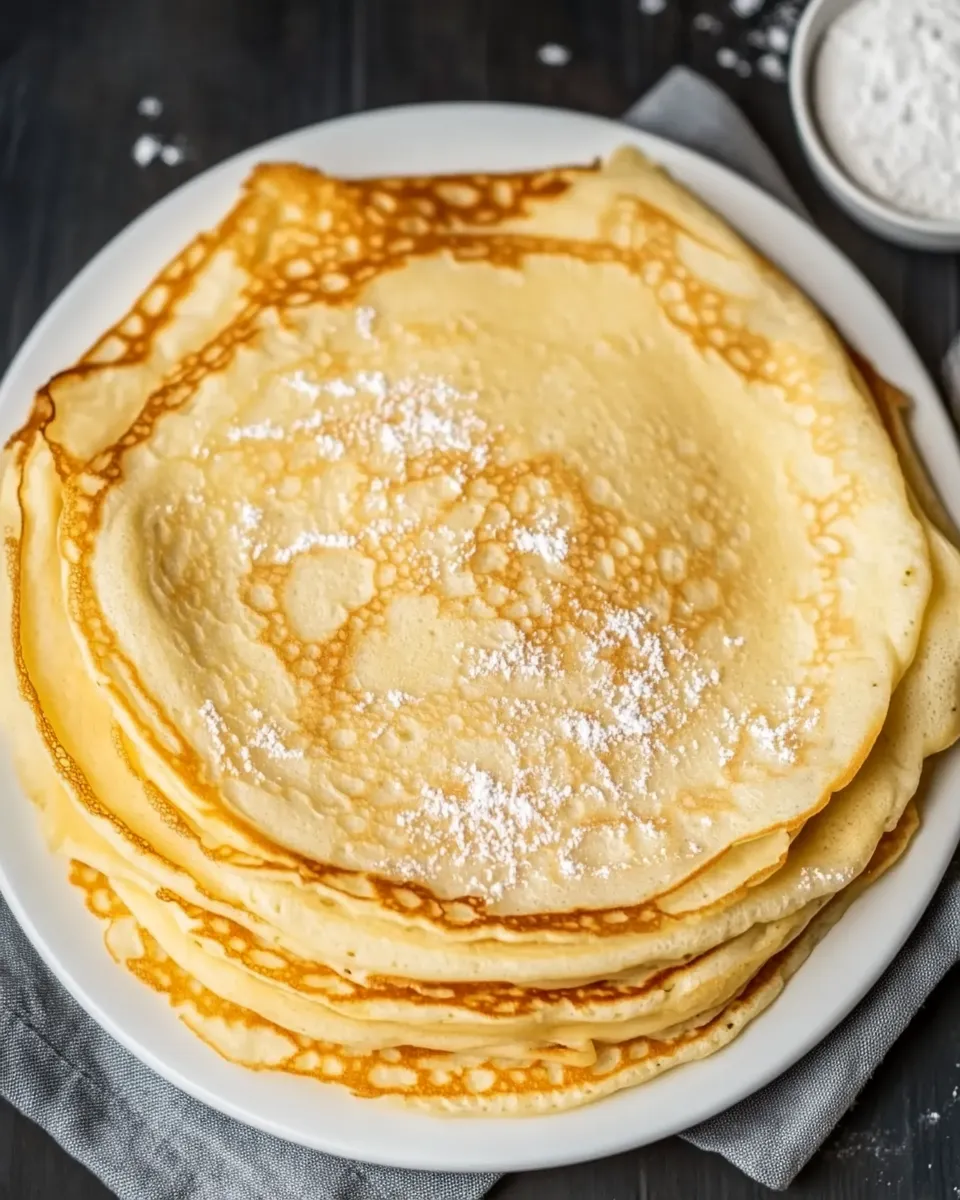
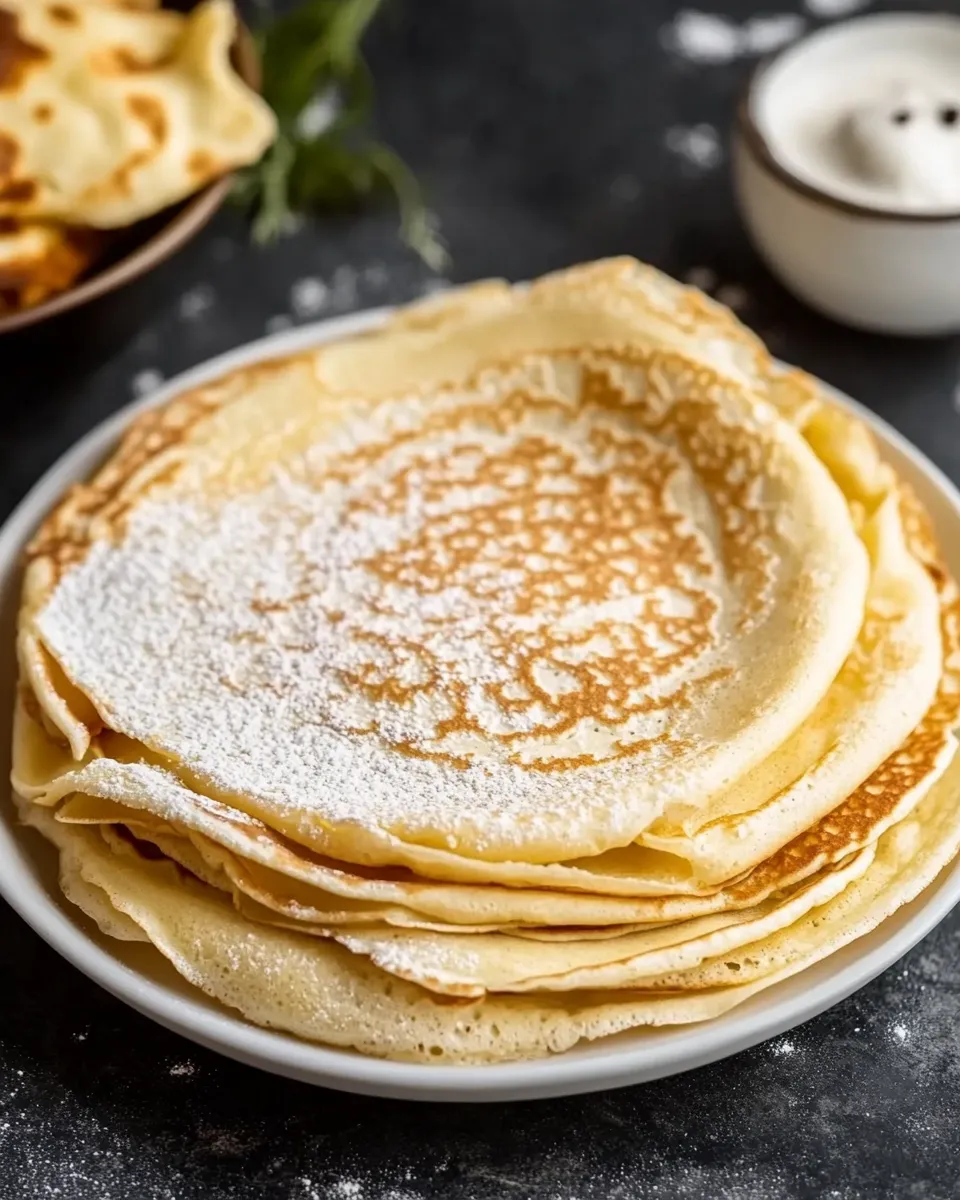
These coconut flour crepes are a practical morning win: light, thin, and gently coconut-scented, but based on a mostly standard crepe batter so they behave like the crepes you expect. I developed this version to bridge coconut flour’s thirsty nature with the familiarity of a wheat crepe, giving you something that turns out delicate without being crumbly.
I keep the formula simple: a little coconut flour paired with all-purpose flour, milk of your choice and an optional dusting of powdered sugar for sweetness. The method is straightforward — whisk, rest briefly if you want, and spread a scant 1/4 cup in a hot non-stick skillet. The technique is what makes them reliably thin and easy to flip.
If you’re feeding a crowd or just craving a stack to customize, these crepes are versatile. Fill them with fresh fruit and yogurt, nut butter and banana, or a savory filling if you skip the powdered sugar. Below you’ll find the exact ingredient list, step-by-step directions from my testing notes, and practical tips for troubleshooting and storage.
The Ingredient Lineup
Ingredients
- 3 tablespoons coconut flour — absorbs liquid and adds a mild coconut flavor; it’s why the batter needs a moment to rest.
- 1 cup + 3 tablespoons all-purpose flour — provides structure and helps the crepes stay flexible for rolling or folding.
- 1 1/4 cups milk of choice (I used unsweetened coconut milk) — hydrates the dry flours; using a thinner milk keeps the batter pourable for thin crepes.
- 1–2 tablespoons powdered sugar (optional) — sweetens and slightly tenderizes; omit for savory fillings.
Coconut Flour Crepes Cooking Guide
- In a large mixing bowl whisk together 3 tablespoons coconut flour, 1 cup + 3 tablespoons all-purpose flour, and 1–2 tablespoons powdered sugar (optional) until evenly combined.
- Gradually pour in 1 1/4 cups milk while whisking until the batter is smooth and free of lumps.
- (Optional) Let the batter rest 5 minutes so the coconut flour can absorb some liquid; whisk once more before cooking if it thickens.
- Heat a large non-stick skillet over medium heat and lightly grease the surface.
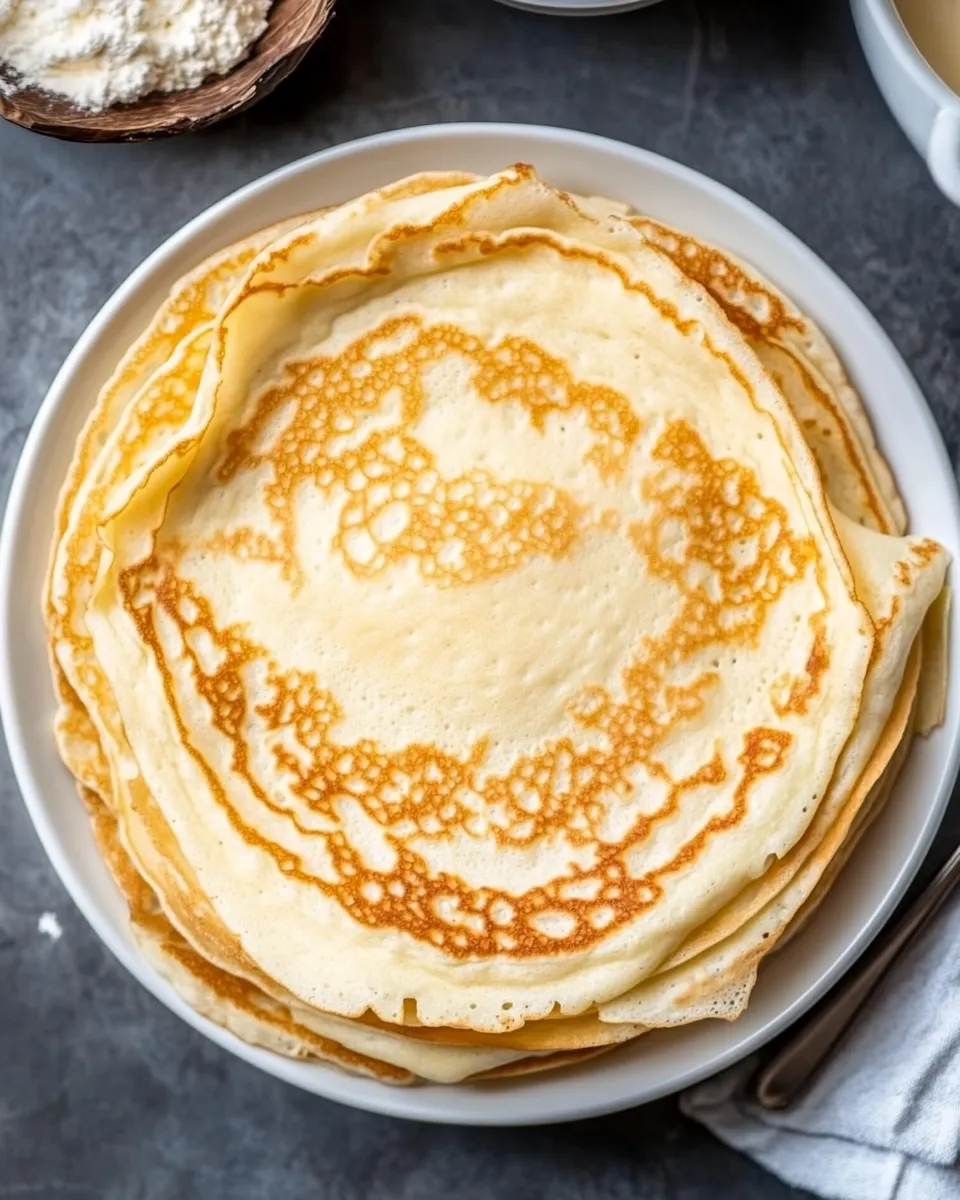
- When the pan is hot, pour a scant 1/4 cup of batter into the center, immediately tilt and swirl the pan so the batter spreads into a thin, even circle.
- Cook the crepe until the edges are golden and the center is set, about 3–4 minutes. Flip with a spatula and cook the second side about 2 minutes more.
- Transfer the cooked crepe to a plate and repeat with the remaining batter, re-greasing the pan as needed. Serve immediately with desired fillings.
What Sets This Recipe Apart
This recipe uses a small amount of coconut flour alongside mostly all-purpose flour. That balance brings coconut’s flavor and absorbency without making the batter require eggs or extra binders, so the texture stays familiar and pliable. The method emphasizes a low-volume pour (a scant 1/4 cup) and a pan swirl to keep the crepes thin and even — that’s the core of an easy, successful flip.
Another distinguishing point is the optional 5-minute rest: coconut flour soaks up liquid quickly, and a brief pause lets the batter stabilize. It’s optional because if you’re in a rush, the crepes will still work, but resting reduces the chance of overly thin or streaky spots as you cook.
Ingredient Flex Options
- Milk swaps: The recipe lists “milk of choice.” Use cow’s milk, almond milk, oat milk, or the unsweetened coconut milk I tried; thinner plant milks keep the batter pourable.
- Sweetness level: Powdered sugar is optional; use 1 tablespoon for a lightly sweet crepe or 2 tablespoons for more sweetness. Skip it for savory fillings.
- Flour considerations: The balance of coconut to all-purpose flour is intentional. If you need a gluten-free version, try a 1:1 gluten-free all-purpose blend in place of the all-purpose flour — expect a slight change in texture.
What You’ll Need (Gear)
- Large mixing bowl — for whisking dry and wet ingredients together comfortably.
- Whisk — to break up lumps and make a smooth batter.
- Measuring cups and spoons — accurate measures are helpful with coconut flour.
- Large non-stick skillet or crepe pan — a flat, even-heating surface is key for thin crepes.
- Spatula — a thin, wide spatula makes flipping easier.
- Small ladle or 1/4-cup measuring cup — to pour a consistent, scant 1/4 cup of batter each time.
- Plate and parchment or a sheet pan — to stack finished crepes without sticking.
Frequent Missteps to Avoid
- Too much coconut flour: Adding more than the 3 tablespoons will make the batter dense and dry. Stick to the formula or the batter will be hard to spread.
- Skipping the swirl: Pouring without tilting the pan leads to thick spots. Immediately tilt and rotate so the batter reaches the edges thinly.
- Pan not hot enough: If the skillet isn’t hot, crepes won’t set at the edges and will tear when you flip. A medium heat that gives a light sizzle is ideal.
- Over-greasing the pan: Too much oil or butter makes crepes fry rather than cook, creating uneven browning. Lightly grease between crepes as needed.
- Rushing the rest: If the batter sits longer than 5–10 minutes and thickens, whisk in a splash of milk to loosen before pouring.
In-Season Flavor Ideas
Match your crepes to local, seasonal produce for the best flavor. In spring, fill them with strawberries, lemon curd, and a dollop of mascarpone. Summer invites peaches or berries with whipped cream or yogurt. In fall, warm apple compote with a pinch of cinnamon feels cozy. Winter is great for citrus—thinly sliced oranges or a citrus compote brighten the crepes.
For savory options, omit the powdered sugar and fill crepes with sautéed mushrooms and spinach, smoked salmon and cream cheese, or a simple ham and gruyère pairing. Think seasonal produce and keep fillings drained if they’re juicy so the crepes don’t get soggy.
Cook’s Notes
Batter texture: You’re aiming for a thin, pourable batter. If it looks too thick after the optional rest, whisk in a tablespoon or two of milk until pourable but not watery.
Heat control: I cook these over medium heat. If the pan gets too hot, the crepes brown too quickly and can become crisp. If it’s too cool, they won’t set properly. Adjust the heat between crepes as needed.
Stacking: If you plan to serve a stack, place a sheet of parchment between crepes to prevent sticking. For immediate serving, keep them on a warm plate covered loosely with foil while you finish the batch.
Storage & Reheat Guide
Refrigeration: Cool crepes completely, then stack with parchment between each layer and wrap tightly in plastic or place in an airtight container. They keep well in the refrigerator for up to 3 days.
Freezing: Arrange crepes in a single layer on a tray, freeze until firm, then stack with parchment between and transfer to a freezer bag. They keep up to 1 month. Thaw overnight in the refrigerator before reheating.
Reheating: Reheat gently in a non-stick skillet over low heat for 30–60 seconds per side, or briefly in the microwave covered with a damp paper towel (10–15 seconds per crepe, depending on microwave power). If frozen, allow to thaw first for best texture.
Your Top Questions
- Can I skip the coconut flour? You could, but the recipe was balanced for 3 tablespoons coconut flour. Removing it will change texture and flavor; if you omit it, increase the all-purpose flour slightly to maintain structure.
- Why does coconut flour require resting? Coconut flour absorbs liquid quickly. A short rest gives it time to hydrate so the batter holds together and spreads smoothly.
- How thin should each crepe be? Thin enough to see a slight translucency when held up — use the scant 1/4 cup measure and a quick tilt and swirl to achieve that.
- Can I make this dairy-free? Yes — use a plant milk such as almond, oat, or coconut milk as the recipe states “milk of choice.”
Final Thoughts
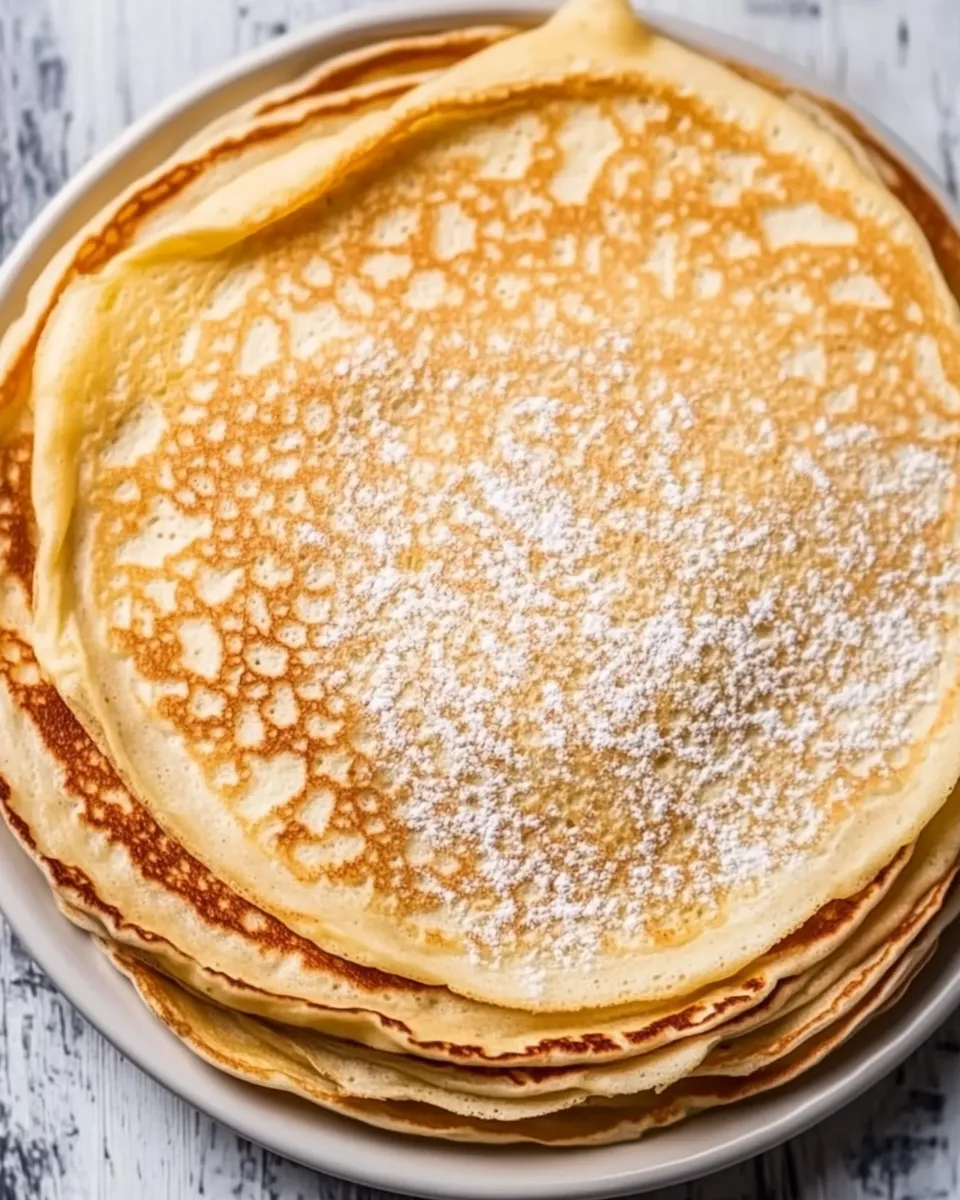
These Coconut Flour Crepes are a simple, adaptable recipe that gives you a delicate crepe with a hint of coconut without fussy steps. Follow the measured ingredients and the pour-and-swish technique, and you’ll have a stack ready for breakfast toppings, a light dessert, or savory fillings. Keep the batter handy, watch your pan temperature, and you’ll get consistent results every time. Happy cooking—and enjoy the foldable, customizable joy that crepes bring to the table.
Coconut Flour Crepes
Equipment
- Large Mixing Bowl
- Whisk
- Non-stick Skillet
- Spatula
Ingredients
Ingredients
- 3 tablespooncoconut flour
- 1 cup + 3 tablespoonsall purpose flour
- 1 1/4 cupsmilk of choiceI used unsweetened coconut milk
- 1-2 tablespoonpowdered sugaroptional
Instructions
Instructions
- In a large mixing bowl whisk together 3 tablespoons coconut flour, 1 cup + 3 tablespoons all-purpose flour, and 1–2 tablespoons powdered sugar (optional) until evenly combined.
- Gradually pour in 1 1/4 cups milk while whisking until the batter is smooth and free of lumps.
- (Optional) Let the batter rest 5 minutes so the coconut flour can absorb some liquid; whisk once more before cooking if it thickens.
- Heat a large non-stick skillet over medium heat and lightly grease the surface.
- When the pan is hot, pour a scant 1/4 cup of batter into the center, immediately tilt and swirl the pan so the batter spreads into a thin, even circle.
- Cook the crepe until the edges are golden and the center is set, about 3–4 minutes. Flip with a spatula and cook the second side about 2 minutes more.
- Transfer the cooked crepe to a plate and repeat with the remaining batter, re-greasing the pan as needed. Serve immediately with desired fillings.
Notes
TO STORE
: Crepes can be stored in the refrigerator, covered, for up to 1 week.
TO FREEZE
: Place crepes in a ziplock bag or shallow container and store them in the freezer for up to 6 months. Thaw them completely before reheating.
TO REHEAT
: Either microwave for 30 seconds or reheat in a non-stick pan.