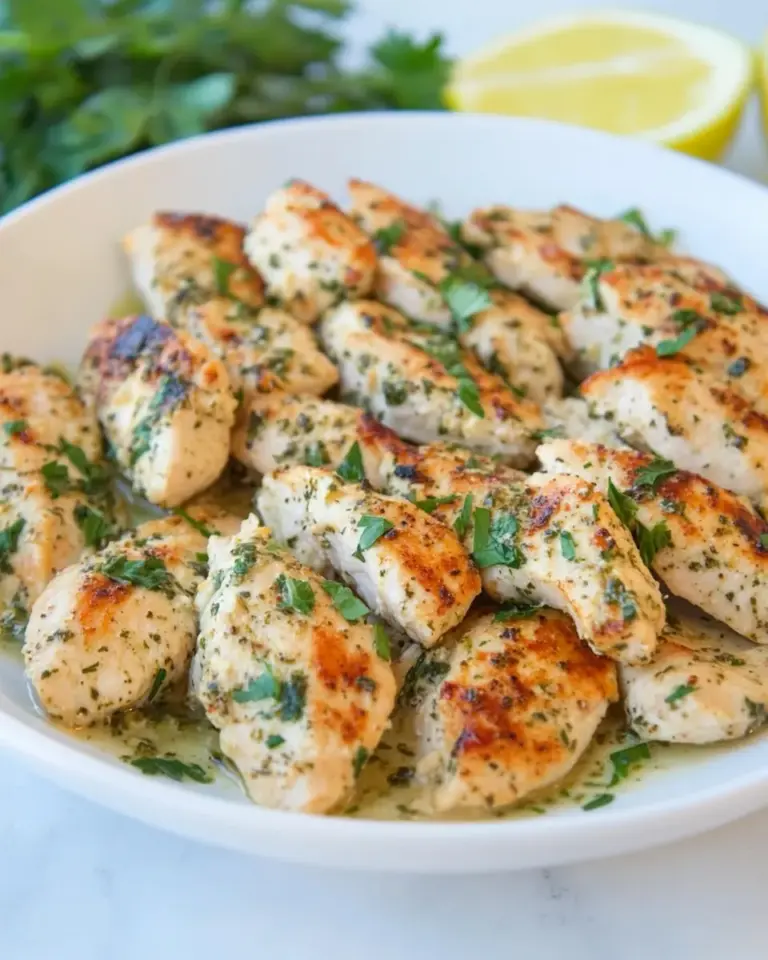
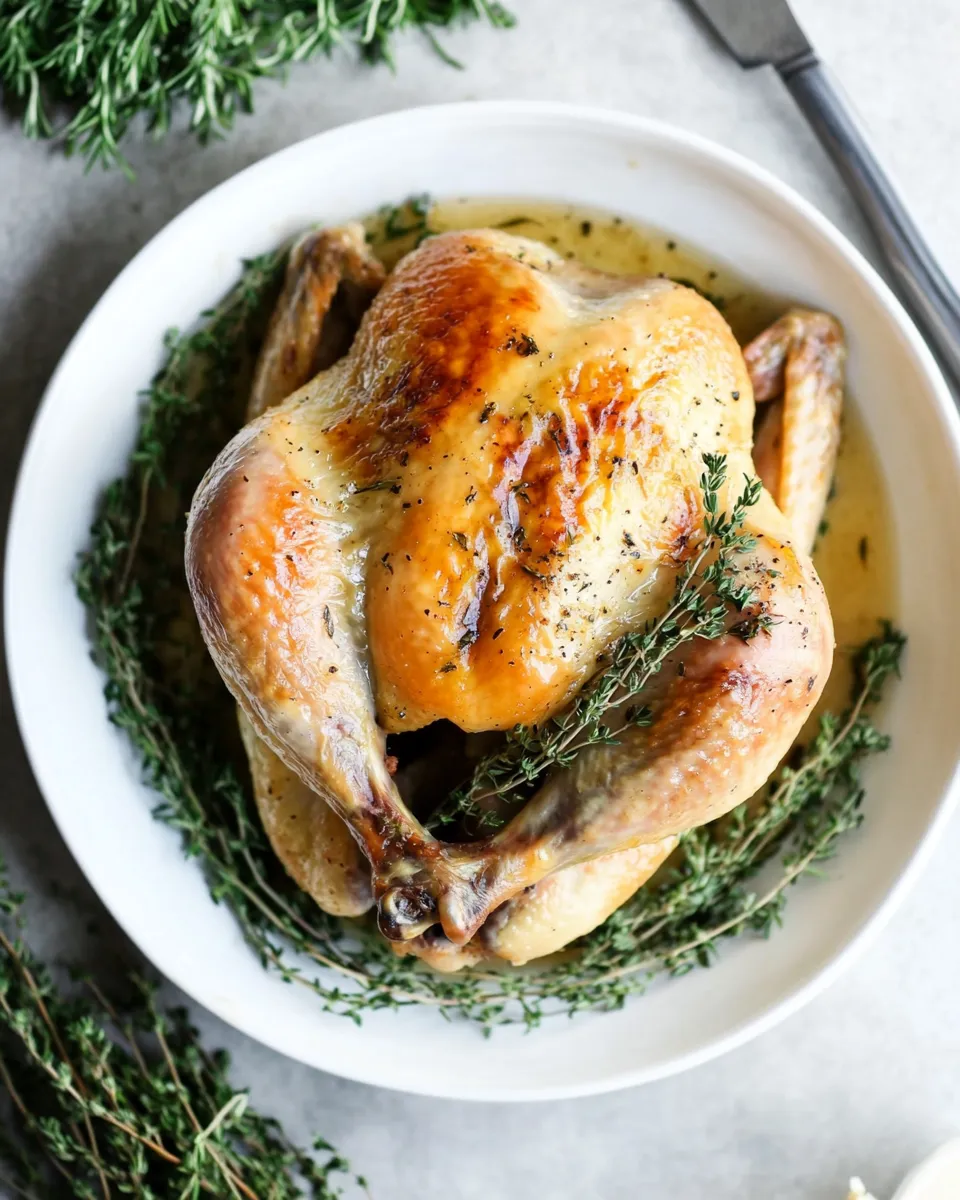
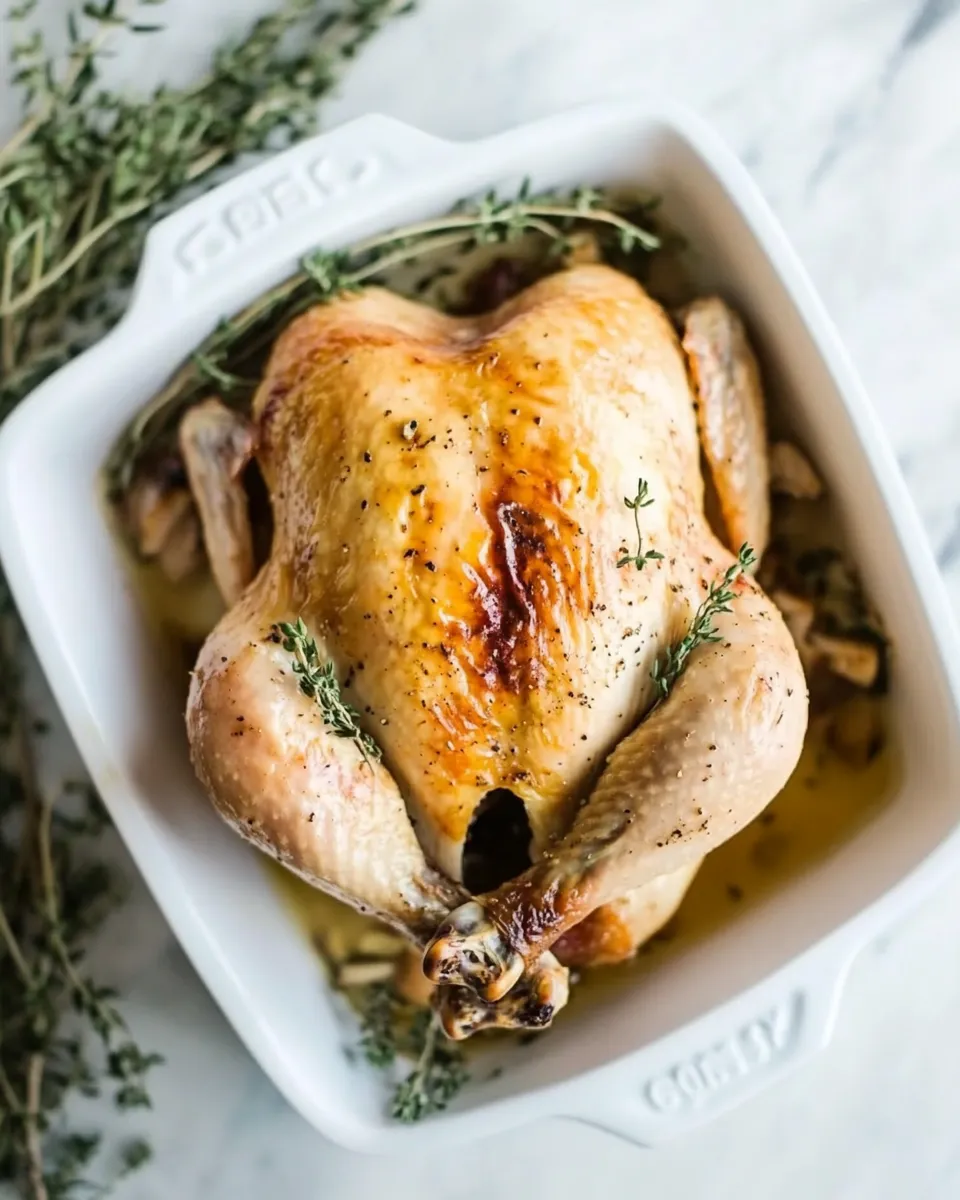
This roasted chicken is the kind of recipe I turn to when I want something impressive with minimal guesswork. The skin comes out golden and crisp, the meat stays juicy, and the whole process is straightforward once you follow a few small, deliberate steps. It makes a roomy, comforting centerpiece for weeknight dinners and special gatherings alike.
I’ll walk you through exactly what to gather, how to prepare and sear the bird, and how to finish it in the oven so it comes out perfectly every time. I write the directions the way I cook them—practical, step-by-step, and focused on the moments that matter.
There’s a short list of ingredients and a few pieces of equipment that get you across the finish line. Read the steps through once, then follow them in order; the most important parts are drying the bird, seasoning generously, and letting it rest before carving. Now let’s get into the details.
What You’ll Gather
- One 3 ½ to 4-pound roasting chicken, giblets removed — the star of the dish; size gives predictable cooking time and even roasting.
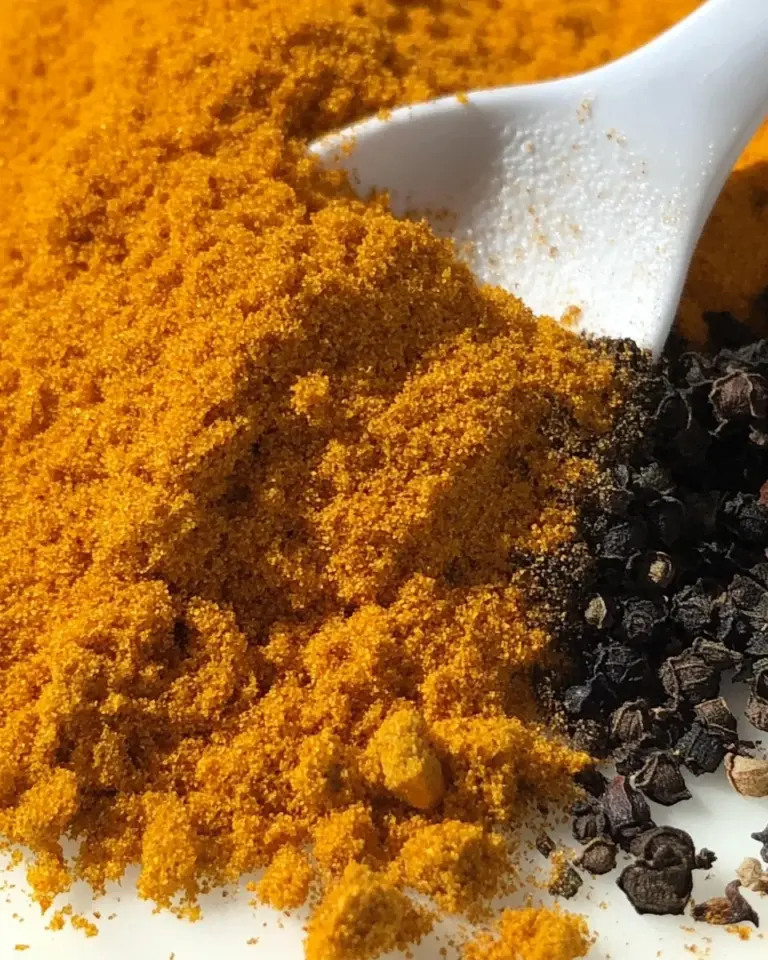
- 4 teaspoons coarse salt — for thorough seasoning and improved skin texture.
- 1 teaspoon ground pepper — adds background heat and aroma.
- 1 peeled shallot, sliced in half — aromatic for the cavity; gives subtle sweetness to the roast.
- 4 garlic cloves — roasted in the cavity, they mellow and add savory depth.
- 2 sprigs fresh rosemary — fragrant herbal note tucked in the cavity.
- 6 to 8 sprigs fresh thyme — earthy and aromatic; use the range depending on how herb-forward you like it.
- 3 tablespoons olive oil — for high-heat searing and flavor on the skin.
- 4 tablespoons unsalted butter — used for basting to add richness and help brown the skin.
Roasted Chicken Made Stepwise
- Preheat the oven to 425°F.
- Pat the chicken dry inside and out with paper towels.
- Season the chicken evenly and generously all over and inside the cavity with 4 teaspoons coarse salt and 1 teaspoon ground pepper; rub the seasoning into the skin and cavity.
- Place the chicken on a rack set over a sheet tray or plate and refrigerate, uncovered, for 4 to 24 hours.
- Remove the chicken from the fridge. Using a toothpick or skewer, make about 15 to 20 small punctures through the skin only (do not pierce deep into the meat), distributing them over the thighs, drumsticks, breast, wings, and back.
- Stuff the chicken cavity with the peeled shallot (sliced in half), the 4 garlic cloves, 2 sprigs fresh rosemary, and 6 to 8 sprigs fresh thyme.
- Tuck the wing tips behind the back and truss the chicken so the legs are secure and the bird is compact for even cooking.
- In a large carbon-steel or cast-iron skillet, add 3 tablespoons olive oil and heat over high until the oil begins to lightly smoke.
- Carefully place the chicken breast-side down in the hot skillet. Reduce the heat to medium-high and let it sear without moving for about 2 minutes.
- Using a thick wooden spoon or tongs, hold the chicken so one side rests against the pan (propping it upright) and sear that side for about 2 minutes. Then prop the chicken on the opposite side and sear that side for about 2 minutes.
- Return the chicken to a breast-side-down position, reduce the heat to low, add 4 tablespoons unsalted butter to the pan, and baste the underside of the chicken with the melted butter for about 2 to 3 minutes. Flip the chicken so the breast is up and baste the top for about 1 to 2 minutes. Drain off as much excess butter from the pan as you can.
- Place the skillet with the chicken on the lower third rack of the preheated oven and roast for 45 to 50 minutes, or until an instant-read thermometer inserted into the thickest part of the breast reads 155° to 160°F.
- Remove the chicken from the oven and let it rest at room temperature for 10 to 12 minutes before carving and serving.
Why I Love This Recipe
This method combines a short, high-heat sear with oven roasting, which delivers the best of both worlds: an attractively browned, crisp skin and meat that stays moist. The overnight dry-salt step (refrigerating uncovered) concentrates flavor and helps the skin crisp in the oven. The punctures in the skin let the fat and butter flavors penetrate the surface without draining the juices from the meat.
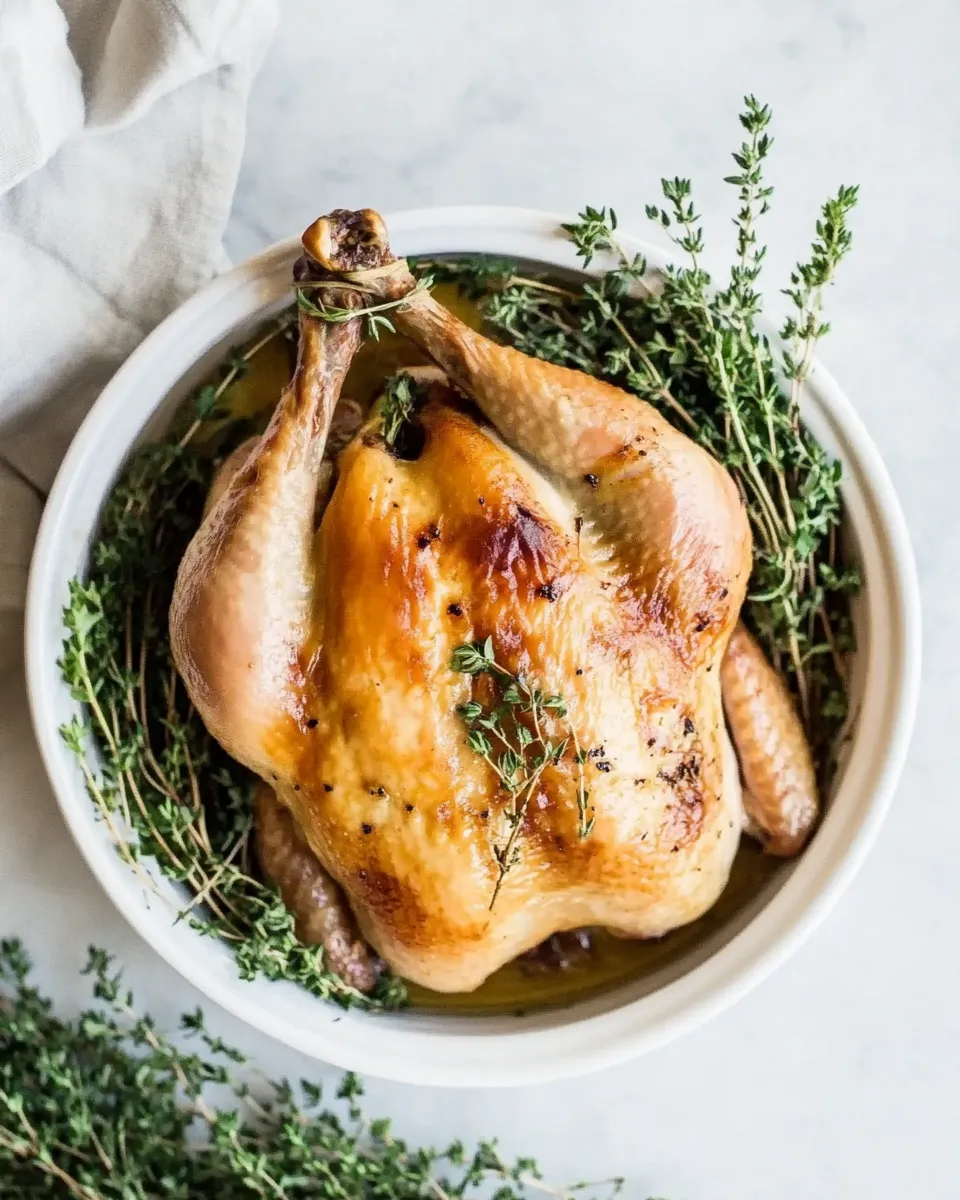
The aromatics tucked in the cavity—shallot, garlic, rosemary, and thyme—don’t dominate. They quietly perfume the meat and pan juices, so every bite tastes complete without being complicated. It’s a recipe that rewards patience more than exotic ingredients.
Swap Guide
- Olive oil and butter approach — If you prefer a single fat, use the 3 tablespoons olive oil alone for a lighter finish and skip the butter basting, or use the 4 tablespoons unsalted butter in place of some oil for more richness.
- Herb flexibility — If you want a simpler herb profile, use only the 6 to 8 sprigs of thyme and skip the rosemary; the thyme alone still gives good aromatic lift.
- Simpler cavity aromatics — You can omit the shallot or leave the garlic whole rather than halved if you prefer less interior aromatics; the bird will still roast well.
- Size adjustments — For a slightly smaller or larger bird, keep the same technique but understand total roast time will shift; focus on the thermometer target rather than clock time.
Equipment Breakdown
Use reliable equipment and the recipe feels effortless. These are the items I reach for every time:
- Large carbon-steel or cast-iron skillet — required by the method for searing and finishing in the oven; it tolerates high heat and transfers nicely into the oven.
- Wire rack and sheet tray or plate — for the refrigerator step so air circulates and the skin dries evenly.
- Instant-read thermometer — indispensable for accuracy; the recipe’s internal temperature guidance is the best indicator of doneness.
- Kitchen twine for trussing — keeps the bird compact for even cooking.
- Paper towels and tongs — for handling, drying, and moving the bird safely.
Things That Go Wrong
Here are the most common problems and what they look like in practice.
- Under-seasoned meat — If you skip or skimp on the 4 teaspoons coarse salt, the interior will taste flat. Be generous and rub it into the skin and cavity.
- Soft skin — If the bird isn’t dry before it goes into the hot pan or oven, the skin won’t crisp. Pat dry and refrigerate uncovered for the recommended time.
- Burned exterior from too-high heat — If your skillet smokes heavily or the butter burns during basting, reduce the stovetop temperature sooner and drain excess butter from the pan as instructed.
- Uneven browning — Not searing the sides upright for the indicated time will leave the bird unevenly colored. Take the few extra minutes to prop and sear each side.
Spring–Summer–Fall–Winter Ideas
Seasonal serving ideas help you turn this roast into a full meal without reinventing the wheel.
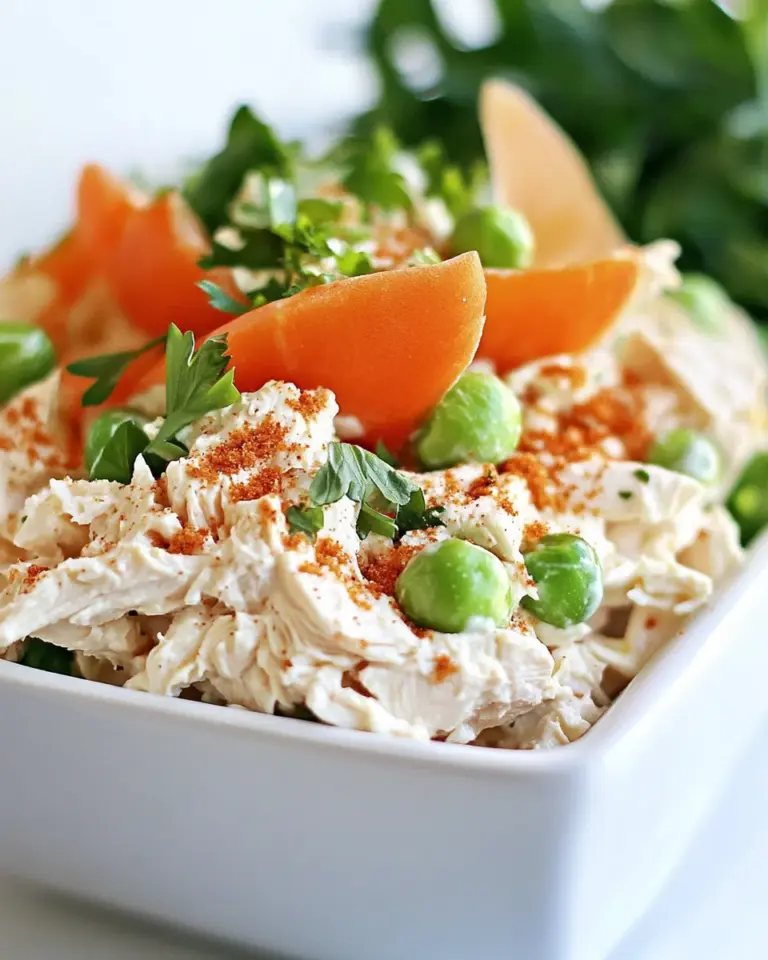
- Spring — Serve the roasted bird with a simple green salad and young peas (light, fresh contrasts to the rich meat).
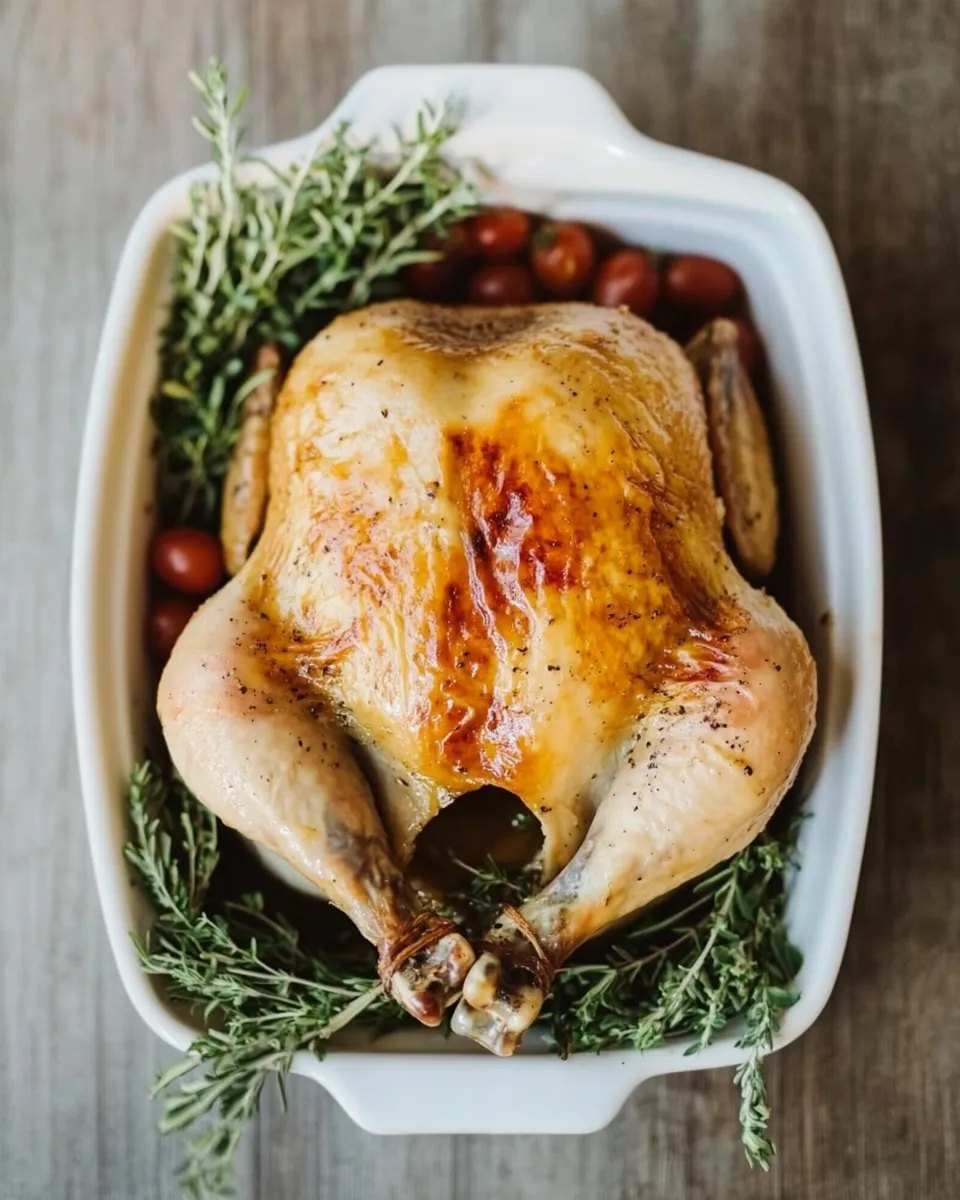
- Summer — Pair with a bright tomato or watermelon-feta salad to cut through the richness and add color.
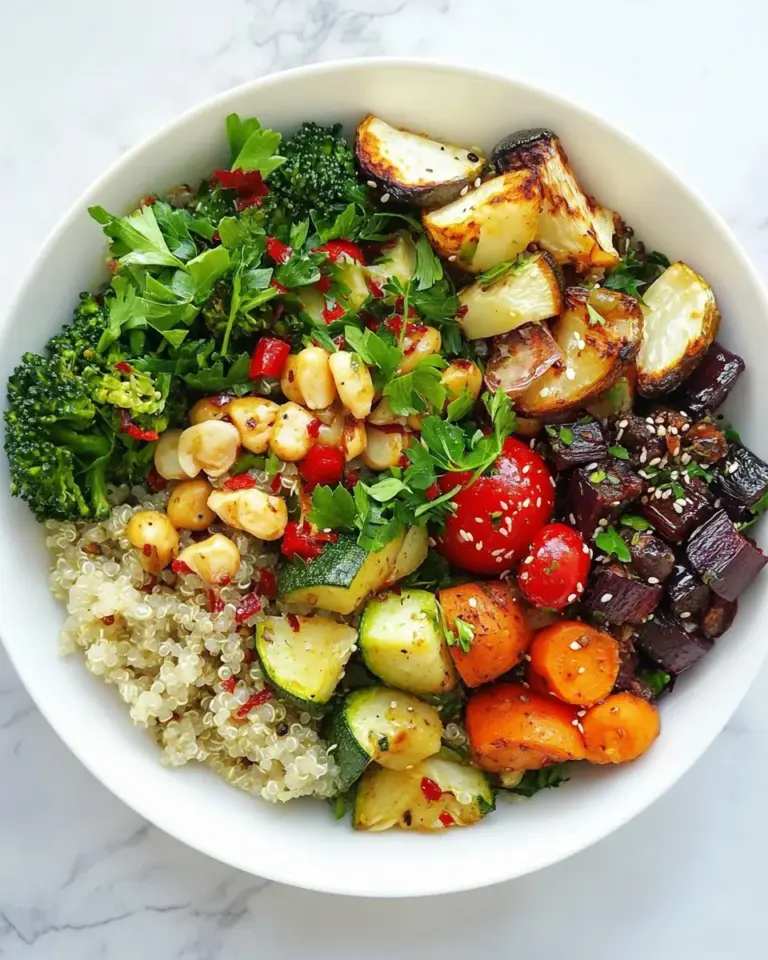
- Fall — Roast root vegetables in the same oven (on a separate tray) so their caramelization complements the chicken’s savory juices.
- Winter — Serve with braised greens and a scoop of something starchy to soak up the pan juices; the butter-basted breast is especially comforting.
What Could Go Wrong
If you do face problems, here’s how to read them and fix them on the spot:
- Thermometer reads low but juices look clear — Trust the thermometer. Continue roasting and re-check after a few minutes at a time. The recipe targets 155°–160°F in the breast because carryover will raise the temp while resting.
- Skin soggy after resting — That usually means the bird sat in its juices. Carve on a raised plank or rest on a rack so skin stays crisp while juices redistribute.
- Butter burning in the pan during searing — Reduce the heat and remove excess butter. You want the flavor from basting without blackened milk solids interfering.
- Uneven cook between thighs and breast — Trussing and compacting the bird helps; if the thighs lag, tent the breast loosely with foil to prevent overcooking while the dark meat reaches temperature.
Storage Pro Tips
Proper cooling and storage make leftovers useful for several meals.
- Cool quickly — After carving, transfer meat to shallow containers and refrigerate within two hours to keep it safe and preserve texture.
- Refrigeration — Store carved chicken in an airtight container for up to 3–4 days. Keep the skin separate if you want to maintain crispness on reheating.
- Freezing — Portion cooked meat into freezer-safe bags or containers and freeze for up to 2 months. Thaw in the refrigerator overnight before using.
- Reheating — Warm gently in a low oven, 300°F, uncovered on a rack; baste lightly with pan juices or melted butter if the meat seems dry. Avoid the microwave for whole breasts if you care about texture.
Helpful Q&A
- Q: Can I skip the overnight refrigeration? — A: Yes, you can proceed after seasoning immediately, but the skin will be less dry and won’t crisp as reliably. The 4-to-24-hour step improves texture and flavor concentration.
- Q: How do I know the chicken is done? — A: Use an instant-read thermometer in the thickest part of the breast. Pull it at 155°–160°F, then let it rest; carryover will bring it up to a safe and juicy final temperature.
- Q: Can I use a different pan instead of cast iron? — A: A sturdy ovenproof skillet is best because you sear on the stove and then roast in the oven. If you must, transfer to a roasting pan after searing, but preheat the pan or tray first so the bird starts cooking immediately.
- Q: Do I need to truss the chicken? — A: Trussing keeps the bird compact so it cooks evenly. If you’re comfortable without it, just make sure the legs are secure and the wings are tucked so nothing overcooks.
In Closing
This roasted chicken method is built around clear, repeatable actions: dry the bird, season generously, sear strategically, baste thoughtfully, and trust the thermometer. Follow the steps, pay attention to the skin and the temperature, and the result will be reliably excellent—a juicy interior, crisp skin, and a roast that feels both satisfying and manageable.
Make it once, and you’ll have a go-to approach that’s easy to adapt. Serve simply, and let the bird speak for itself. Happy roasting.
Roasted Chicken Recipe
Equipment
- Oven
- rack
- sheet tray or plate
- large carbon-steel or cast-iron skillet
- Toothpick or skewer
- thick wooden spoon
- Tongs
- Instant Read Thermometer
Ingredients
Ingredients
- One 3 1/2 to 4-pound roasting chicken giblets removed
- 4 teaspoonscoarse salt
- 1 teaspoonground pepper
- 1 peeled shallot sliced in half
- 4 garlic cloves
- 2 sprigs fresh rosemary
- 6 to 8 sprigs fresh thyme
- 3 tablespoonsolive oil
- 4 tablespoonsunsalted butter
Instructions
Instructions
- Preheat the oven to 425°F.
- Pat the chicken dry inside and out with paper towels.
- Season the chicken evenly and generously all over and inside the cavity with 4 teaspoons coarse salt and 1 teaspoon ground pepper; rub the seasoning into the skin and cavity.
- Place the chicken on a rack set over a sheet tray or plate and refrigerate, uncovered, for 4 to 24 hours.
- Remove the chicken from the fridge. Using a toothpick or skewer, make about 15 to 20 small punctures through the skin only (do not pierce deep into the meat), distributing them over the thighs, drumsticks, breast, wings, and back.
- Stuff the chicken cavity with the peeled shallot (sliced in half), the 4 garlic cloves, 2 sprigs fresh rosemary, and 6 to 8 sprigs fresh thyme.
- Tuck the wing tips behind the back and truss the chicken so the legs are secure and the bird is compact for even cooking.
- In a large carbon-steel or cast-iron skillet, add 3 tablespoons olive oil and heat over high until the oil begins to lightly smoke.
- Carefully place the chicken breast-side down in the hot skillet. Reduce the heat to medium-high and let it sear without moving for about 2 minutes.
- Using a thick wooden spoon or tongs, hold the chicken so one side rests against the pan (propping it upright) and sear that side for about 2 minutes. Then prop the chicken on the opposite side and sear that side for about 2 minutes.
- Return the chicken to a breast-side-down position, reduce the heat to low, add 4 tablespoons unsalted butter to the pan, and baste the underside of the chicken with the melted butter for about 2 to 3 minutes. Flip the chicken so the breast is up and baste the top for about 1 to 2 minutes. Drain off as much excess butter from the pan as you can.
- Place the skillet with the chicken on the lower third rack of the preheated oven and roast for 45 to 50 minutes, or until an instant-read thermometer inserted into the thickest part of the breast reads 155° to 160°F.
- Remove the chicken from the oven and let it rest at room temperature for 10 to 12 minutes before carving and serving.
Notes
Searing the chicken in a sizzling hot skillet
before
placing it in the oven is the secret to the best roast chicken recipe. The high heat in the pan instantly starts the browning process, which only gets better after basting the skin with melted butter. You’ll end up with deeply flavorful, golden skin that oven heat alone can’t deliver.
Short on time? If you don’t have time to dry brine the chicken, just season the skin with salt and pepper before searing the bird on the stove. The skin won’t be as crispy, and the flavors won’t be as complex, but the roast chicken will still be good. For an even quicker method, check out my
Easy Roast Chicken
recipe.
Pierce the skin: Making small, shallow punctures in the skin (all over the thighs, drumsticks, breast, wings, and backside) after brining helps release fat as the chicken roasts in the oven, leading to crispy skin and juicy meat.
Roast with vegetables: You can roast your chicken over a bed of carrots, onions, and red potatoes if you’d like. First, toss the vegetables in olive oil, salt, and pepper, then dump them into the bottom of a roasting pan. Roast the chicken on a wire rack placed inside the pan so the drippings can drip over top of the vegetables.
How to tell when it’s done: The best way to tell if your roasted chicken is done is with a meat thermometer. Pierce the thickest part of the breast with the thermometer. When it reads between 155ºF and 160°F, it’s ready to come out of the oven. As it’s resting, the temperature will rise to a perfect 165ºF.
Carving roasted chicken: Refer to my guide, How to Carve a Chicken, before slicing and serving the meat.
Make-Ahead:
The chicken is best served as soon as it’s done resting. If you’re not quite ready to serve it, cover it with foil and place it in a low-temperature oven for up to 30 minutes.
How to Store:
Store the carved and cooled chicken in an airtight container in the fridge for 4 days.
How to Reheat:
Place the chicken pieces on a baking sheet, cover them with foil. Warm in a 375°F oven for 10 to 15 minutes or until heated through.