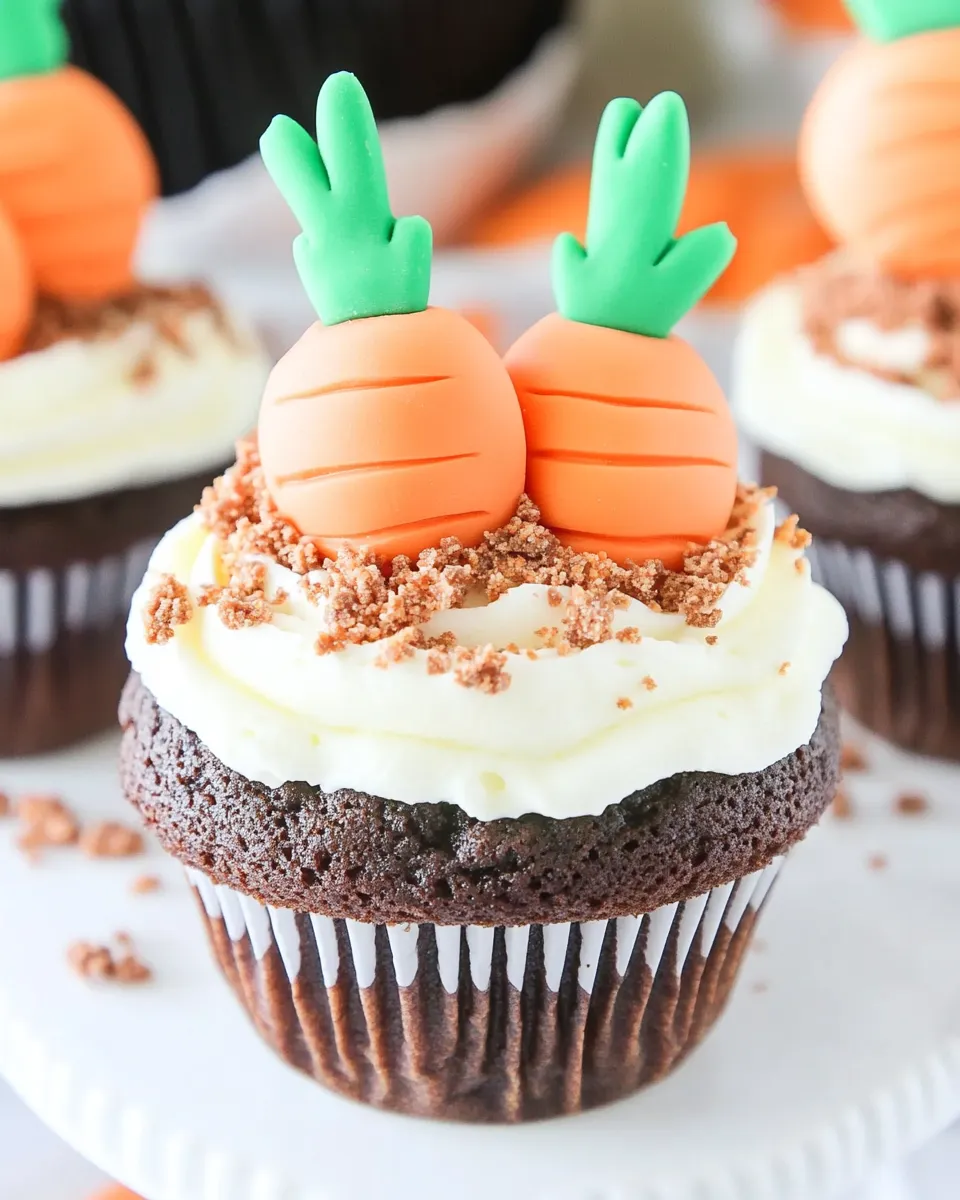
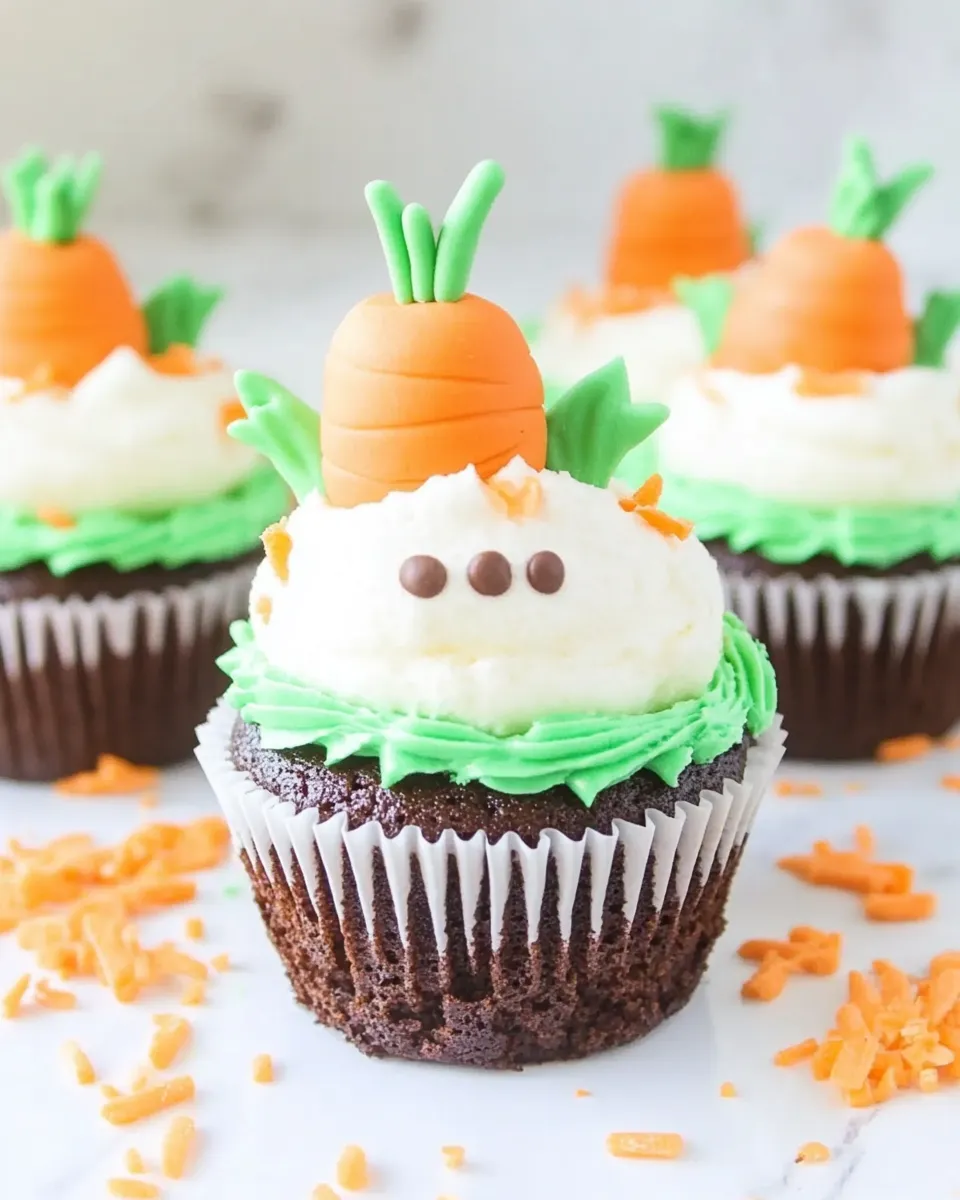
These Carrot Patch Cupcakes are one of my favorite seasonal little projects: a chocolate cupcake turned into a mini garden with a single strawberry “carrot” poking out of a cookie-dirt bed. They’re fun to make, straightforward to assemble, and impressive to serve. I developed this version because I wanted a quick, no-fuss dessert that still looks whimsical and homemade.
There’s no complex piping or sculpting here — the trick is in the assembly. Chocolate cupcakes become the base, a ring of chocolate frosting holds cookie crumbs for the “soil,” and a candy-coated strawberry finishes the look. If you bake or buy the cupcakes ahead, you can assemble a dozen in under an hour.
Below I’ll walk you through the ingredient list, the step-by-step assembly using the exact method I follow, smart swaps to stretch the budget, common mistakes that ruin the effect, and how to store and serve the cupcakes so they look fresh. Read through the timeline so you don’t get rushed during the candy melt step — that’s where things can seize up if you’re not prepared.
Gather These Ingredients
Ingredients
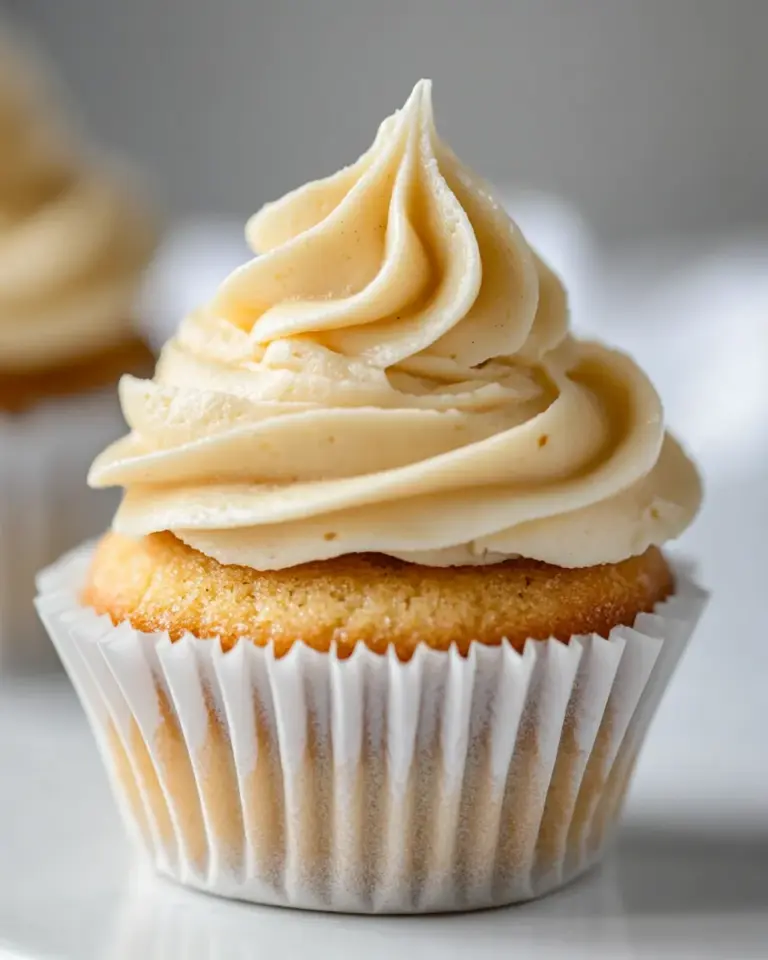
- 12 baked chocolate cupcakes — the base; you can use vanilla cupcakes instead if you prefer a lighter crumb.
- 12 cookies — chocolate sandwich cookies like Oreos; they’re crushed to create the “dirt” texture.
- 8 ounces chocolate frosting — used to frost the outer edge of each cupcake and to hold the cookie crumbs.
- 12 ounces orange candy melts — these coat the strawberries so they look like little carrots; they set firm in the fridge.
- 12 large strawberries — they become the carrot toppers; dry them thoroughly before dipping.
Carrot Patch Cupcakes: How It’s Done
- Using a small knife, spoon, or melon baller, scoop a hole in the top center of each of the 12 baked chocolate cupcakes.
- Frost the tops of the cupcakes with the 8 ounces of chocolate frosting, applying the frosting around the edges of each cupcake and leaving the center hole open.
- Put the 12 chocolate sandwich cookies (like Oreos) in a large plastic bag and crush them into coarse crumbs with a rolling pin, or pulse them in a food processor until you have large crumbs.
- Press or dip the frosted outer edge of each cupcake into the cookie crumbs so the crumbs stick and create a “dirt” appearance. Set the cupcakes aside.
- Rinse the 12 large strawberries and dry them thoroughly with paper towels; they must be completely dry to prevent the candy melts from seizing.
- Place the 12 ounces of orange candy melts in a medium bowl and melt in the microwave at half power, stirring every 30 seconds, until smooth (about 2–3 minutes; times may vary).
- Hold each strawberry by the green top and use the melted orange candy (or a spoon) to coat the strawberry, avoiding the green leaves. Set each coated strawberry on parchment paper or a silicone baking mat.
- Refrigerate the pan of coated strawberries for about 20 minutes, or until the orange coating is firm.
- Place one orange-coated strawberry on top of each cupcake, inserting the pointed end into the center hole so it resembles a carrot. Serve.
Why This Recipe Is Reliable
This recipe is reliable because it uses components that are stable and forgiving. The cupcakes only need a hollow and ring of frosting to hold the cookie crumbs; you’re not relying on delicate piping that can collapse. Chocolate frosting adheres well to crumbs and provides enough structure for the “dirt” effect. The candy melts set quickly and firmly in the fridge, so the strawberry carrots keep their shape.
Timing is predictable: crush the cookies while cupcakes cool, dip strawberries after the crumbs are set, chill the coated berries for roughly 20 minutes. Nothing in the method depends on temperamental techniques like tempering chocolate or making sugar syrups, so you can repeat it with consistent results.
Budget & Availability Swaps
If you need to save money or use what you have on hand, here are practical swaps that keep the result close to the intended effect without inventing new ingredients:
- Cupcakes — buy a bakery dozen or use a boxed mix to bake 12 cupcakes; either chocolate or vanilla works per the ingredient note.
- Cookies — any chocolate sandwich cookie will do; generic brands deliver the same crumb texture as Oreos at a lower price.
- Frosting — store-bought chocolate frosting keeps the process quick; use a tub versus homemade to save time and dishwashing.
- Candy melts — if orange candy melts are scarce, white candy melts can be colored with oil-based food coloring made for candy, or use orange-colored melting wafers.
- Strawberries — choose the largest, firmest strawberries you can find; smaller berries work but change the visual scale.
Kitchen Gear Checklist
- Small knife, spoon, or melon baller — to scoop the cupcake centers cleanly.
- Offset spatula or butter knife — for spreading frosting around the edge.
- Large plastic bag and rolling pin or food processor — to crush the cookies; choose whichever is easier for you.
- Medium microwave-safe bowl — to melt the candy melts.
- Parchment paper or silicone baking mat — to set the coated strawberries without sticking.
- Paper towels — to dry strawberries completely before dipping.
- Baking sheet or shallow pan — to chill the coated strawberries in the refrigerator.
Mistakes That Ruin Carrot Patch Cupcakes
There are a handful of missteps that will spoil the visual or textural effect. Avoid these to keep your cupcakes looking like a little patch of garden.
Critical mistakes
- Not drying the strawberries — moisture on the berries will cause the candy melts to seize and streak. Pat each berry completely dry and let them air for a minute if needed.
- Overheating candy melts — if you microwave at full power, the candy can scorch and clump. Use half power and short intervals, stirring frequently.
- Scooping too deep — if the hole in the cupcake is too large, the strawberry won’t sit securely. Keep the cavity just large enough for the pointed end to insert.
- Applying frosting to the center hole — the frosting should form a rim only. If you fill the hole, there’s no place to insert the strawberry carrot.
Substitutions by Diet
Below are substitutions that honor common dietary needs while keeping the technique and final look intact. I stick to ingredient categories provided and suggest alternative products where appropriate.
- Gluten-free — use gluten-free chocolate cupcakes and gluten-free chocolate sandwich cookies; ensure the candy melts label is gluten-free.
- Dairy-free — choose dairy-free chocolate frosting and dairy-free candy melts; some brands offer vegan coating wafers. Check labels for dairy ingredients.
- Egg-free — purchase or bake egg-free cupcakes; the assembly steps remain identical.
- Lower sugar — look for reduced-sugar frosting and sugar-reduced chocolate sandwich cookies. The candy melts are harder to replace in sugar content and may change the visual if swapped.
Testing Timeline
Plan about 45–60 minutes from start to finish if your cupcakes are already baked; if you need to bake cupcakes from scratch, add baking and cooling time. Here’s a practical timeline to follow for a dozen cupcakes:
- 0–10 minutes — Scoop the cupcake centers and apply frosting around the rim.
- 10–15 minutes — Crush cookies to coarse crumbs and press around frosted edges.
- 15–20 minutes — Rinse and thoroughly dry strawberries.
- 20–25 minutes — Melt candy melts at half power in the microwave, stirring every 30 seconds.
- 25–30 minutes — Dip or coat strawberries and place on parchment paper.
- 30–50 minutes — Refrigerate coated strawberries until firm (about 20 minutes).
- 50–60 minutes — Insert strawberries into cupcakes and serve.
Leftovers & Meal Prep
If you need to prep ahead, here’s how to keep everything tasting good and looking fresh:
- Make the coated strawberries a few hours ahead — store them in a single layer in the refrigerator on parchment, uncovered until the coating firms, then cover loosely.
- Frost and crumb the cupcakes up to a day ahead — store in an airtight container at room temperature to keep the cookie crumbs crisp; refrigeration can soften crumbs and change texture.
- Assemble close to serving — place the strawberry carrot into the cupcake within an hour of serving for the best appearance; if you insert them too early and refrigerate, condensation can dull the shine.
Helpful Q&A
Q: Can I use regular melted chocolate instead of candy melts?
A: You can, but real chocolate needs tempering (or careful melting) and will set differently. Candy melts are formulated to set quickly and are more forgiving for this project.
Q: My strawberries keep slipping out. How do I secure them?
A: Make sure the hole is not overly large. Press the coated strawberry pointed end gently into the cupcake center so the frosting rim holds it. If needed, add a dab of extra frosting in the cavity for a firmer anchor.
Q: The cookie crumbs aren’t sticking well to the frosting.
A: Ensure the frosting has enough texture and is applied thickly around the edge. If your frosting is runny or too thin, chill the cupcakes briefly to firm up the frosting before pressing on crumbs.
Q: How do I keep the orange color even on strawberries?
A: Rotate the berry while coating to achieve even coverage, and avoid pooling at the base by letting excess drip back into the bowl. If you see thin spots, add a light second coat after the first has set slightly.
Next Steps
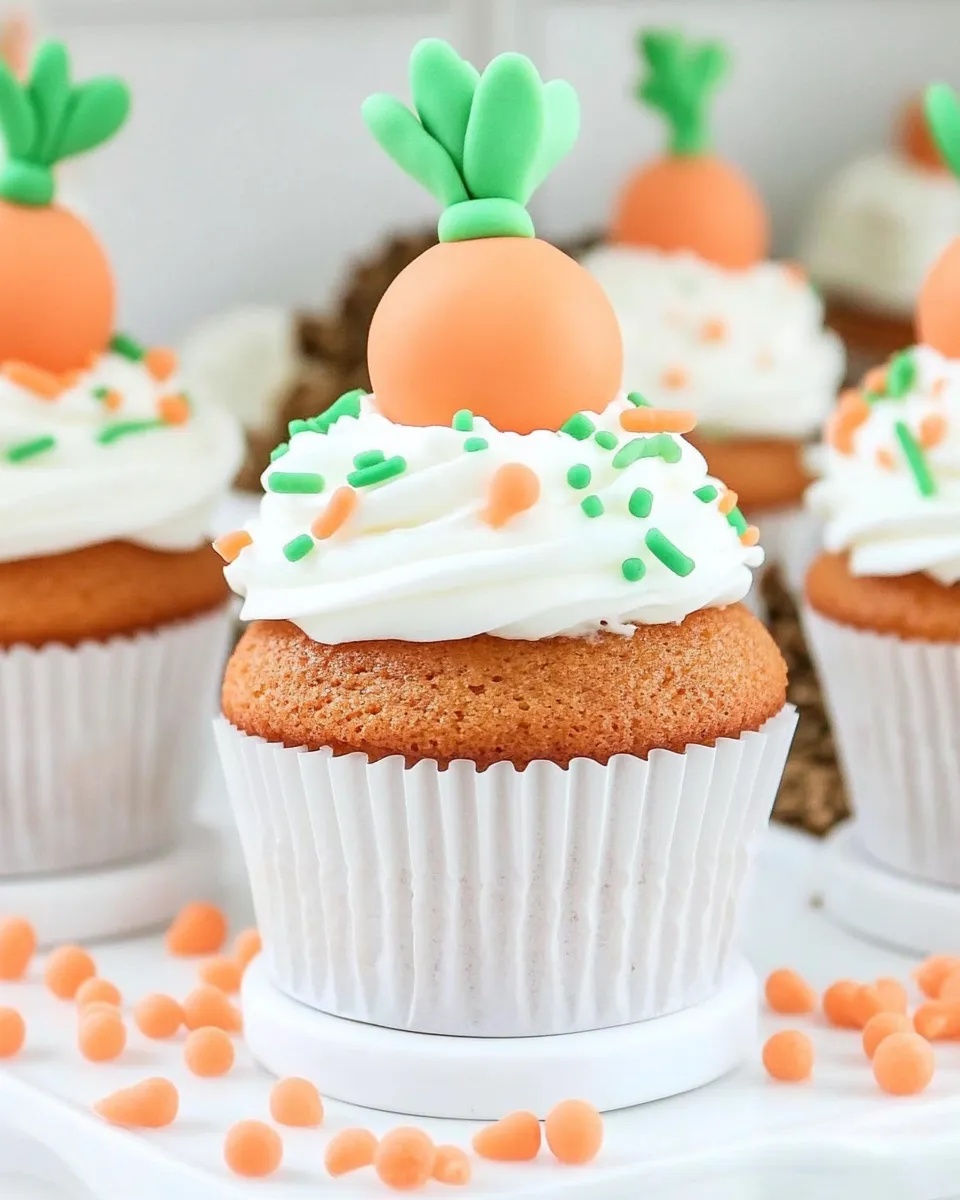
If you want to elevate these for a party, make a few variations: add a small swirl of green-tinted frosting around the base of the strawberry to mimic carrot tops, or mix a tiny bit of green sanding sugar into the crumbs for a mossier look. For kids’ events, consider piping tiny bug shapes on the crumb surface with melted chocolate for a playful garden scene.
When you make these, start with good prep: have your strawberries washed and dried, candy melts ready, and cookie crumbs at hand. The assembly is quick and satisfying, and these cupcakes always get comments when I bring them to a potluck. Enjoy the process — and the smiles when you set the little strawberry carrots into their chocolate beds.
Carrot Patch Cupcakes
Equipment
- Small Knife
- spoon or melon baller
- large plastic bag
- Rolling pin or food processor
- Medium Bowl
- Microwave
- Parchment paper or silicone baking mat
- Refrigerator
Ingredients
Ingredients
- 12 bakedchocolate cupcakesvanilla can be used also
- 12 cookieschocolate sandwich cookieslike Oreos
- 8 ounceschocolate frosting
- 12 ouncesorange candy melts
- 12 largestrawberries
Instructions
Instructions
- Using a small knife, spoon, or melon baller, scoop a hole in the top center of each of the 12 baked chocolate cupcakes.
- Frost the tops of the cupcakes with the 8 ounces of chocolate frosting, applying the frosting around the edges of each cupcake and leaving the center hole open.
- Put the 12 chocolate sandwich cookies (like Oreos) in a large plastic bag and crush them into coarse crumbs with a rolling pin, or pulse them in a food processor until you have large crumbs.
- Press or dip the frosted outer edge of each cupcake into the cookie crumbs so the crumbs stick and create a "dirt" appearance. Set the cupcakes aside.
- Rinse the 12 large strawberries and dry them thoroughly with paper towels; they must be completely dry to prevent the candy melts from seizing.
- Place the 12 ounces of orange candy melts in a medium bowl and melt in the microwave at half power, stirring every 30 seconds, until smooth (about 2–3 minutes; times may vary).
- Hold each strawberry by the green top and use the melted orange candy (or a spoon) to coat the strawberry, avoiding the green leaves. Set each coated strawberry on parchment paper or a silicone baking mat.
- Refrigerate the pan of coated strawberries for about 20 minutes, or until the orange coating is firm.
- Place one orange-coated strawberry on top of each cupcake, inserting the pointed end into the center hole so it resembles a carrot. Serve.
Notes
Can I Use Cake Mix For The Cupcakes?
A typical boxed cake mix will make between 18-24 cupcakes. If you measure your ingredients when you fill the cupcake pan so they are filled evenly you can easily make a double batch of these cupcakes with a chocolate-boxed cake mix. Storebought cupcakes can also be used.
How To Make The Dipped Strawberries Even Prettier
If your strawberries aren’t looking as pretty as you hoped once dipped in the orange chocolate, an extra drizzle can make all the difference. With a fork drizzle a little extra orange chocolate candy melts over the top of the strawberry to give it pretty grooves.