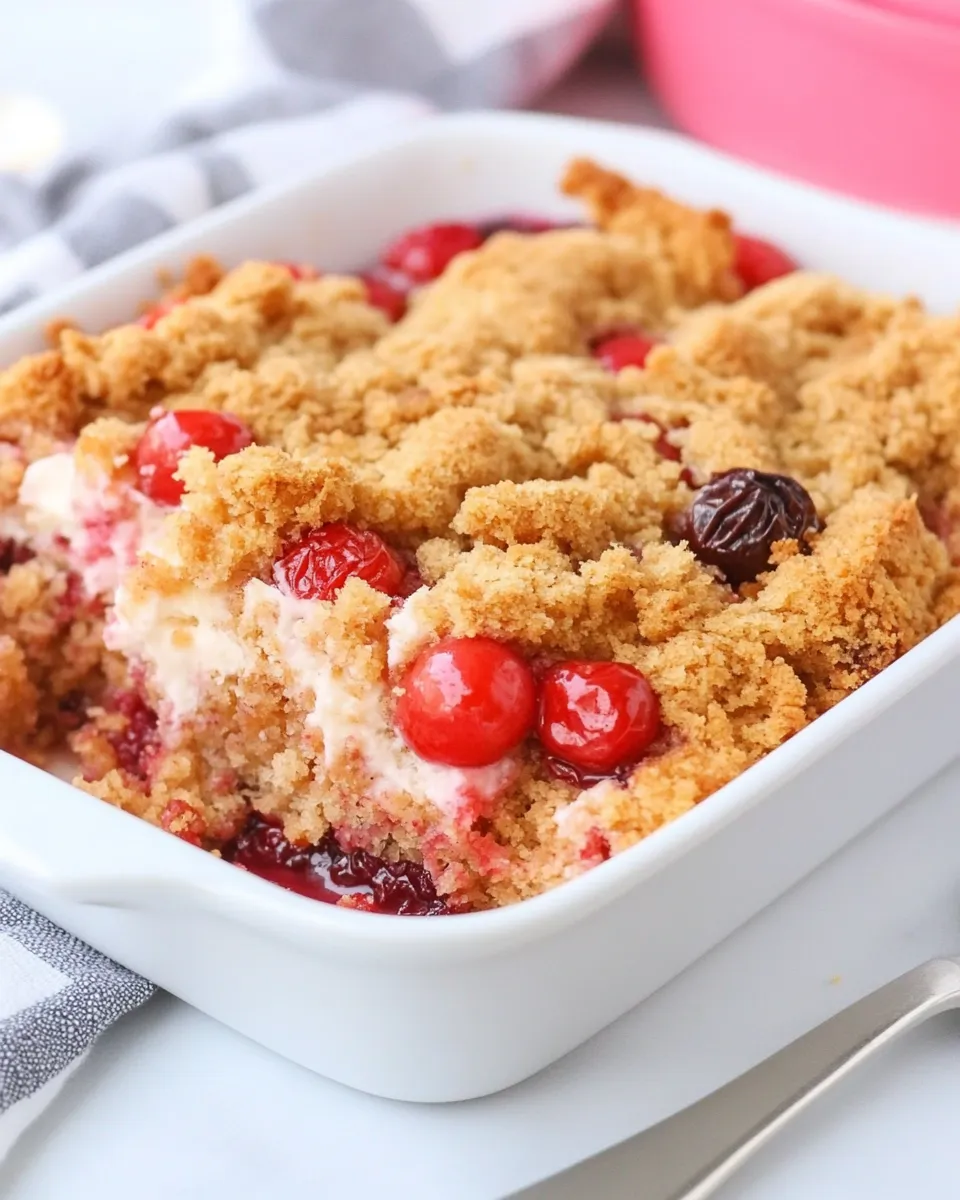
There’s something wonderfully forgiving about this Cherry Dump Cake. It’s one of those desserts that looks like you spent hours fussing and plating, but it’s mostly a matter of opening cans, sprinkling a few things, and letting the oven do the work. I turn to it when I need a reliable dessert for a weeknight family meal or a potluck where time is limited and expectations are high.
What I like most is how predictable the results are: bright cherry filling, juicy pockets from the pineapple, a crisp golden top from the cake mix and butter, and a little crunch if you add nuts. It’s approachable for cooks at every level, and it’s easy to scale or tweak for texture and sweetness.
Below you’ll find an ingredient breakdown, the exact method I use (followed from a simple, dependable source), and practical notes from testing. No complicated steps, just a plan that consistently delivers warm, spoonable goodness.
Ingredient Rundown
- 1 (21-ounce) can cherry pie filling — provides the sweet-tart fruit base and thick sauce; it’s the star flavor.
- 1 (15-ounce) can crushed pineapple, plus juice — adds brightness and moisture; include the juice to keep the filling saucy.
- 1 (15.25-ounce) package yellow cake mix — forms the crisp, golden crust; leave it dry on top so it bakes into a crunchy layer.
- 6 ounces chopped walnuts — brings texture and a toasty counterpoint to the sweet fruit; scatter evenly.
- 3/4 cup butter — sliced and layered on top so it melts through the cake mix to create the cobbler-like crust.
Make Cherry Dump Cake: A Simple Method
- Preheat oven to 350°F. Spray a 9×13-inch baking dish with cooking spray.
- Open the cans. Pour the 21-ounce can cherry pie filling and the entire 15-ounce can crushed pineapple, including the juice, into the prepared baking dish. Stir gently to distribute the fruit and juice evenly.
- Evenly sprinkle the entire 15.25-ounce package yellow cake mix over the fruit mixture. Do not stir the cake mix into the fruit; leave it loose on top.
- Evenly scatter the 6 ounces chopped walnuts over the cake mix layer.
- Cut the ¾ cup butter into thin slices or small pats. Arrange the butter pieces evenly over the top so most pieces make contact with the cake mix.
- Bake for 35–40 minutes, or until the top is golden brown and the fruit is bubbling at the edges.
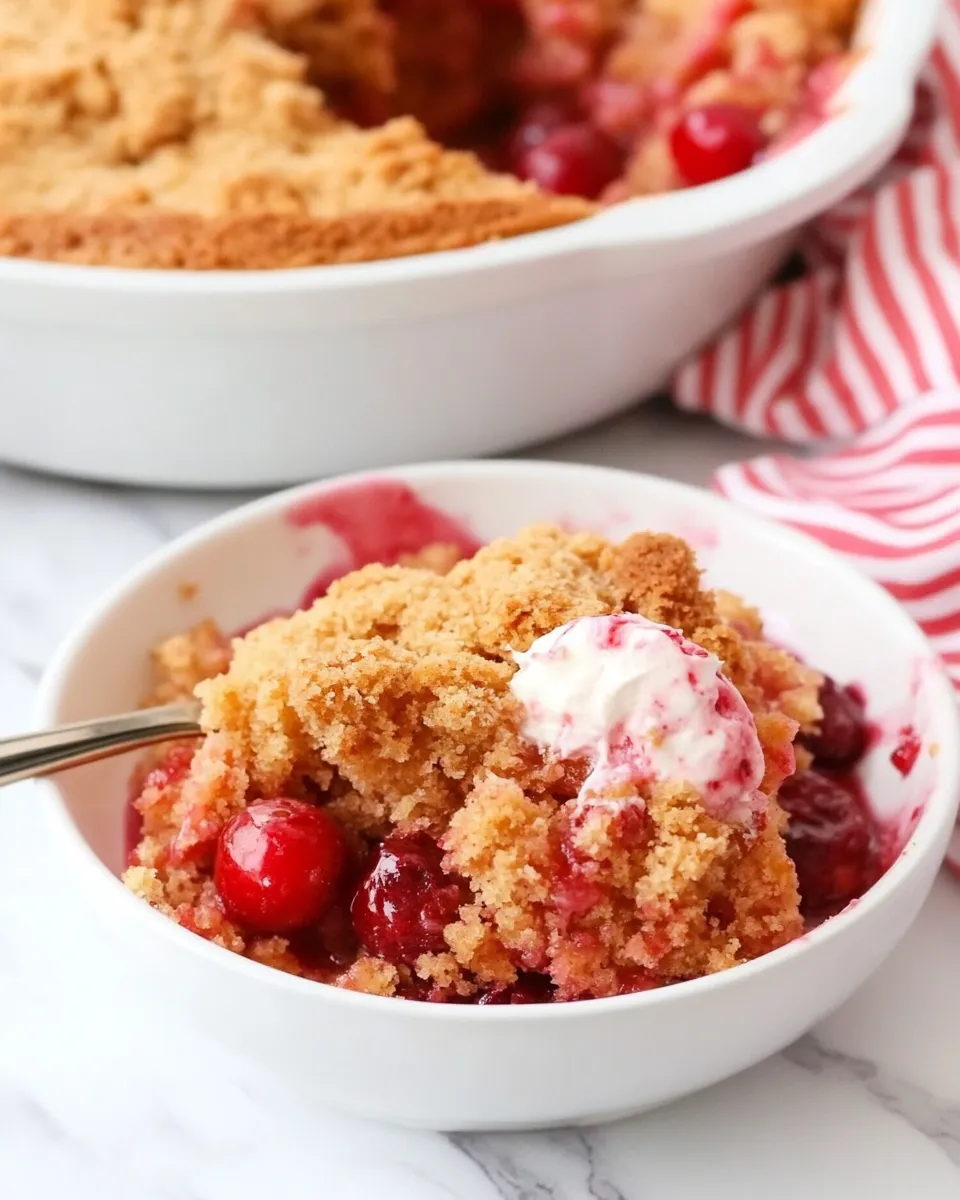
- Remove from the oven and let cool 10–15 minutes before serving. Enjoy warm.
Why Cooks Rave About It
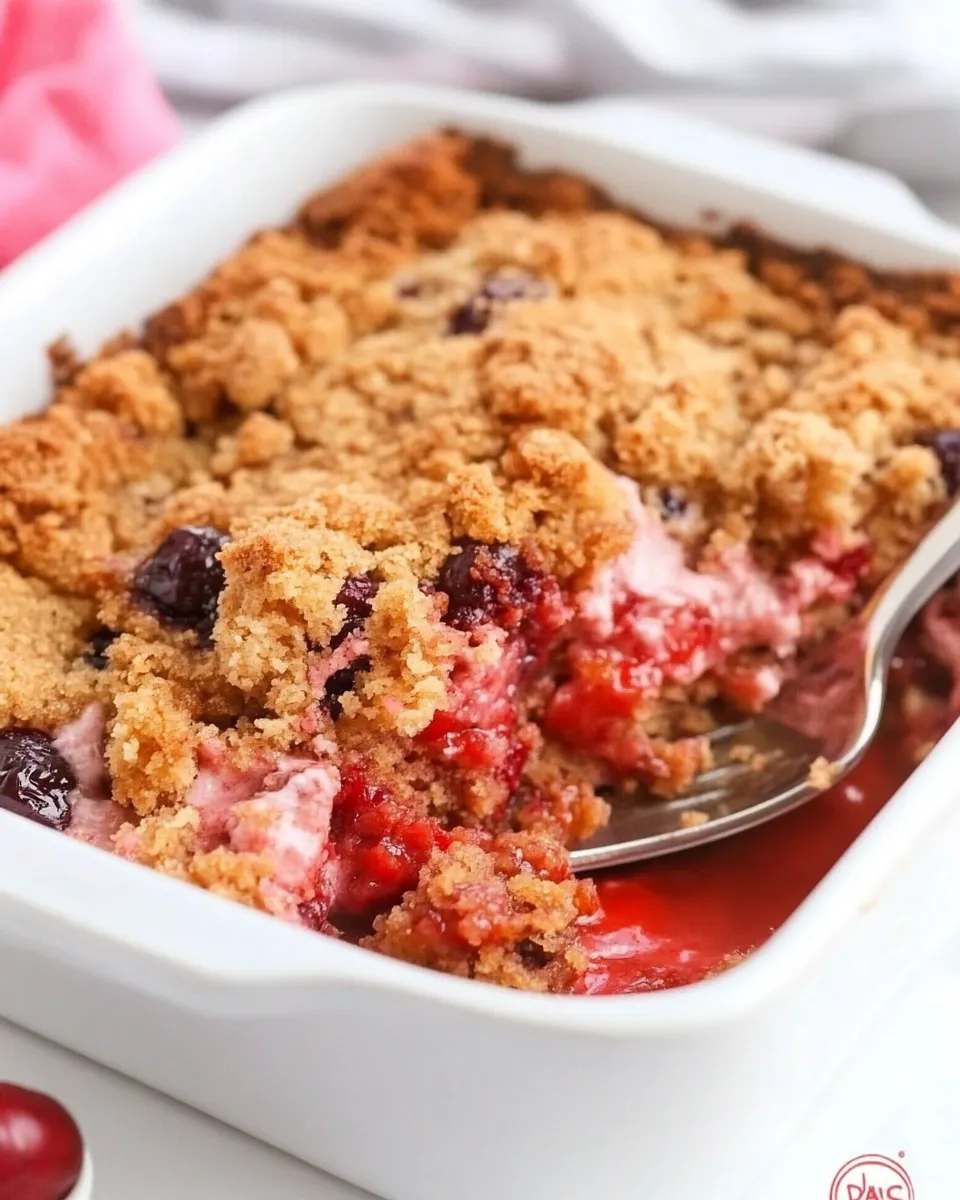
Dump cakes are loved because they remove decision fatigue: you don’t have to measure flour, cream butter into sugar, or worry about dough temperature. This Cherry Dump Cake delivers a familiar, nostalgic flavor profile that’s easy to like—sweet cherry notes with a hint of tropical pineapple, rounded by buttery crispness.
It’s also a crowd-pleaser for groups with mixed cooking skills. Guests often assume something more complicated was made because the top gets that restaurant-style golden crust, while the fruit underneath bubbles and concentrates its flavor. For me, it’s that balance between effortless prep and comforting results that keeps this recipe in rotation.
If You’re Out Of…
If you find yourself missing an ingredient, here are practical swaps and notes to keep the dessert moving without derailing flavor or texture.
- Cherry pie filling — If you’re out of canned cherry pie filling, use canned cherries in syrup and sweeten slightly with a tablespoon of sugar or a touch of cornstarch to thicken. Fresh cherries could work if cooked down with sugar first until saucy.
- Crushed pineapple — Pineapple adds moisture and brightness. If you don’t have crushed, diced pineapple (drained or with some juice) works; reduce additional liquid slightly. Canned mandarin oranges or peach slices can change the flavor but will still lend juiciness.
- Yellow cake mix — You can substitute white or butter cake mix for a slightly different flavor; avoid chocolate unless you want a very different dessert.
- Walnuts — Pecans, almonds, or even oats can substitute for crunch. If allergies are a concern, omit the nuts entirely; the cake is still satisfying.
- Butter — Unsalted or salted butter are both fine. If you must use margarine, expect a slightly different browning and mouthfeel but similar function.
Setup & Equipment
Minimal equipment is a big part of this recipe’s appeal. Here’s what I use every time and why it matters.
- 9×13-inch baking dish — This size holds the layers in a single even layer so the cake mix can crisp without burning.
- Cooking spray — Prevents sticking and simplifies cleanup; butter could be used instead to add flavor.
- Sharp knife or butter slicer — For cutting the 3/4 cup butter into thin pats so it melts evenly across the top.
- Mixing spoon — To stir the fillings together in the pan before topping.
- Oven thermometer (optional) — Helpful if your oven runs hot or cold; 350°F is the target.
Steer Clear of These
Small missteps can change the outcome. Avoid these common mistakes I’ve seen and learned from.
- Stirring the cake mix into the fruit — The cake mix needs to stay loose on top. Stirring will create a dense, wet batter rather than the intended crisp top and tender bits beneath.
- Using large pats of butter — Thick chunks take longer to melt and can create uneven browning. Thin slices or small pats spread more evenly.
- Baking at the wrong temperature — Too high and the top may brown before the fruit bubbles; too low and the top won’t crisp. Stick to 350°F.
- Skipping the juice from the crushed pineapple — That juice keeps the filling saucy; draining it dry can leave a dry center.
In-Season Flavor Ideas
Although this uses canned fruit for convenience, you can highlight seasonal produce and tweak texture and flavor:
- Summer cherries — If cherries are in season and you want to use fresh, pit and simmer them with a little sugar and a teaspoon of lemon juice until they release juices and thicken slightly, then proceed with the recipe.
- Stone fruit twist — Late-summer peaches or nectarines (sliced and lightly sugared) pair beautifully with the yellow cake top.
- Nut variations — Toasted pecans in the fall, or sliced almonds in spring, will subtly change the aroma and crunch.
What I Learned Testing
I made this recipe multiple times to tune timing and technique. A few practical lessons:
- Let it rest before serving — The 10–15 minute rest after baking lets the filling settle so you can spoon neat portions. It’s tempting to dive right in, but those minutes improve texture and serving.
- Even distribution matters — Take the extra minute to spread the cake mix, then the nuts, and finally the butter pieces evenly. Small gaps in butter lead to dry spots; concentrated butter areas can over-brown.
- Use the juice — The crushed pineapple juice is not filler; it keeps the interior properly saucy and keeps the contrast between crisp top and spoonable fruit.
Best Ways to Store
Storage is simple but a little attention helps maintain texture.
- Short term (room temperature) — Covered loosely, the cake is fine at room temperature for a few hours. If you plan to serve within the day, keep it covered to retain moisture.
- Refrigerator — Store in an airtight container or tightly wrapped for up to 4 days. The top will soften slightly; reheat briefly to refresh crispness.
- Reheating — Rewarm individual portions in the microwave for 20–30 seconds, or place the whole dish in a 325°F oven for 10–12 minutes to recrisp the topping.
- Freezing — You can freeze portions for up to 2 months. Thaw overnight in the refrigerator and reheat as above. Texture will change slightly after freezing, but it’s still very good.
Handy Q&A
Quick answers to questions I’m commonly asked when people try this:
- Can I make this ahead? — Yes. Assemble up to the butter stage, cover, and refrigerate for a few hours before baking. If assembling much earlier, the cake mix will absorb more moisture and change texture, so I prefer baking within a day.
- Is it possible to reduce sugar? — Since the recipe relies on canned fillings and cake mix, reducing sugar requires homemade fillings or low-sugar canned versions to control sweetness.
- Can I use a different cake mix flavor? — Vanilla or butter-flavored mixes work well. Chocolate will overpower the fruit and change the expected flavor profile.
- How do I make the top extra crunchy? — Stirring a tablespoon of granulated sugar into the cake mix before sprinkling won’t hurt, and using slightly thinner butter slices helps even browning. Toasted nuts also add crunch.
- Can I skip the nuts? — Absolutely. The cake will still be delicious without them, though you’ll lose some textural contrast.
Time to Try It
This Cherry Dump Cake is exactly the kind of dessert I love returning to: quick, comforting, and reliably crowd-pleasing. It’s forgiving, so give it a try even if you’re juggling a busy evening. Follow the steps, take those small helpful moments—spreading the mix evenly, slicing the butter thin—and you’ll have a warm, spoonable dessert that looks like you spent far more time on it than you did.
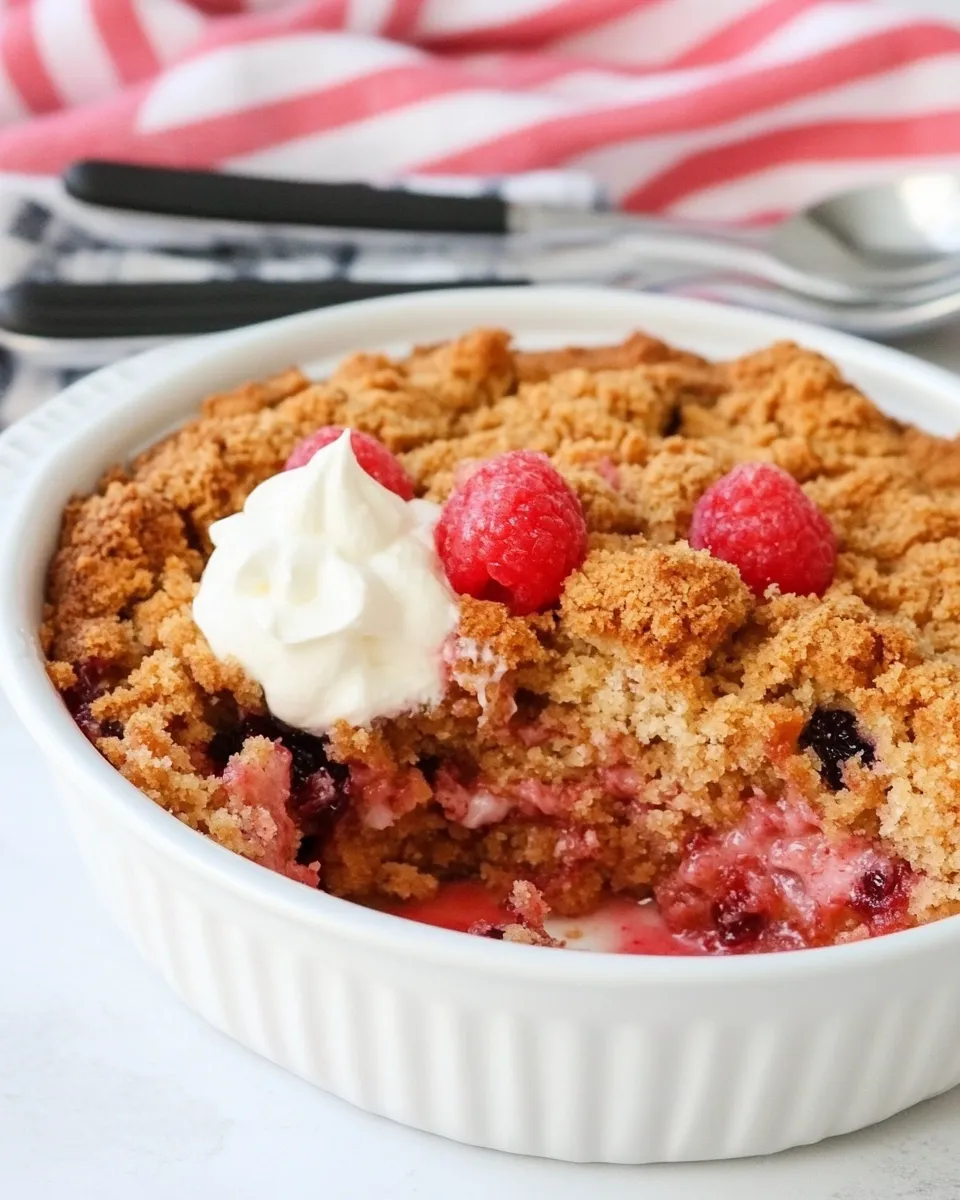
Serve it warm with a scoop of vanilla ice cream or a dollop of whipped cream if you want to elevate the presentation. But honestly, it’s just as satisfying straight from the pan with a fork. Let me know how yours turns out and any small tweaks you discover that make it your own.
Cherry Dump Cake Recipe
Equipment
- 9x13 Baking Dish
Ingredients
Ingredients
- 1 21-ouncecan cherry pie filling
- 1 15-ouncecan crushed pineapple, plus juice
- 1 15.25-ouncepackageyellow cake mix
- 6 ounceschopped walnuts
- 3/4 cupbutter
Instructions
Instructions
- Preheat oven to 350°F. Spray a 9×13-inch baking dish with cooking spray.
- Open the cans. Pour the 21-ounce can cherry pie filling and the entire 15-ounce can crushed pineapple, including the juice, into the prepared baking dish. Stir gently to distribute the fruit and juice evenly.
- Evenly sprinkle the entire 15.25-ounce package yellow cake mix over the fruit mixture. Do not stir the cake mix into the fruit; leave it loose on top.
- Evenly scatter the 6 ounces chopped walnuts over the cake mix layer.
- Cut the ¾ cup butter into thin slices or small pats. Arrange the butter pieces evenly over the top so most pieces make contact with the cake mix.
- Bake for 35–40 minutes, or until the top is golden brown and the fruit is bubbling at the edges.
- Remove from the oven and let cool 10–15 minutes before serving. Enjoy warm.
Notes
Refrigerator:Cover and keep in the fridge for up to a week.
Freezer:Wrap in freezer-safe plastic wrap then wrap again with tin foil. Keep frozen for up to 3 months. Thaw in the refrigerator.