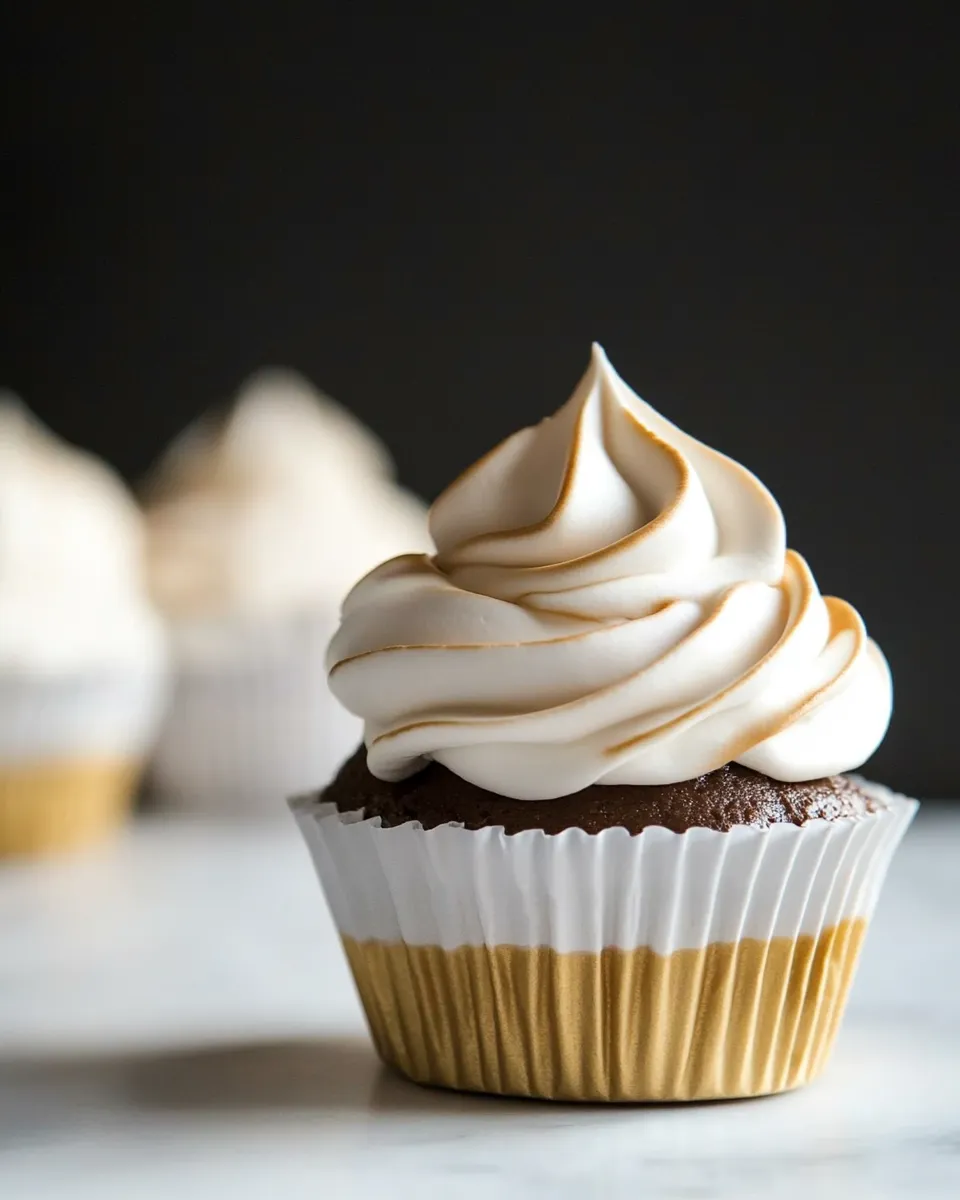
I fell for this frosting the first time I saw it piped into a swirl and torch-kissed to gold. It’s light, glossy, and has that marshmallow-like chew without the sticky, hard shell of a store-bought marshmallow. If you want a frosting that feels celebratory but comes together in a short stretch of time, this one is my go-to.
There’s no butter to soften or powdered sugar to sift endlessly. You work with egg whites, sugar, and a little cream of tartar—techniques that sound technical but are really mechanical once you know the steps. I’ll walk you through the exact method, gear that makes it easier, common missteps and fixes, and a few ways to change the flavor or finish.
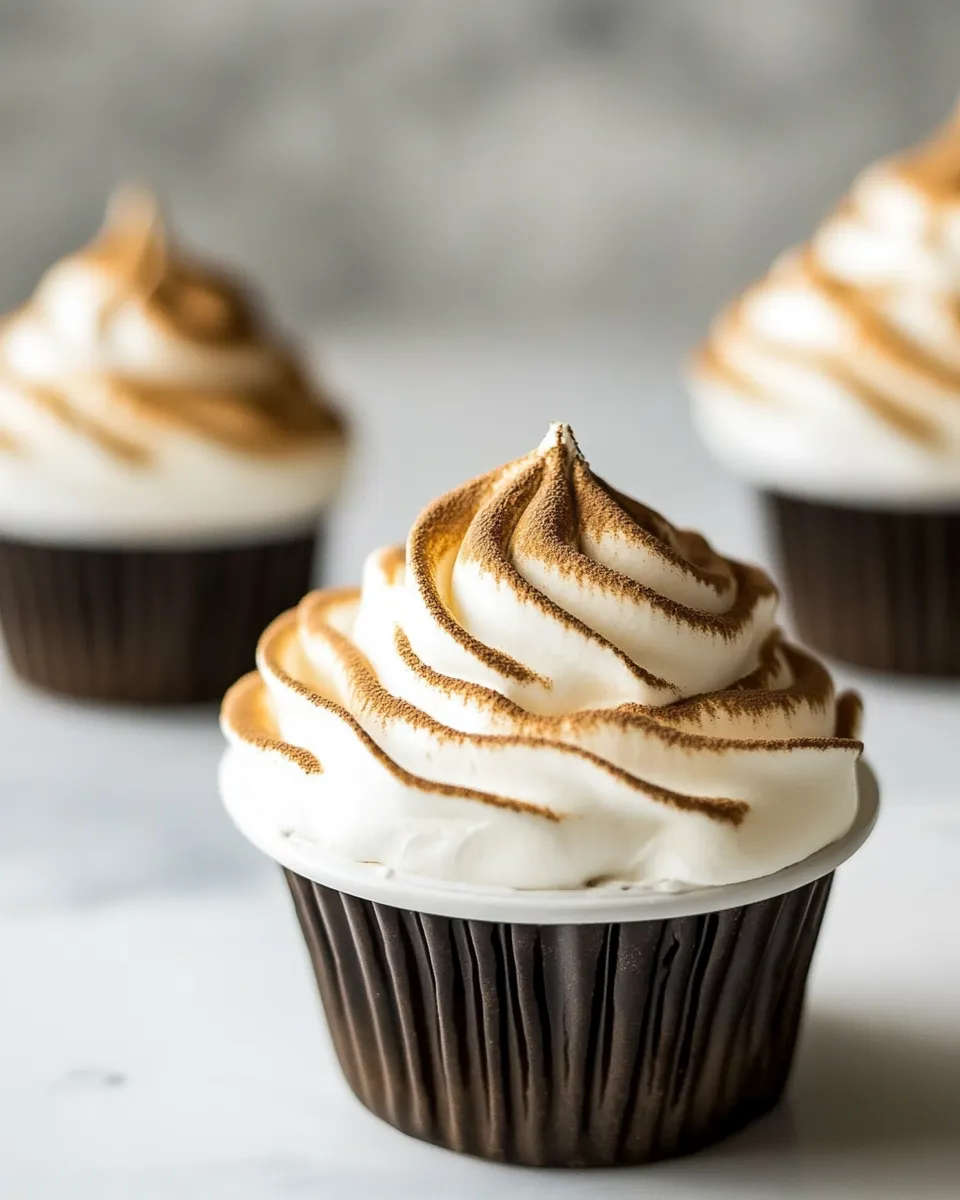
Use it to top cupcakes, smear over a simple layer cake, or torch it for toasted peaks. It stays sticky until toasted, so plan to finish or serve immediately for the best texture and presentation.
Gather These Ingredients
Ingredients
- 4 large egg whites (room temperature) — provide the structure and volume; room temperature whips up faster and to a higher peak.
- 1 cup (200 g) granulated sugar — sweetens and stabilizes the meringue when dissolved into the warm egg whites.
- 1/4 teaspoon cream of tartar — acid that helps the egg whites hold firm peaks and keeps the frosting stable.
- Pinch of salt — balances sweetness and rounds the flavor.
- 1/2 teaspoon vanilla extract (optional) — adds a gentle, warm background note; fold in at the end so it doesn’t deflate the foam.
Mastering Marshmallow Frosting: How-To
- Fill a medium-to-large pot with about 1 inch (2.5 cm) of water and bring it to a gentle simmer over medium heat. Choose a heat-proof bowl (or the bowl of your stand mixer) that will sit on the pot without the bottom touching the water.
- In the heat-proof bowl, whisk together 4 large egg whites (room temperature), 1 cup (200 g) granulated sugar, 1/4 teaspoon cream of tartar, and a pinch of salt until evenly combined.
- Set the bowl over the simmering water (double-boiler setup), making sure the bowl does not touch the water. Whisk constantly until the mixture reaches 120°F (49°C) on an instant-read thermometer and the sugar feels dissolved (rub a small amount between your fingers—it should not feel gritty).
- Remove the bowl from the heat. Using a stand mixer fitted with the whisk attachment or a hand mixer, beat the hot mixture on high for about 5 minutes, or until it is light, glossy, and fluffy with peaks that mostly hold their shape.
- If using, add 1/2 teaspoon vanilla extract and beat on high for another 30 seconds to incorporate.
- Use the frosting immediately: transfer to a piping bag or a large plastic bag with the tip cut off and pipe onto cupcakes or cake.
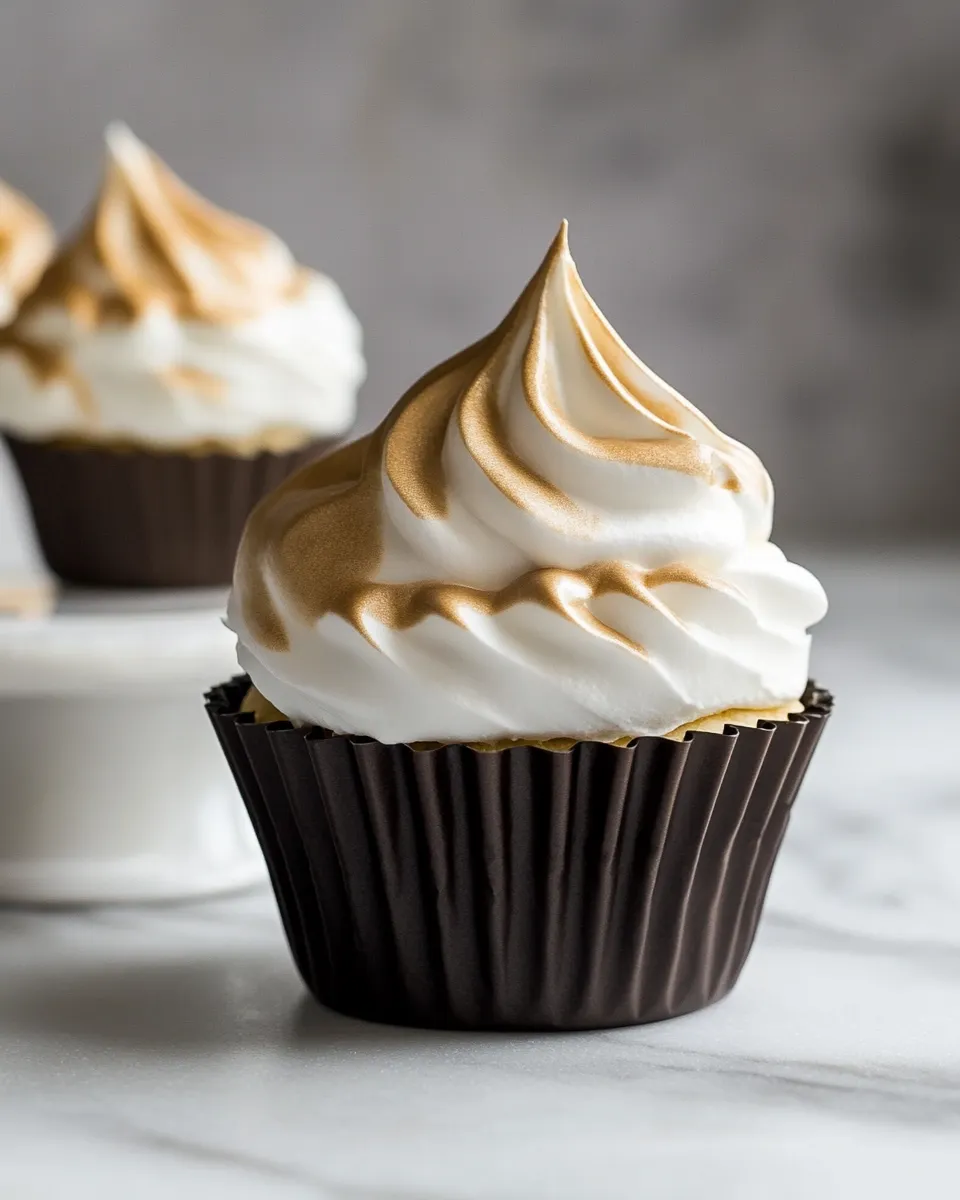
- If you want a toasted finish, very carefully brown the frosting under a hot broiler for a few seconds (watch continuously) or use a kitchen torch. The frosting will be quite sticky until it is toasted.
The Upside of Marshmallow Frosting
This frosting is fast once you set up a double boiler and get your mixer ready. It’s lighter than buttercream and less sweet-per-bite because of the air whipped into it. That texture makes it a great match for richer cakes like chocolate, carrot, or dense banana bread—frosting that lifts instead of burying the crumb.
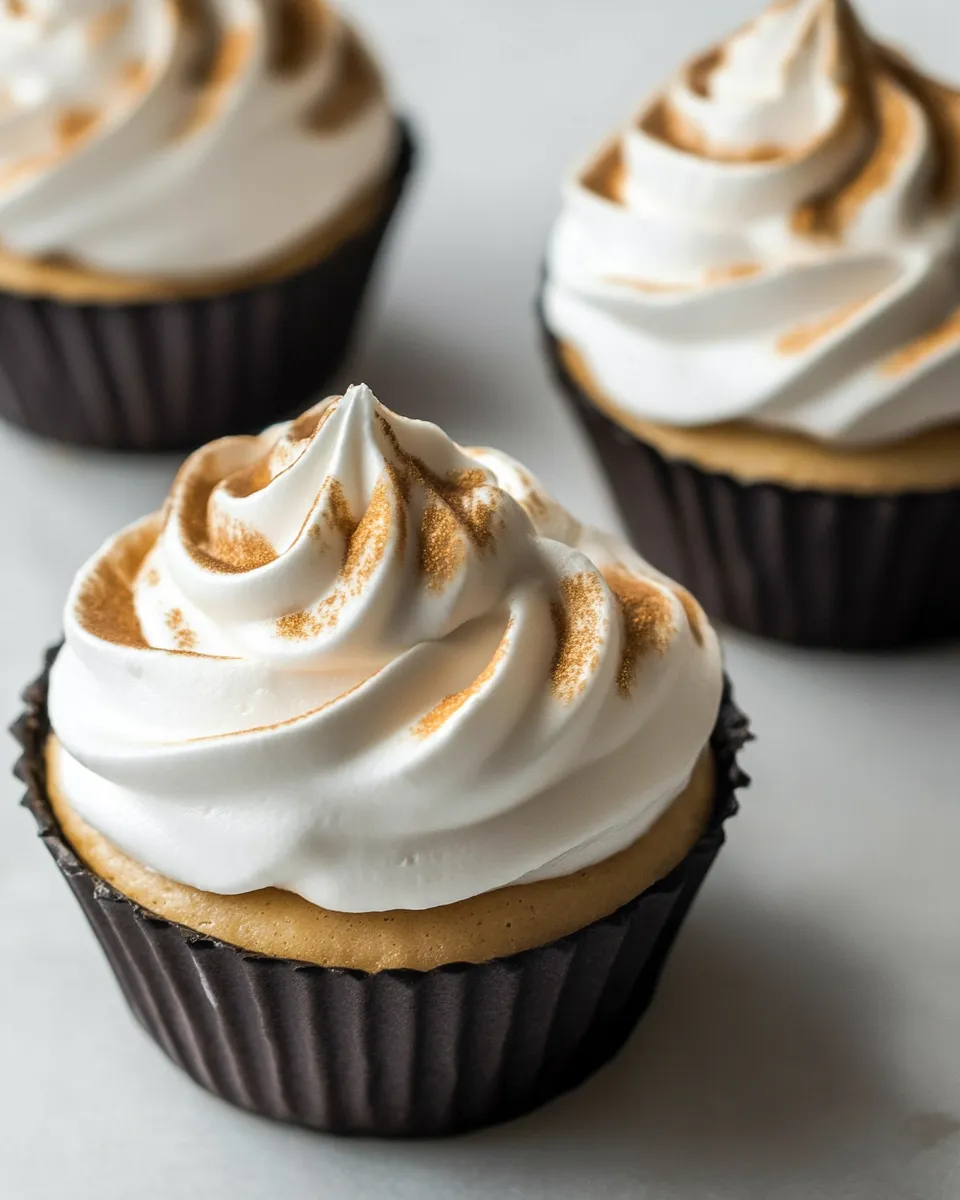
It’s also visually impressive. Piped peaks hold their shape well, and a quick torch or broiler pass gives you a professional toasted finish without much fuss. Finally, because it’s egg-white and sugar–based rather than butter-based, it behaves differently in warm kitchens: it won’t melt into puddles like some buttercreams do (but it will stay tacky until toasted).
Vegan & Vegetarian Swaps
For vegetarian eaters this recipe is already suitable, but vegans need an alternative to the egg whites. Aquafaba (the liquid from a can of chickpeas) is a common vegan substitute for whipping meringue-style frostings. Commercial vegan meringue powders or prepared vegan marshmallow bases also exist and can be used following their package directions.
If avoiding alcohol-based extracts, swap vanilla extract for other flavor concentrates labeled as alcohol-free or use citrus zest added after whipping for a bright lift. When making swaps, keep in mind that the texture and stability can vary: vegan versions may require longer whipping and careful temperature control to reach the same glossy peaks.
What You’ll Need (Gear)
- Medium-to-large pot — for the simmering water; stability matters so the bowl sits level above the water.
- Heat-proof bowl or stand mixer bowl — needs to fit snugly on the pot without touching the water.
- Instant-read thermometer — essential for hitting 120°F (49°C) reliably and for dissolving sugar without overcooking egg whites.
- Whisk and/or mixer with whisk attachment — whisking by hand on the stovetop to dissolve sugar, then a mixer to whip to glossy peaks.
- Piping bag or large plastic bag — for quick, neat piping; cut the corner for a large opening if you don’t have tips.
- Kitchen torch or oven broiler — optional, but necessary if you want toasted peaks.
Missteps & Fixes
Mixture won’t thicken or hold peaks
If the whipped mixture stays loose, you may not have reached the proper temperature while dissolving the sugar. Go back to the double boiler and continue heating, whisking constantly until it hits 120°F (49°C) and the sugar is fully dissolved. Also check the egg whites were truly room temperature—cold whites can slow whipping.
Grainy or sandy texture
That gritty feeling means sugar didn’t dissolve. Stop the mixer, and return the bowl to the double boiler to heat and whisk until the sugar dissolves fully. Test by rubbing a small amount between your fingers; it should feel smooth.
Over-whipped or dry frosting
If you whip beyond glossy, soft peaks into a dry, curdled texture, you can try to salvage it by gently mixing in a teaspoon or two of warm water while beating on low to soften. If it’s badly separated, you may need to start over—egg-white foams can only stretch so far.
Frosting too sticky to work with
This frosting will be tacky until toasted. Pipe it and either serve immediately or briefly torch/broil to set the surface. If you need a less sticky finish without toasting, consider using a thin layer of buttercream underneath as a base and piping this on top for stability.
Year-Round Variations
Change flavor and presentation with simple swaps and finishing touches.
- Chocolate swirl: Fold a spoonful of cooled melted chocolate into the whipped mixture just after whipping for a marble effect. Don’t add hot chocolate directly or it will deflate the foam.
- Citrus brightening: Zest lemon, lime, or orange into the mixture after whipping for a fresh tang that pairs well with berries.
- Spiced versions: Add a pinch of ground cinnamon or cardamom with the vanilla for autumnal warmth—add sparingly so the spices don’t weigh down the foam.
- Toasted coconut finish: After toasting the peaks, sprinkle lightly with toasted coconut flakes for crunch contrast.
Chef’s Notes
Egg safety: This recipe uses raw egg whites that are heated to 120°F (49°C) over a double boiler. That temperature is sufficient to no longer be raw in texture and helps dissolve the sugar, but if you have specific health concerns (very young, elderly, pregnant, or immunocompromised), consult guidance on using pasteurized eggs or consider an alternative frosting.
Timing matters: Once you remove the mixture from the heat you move fast. Have your mixer, piping bag, and any serving surfaces ready. The whipped foam is best used immediately for piping and holding shape.
Toasting safely: If using the oven broiler, keep the frosting a few inches from the heat and watch constantly—a few seconds can change from perfectly golden to burnt. A kitchen torch gives more control and is my preferred method for even browning.
Save for Later: Storage Tips
Because this frosting contains egg whites, store any leftovers in an airtight container in the refrigerator and use within 24–48 hours. Texture will change: it can lose some loft when chilled; gently rewhip for a short burst on low speed to refresh before piping. Do not freeze—freezing collapses the foam and ruins the texture.
If you’ve piped buts haven’t been toasted and need to keep them overnight, refrigerate covered and toast just before serving to revive the surface and crisp the peaks.
Quick Q&A
- Can I make this ahead? — You can make it and keep in the fridge for up to 48 hours, but it’s best used immediately for peak volume and shine. Rewhip briefly if needed.
- Is it stabilizer-free? — The cream of tartar acts as the stabilizer here. For extra stability over long hours, some bakers fold in a small amount of meringue powder, but that’s optional.
- Why not use powdered sugar? — This is a Swiss/Italian-style marshmallow frosting that relies on dissolved granulated sugar and hot whipping for structure. Powdered sugar would introduce starch and change texture and sweetness.
- Can I torch through glaze or decorations? — Avoid torching over delicate paper or candy that can melt. Torch only exposed frosting or use the broiler carefully.
Serve & Enjoy
Pipe a generous swirl onto cupcakes, or spread a billowy layer across a cake for a rustic, cloud-like finish. If you want a classic s’mores vibe, torch the peaks until golden brown and serve immediately with a graham-cracker crumb rim. For a party, toast tableside with a handheld torch for a bit of theater.
This frosting is about lightness, texture, and contrast—airy sweetness that complements rich cakes and adds a show-stopping finish when toasted. Keep a thermometer handy, a steady hand for torching, and enjoy the applause when you bring it to the table.
Easy Marshmallow Frosting
Equipment
- medium-to-large pot
- heat-proof bowl
- Whisk
- Stand Mixer or Hand Mixer
- Instant Read Thermometer
- Piping Bag
- Kitchen Torch
- oven broiler
Ingredients
Ingredients
- 4 large egg whitesroom temperature
- 1 cup 200 g granulated sugar
- 1/4 teaspooncream of tartar
- Pinch of salt
- 1/2 teaspoonvanilla extractoptional
Instructions
Instructions
- Fill a medium-to-large pot with about 1 inch (2.5 cm) of water and bring it to a gentle simmer over medium heat. Choose a heat-proof bowl (or the bowl of your stand mixer) that will sit on the pot without the bottom touching the water.
- In the heat-proof bowl, whisk together 4 large egg whites (room temperature), 1 cup (200 g) granulated sugar, 1/4 teaspoon cream of tartar, and a pinch of salt until evenly combined.
- Set the bowl over the simmering water (double-boiler setup), making sure the bowl does not touch the water. Whisk constantly until the mixture reaches 120°F (49°C) on an instant-read thermometer and the sugar feels dissolved (rub a small amount between your fingers—it should not feel gritty).
- Remove the bowl from the heat. Using a stand mixer fitted with the whisk attachment or a hand mixer, beat the hot mixture on high for about 5 minutes, or until it is light, glossy, and fluffy with peaks that mostly hold their shape.
- If using, add 1/2 teaspoon vanilla extract and beat on high for another 30 seconds to incorporate.
- Use the frosting immediately: transfer to a piping bag or a large plastic bag with the tip cut off and pipe onto cupcakes or cake.
- If you want a toasted finish, very carefully brown the frosting under a hot broiler for a few seconds (watch continuously) or use a kitchen torch. The frosting will be quite sticky until it is toasted.
Notes
This makes about 5 cups of frosting, enough to generously frost 12 cupcakes.