I make these bars on busy afternoons, when I want something that tastes like a cookie but behaves like a snack you can trust. They’re simple, packed with familiar pantry ingredients, and forgiving when life gets messy — which is often the case in my kitchen. No frosting, no fuss, and yes, they still feel like a treat.
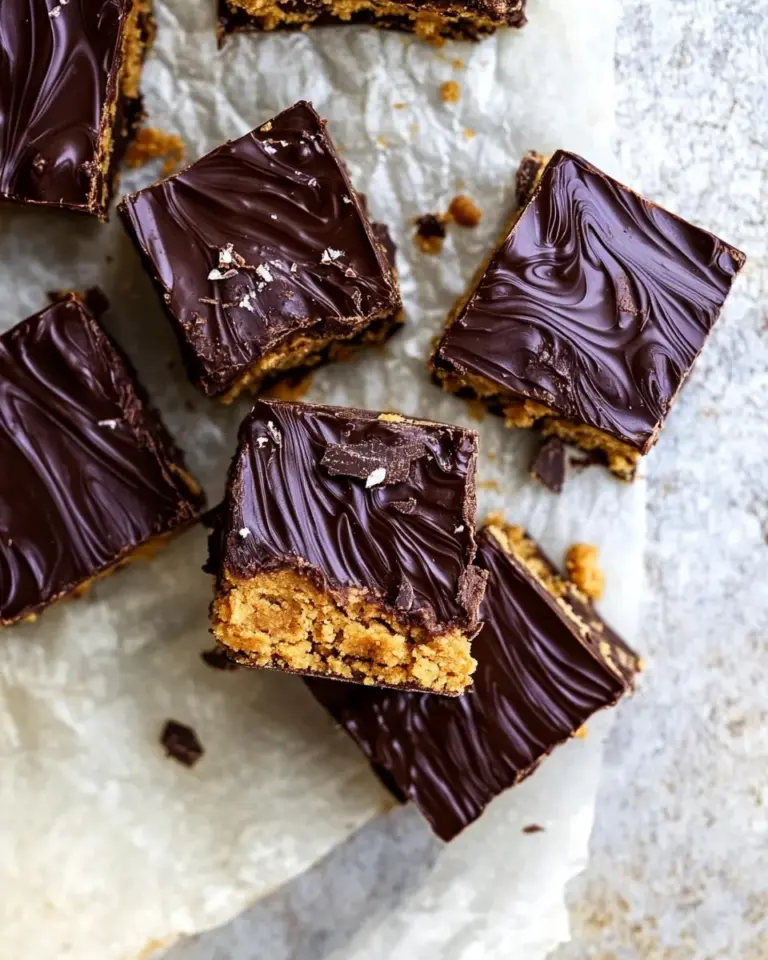
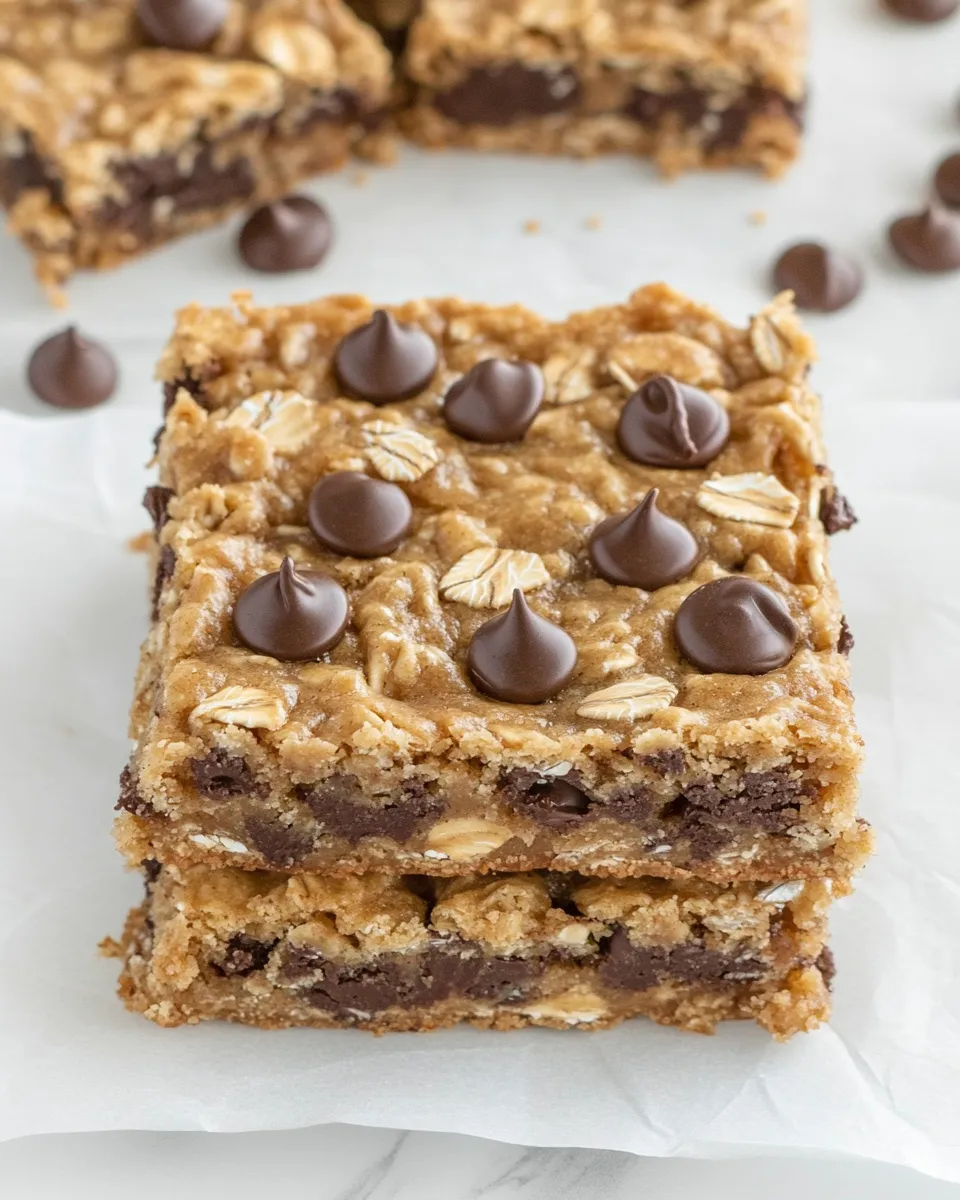
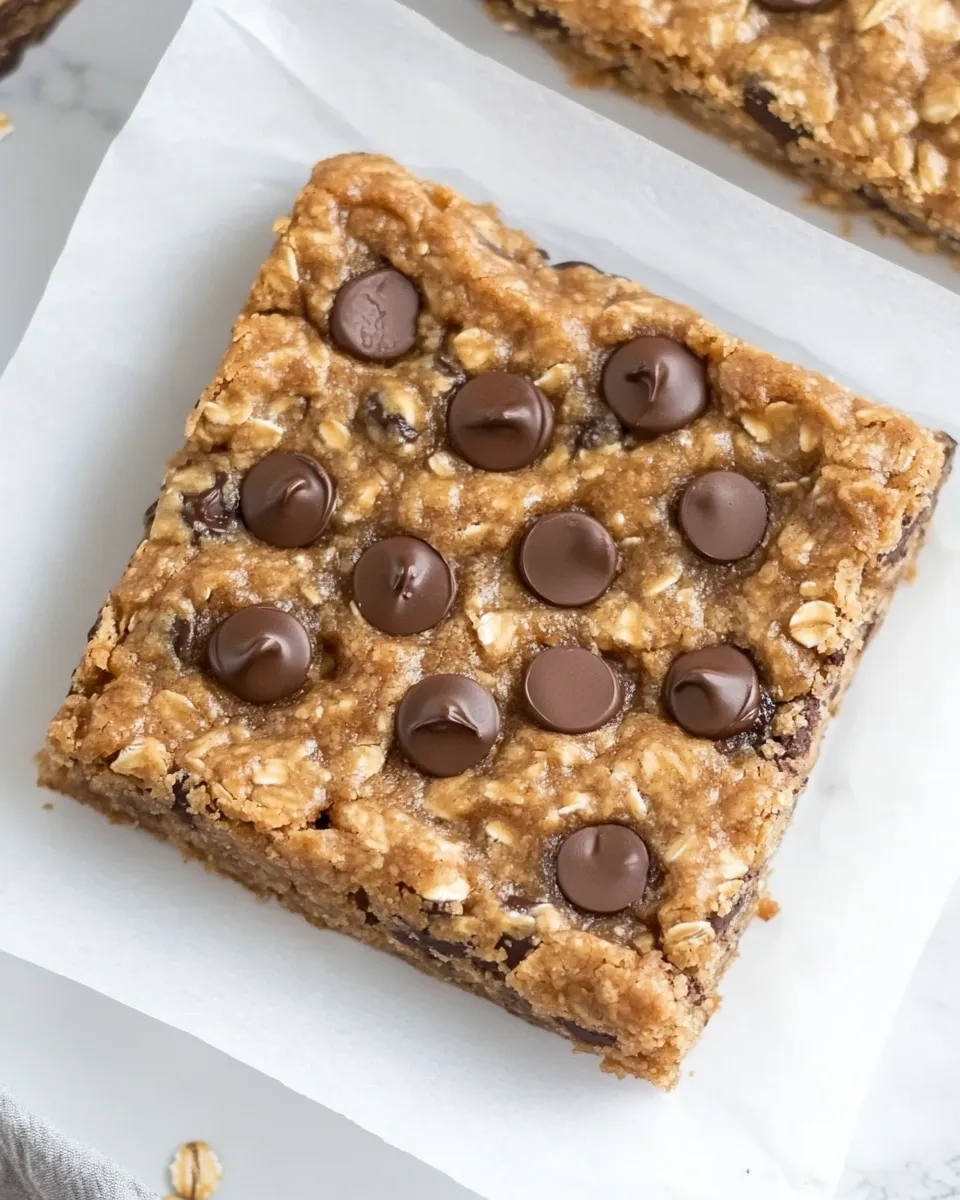
The texture sits between cookie and chewy granola bar: oats for body, peanut butter for richness, and a touch of maple syrup for sweetness that doesn’t scream sugar. Add chocolate chips if you like a melty surprise in the center. They’re fast to put together and travel well, so they’re my go-to when I need a grab-and-go option for school lunches or a pick-me-up at work.
I’ll walk you through exactly what to expect, what to watch for while baking, and sensible swaps if you’re tweaking for diet or pantry limits. Read on for clear steps, equipment notes, and the small mistakes I’ve learned to avoid so your bars come out consistent every time.
Ingredient Notes
Before we dive into the method, a few quick notes about the ingredients themselves so you can make smart choices at the grocery store or when you’re swapping things out. These bars are intentionally short on ingredients so each one plays a clear role: binding, structure, sweetness, or flavor. Understanding each ingredient’s job makes it easier to adapt without losing the result.
Ingredients
- 2 eggs — bind the dough and add structure; use at room temperature for smoother mixing.
- 1 cup peanut butter — provides fat, flavor, and chew; creamy works best for a uniform texture.
- ⅓ cup pure maple syrup — natural sweetener and helps the bars set; taste it if your peanut butter is already very sweet.
- 1 tsp vanilla extract (optional) — enhances flavor; leave out if you prefer a purer peanut profile.
- 1 ½ cups rolled oats — the bulk and chew; don’t use instant oats if you want the best texture.
- ¼ tsp baking soda — a light lift and tenderness; small amount keeps the bars from feeling gummy.
- 1/2 tsp ground cinnamon (optional) — warms the flavor and pairs nicely with peanut butter.
- 1/2 tsp sea salt — balances sweetness and boosts peanut flavor; scale to taste if your peanut butter is salty.
- 1 cup chocolate chips (optional) — adds pockets of melty chocolate; use dark or semi-sweet for less sweetness.
Healthy Peanut Butter Oatmeal Cookie Bars: Step-by-Step Guide
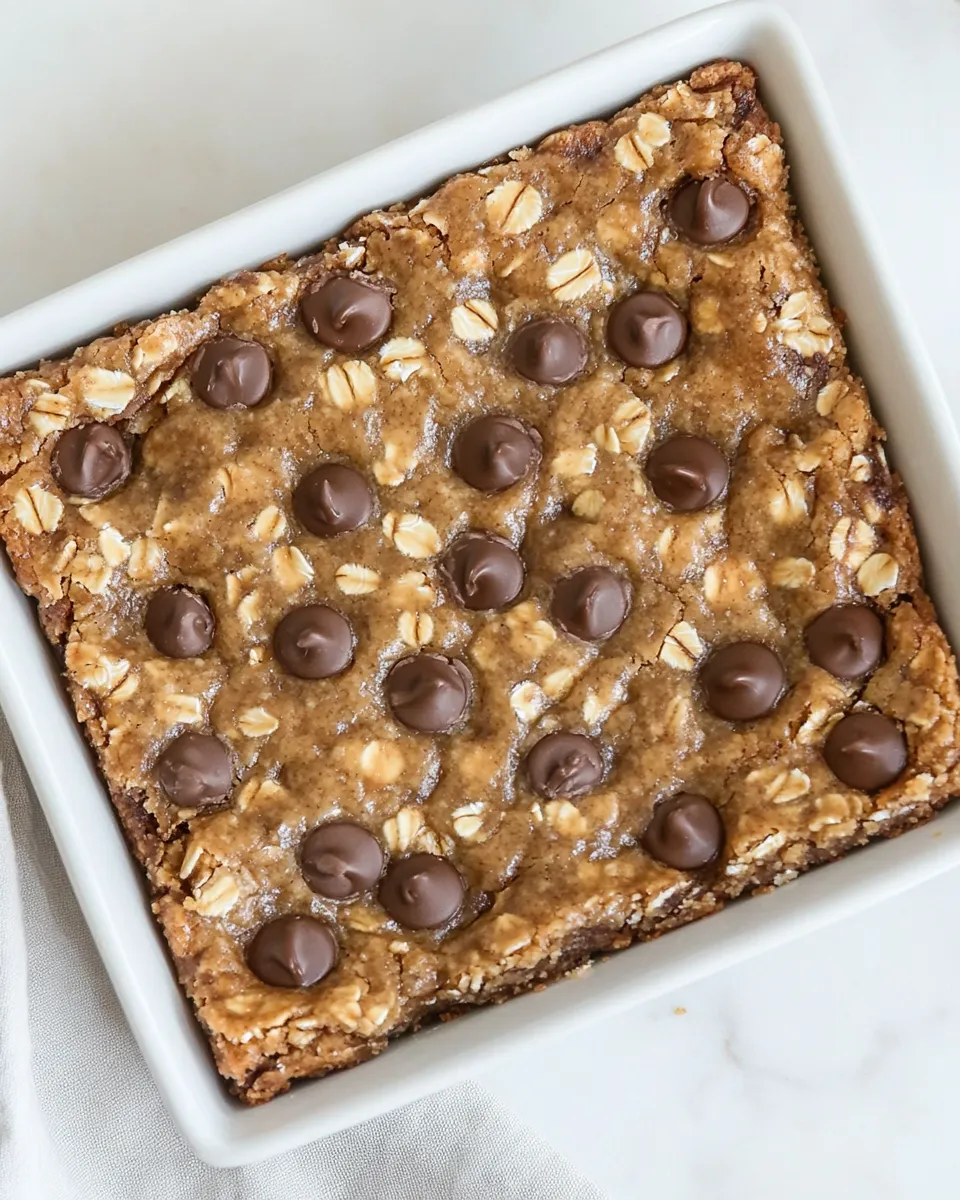
- Preheat the oven to 350°F (175°C). Line an 8-inch square baking pan with parchment paper, leaving some overhang for easy removal.
- In a large bowl, add 2 eggs, 1 cup peanut butter, and ⅓ cup pure maple syrup. If using, add 1 tsp vanilla extract. If your peanut butter is cold or very firm, microwave it for 20–30 seconds before measuring to make mixing easier. Whisk or beat until the wet ingredients are smooth and well combined.
- Add 1 ½ cups rolled oats, ¼ tsp baking soda, 1/2 tsp ground cinnamon (if using), and 1/2 tsp sea salt to the wet mixture. Stir until a thick, evenly combined dough forms.
- Fold in 1 cup chocolate chips if using.
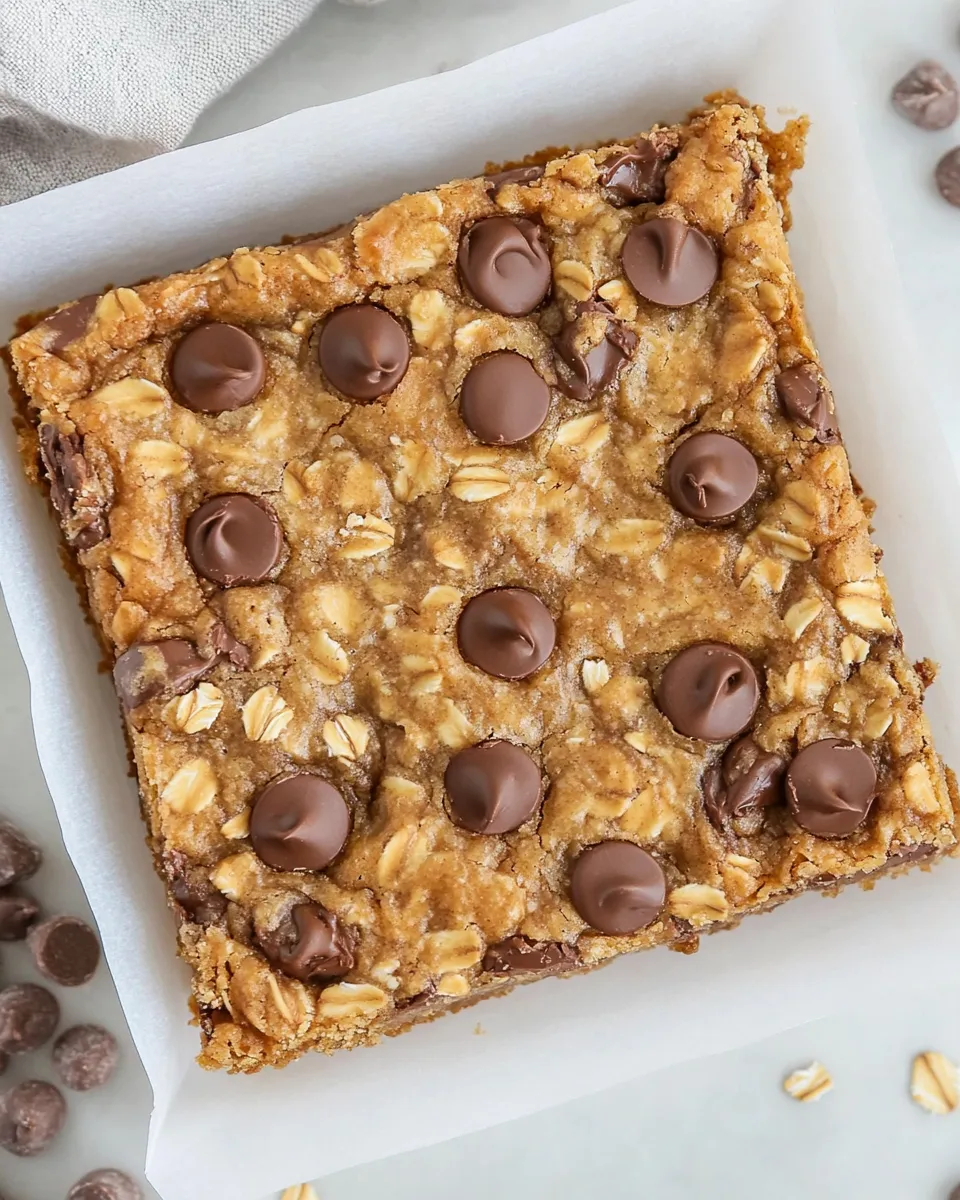
- Transfer the dough to the prepared pan. Use a spatula or the back of a spoon to spread and press the mixture into an even layer. If you like, sprinkle extra chocolate chips or flaky sea salt on top before baking.
- Bake on the center rack for 20–25 minutes, or until the edges are slightly golden and the center appears set (not jiggly).
- Remove from the oven and let the bars cool in the pan for at least 15 minutes. Use the parchment overhang to lift the bars from the pan and place on a cutting board.
- Slice into bars and serve. Store any leftovers in an airtight container.
Why Healthy Peanut Butter Oatmeal Cookie Bars is Worth Your Time
These bars deliver on three important things: speed, simplicity, and satisfied snacking. You mix everything in one bowl, bake once, and you end up with bars that hold together without crumbling apart. They’re not trying to be a cake or a brittle; they sit squarely in that comforting middle ground where oats and peanut butter meet.
They also scale mentally: if you want to double the batch, the technique is the same. Texture-wise, the oats provide chew and a little density while the eggs and peanut butter keep things cohesive. The maple syrup gives enough sweetness to feel indulgent without being overwhelming, which makes these bars easier to enjoy repeatedly without that sugar crash.
Finally, they’re flexible. You can include the optional chocolate chips or skip them. Cinnamon is optional but adds warmth. That makes these bars easy to personalize for picky eaters, post-workout snacks, or a breakfast option on rushed mornings.
Low-Carb/Keto Alternatives
If you’re aiming to lower the carbs, keep the method and texture goals in mind: you need something to replace the oats’ bulk and the maple syrup’s sweetness. Many people swap rolled oats for nut flours or a mix of nut meal and seeds to retain body. Use a sugar-free liquid sweetener in place of maple syrup and choose a lower-carb chocolate or omit it entirely. Remember the role of each ingredient so your swaps keep the bars cohesive.
Note: swapping oats for denser flours will change the texture and often the bake time. Start with small adjustments and expect a firmer, sometimes crumblier bar with low-carb flours unless you add extra binder (egg or a flax “egg”) or fat.
Must-Have Equipment
These bars don’t demand fancy tools. Here’s what I use every time:
- 8-inch square baking pan — the size controls thickness and bake time.
- Parchment paper — prevents sticking and makes removal effortless.
- Large mixing bowl and whisk or hand mixer — to combine wet ingredients smoothly.
- Spatula or the back of a spoon — for pressing the dough evenly into the pan.
- Oven thermometer (optional) — helpful if your oven runs hot or cold; small temperature differences affect the center’s set.
Slip-Ups to Skip
There are a few habitual mistakes that turn these easy bars into a disappointment. First: overbaking. Because there’s no flour to dry things out, the bars can go from set to dry quickly. Aim for the center to be set, not jiggly. Carryover heat will finish the job.
Second: using instant oats. They turn gummy when combined with the wet mixture. Rolled oats are the right balance of chew and structure. Third: measuring peanut butter straight from the fridge when it’s rock-hard. Warm it briefly so it mixes smoothly and doesn’t leave clumps. Finally, skipping the parchment paper can stick the bars to the pan and make them tear when you remove them. Don’t skip it.
Nutrition-Minded Tweaks
If you want to nudge these bars toward more protein or fiber without changing the formula drastically, consider the following adjustments. Add a scoop of unflavored protein powder into the oat mixture and slightly reduce the oats by the same volume to keep the dough consistency similar. You can sprinkle a tablespoon of chia or ground flax for a fiber boost — expect a minor change in texture.
Another straightforward swap: choose a natural peanut butter with no added sugar or oils to reduce unnecessary additives. If you want lower sugar, omit chocolate chips or use a sugar-free variety. All of these keep the basic method intact while making the bars align better with your dietary goals.
Behind-the-Scenes Notes
I test these bars a lot. The ones that consistently succeed use creamy peanut butter and oats — simple, predictable ingredients. If you add mix-ins like dried fruit or nuts, keep the chunks small so the bars slice cleanly. When I test texture, I always let the pan rest a full 15 minutes before trying to lift the bars; patience here prevents the center from falling apart.
When I bring these to friends, they rarely ask whether the bars are “healthy” — they just ask for the recipe. That tells me the balance is right: nourishing enough to be sensible, tasty enough to be enjoyed without negotiating with your sweet tooth.
Meal Prep & Storage Notes
Cool the bars completely before sealing them in an airtight container to prevent sogginess from trapped steam. At room temperature they’ll stay good for 3 days. For longer storage, refrigerate for up to a week. If you want to freeze a stash, cut into bars, layer between parchment, and freeze in a zip-top bag for up to 2 months. Thaw at room temperature or microwave briefly for a warm, melty option.
Tip: if you plan to pack these for lunches, wrap individual bars in parchment or beeswax wraps to keep them neat and prevent sticking.
Healthy Peanut Butter Oatmeal Cookie Bars Q&A
Can I make these nut-free? Use a seed butter (sunflower or tahini) in place of peanut butter. Expect a slightly different flavor and possibly a looser texture depending on the butter’s oiliness.
Do I need to refrigerate the bars? Not immediately. Room temperature storage for a few days is fine. Refrigerate if you live in a very warm climate or if you added extra perishable mix-ins.
Can I use quick oats or oat flour? Quick oats will produce a softer, sometimes mushier bar. Oat flour will change the texture significantly and usually requires adjusting the wet ingredients. Stick with rolled oats for the intended result.
How do I know they’re done? Look for slightly golden edges and a center that appears set, not jiggly. They firm up as they cool, so err on the side of slightly underbaked rather than overbaked.
Can I double the recipe? Yes. Use a larger pan (adjust thickness and bake time accordingly) or make two pans and bake them simultaneously if your oven allows even heat distribution.
Ready to Cook?
If you’ve got your ingredients out and your pan lined, you’re closer than you think. Preheat, mix the wet ingredients until smooth, fold in the oats and leavening, press into the pan, and bake. The instructions are short, the clean-up is easy, and you’ll have bars that work for breakfast, snack time, or a thoughtful little dessert.
Make these once and you’ll find they become a regular in your rotation. They’re dependable, forgiving, and exactly the kind of recipe I turn to when I want something wholesome that still feels like an indulgence. Happy baking — and don’t forget to let them cool long enough before slicing.
Healthy Peanut Butter Oatmeal Cookie Bars
Equipment
- 8-inch Square Baking Pan
- Parchment Paper
- Large Mixing Bowl
- Whisk or electric mixer
- Spatula
- Oven
- microwave (optional)
Ingredients
Ingredients
- 2 eggs
- 1 cuppeanut butter
- 1/3 cuppure maple syrup
- 1 tspvanilla extractoptional
- 1 1/2 cupsrolled oats
- 1/4 tspbaking soda
- 1/2 tspground cinnamonoptional
- 1/2 tspsea salt
- 1 cupchocolate chipsoptional
Instructions
Instructions
- Preheat the oven to 350°F (175°C). Line an 8-inch square baking pan with parchment paper, leaving some overhang for easy removal.
- In a large bowl, add 2 eggs, 1 cup peanut butter, and ⅓ cup pure maple syrup. If using, add 1 tsp vanilla extract. If your peanut butter is cold or very firm, microwave it for 20–30 seconds before measuring to make mixing easier. Whisk or beat until the wet ingredients are smooth and well combined.
- Add 1 ½ cups rolled oats, ¼ tsp baking soda, 1/2 tsp ground cinnamon (if using), and 1/2 tsp sea salt to the wet mixture. Stir until a thick, evenly combined dough forms.
- Fold in 1 cup chocolate chips if using.
- Transfer the dough to the prepared pan. Use a spatula or the back of a spoon to spread and press the mixture into an even layer. If you like, sprinkle extra chocolate chips or flaky sea salt on top before baking.
- Bake on the center rack for 20–25 minutes, or until the edges are slightly golden and the center appears set (not jiggly).
- Remove from the oven and let the bars cool in the pan for at least 15 minutes. Use the parchment overhang to lift the bars from the pan and place on a cutting board.
- Slice into bars and serve. Store any leftovers in an airtight container.
Notes
Store the bars in an airtight container in the refrigerator for up to 1 week. Freeze in a large zip lock bag for up to 3 months.
You can wrap the baking pan in plastic wrap and leave the bars on the counter for up to 2 days.